
I’ll be honest I have HORRIBLE handwriting. In school I was that girl who practiced her bubble lettering and swirly calligraphy for hours only for everyone else’s to look a million times better (you know actually legible).
So years ago when my husband and I got married few of my self-imposed DIYs terrified me as much as the chalkboards. So I got crafty and developed a pretty much fool proof easy way to have picture perfect chalkboard lettering time after time. Years later I still use my chalkboard lettering hack across many of my various projects.
*This post may contain affiliate links which may allow us to receive a small commission (at no additional cost to you) for purchases you make after clicking on product links on our posts , to view our full affiliate disclosure click here.
But rest assured we fully believe in every product we endorse.
Time: 30 minutes for a small sign
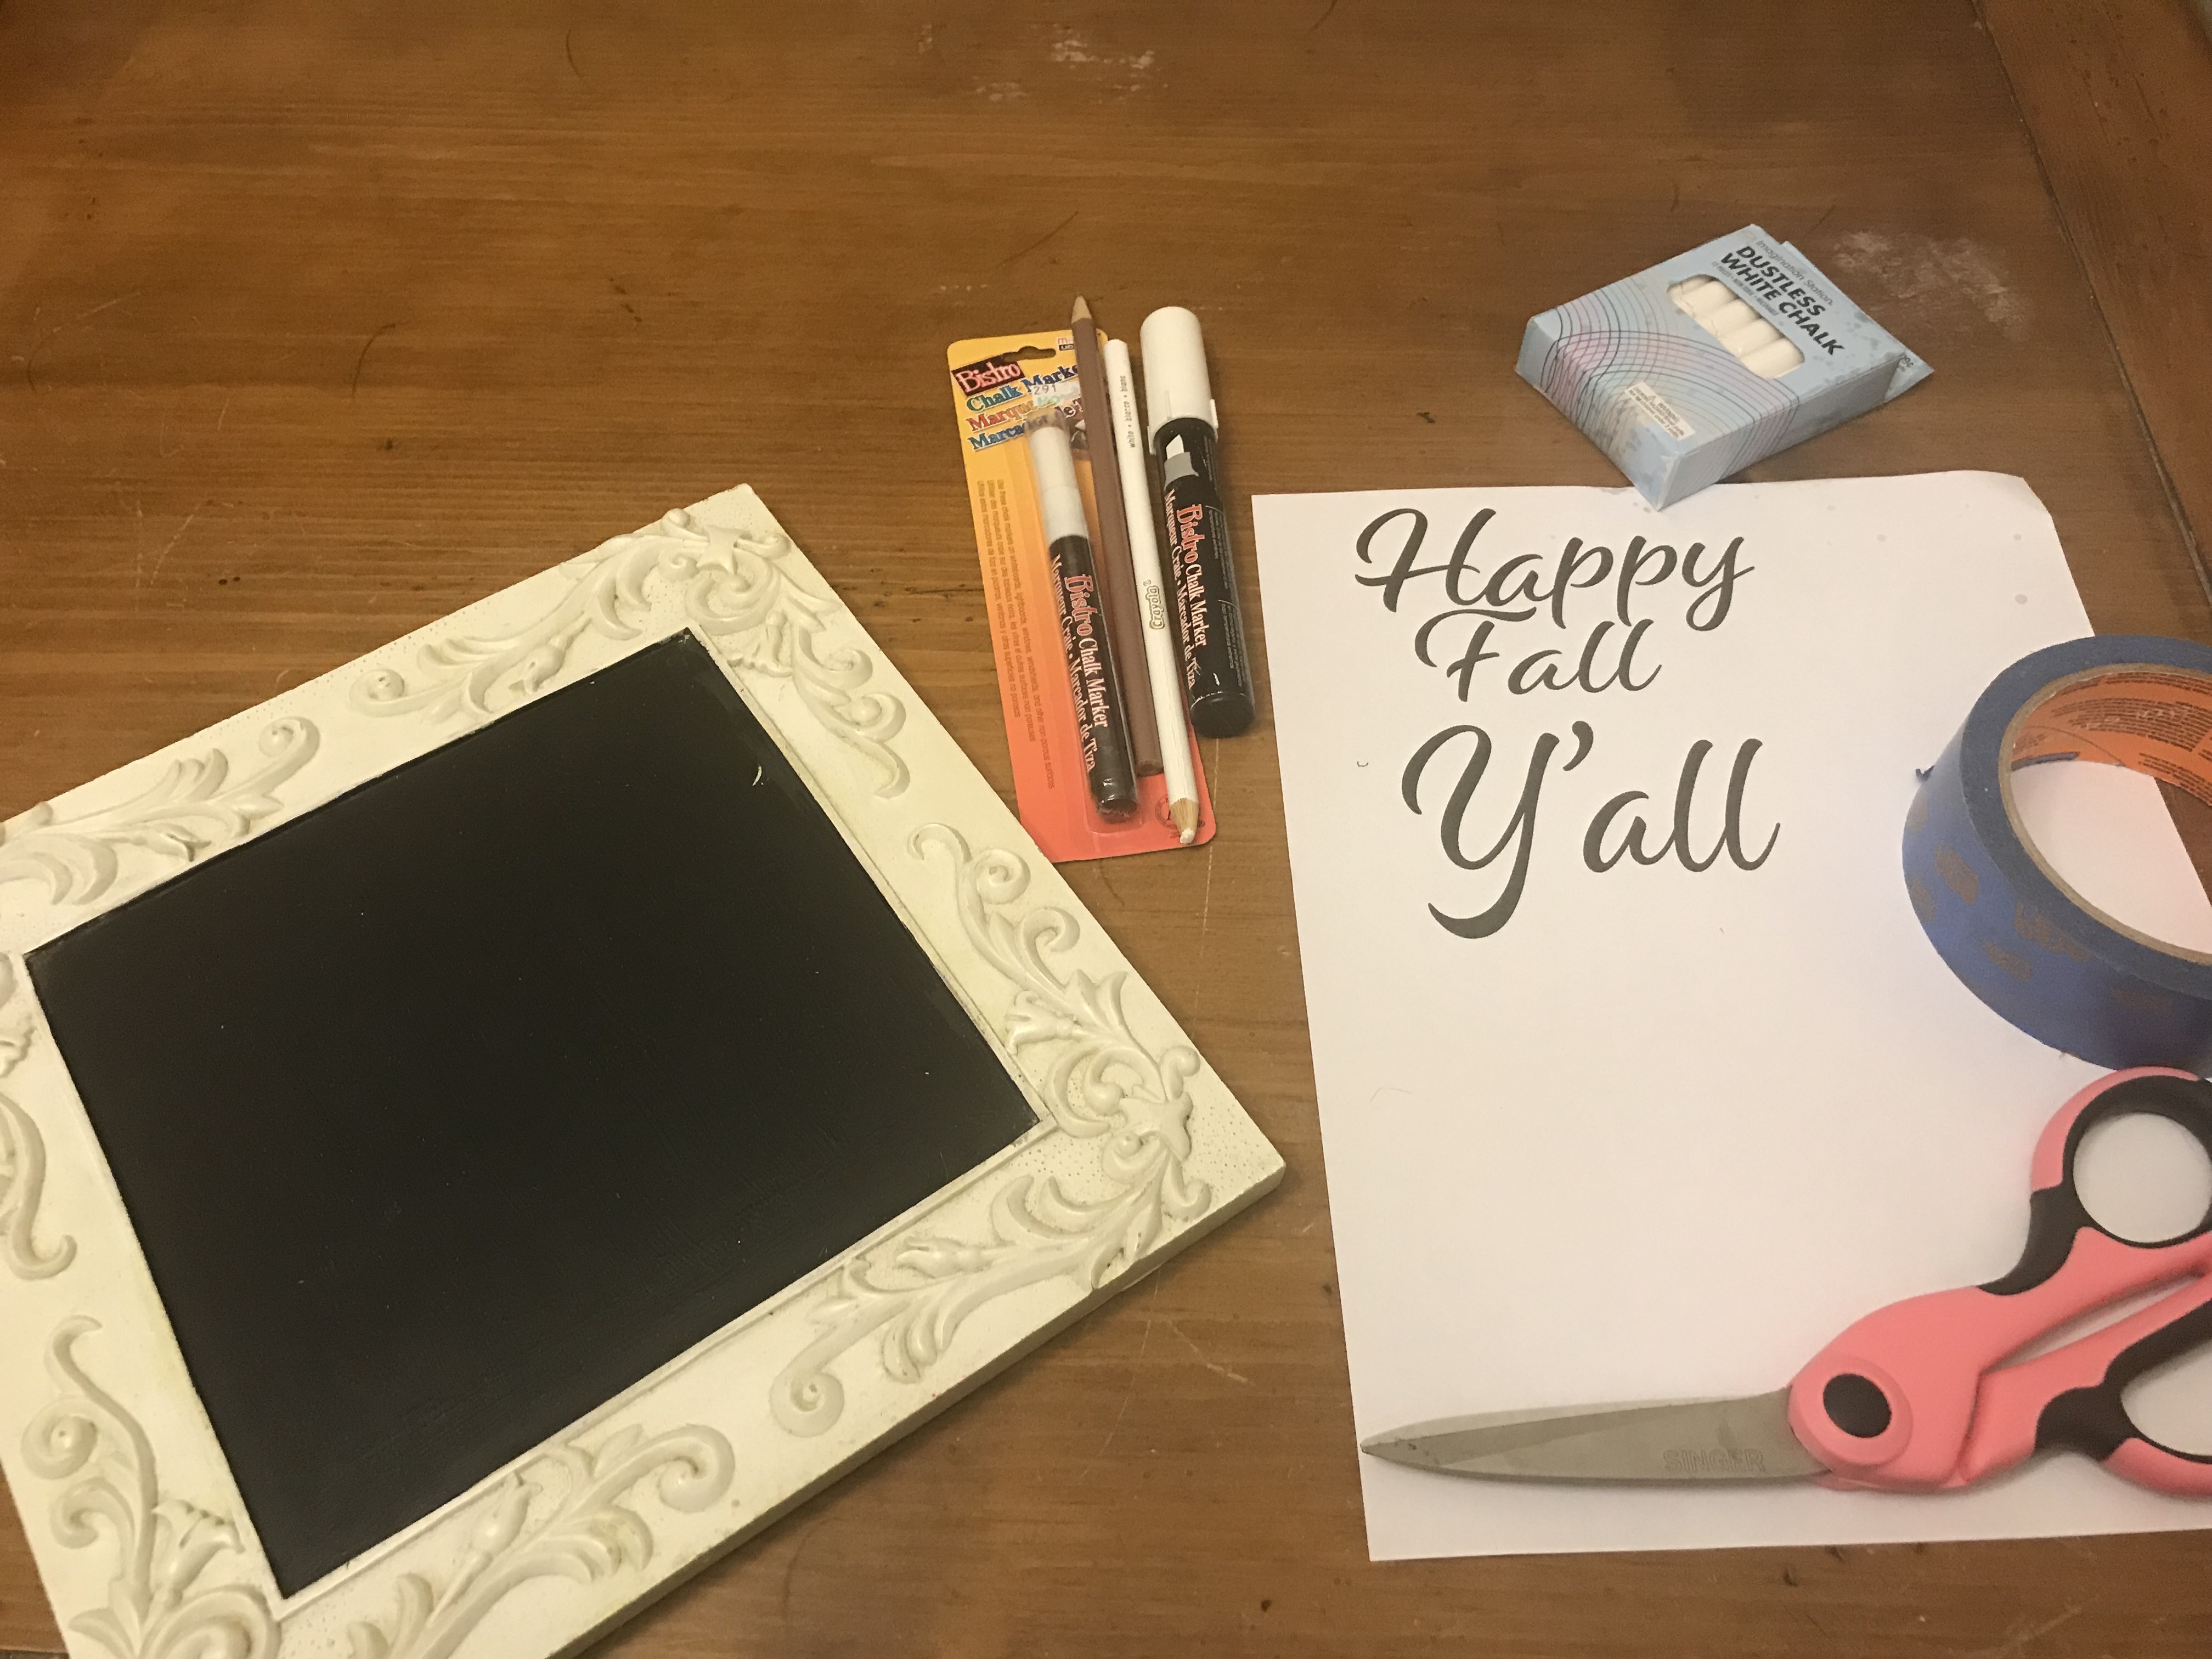
Materials
- A Computer and Printer
- Fine Point Bistro Chalk Marker
- Chalk
- Painter’s Tape
- A Light Colored Pencil
- Chalkboard
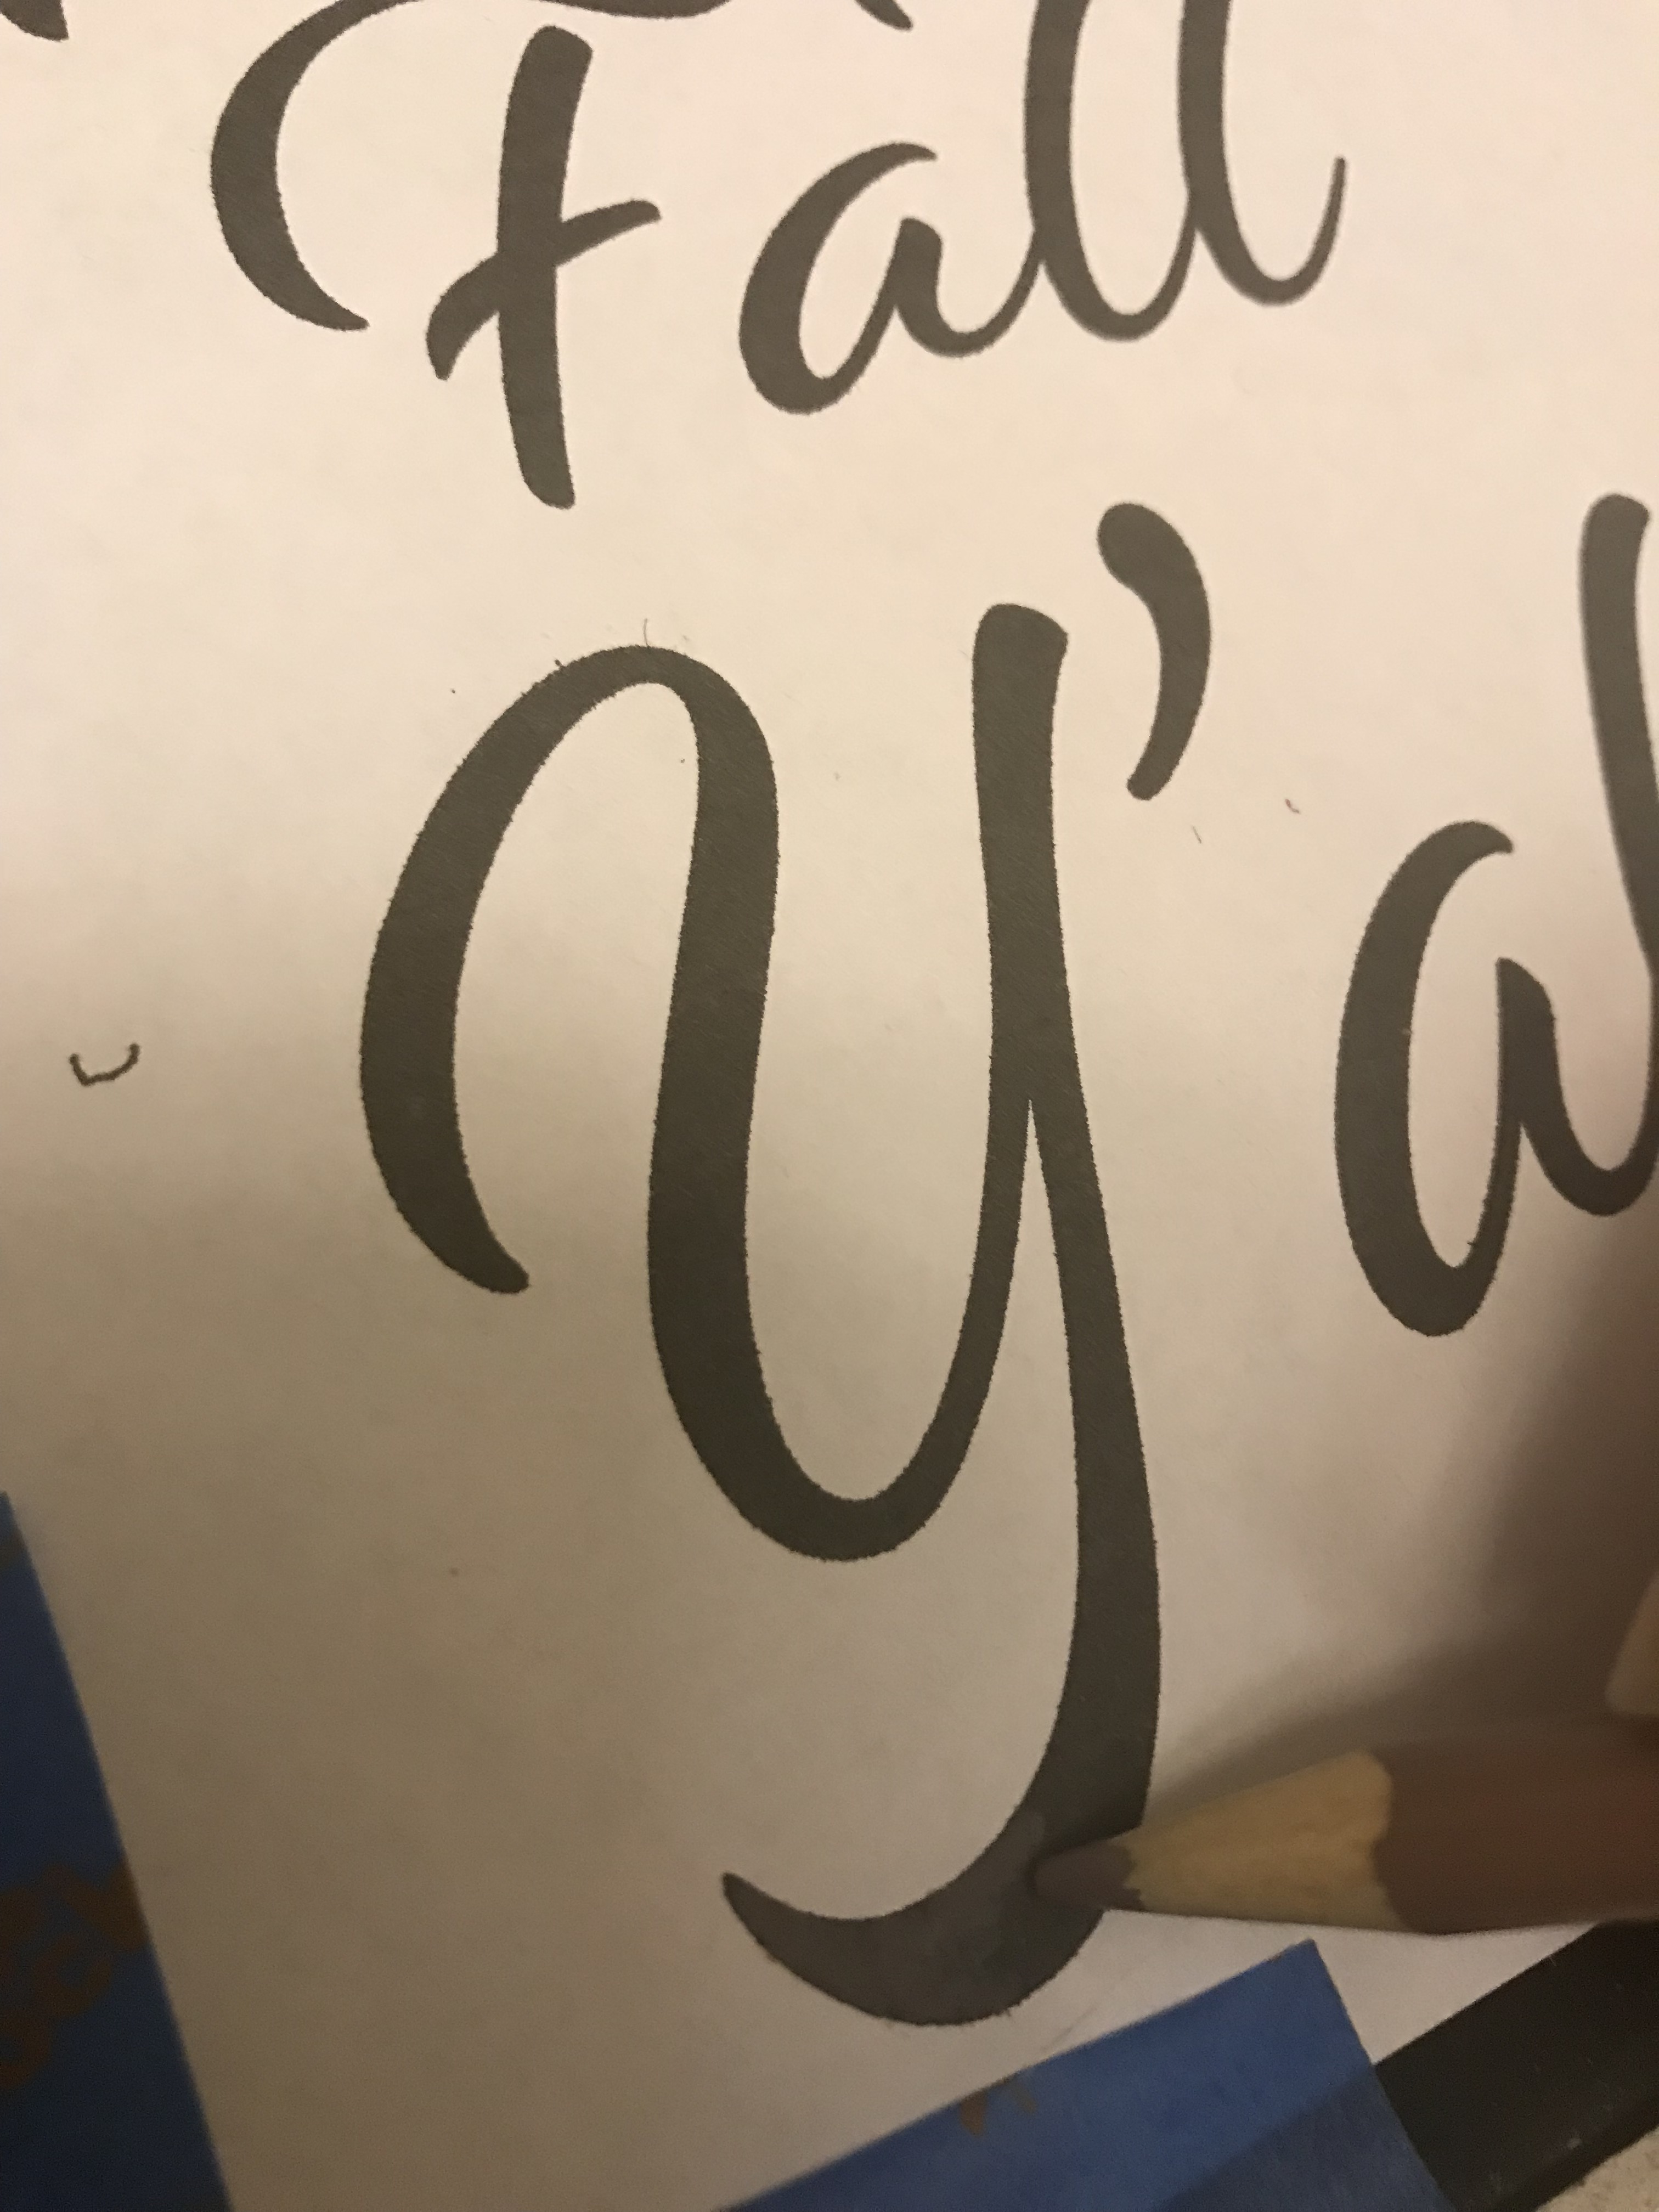
First you will need to design and print the words or designs for your sign. Then if working with a small chalkboard cut the paper containing your design to slightly smaller than the chalkboard.
hint: For larger signs you will cut the design into manageable sections as needed.
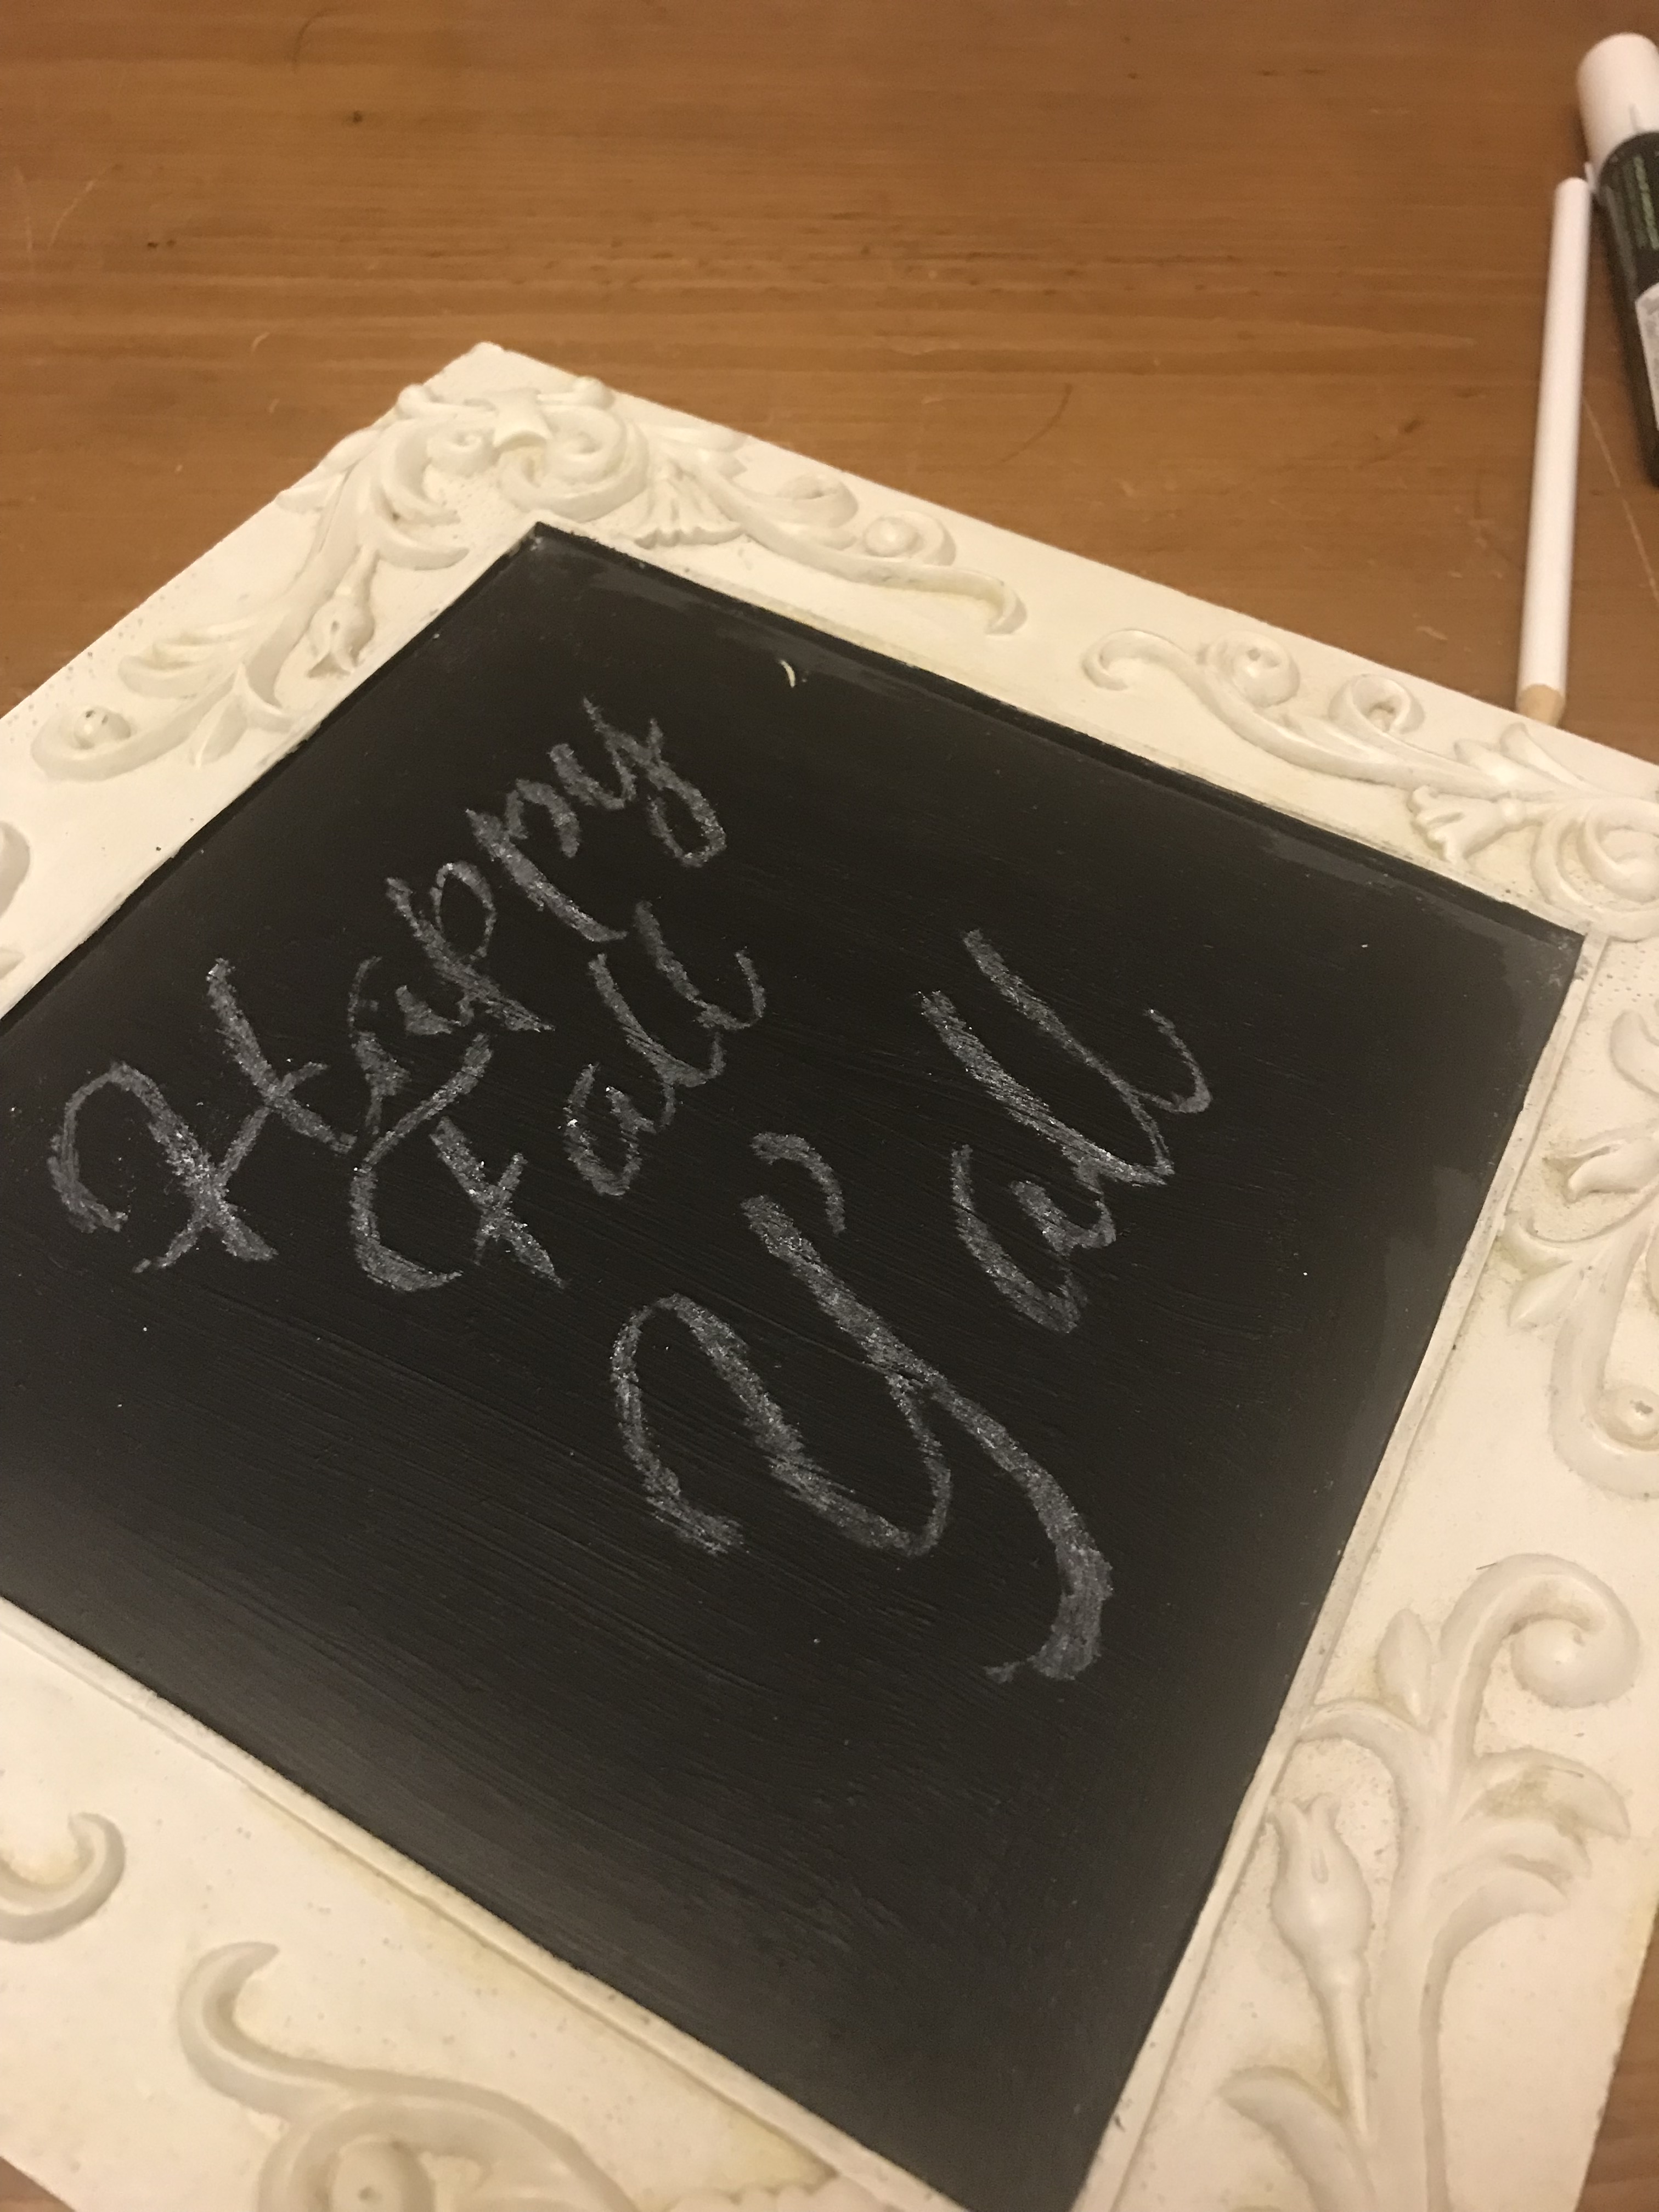
On the back of your printed design go over the text pressing firmly with a piece of chalk. I typically go over it twice to make sure it is all covered.
hint: While I personally wouldn’t advise going over the whole paper with chalk because it can cause random smudges, don’t worry about being too perfect. Just make sure the letter/ design is covered completely.
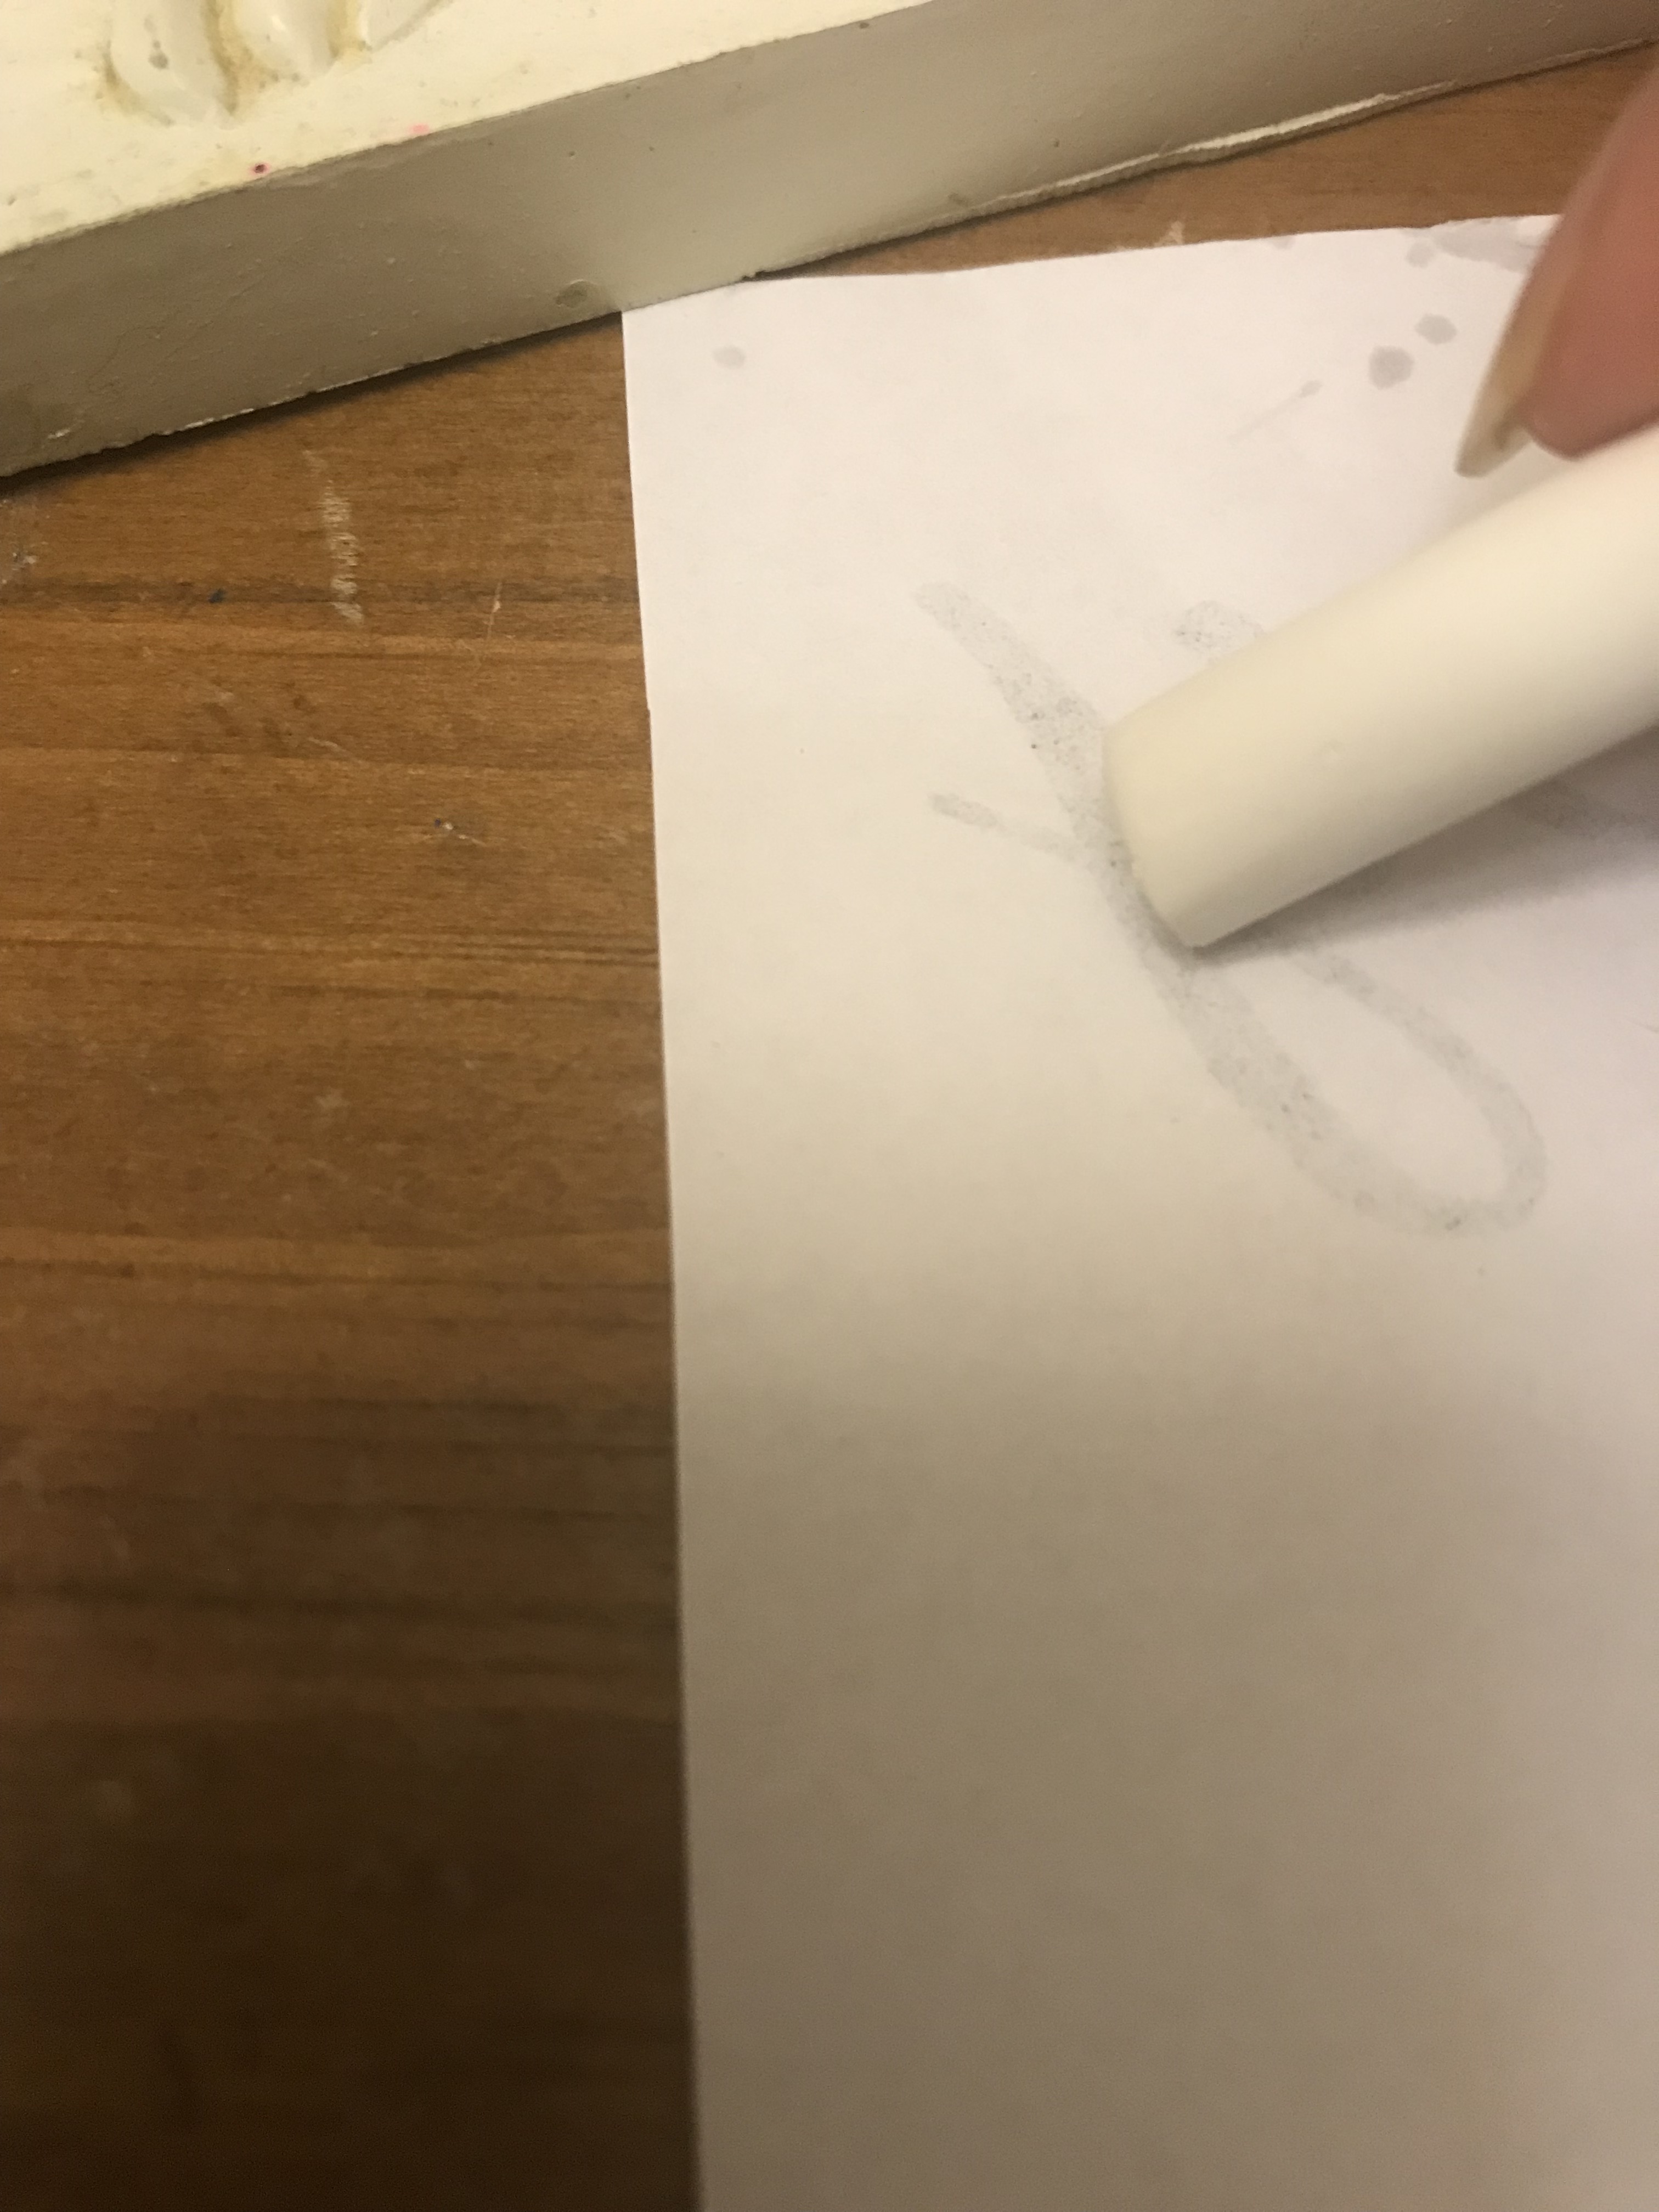
Shake off any extra chalk over a trash can.
Use small pieces of painter’s tape to secure the paper to the chalkboard with the “print” facing out (so you can read it). If working with a larger chalkboard/design space out the precut pieces as you want them and tape them individually to the chalk board.
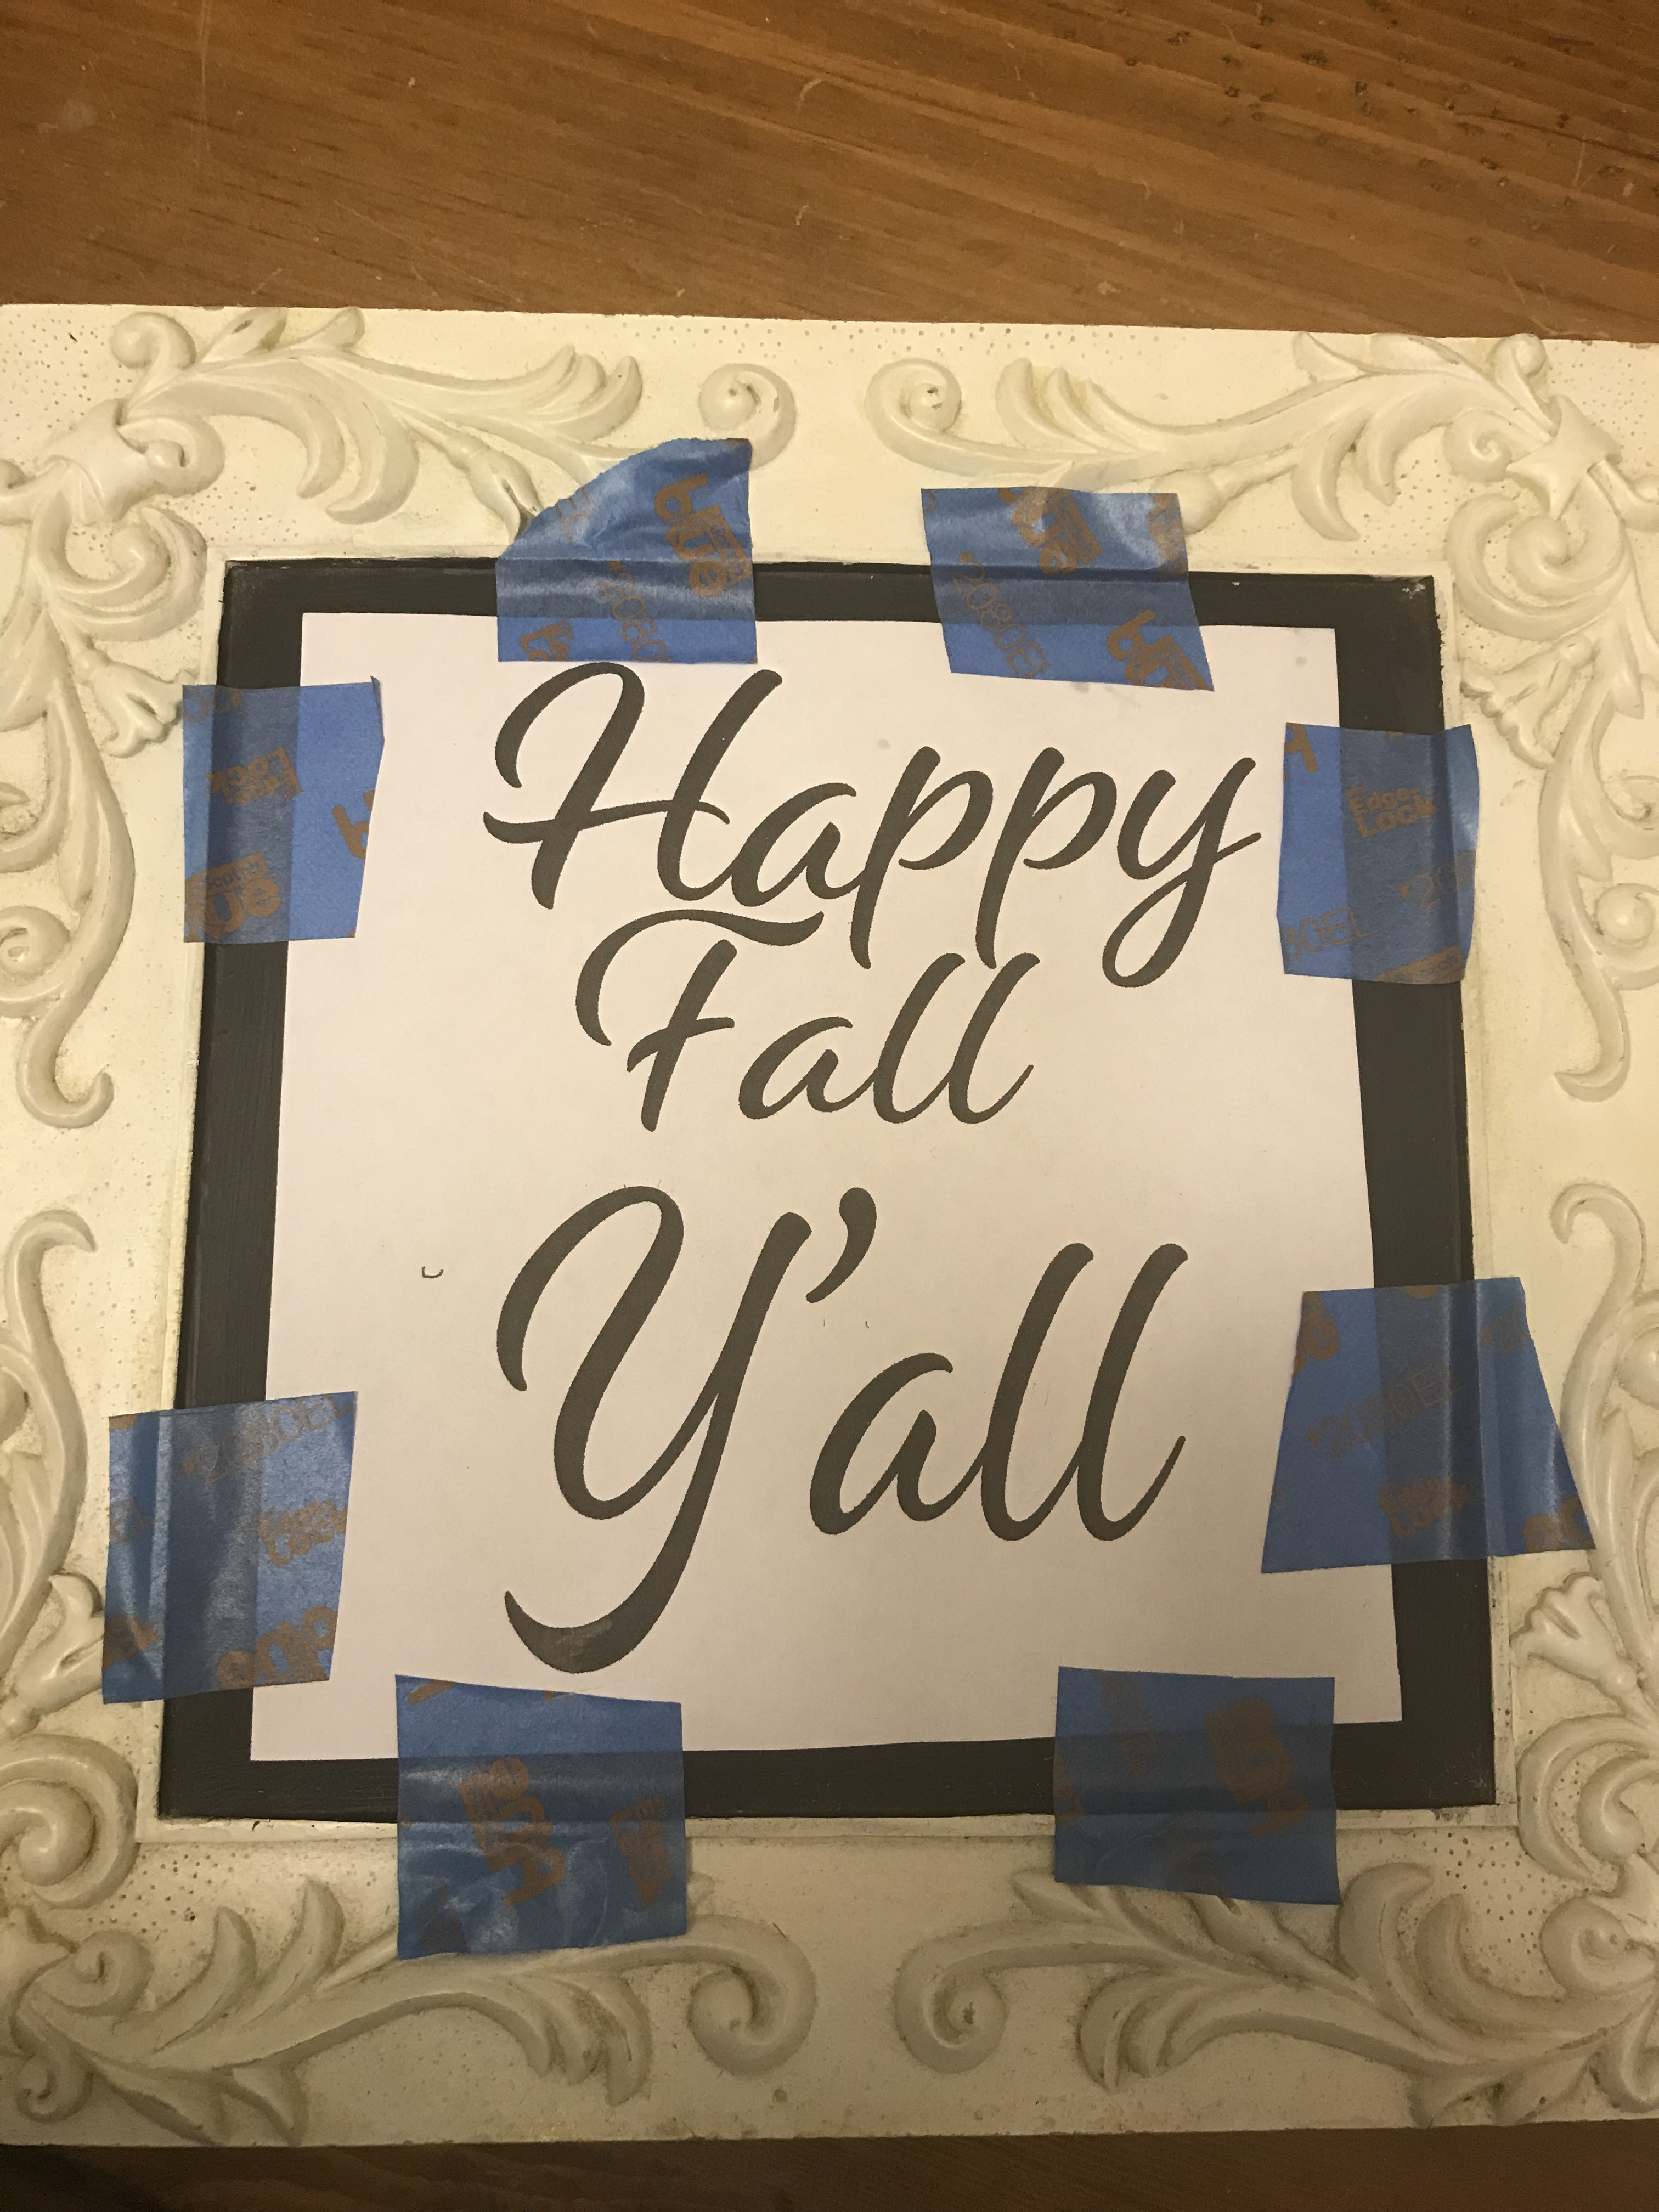
Go over the design with a light colored pencil (I prefer light so I can see where I have covered).
Remove the paper and you can see you have transferred the design!
hint: At this stage you will have almost IMMACULATE results if working on a completely smooth chalkboard. The one I am using for this demo is actually a roughly painted faux chalkboard so the transfer is a little rough but the next step will transform it completely!
Using the Fine Point Bistro Chalk Marker outline and fill in the design. This is an important step for a few reasons
- It allows you to fill in any small gaps that may have been left in the transfer.
- It makes the design a much brighter white.
- It improves the longevity of the design because the Bistro Chalk Marker won’t smudge anywhere near as easily!
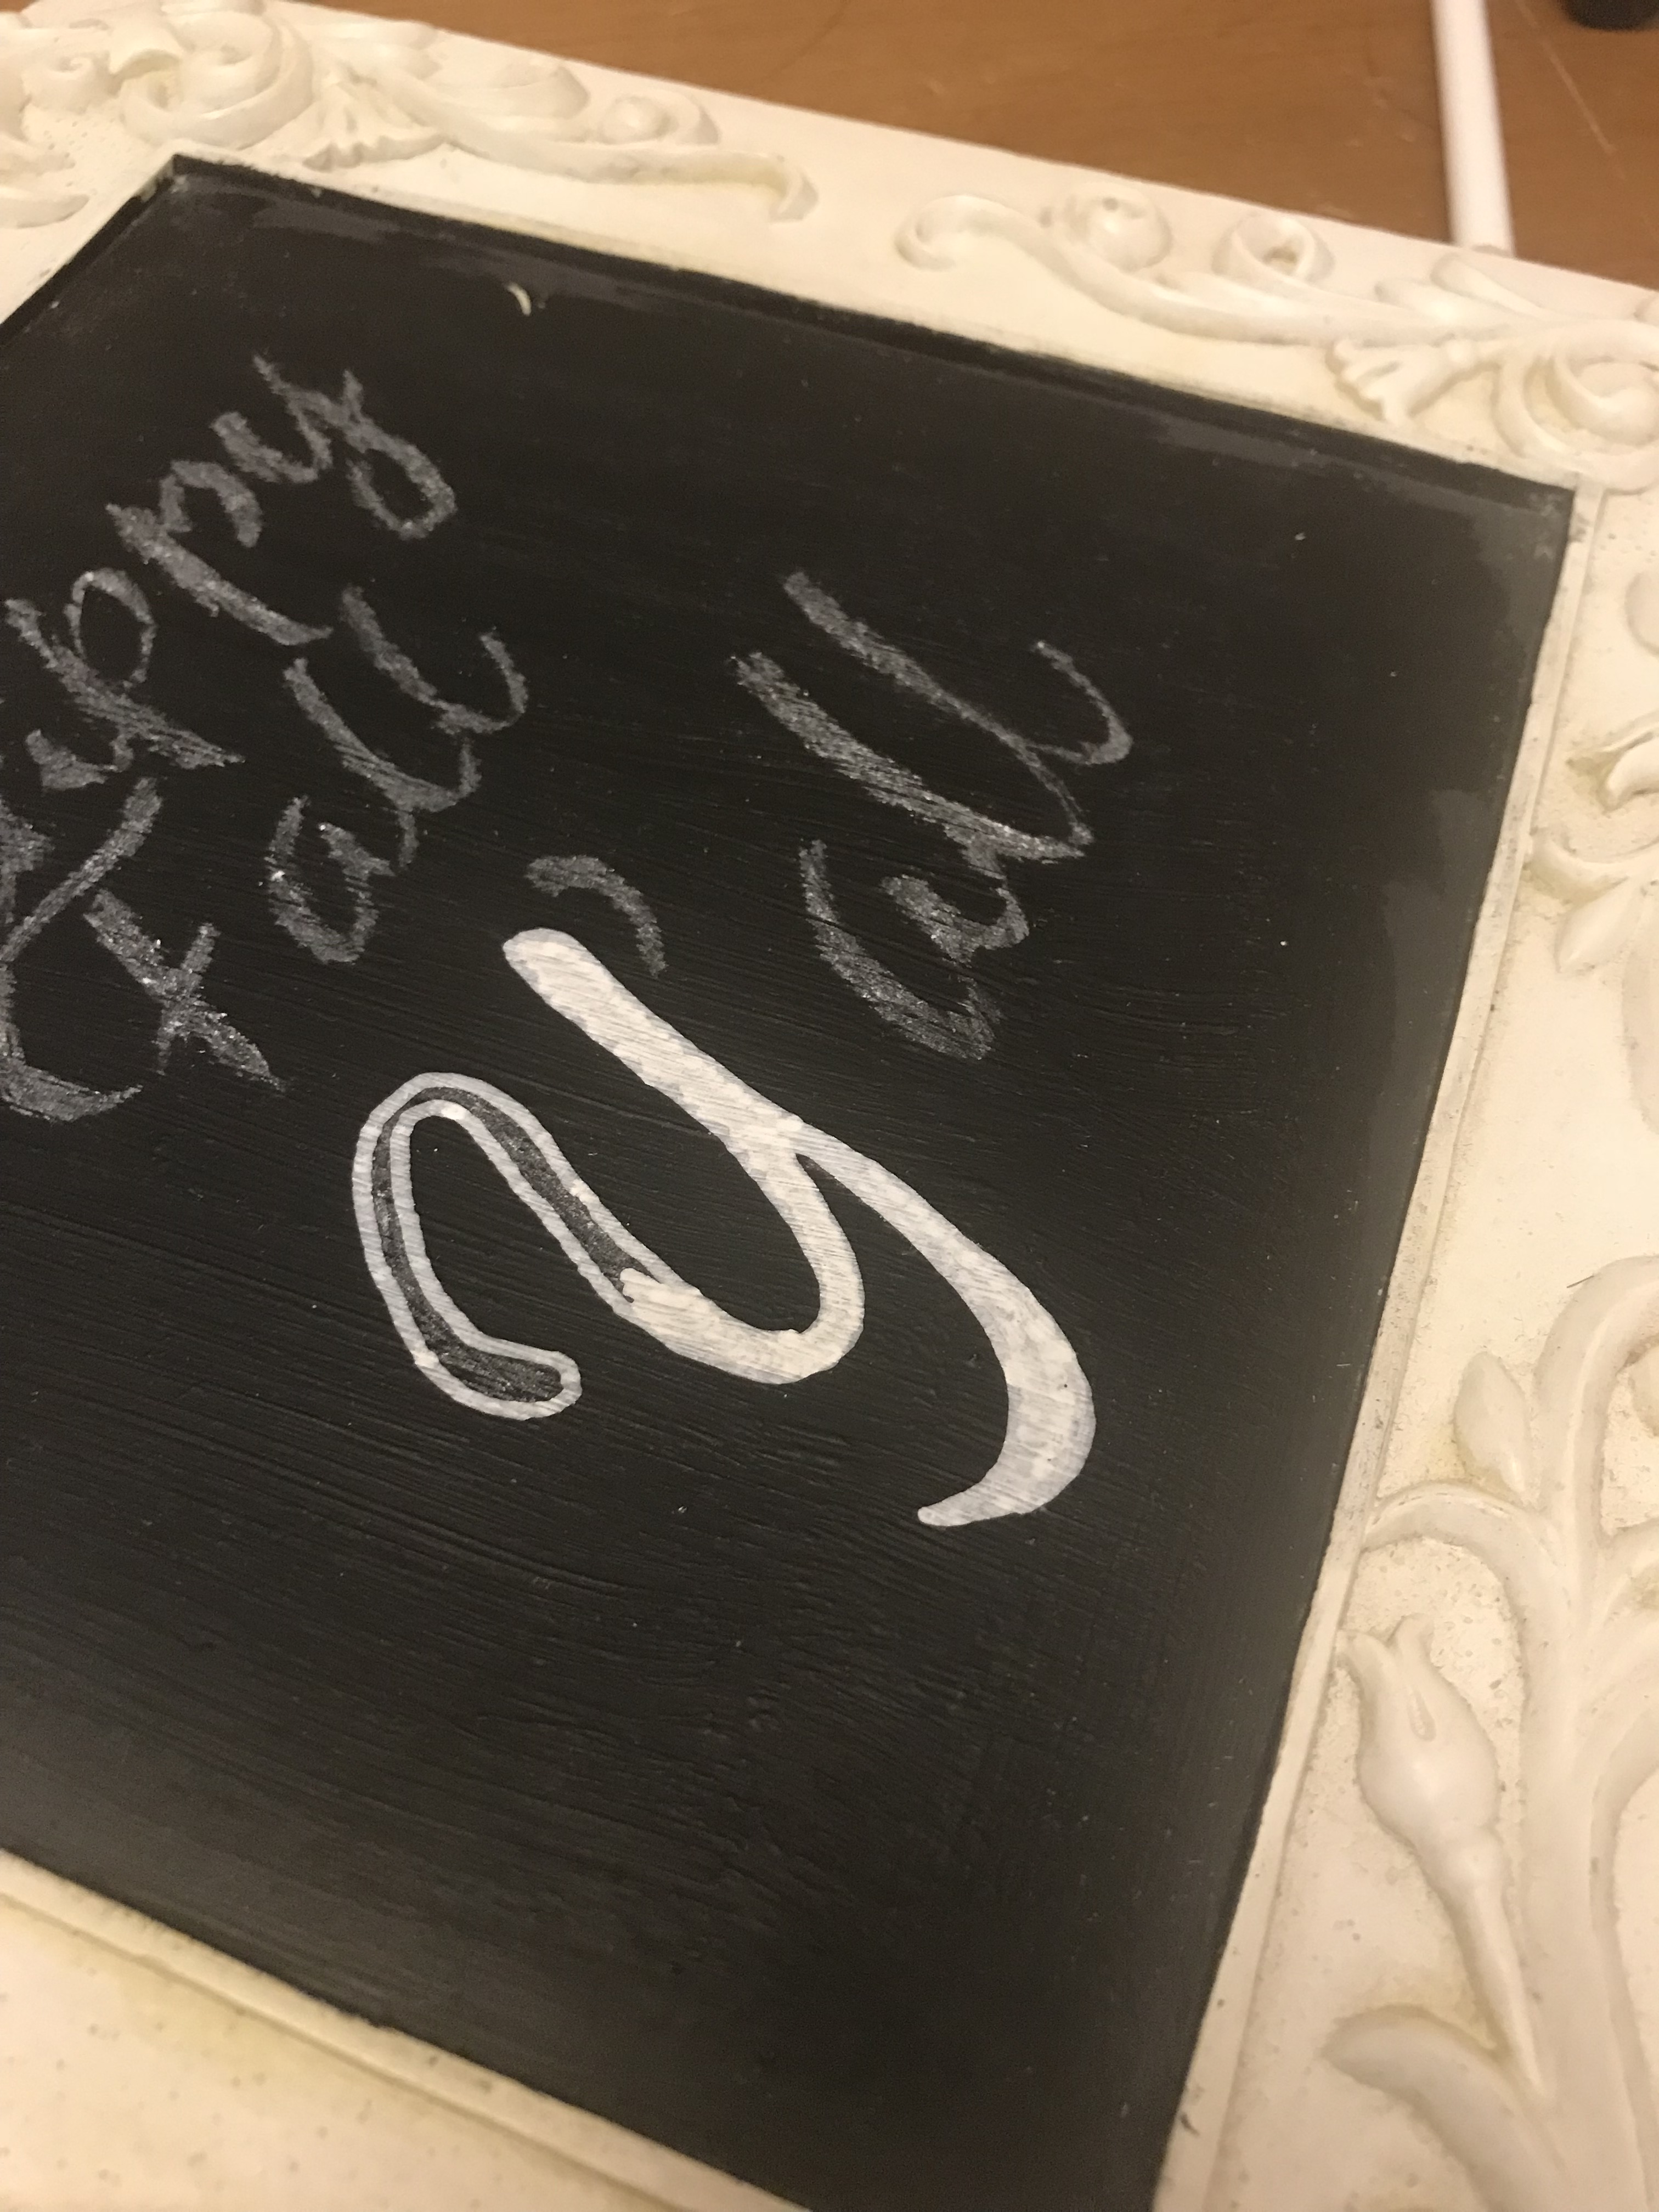
If there are any errant smudges use a slightly damp thin brush or a damp paper towel to clean them up.
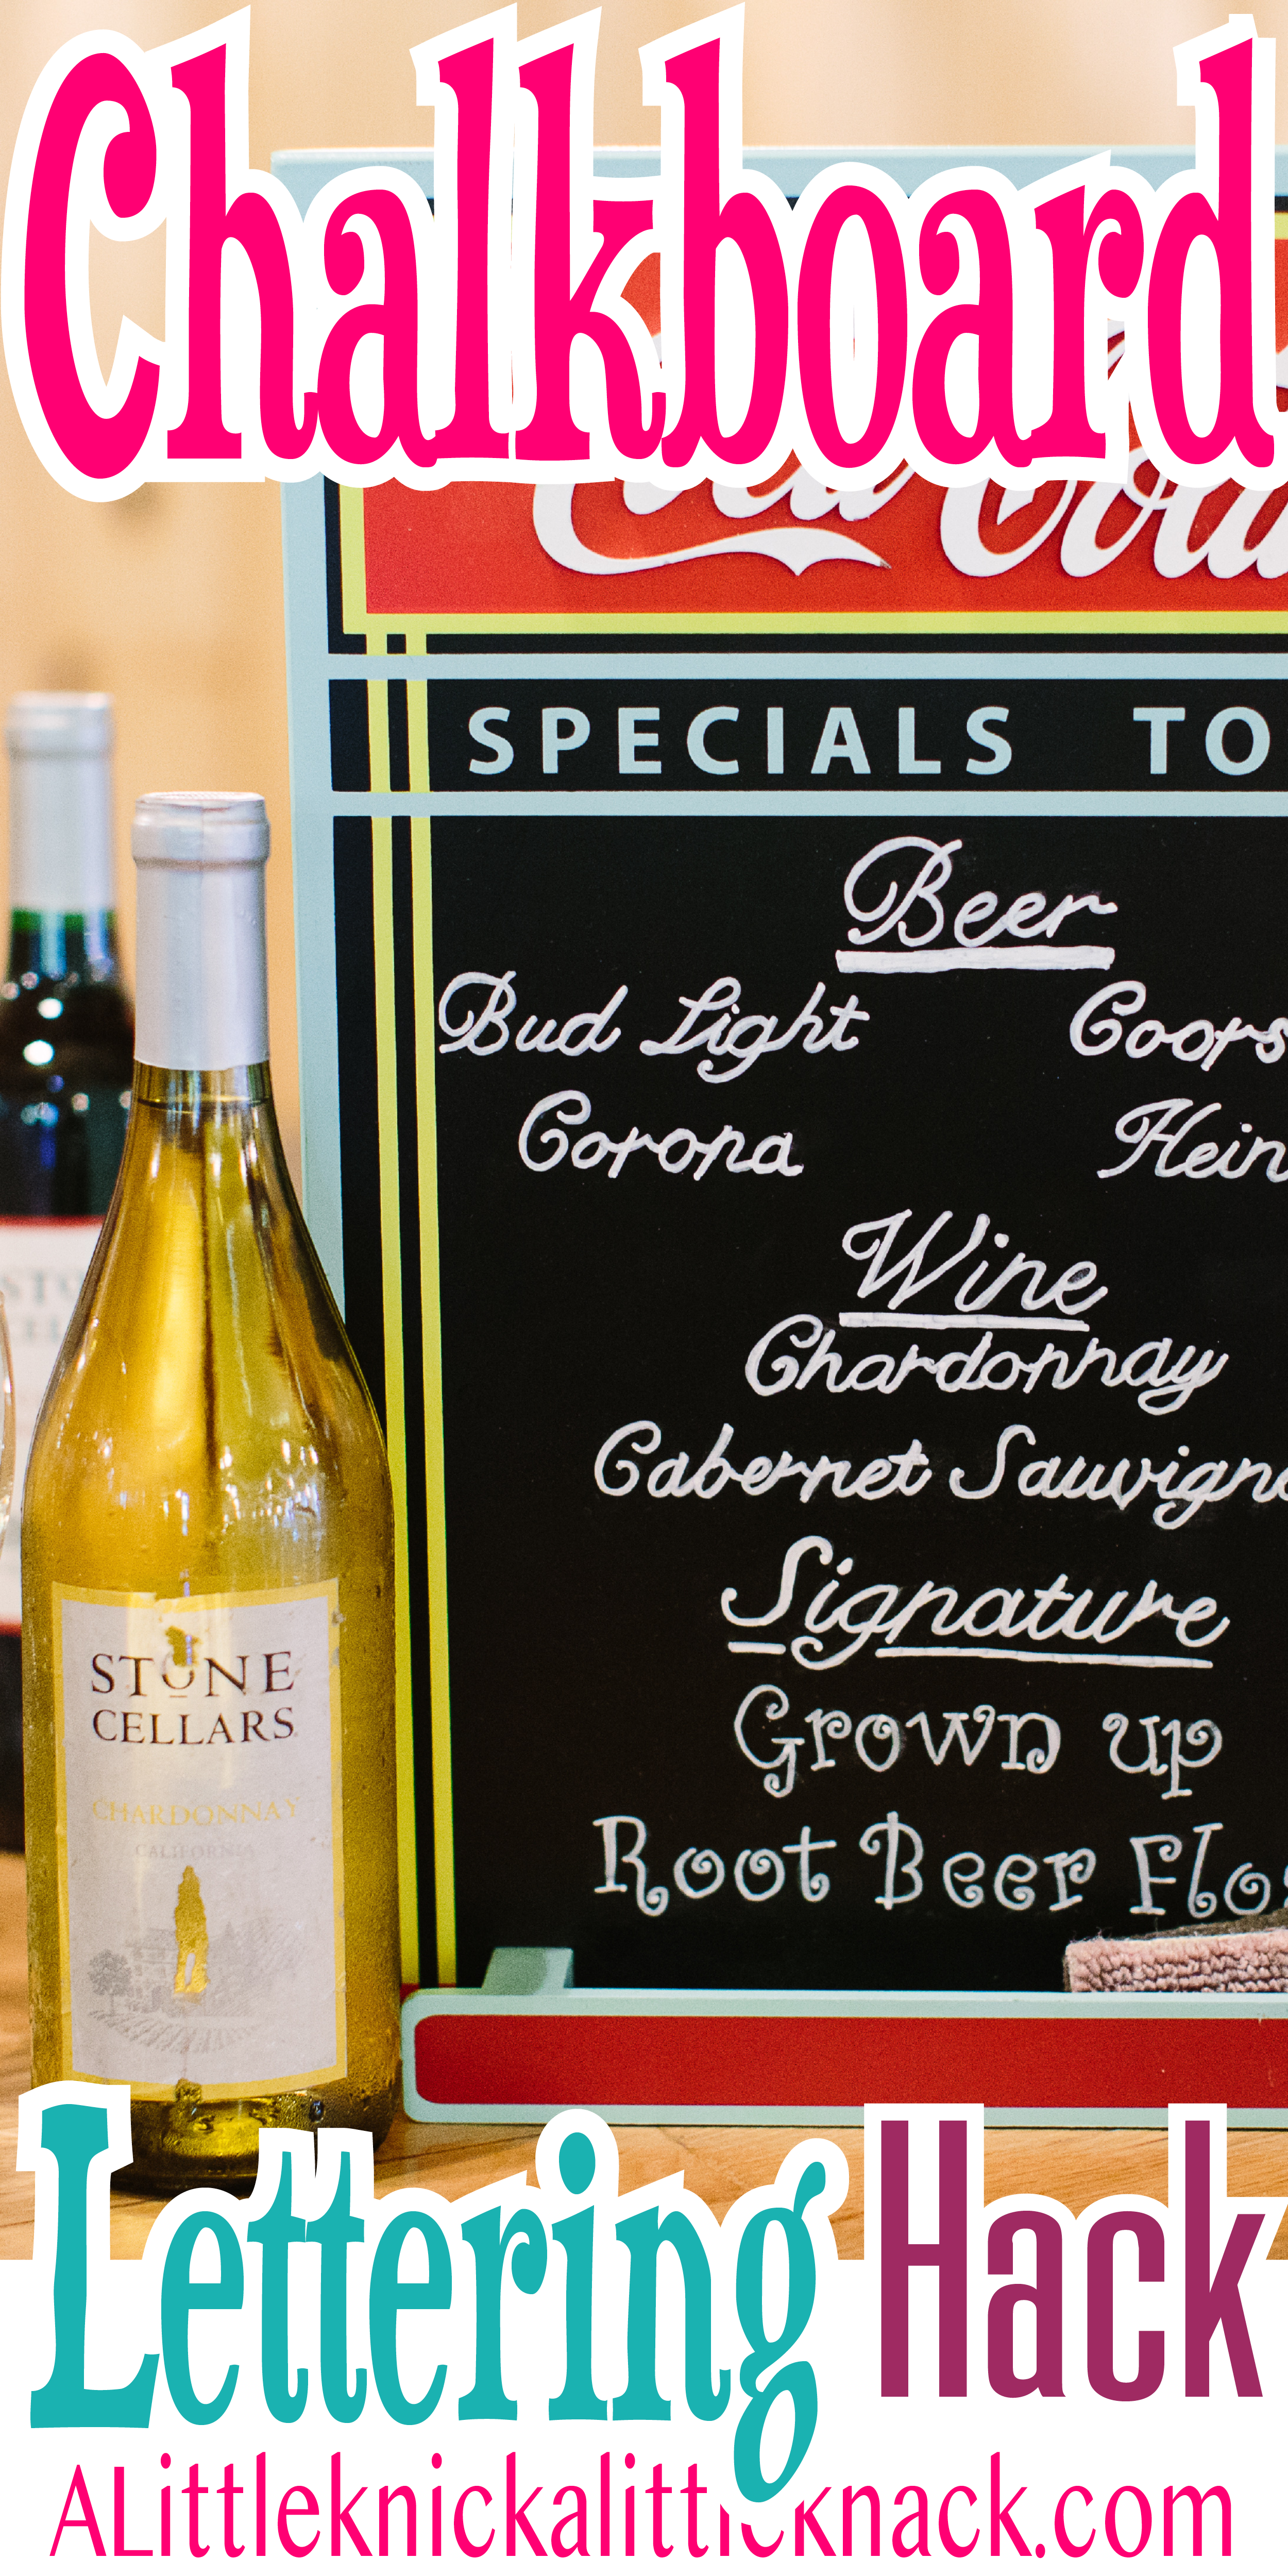
And there you have it a practically perfect chalkboard sign without having to retry your hand at writing it a gazillion times!
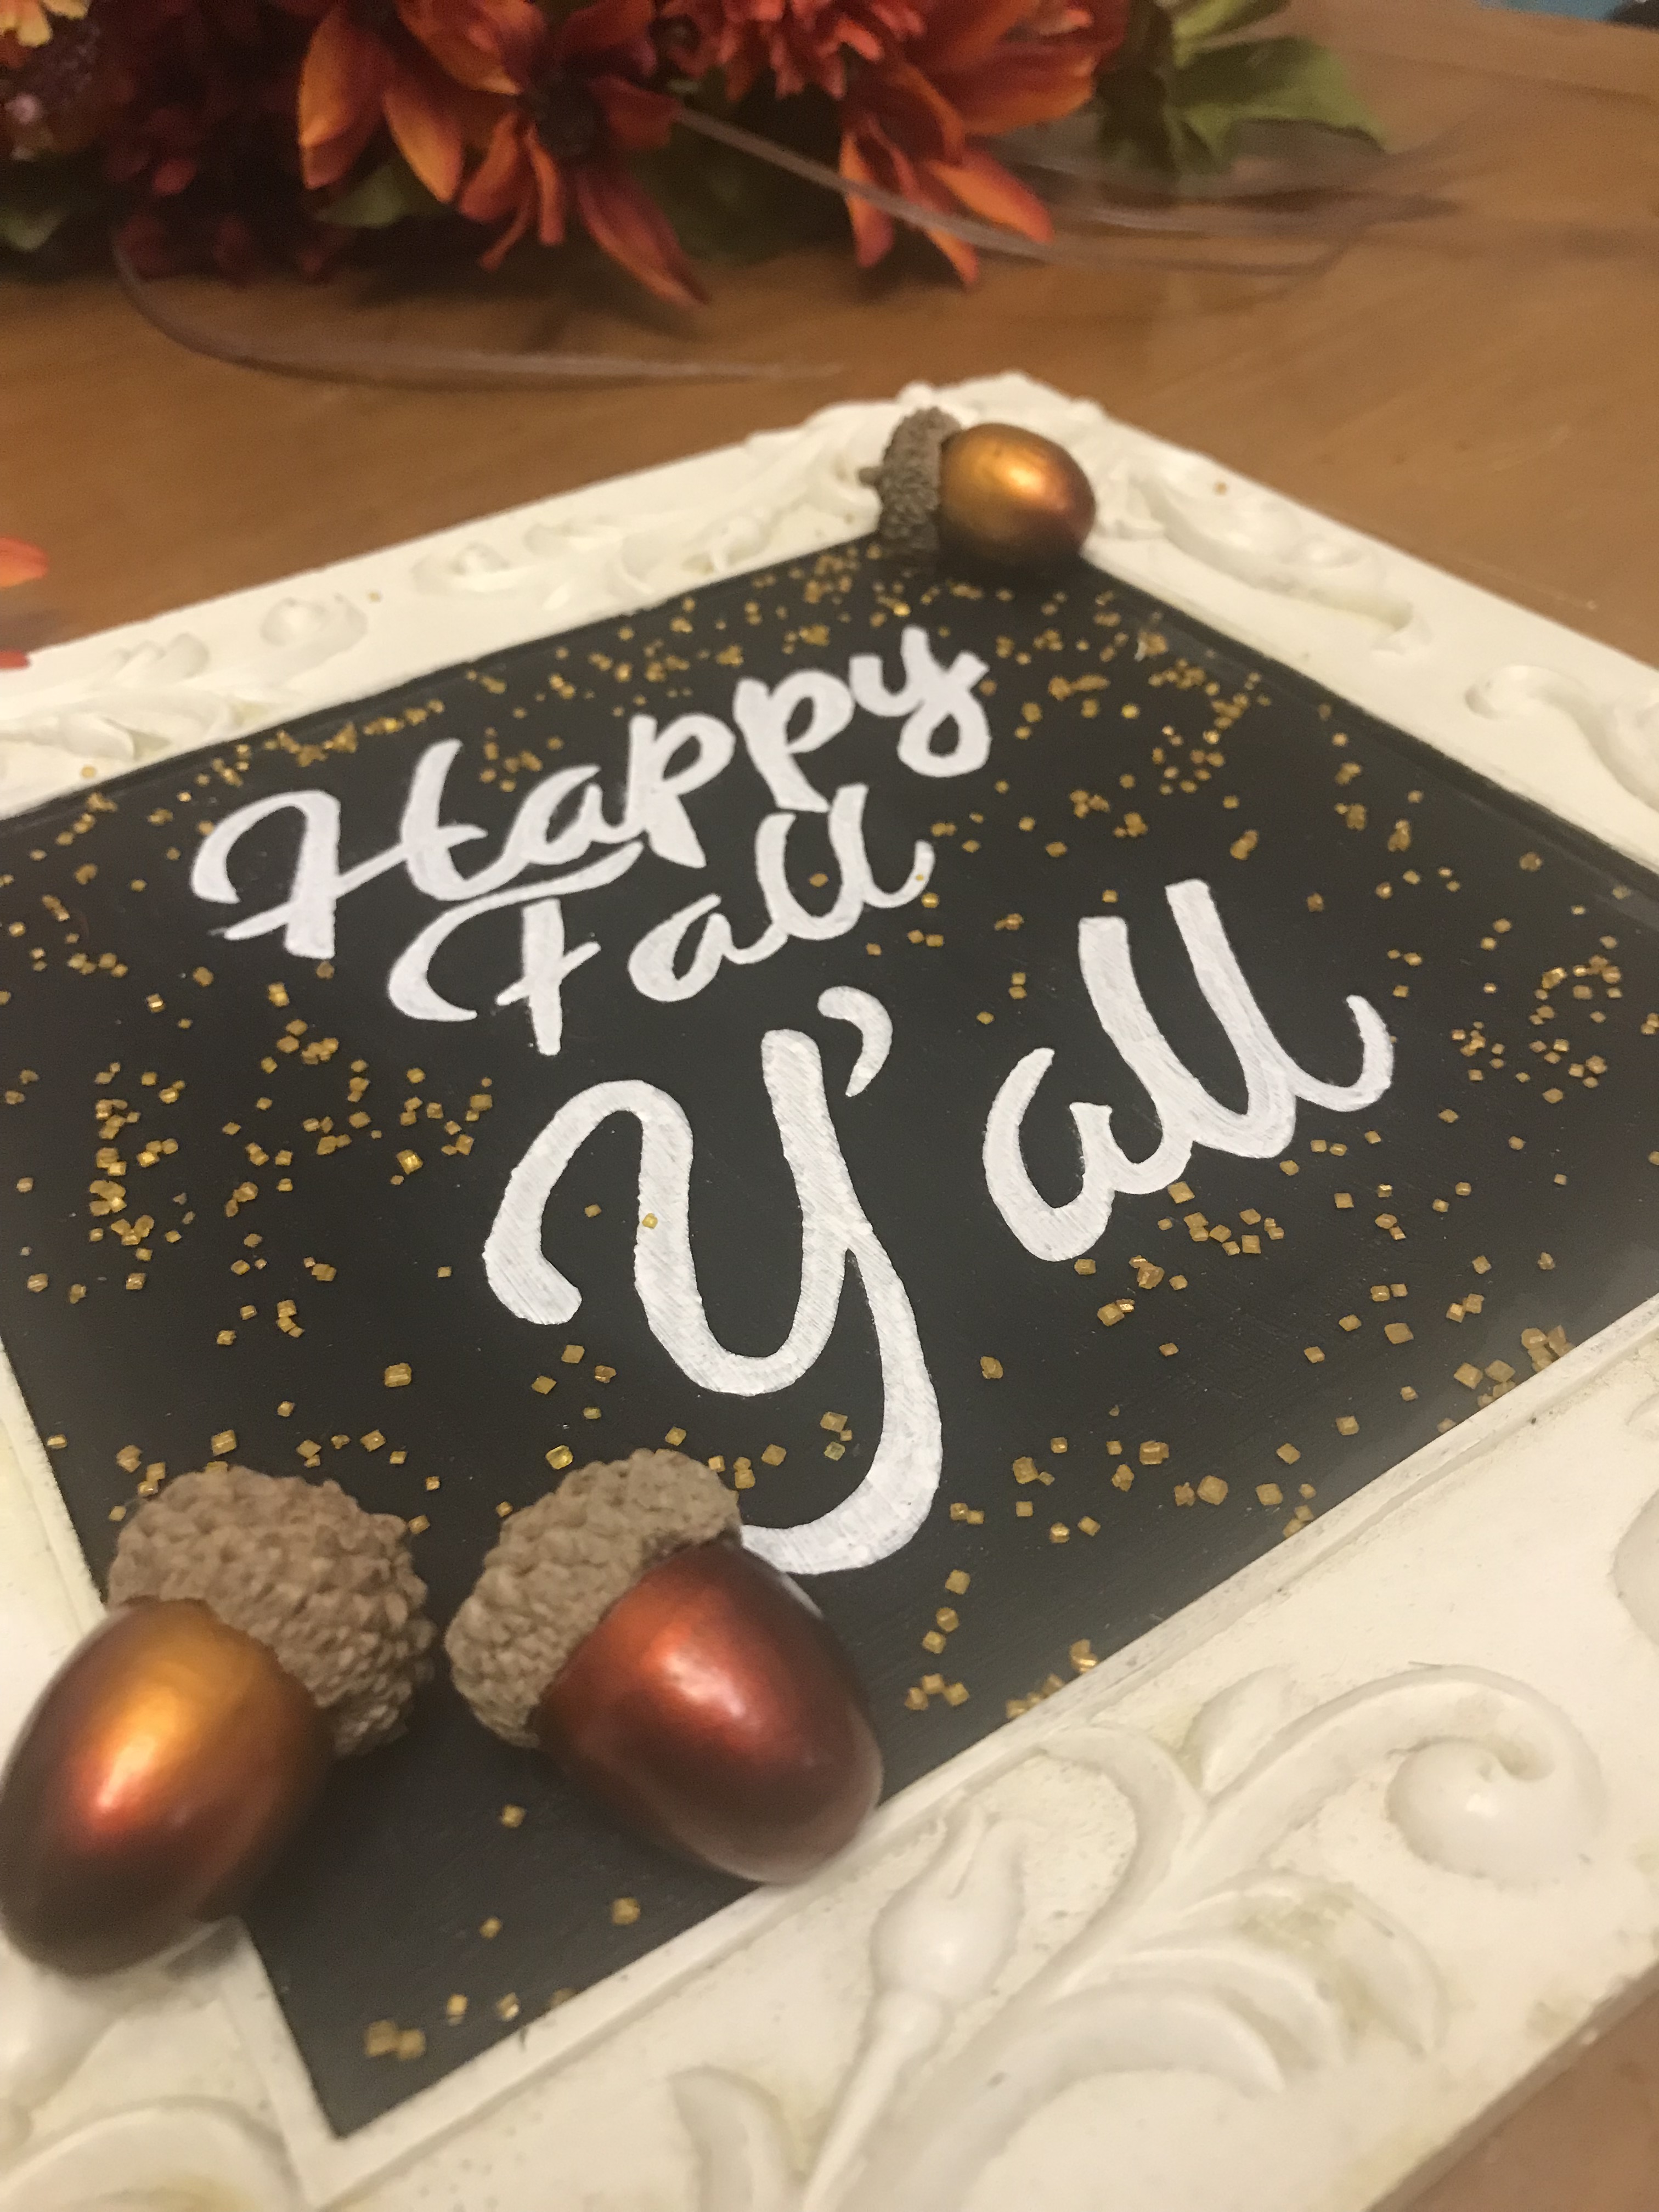
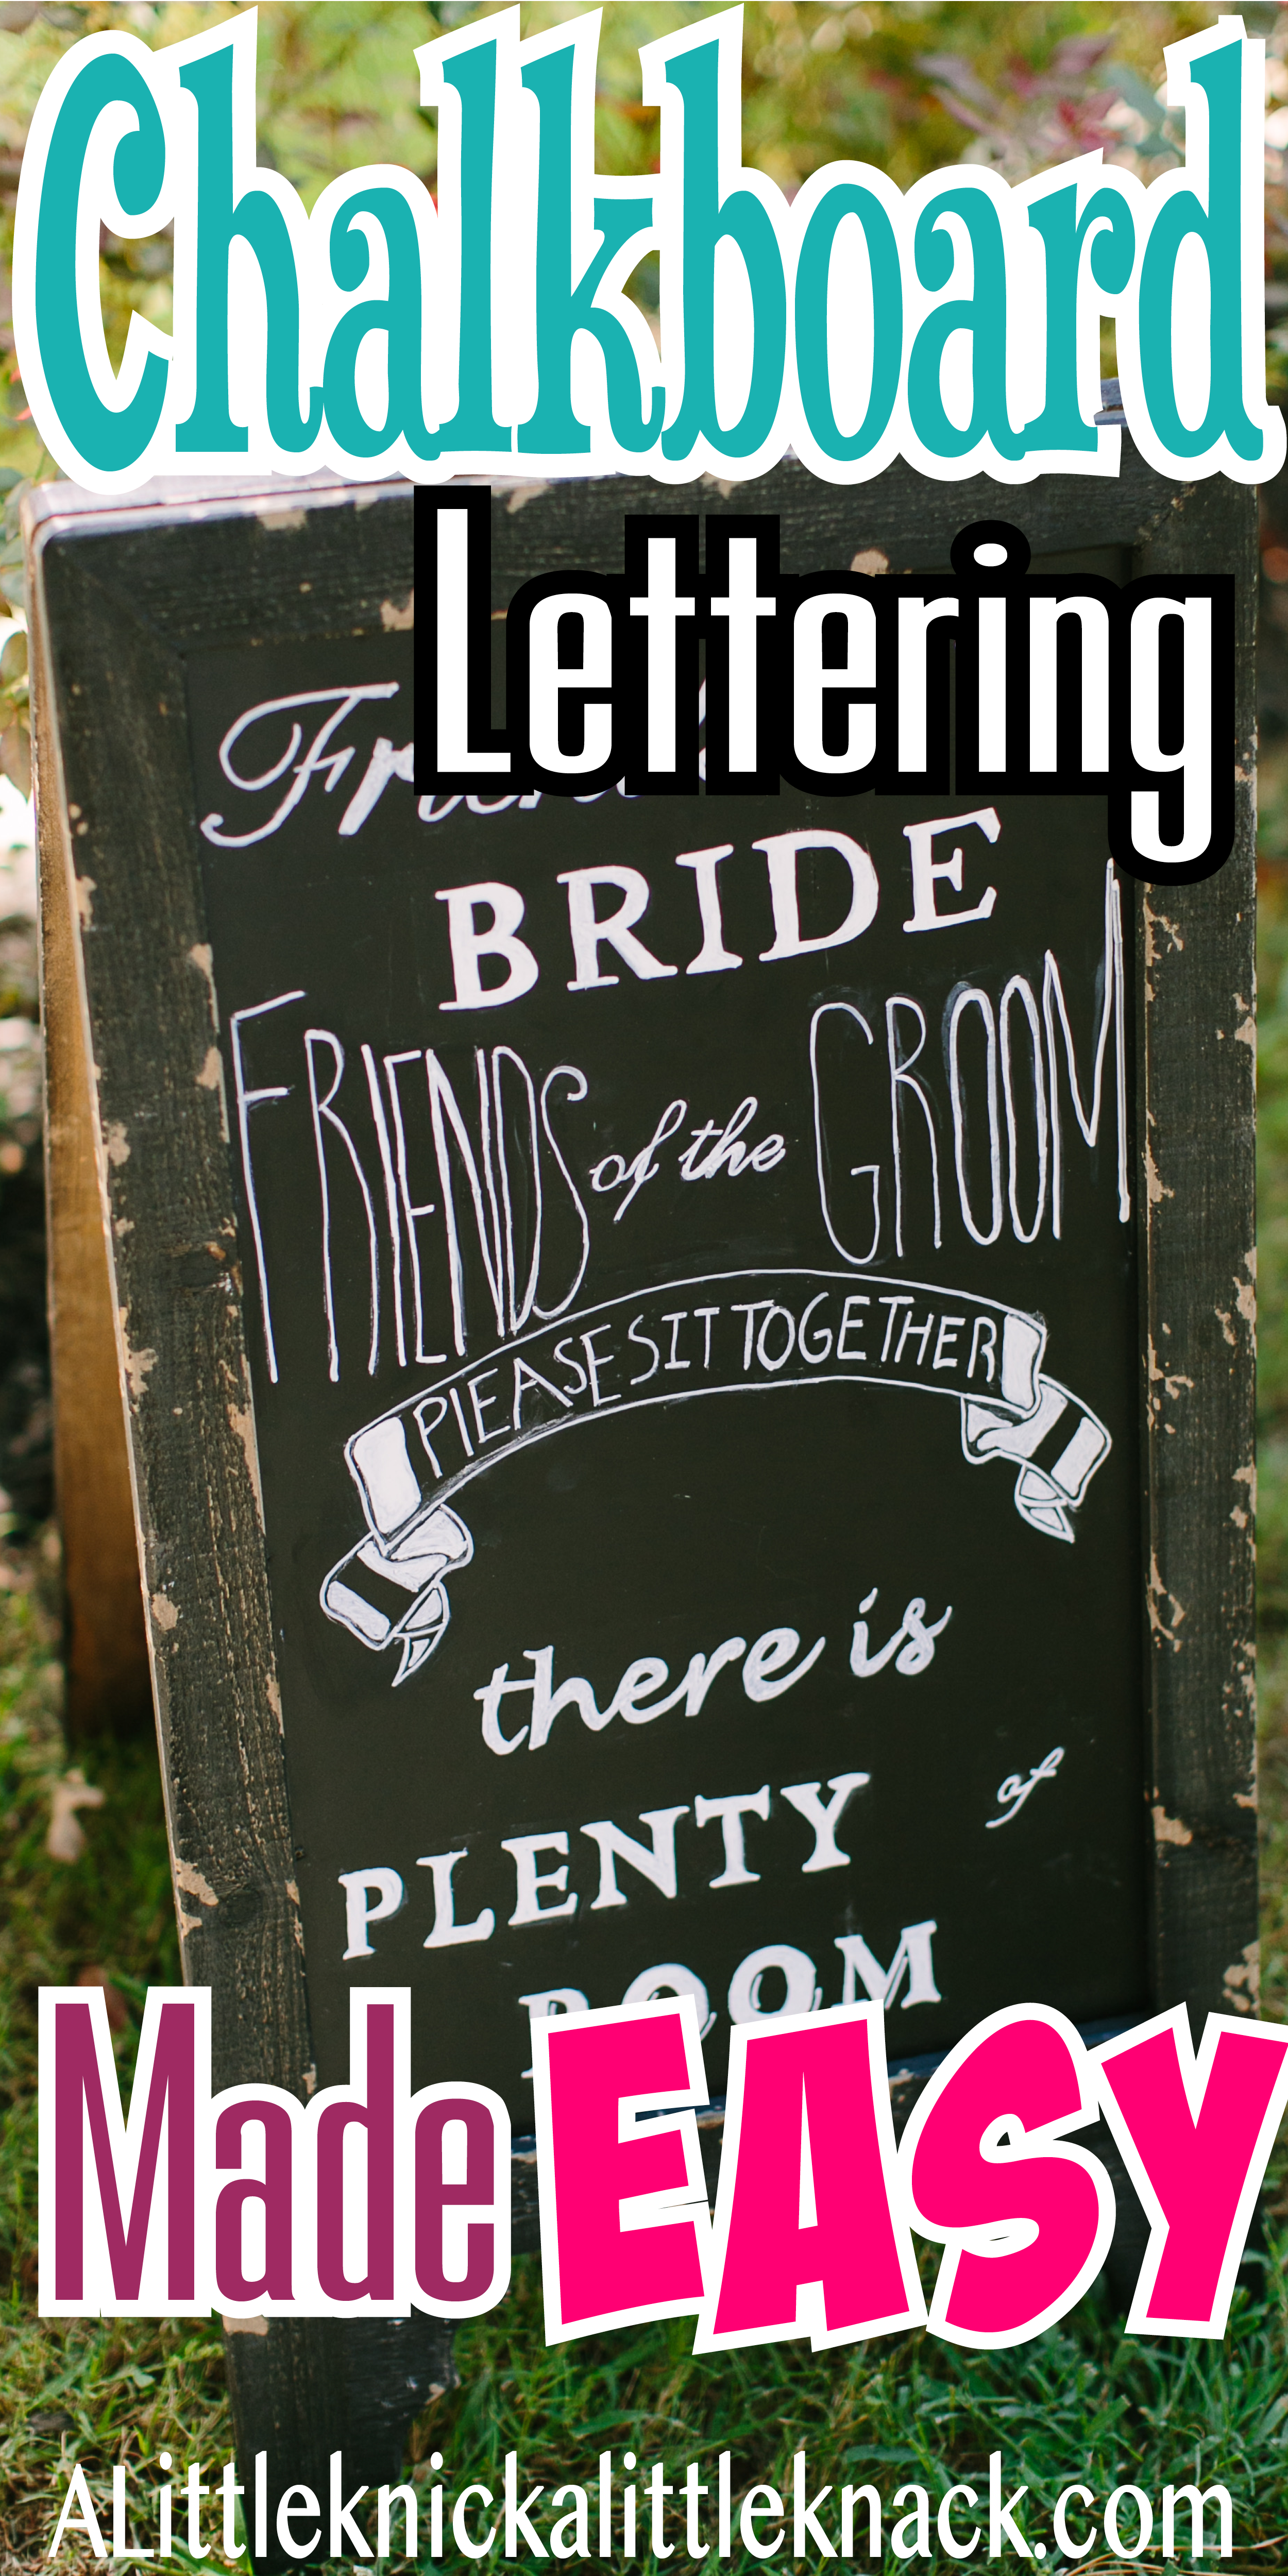
Obviously this was a small seasonal project but the same concept can be used on chalkboards of ANY size. Below are a few examples of larger chalkboard signs from our wedding which were made using the exact same technique!
I truly hope this hack helps expand your crafting world (I know it did for me)!
What a great idea! I put a chalkboard wall in my craft room and the wording on it is a total mess! I might have to redo it! I could use this when the boys are older if they want to draw specific characters, too!
First off I’m extremely jealous you have a craft room. I’ve tried to convince my husband that our guest room should be converted but he just won’t bite (thinking I may have to make my own crafting closet/ wardrobe at some point.)
Second you should have seen my original attempts at chalkboard lettering, they were worthy of those Pinterest fail threads. However I have been known to trace occasionally and figured there had to be a way to apply it to chalkboards (FYI learned the hard way stencils don’t work well with chalk). I have also used this technique when painting and it works like a charm!