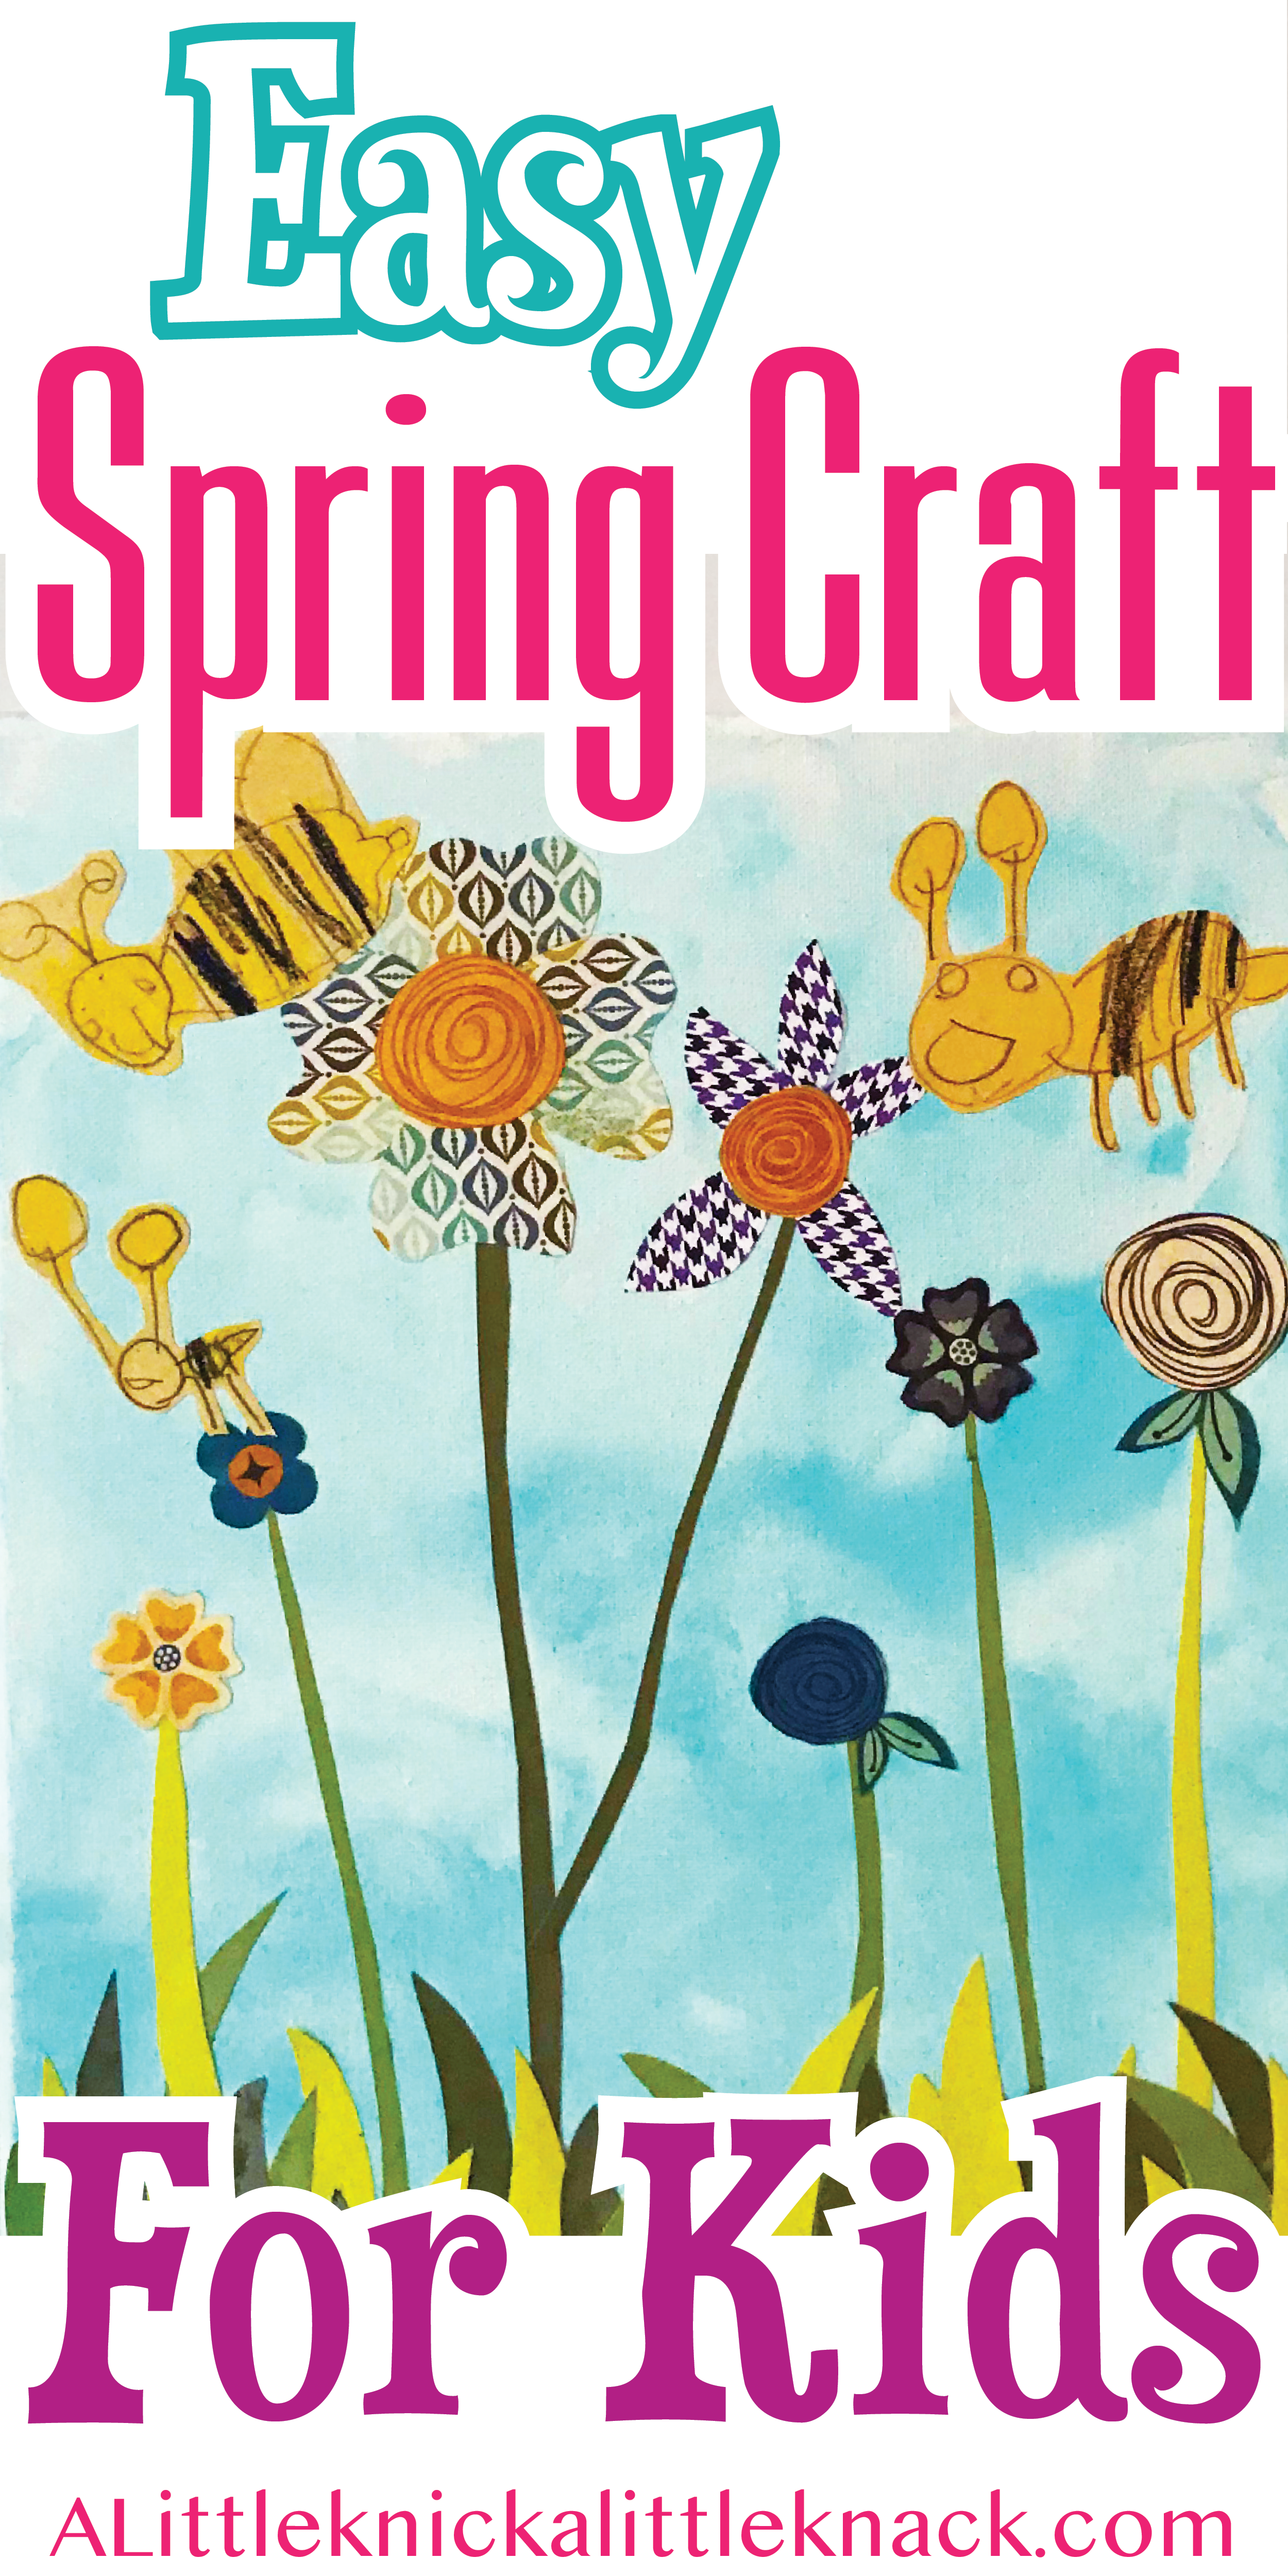
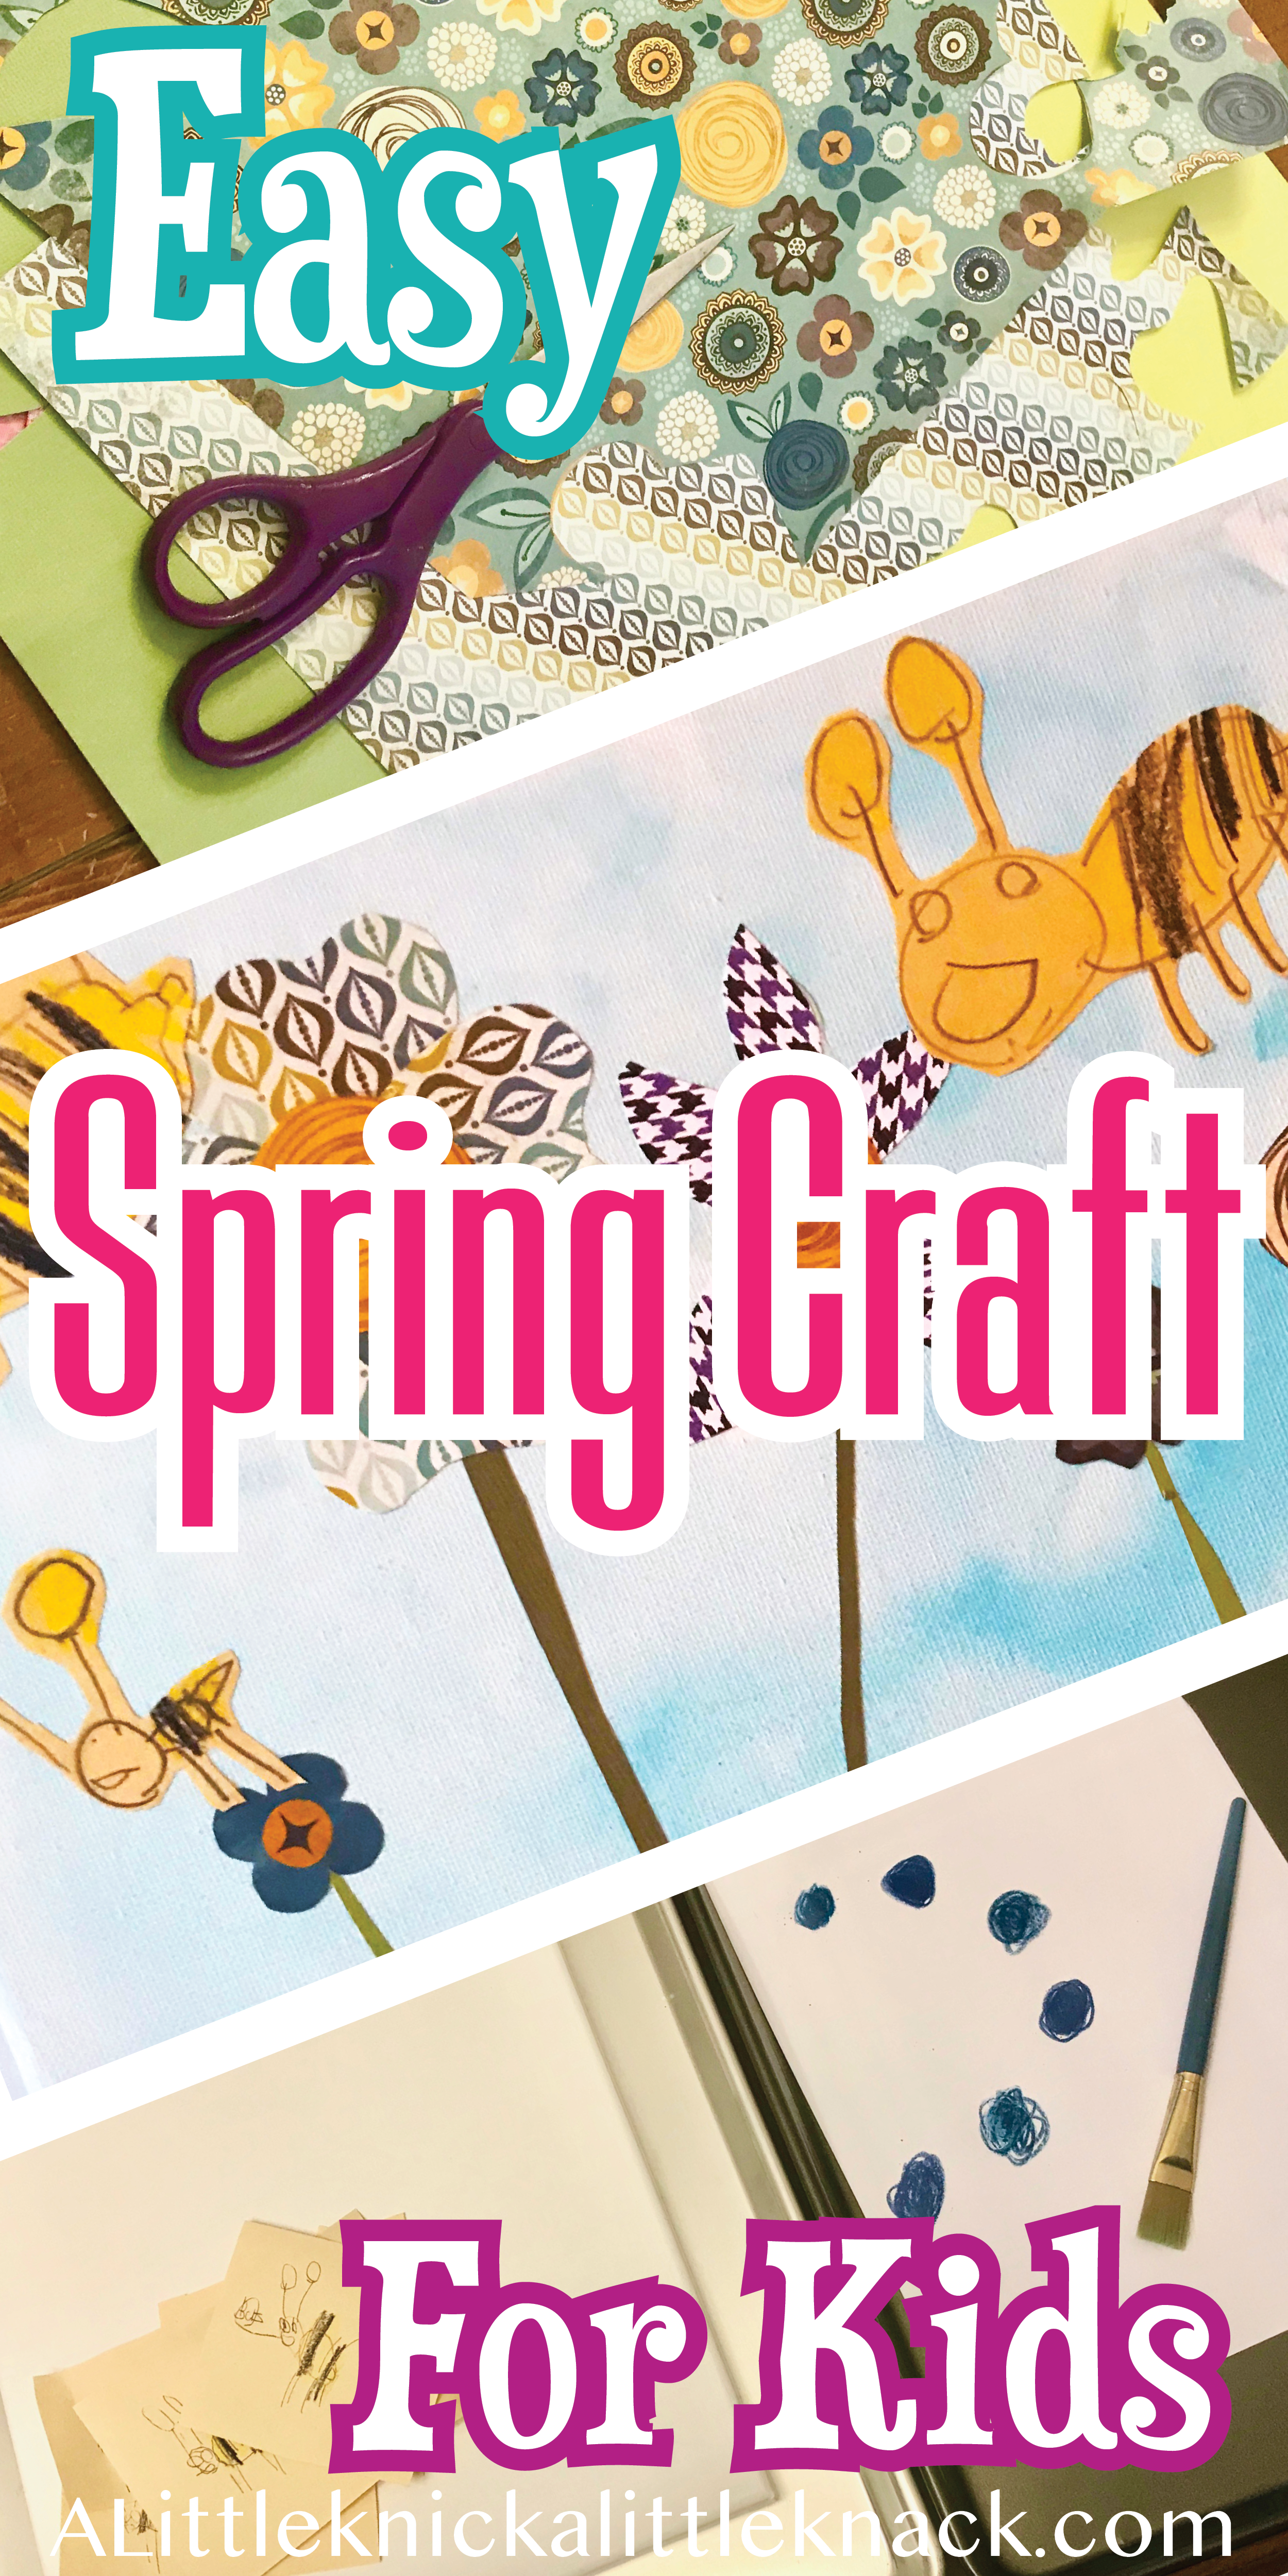
Our playroom reboot happened to coincide with my oldest’s spring break, which means my five year old was home and BORED. The playroom was formerly a “formal” sitting area so to say the art wasn’t exactly playroom friendly would be a understatement. So being the insufferable crafter I am, I decided to put his little creative mind to work to create some fun easy spring kid’s crafts to decorate with.
The first and my favorite was inspired by a drawing of a bee that my son made at school. It was absolutely adorable and all it needed was a crafty mama touch to become a hangable keepsake!
The best part about this craft is you can customize it to your child!
They can’t draw a bee to save their life?
Try butterflies, birds, or even bugs.
They aren’t feeling drawing animals or insects?
Have them draw and color the flowers and cut out your own scrapbook paper bees or butterflies.
*This post may contain affiliate links which may allow us to receive a small commission (at no additional cost to you) for purchases you make after clicking on product links in our posts, to view our full affiliate disclosure click here.
But rest assured we fully believe in every product we endorse.
Time: 30-60 minutes (depending on your child)
Craft Supply List:
- Manila Paper
- Crayons
- Stretched Canvas
- Watercolor Paints or Watercolor Pencils
- A Paintbrush
- A Cup of Water
- Two Cookie Sheets (or a tarp/ tablecloth)
- Scrapbook Paper
- Green Cardstock
- Matte Mod Podge
- Matte Varnish Aerosol Spray
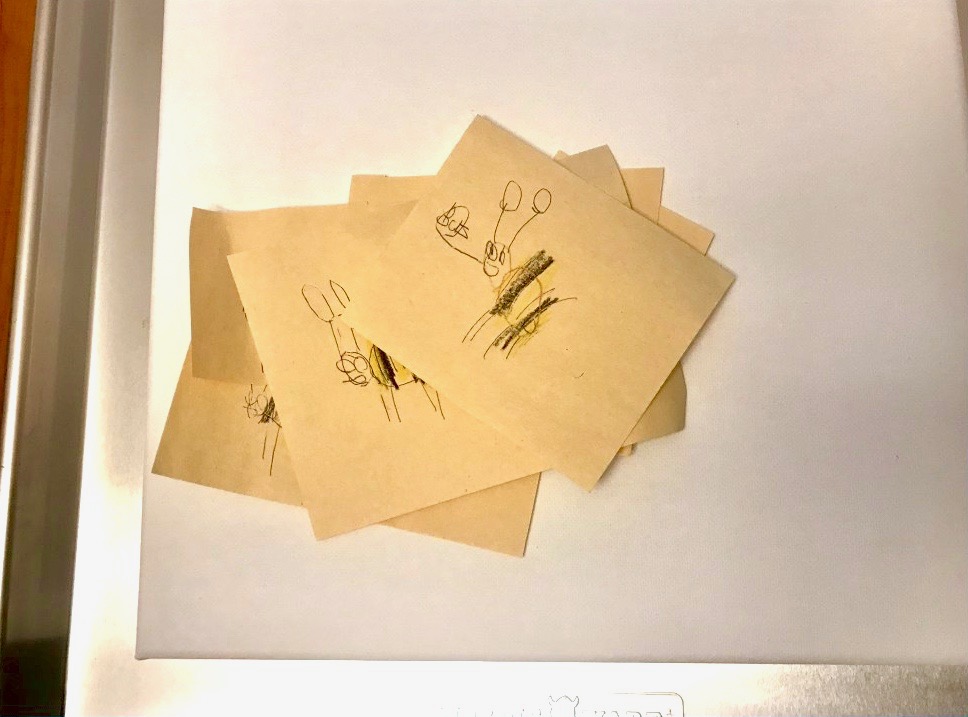
First cut the manilla sheet into several small manageable pieces. This step seems like a minor one but one thing I’ve learned when crafting with my son is I never know what I am going to get. If I handed him full sheet of manilla paper it is extremely likely I would end up with a few mega bees which wouldn’t work for what I had in mind.
hint: By controlling the size of the paper you can control the size of your little one’s creations (and without turning it into another homework assignment)!
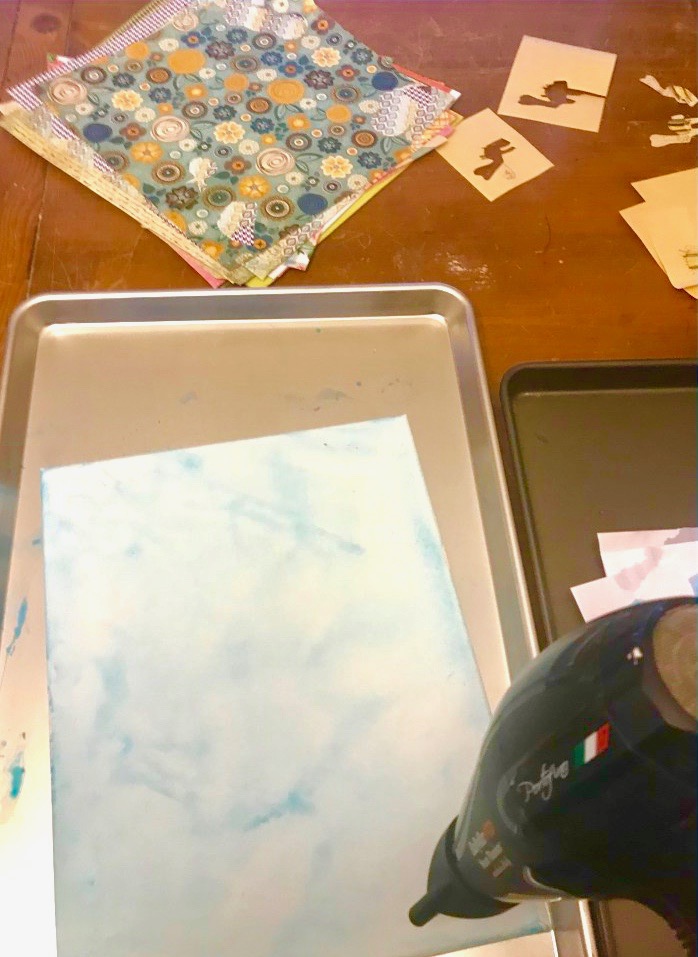
Next came the background. I typically keep a pack of stretched canvases around the house for various projects. I typically don’t use professional artist quality because with my projects it really doesn’t matter and the cheaper are much more budget friendly.
This is a crafter fail but I realized at this point my son didn’t even own a watercolor palette, probably the saner part of me trying to avoid the mess that a water and paint combo can become in the hands of a kindergartner. But I did have some Prismacolor watercolor pencils so I got creative. I layered a few sheets of white paper onto a cookie sheet (to prevent a seep through mess) and made my own color palette.
hint: Cookie sheets are a crafter’s best friend (especially with kids)! They are durable, easily washed, and have a lip to contain those dreaded spills, making clean-up a breeze!
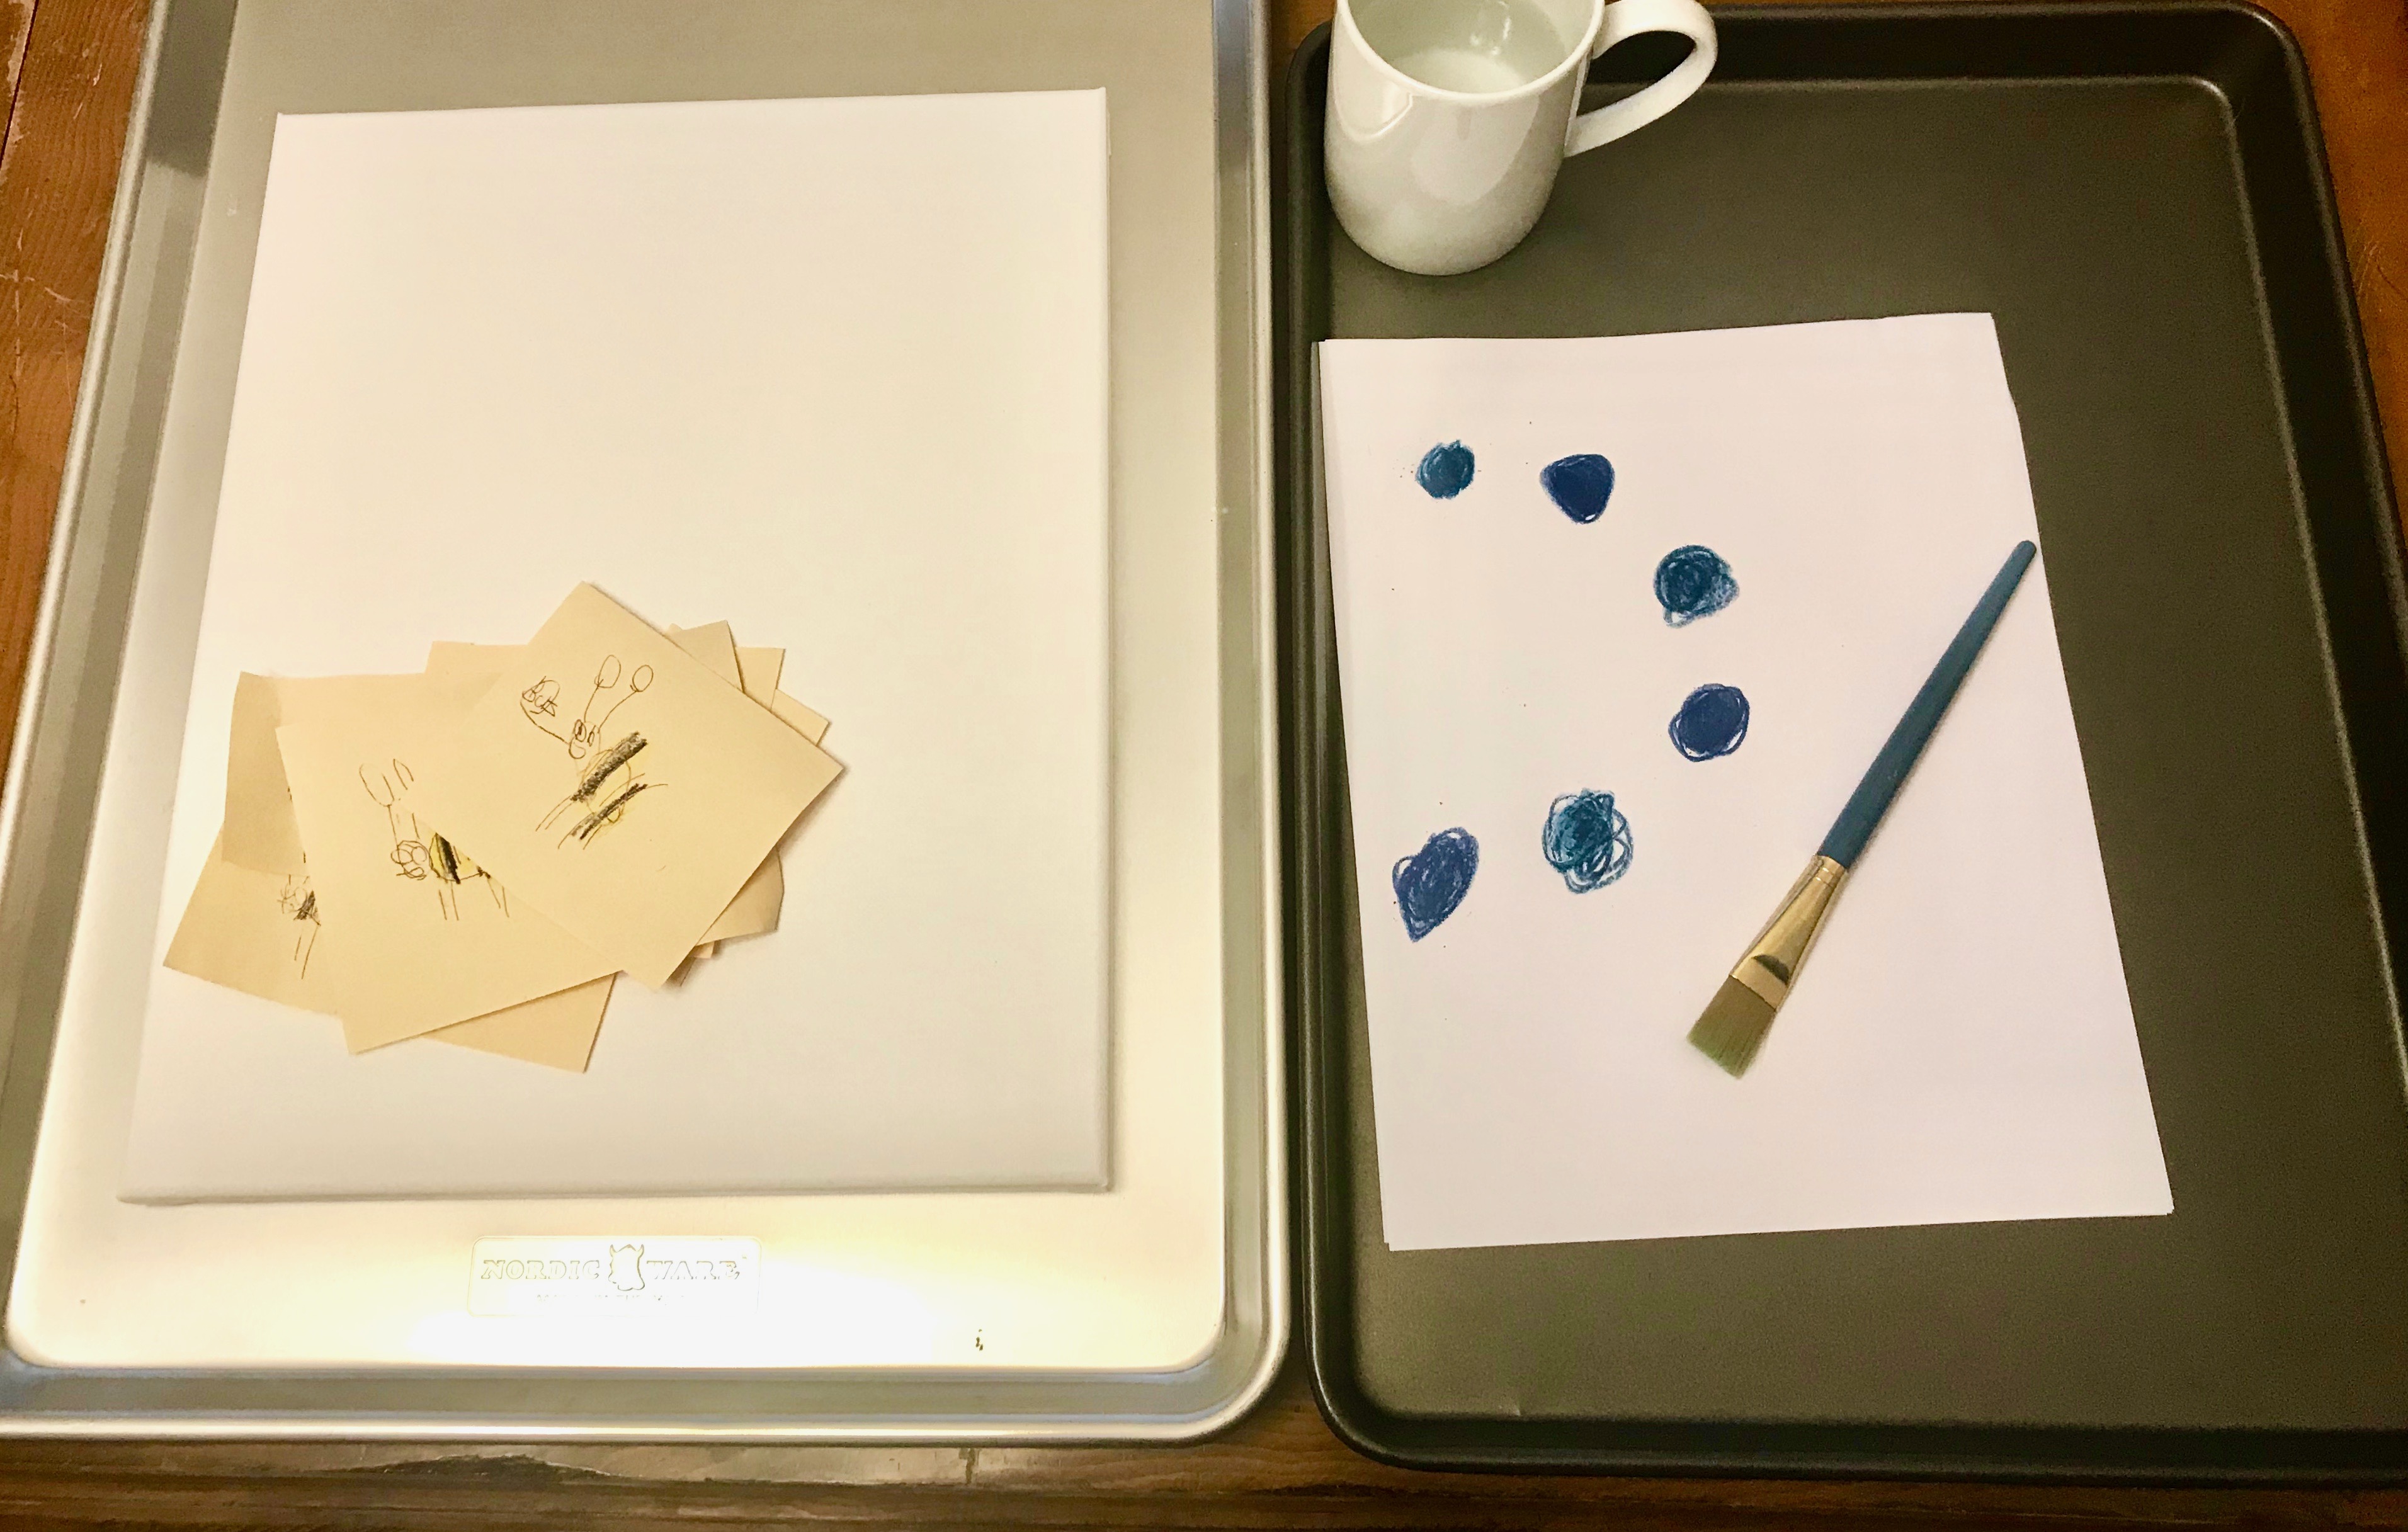
In some ways my impromptu color palette probably worked out better in that I had some say in the colors he could choose from rather than streaks of purple, red, black, and mixed color muddy brown making their way into an otherwise blue sky.
From here I showed him how to dip the paintbrush into the water then the color and let him do whatever swirls and patterns he wanted my only instruction being cover the whole canvas with no white showing.
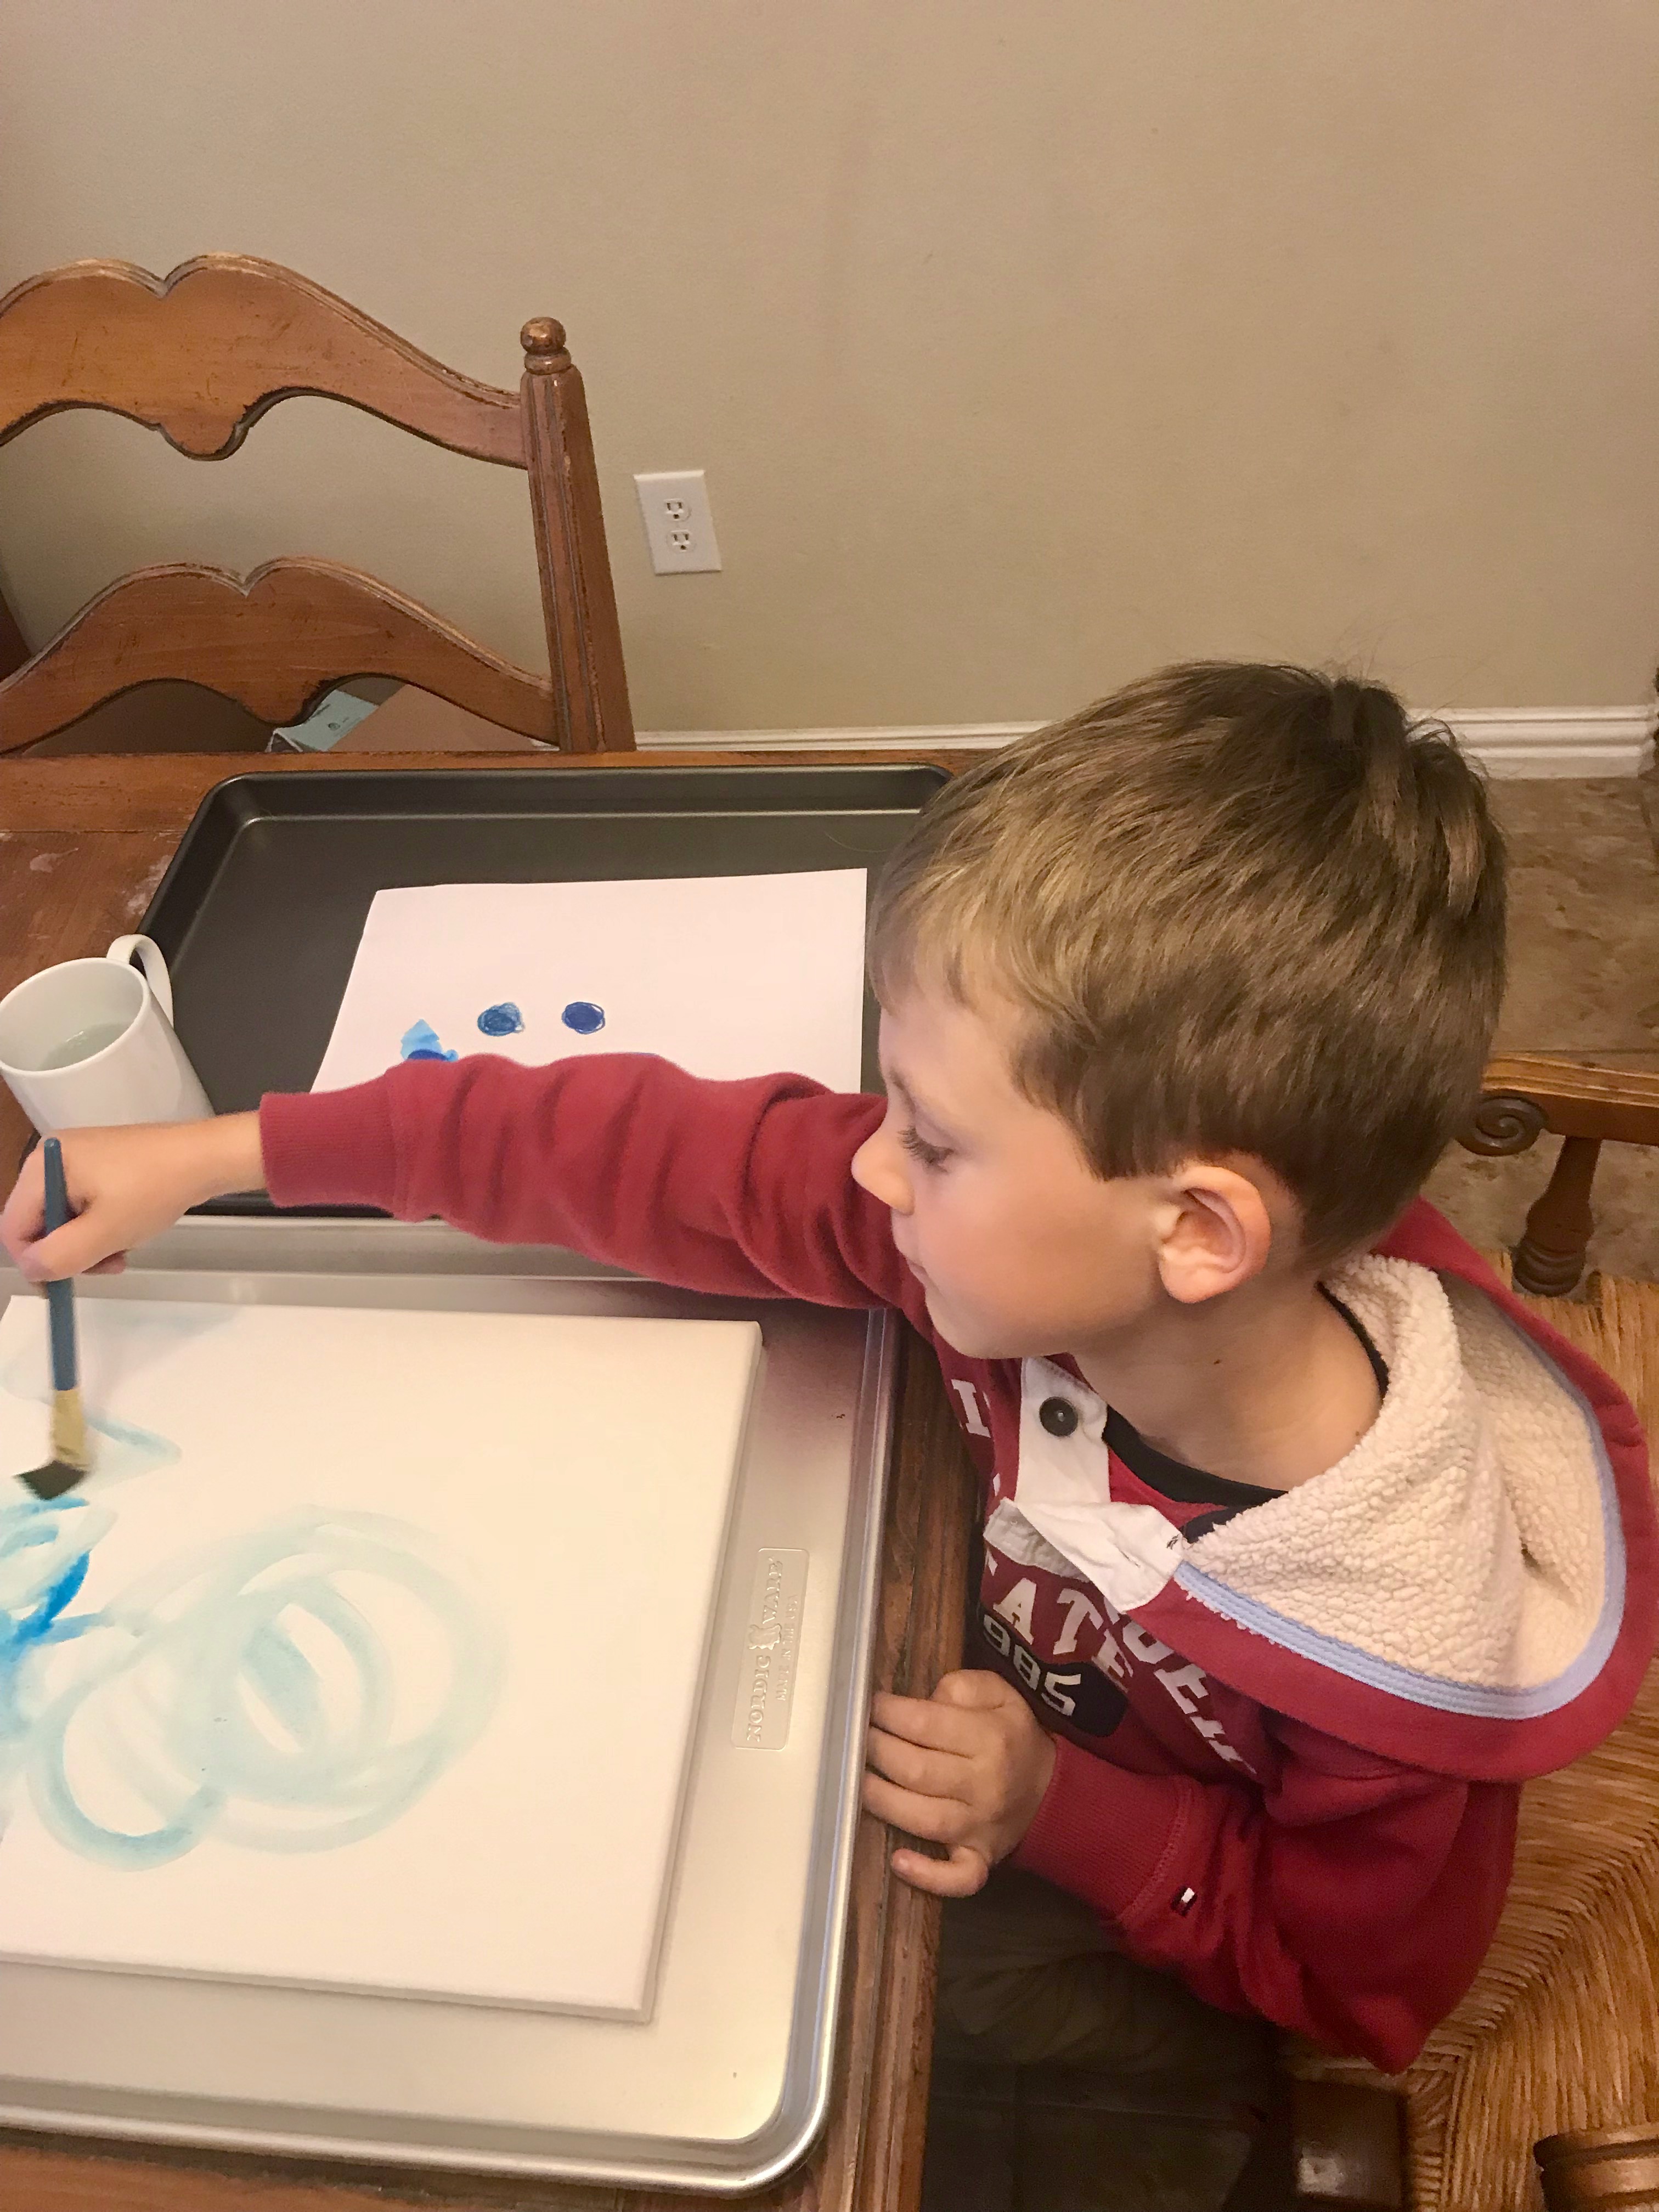
After he was done painting I pulled out my hair dryer. I set it to medium and a few minutes later we had a dry canvas that was ready for the next step.
hint: I rarely use a hair dryer to dry watercolor because it muddles brush strokes but it can come in handy when patience is running short and a marbled look works!
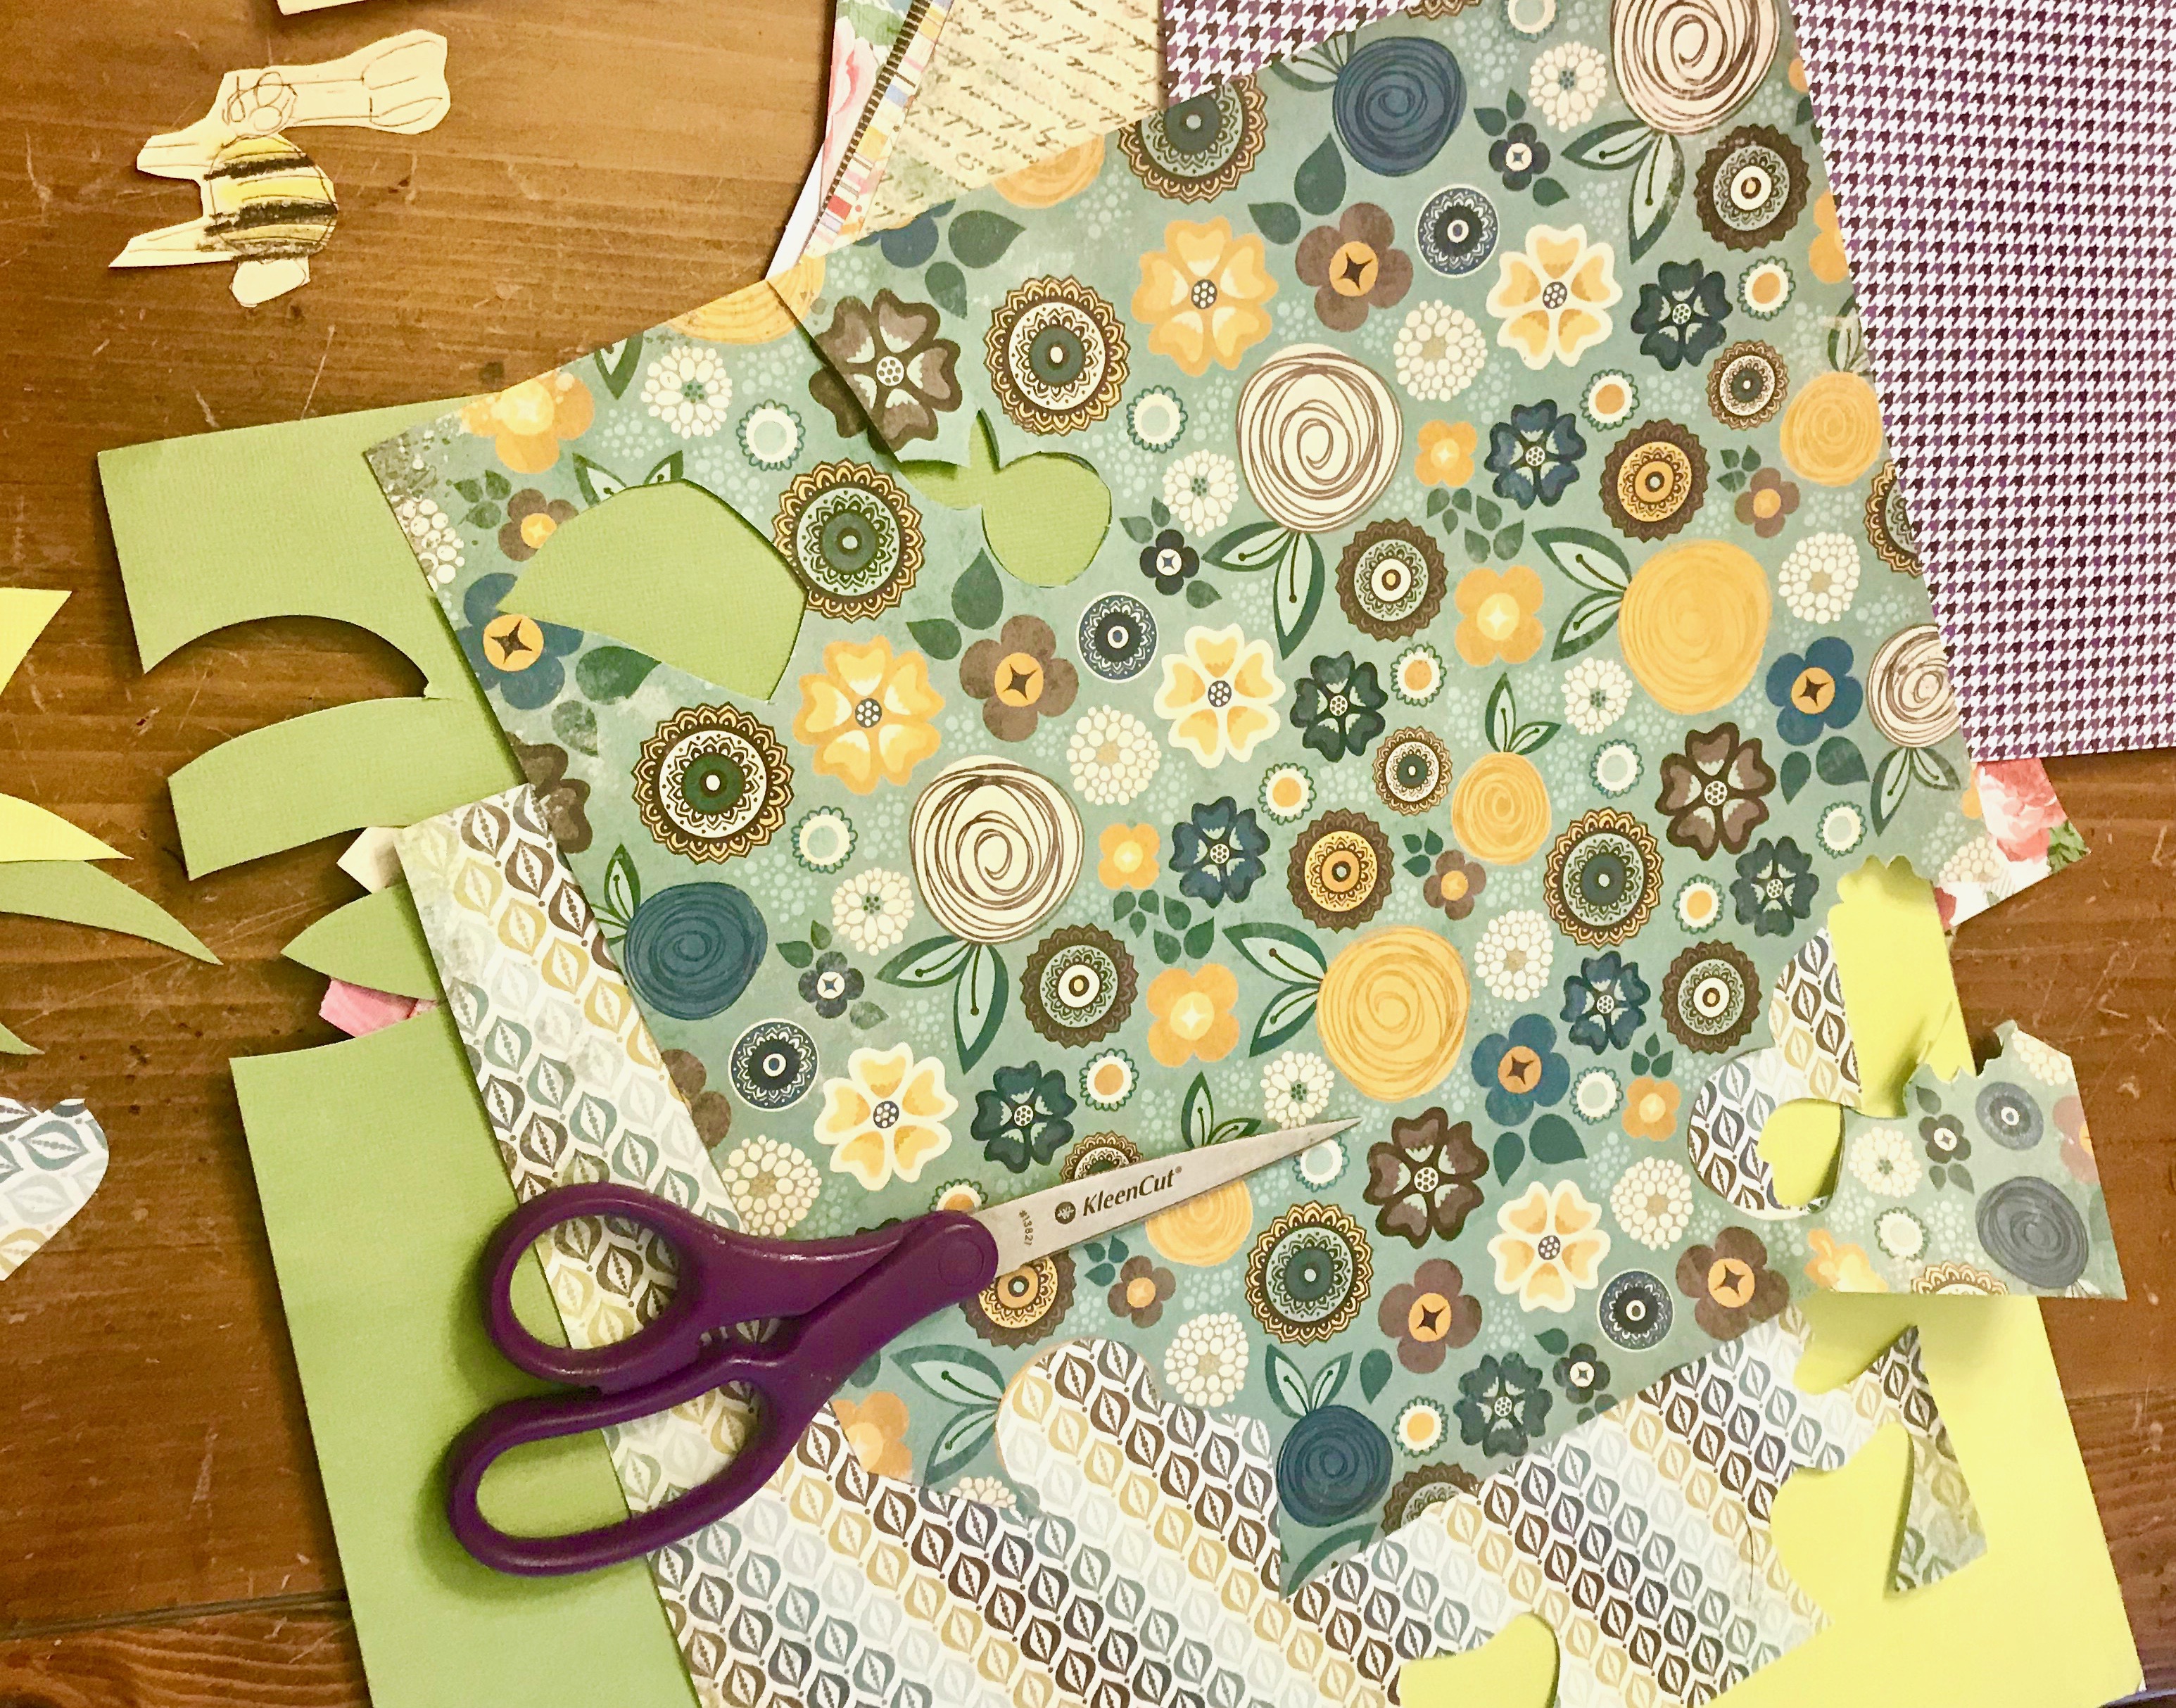
At this point I pulled out my extensive scrapbook paper collection ( I cannot tell you how many times my husband and I have had the “but you don’t scrapbook” conversation in the Hobby Lobby aisles as my mind is doing cartwheels at the pretty colors and patterns).
I told my son to pick out any of the pages he liked. I’ll be honest he did not pick out the ones I would have but I let it go and trusted that they would work since I wanted this to be his more than mine. I also pulled out several shades of plain green cardstock.
I Cut out petals from the scrapbook paper selected and cut some stems and grass from the green cardstock. I “cheated” on a few of the smaller flowers and cut them out as is from one of the pages and also repurposed yellow flowers from that same paper as the centers of our flowers.
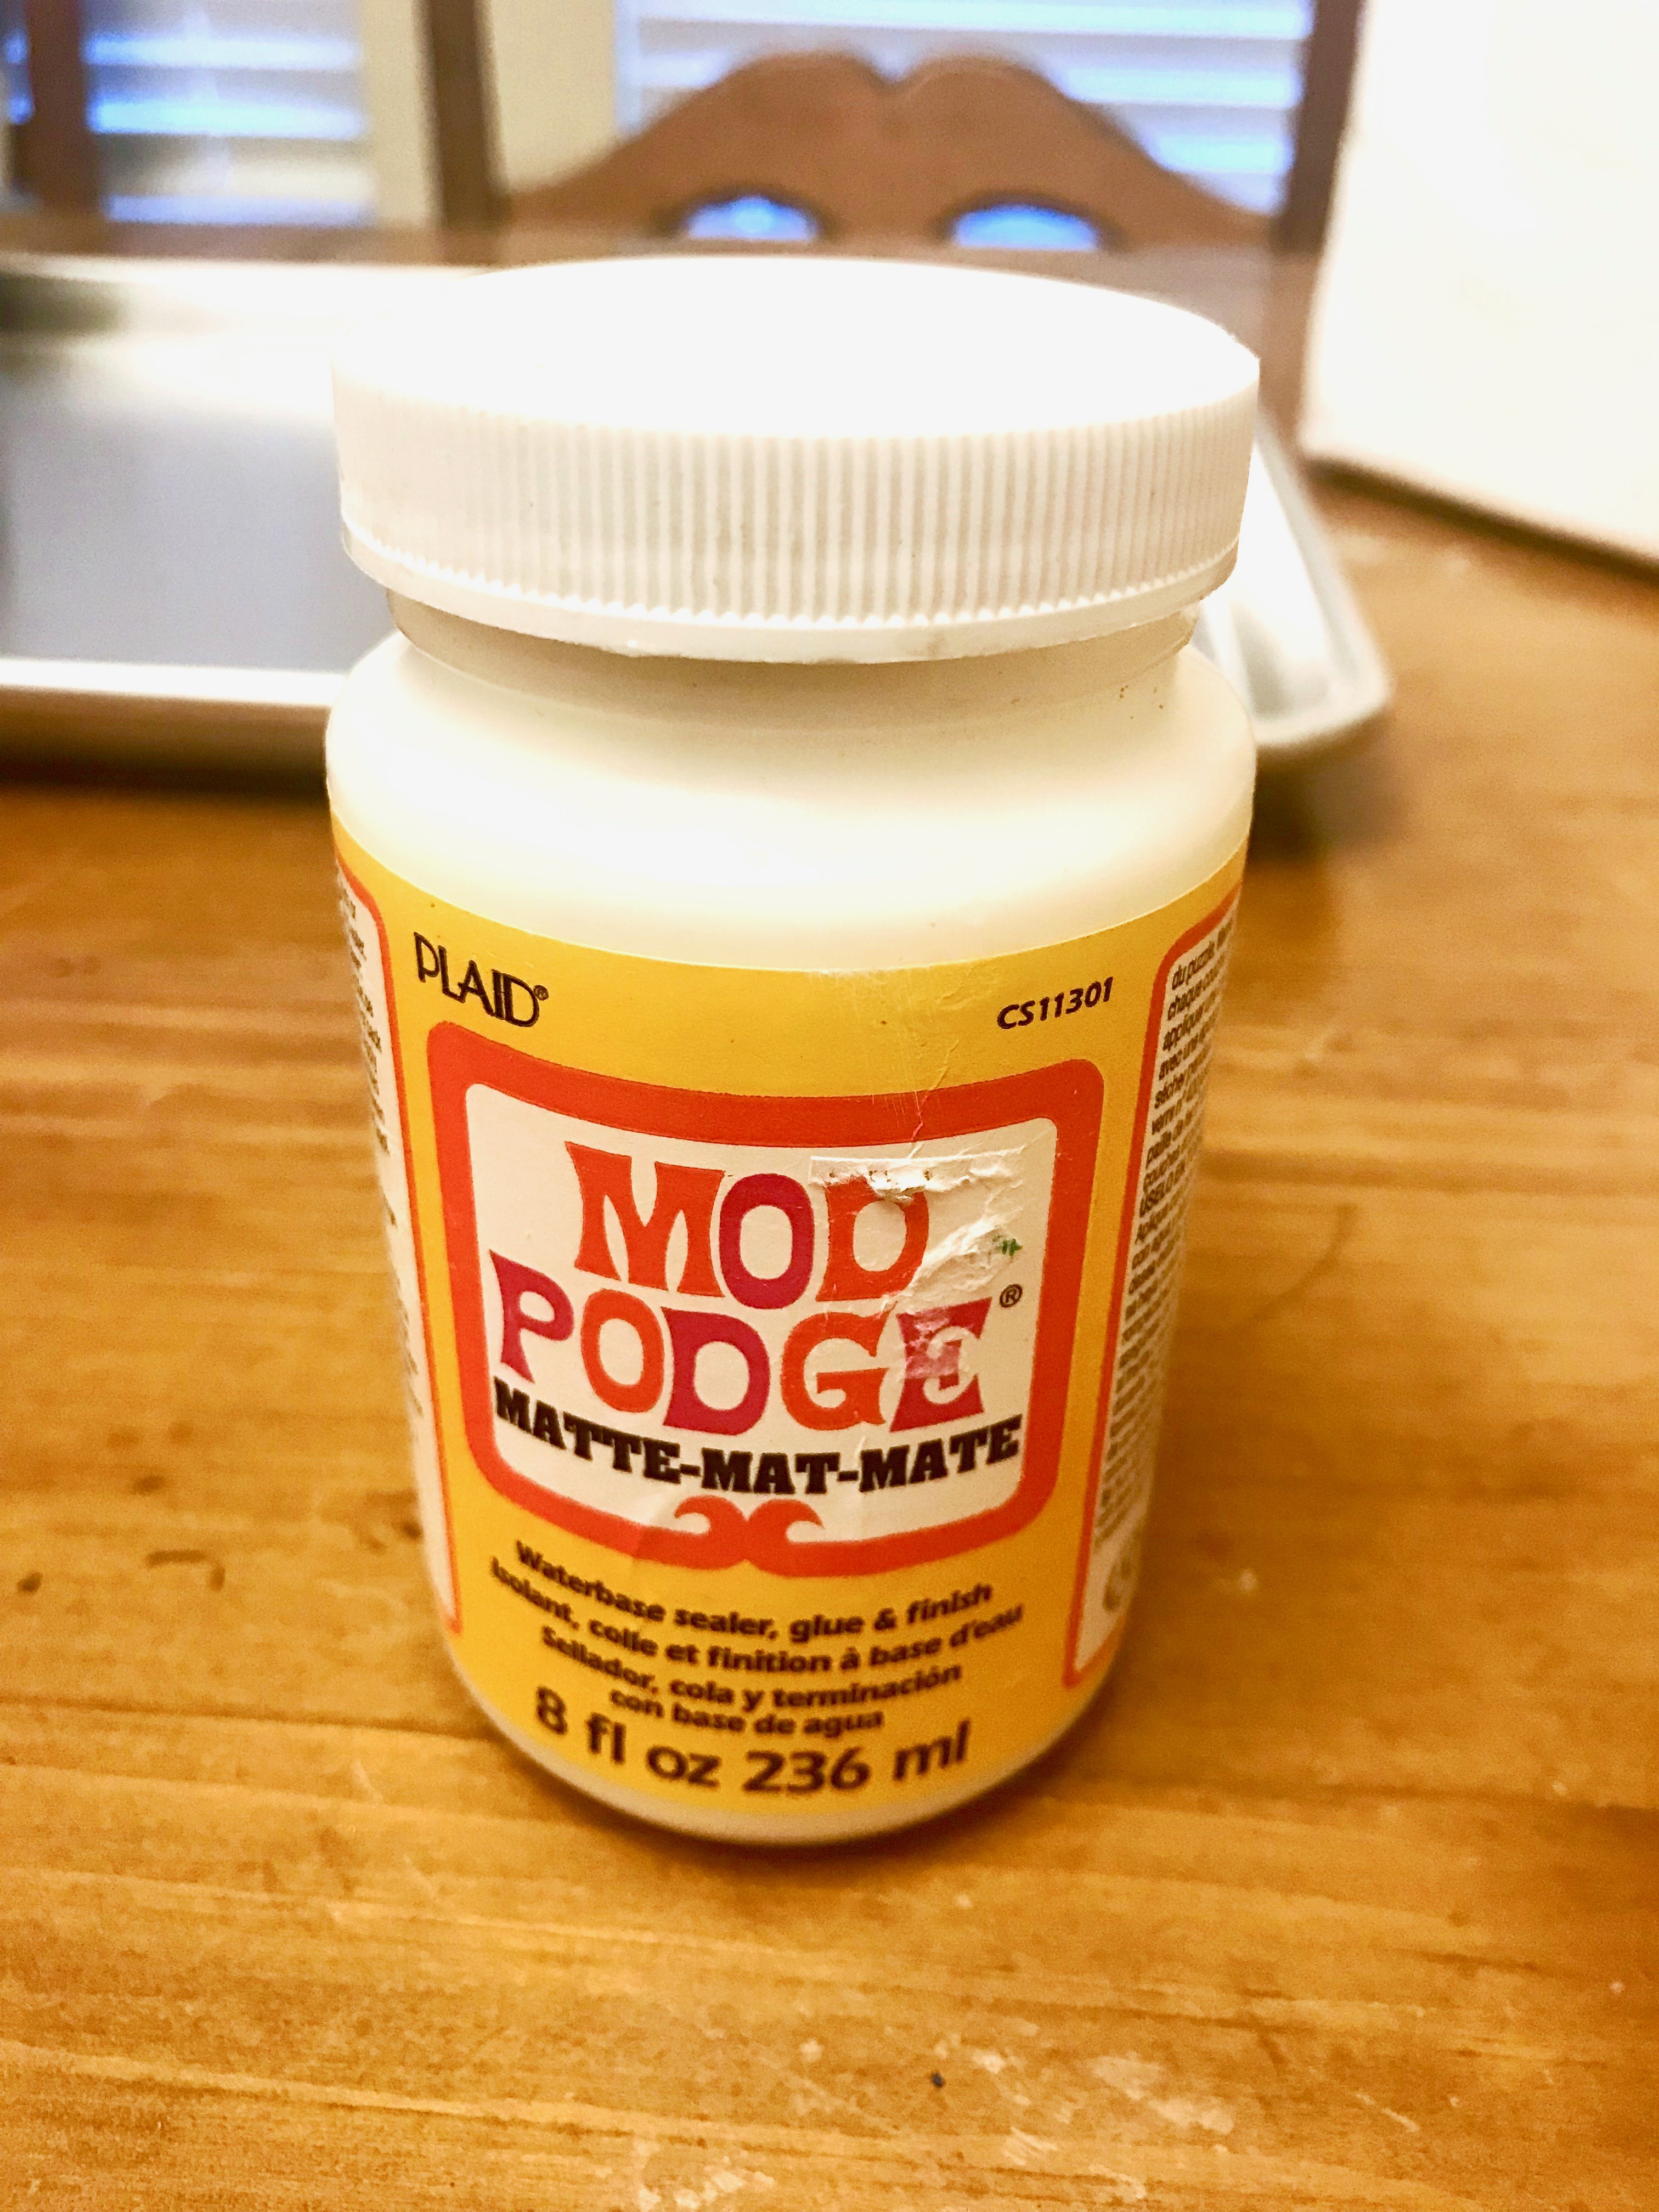
My son and I then selected where we wanted each piece to go and then Mod Podge to the rescue! Assuming you want a matte finish in the end ( and even if you don’t) I highly recommend using matte Mod Podge so you don’t end up with any stray shiny glue patches.
After I let it dry for a bit I took it outside and sprayed it with a matte acrylic spray to help seal it and ward off dust after hanging.
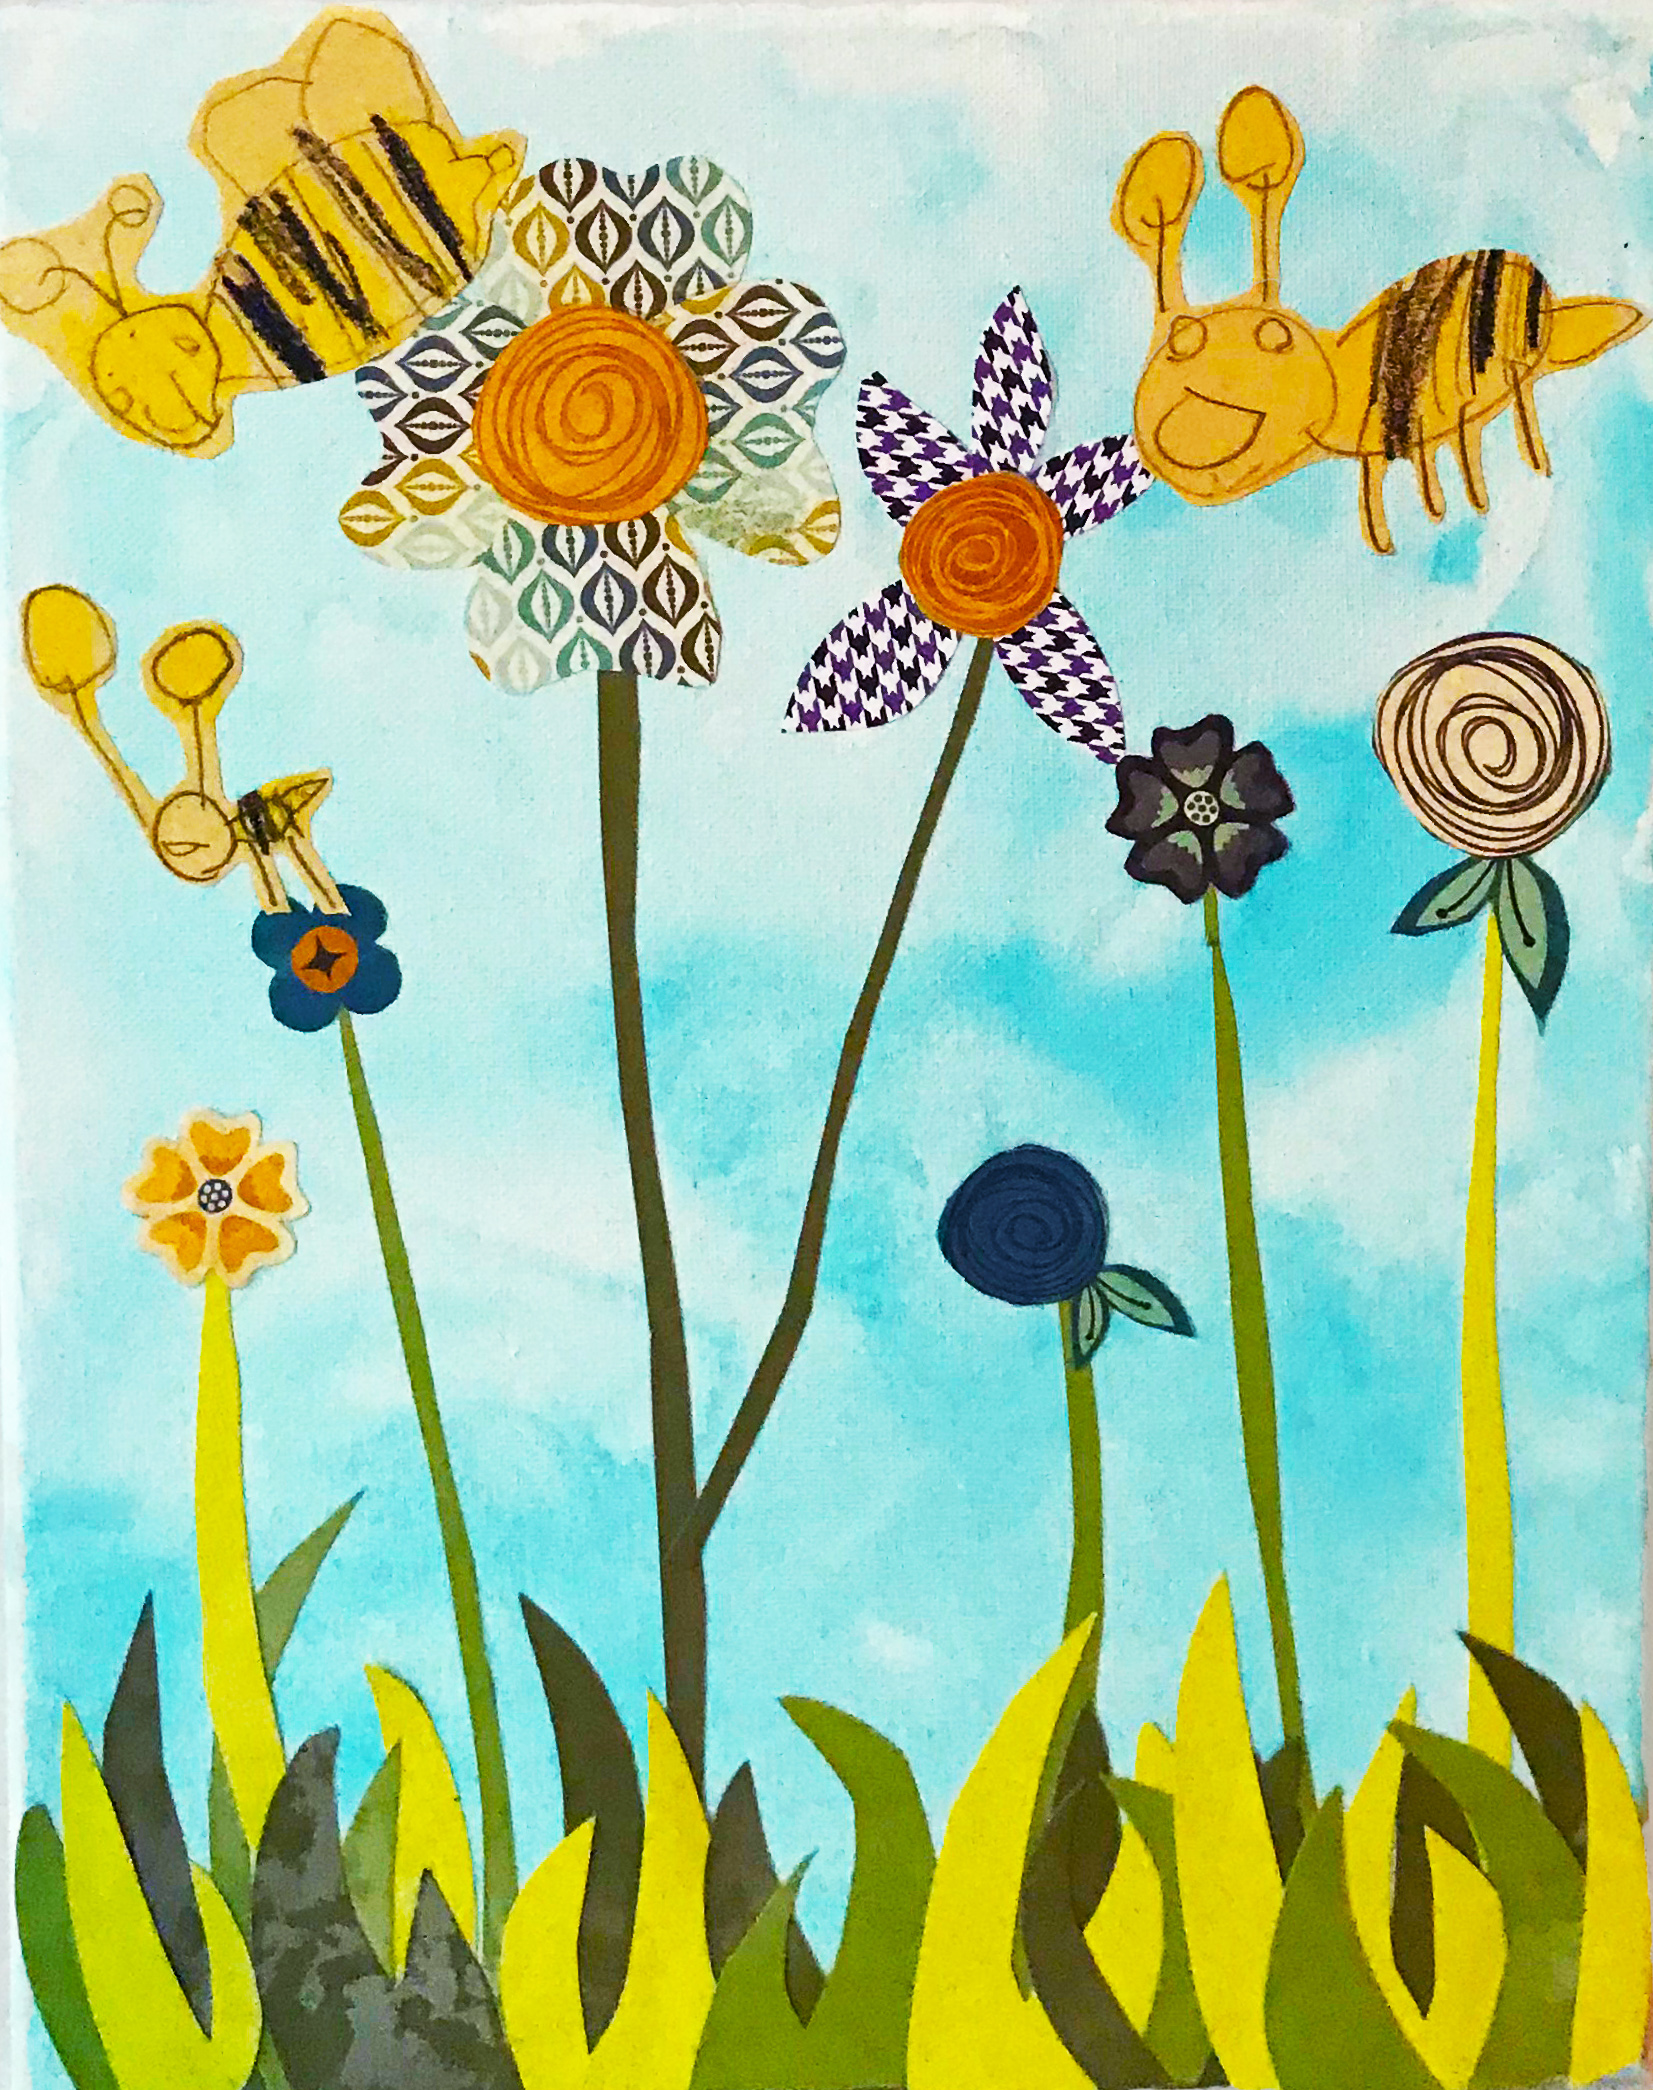
I think it was a perfect first piece to hang in his playroom and will be something he and I both cherish for a long time to come.
Related Posts
Be sure to follow our Crafting With Kids Pinterest Board for more great ideas!