Chocolate covered gummy bears are one of my FAVORITE sweet treats on this planet!
They are sweet, chocolatey, fruity, bites of deliciousness so what isn’t to love? Unfortunately despite “naked” gummy bears being everywhere, the chocolate coated are kind of hard to find and when you do find them they are so much more expensive you don’t get much bang for your buck.
So recently after searching high and low and coming up empty handed I decided enough was enough, these have to be easy enough to make. Chocolate + gummy bears = chocolate covered gummy bears right? And while I’m at it might as well make ’em pretty!
So if you are a fellow chocolate covered gummy bear addict rejoice! And if you’ve never tried them before get ready to fall in love.
*This post may contain affiliate links which may allow us to receive a small commission (at no additional cost to you) for purchases you make after clicking on product links on our posts , to view our full affiliate disclosure click here.
But rest assured we fully believe in every product we endorse.
Materials
- Gummy Bears
- Milk Chocolate Chips
- White Chocolate Chips
- Nonpareils Sprinkles
- Microwave Safe Bowls
- Forks
- Parchment Paper
- A Rectangular Pan/ Container
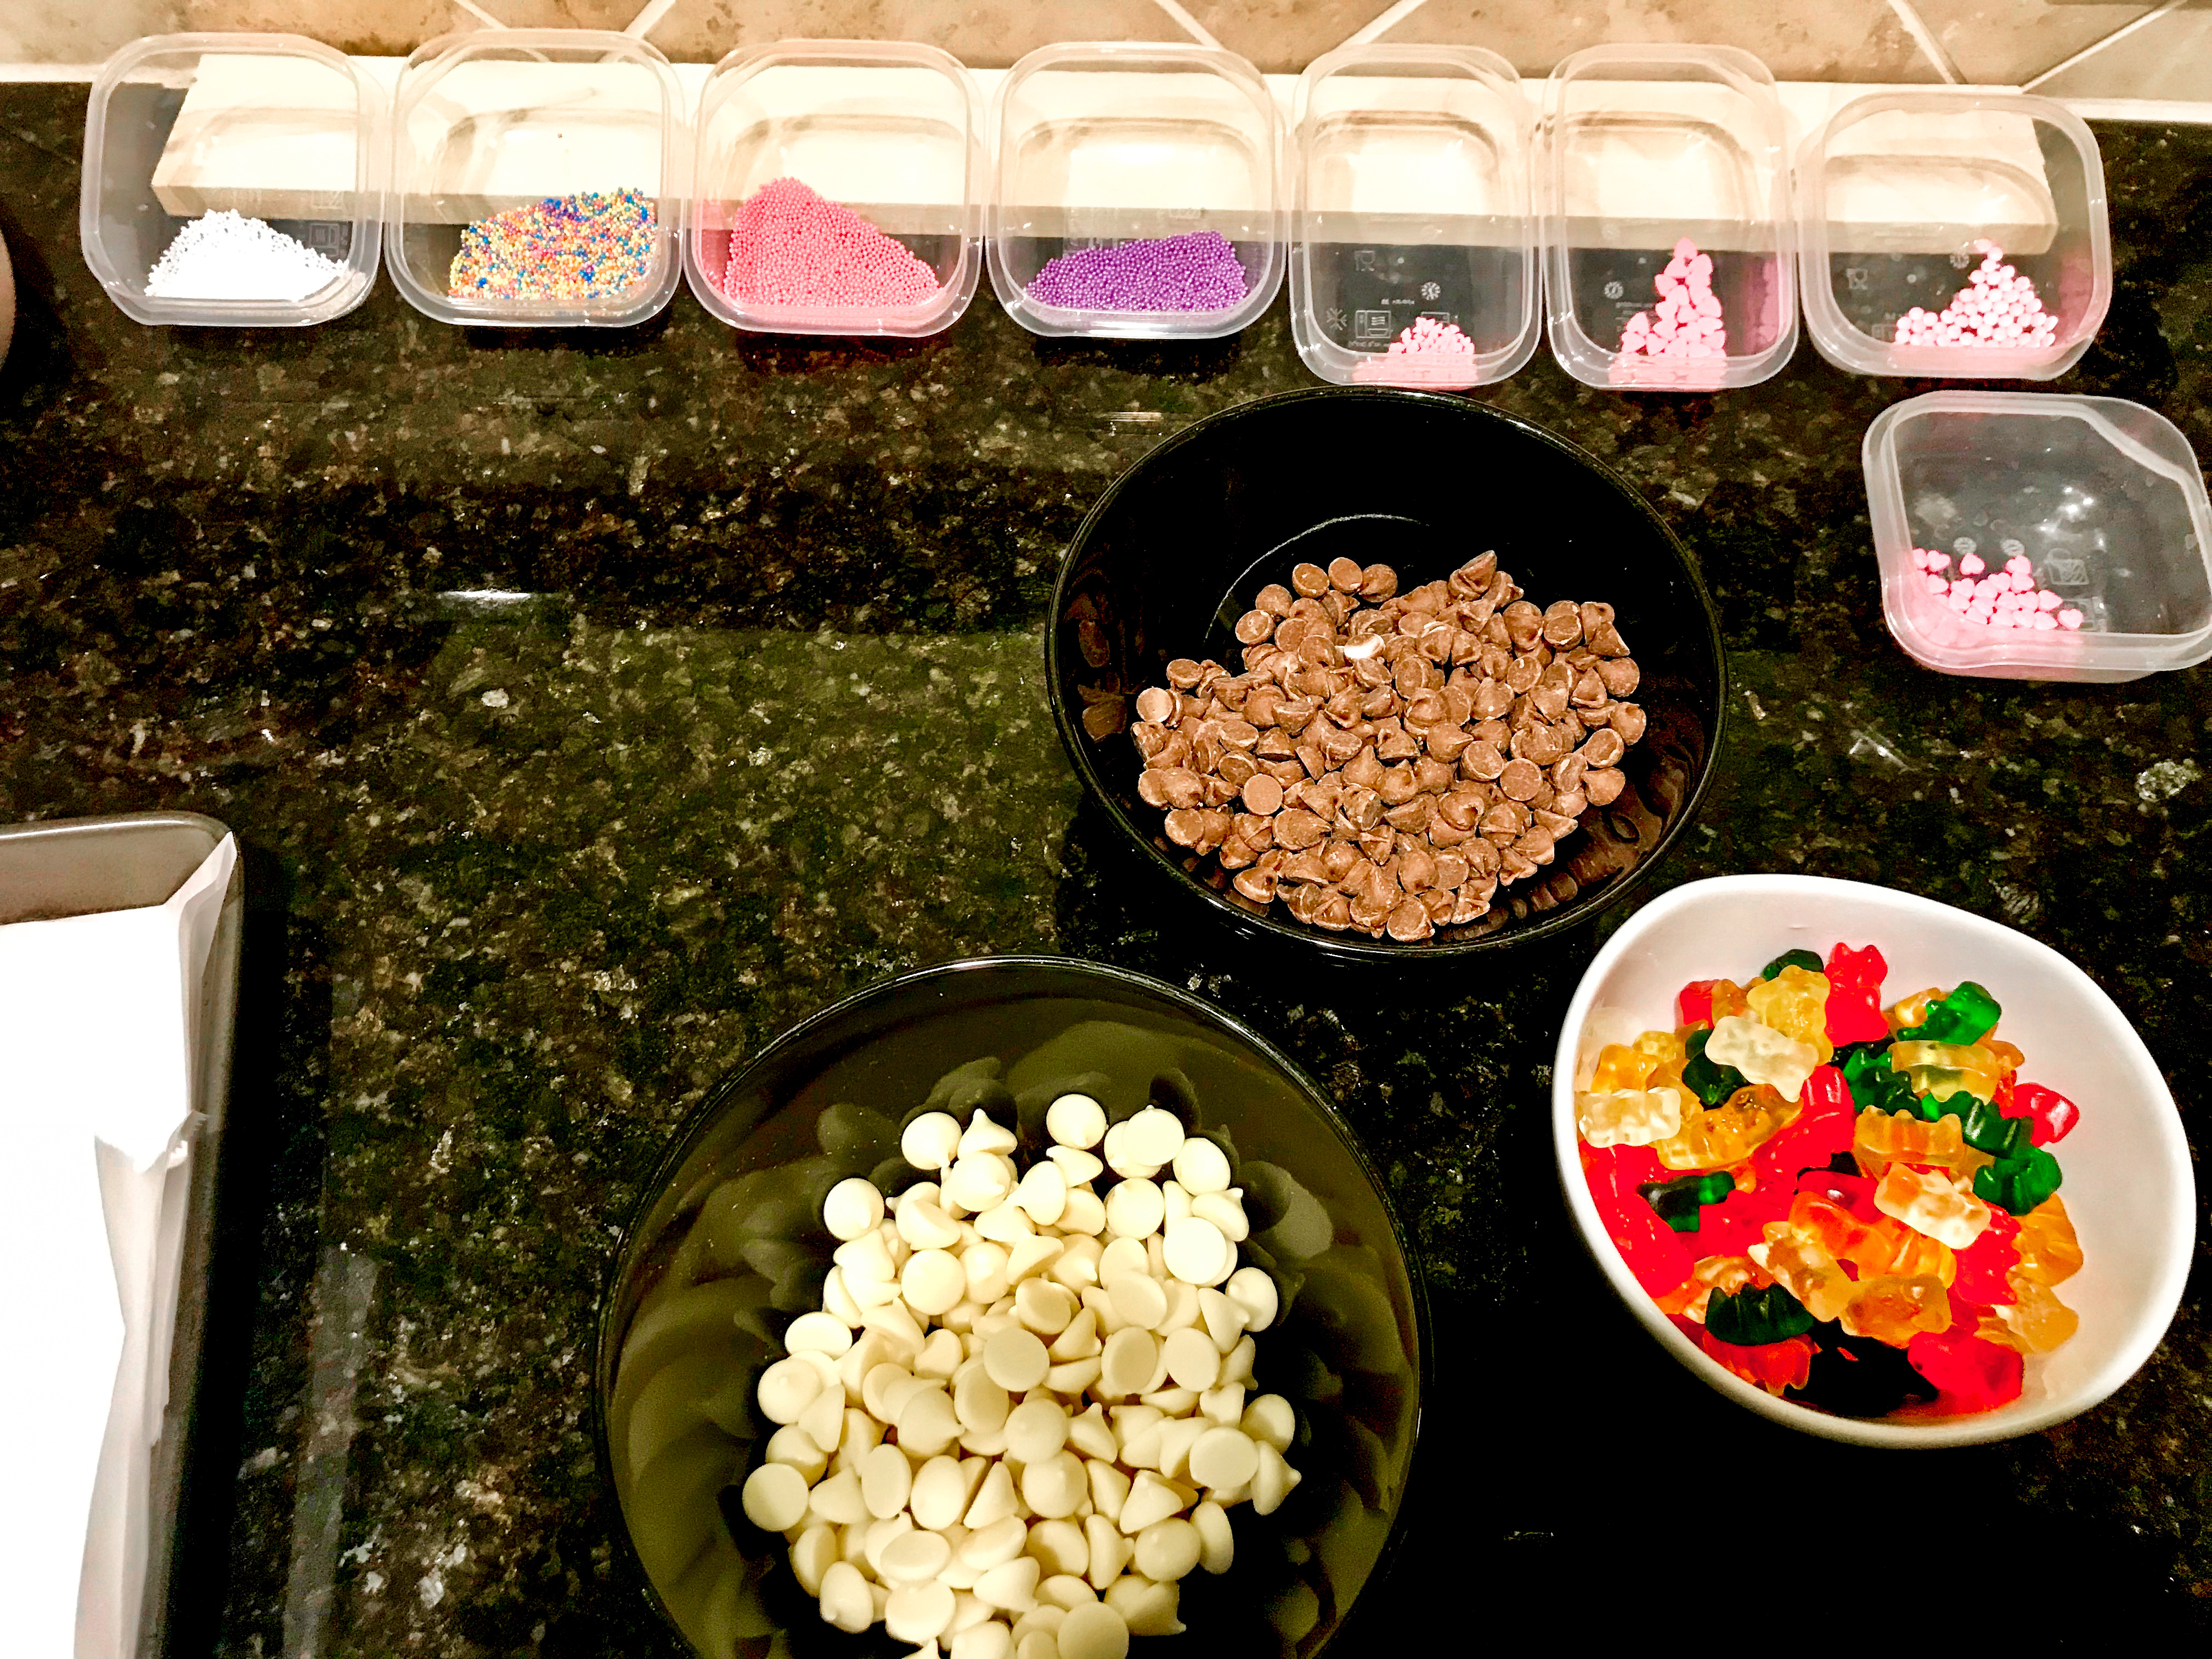
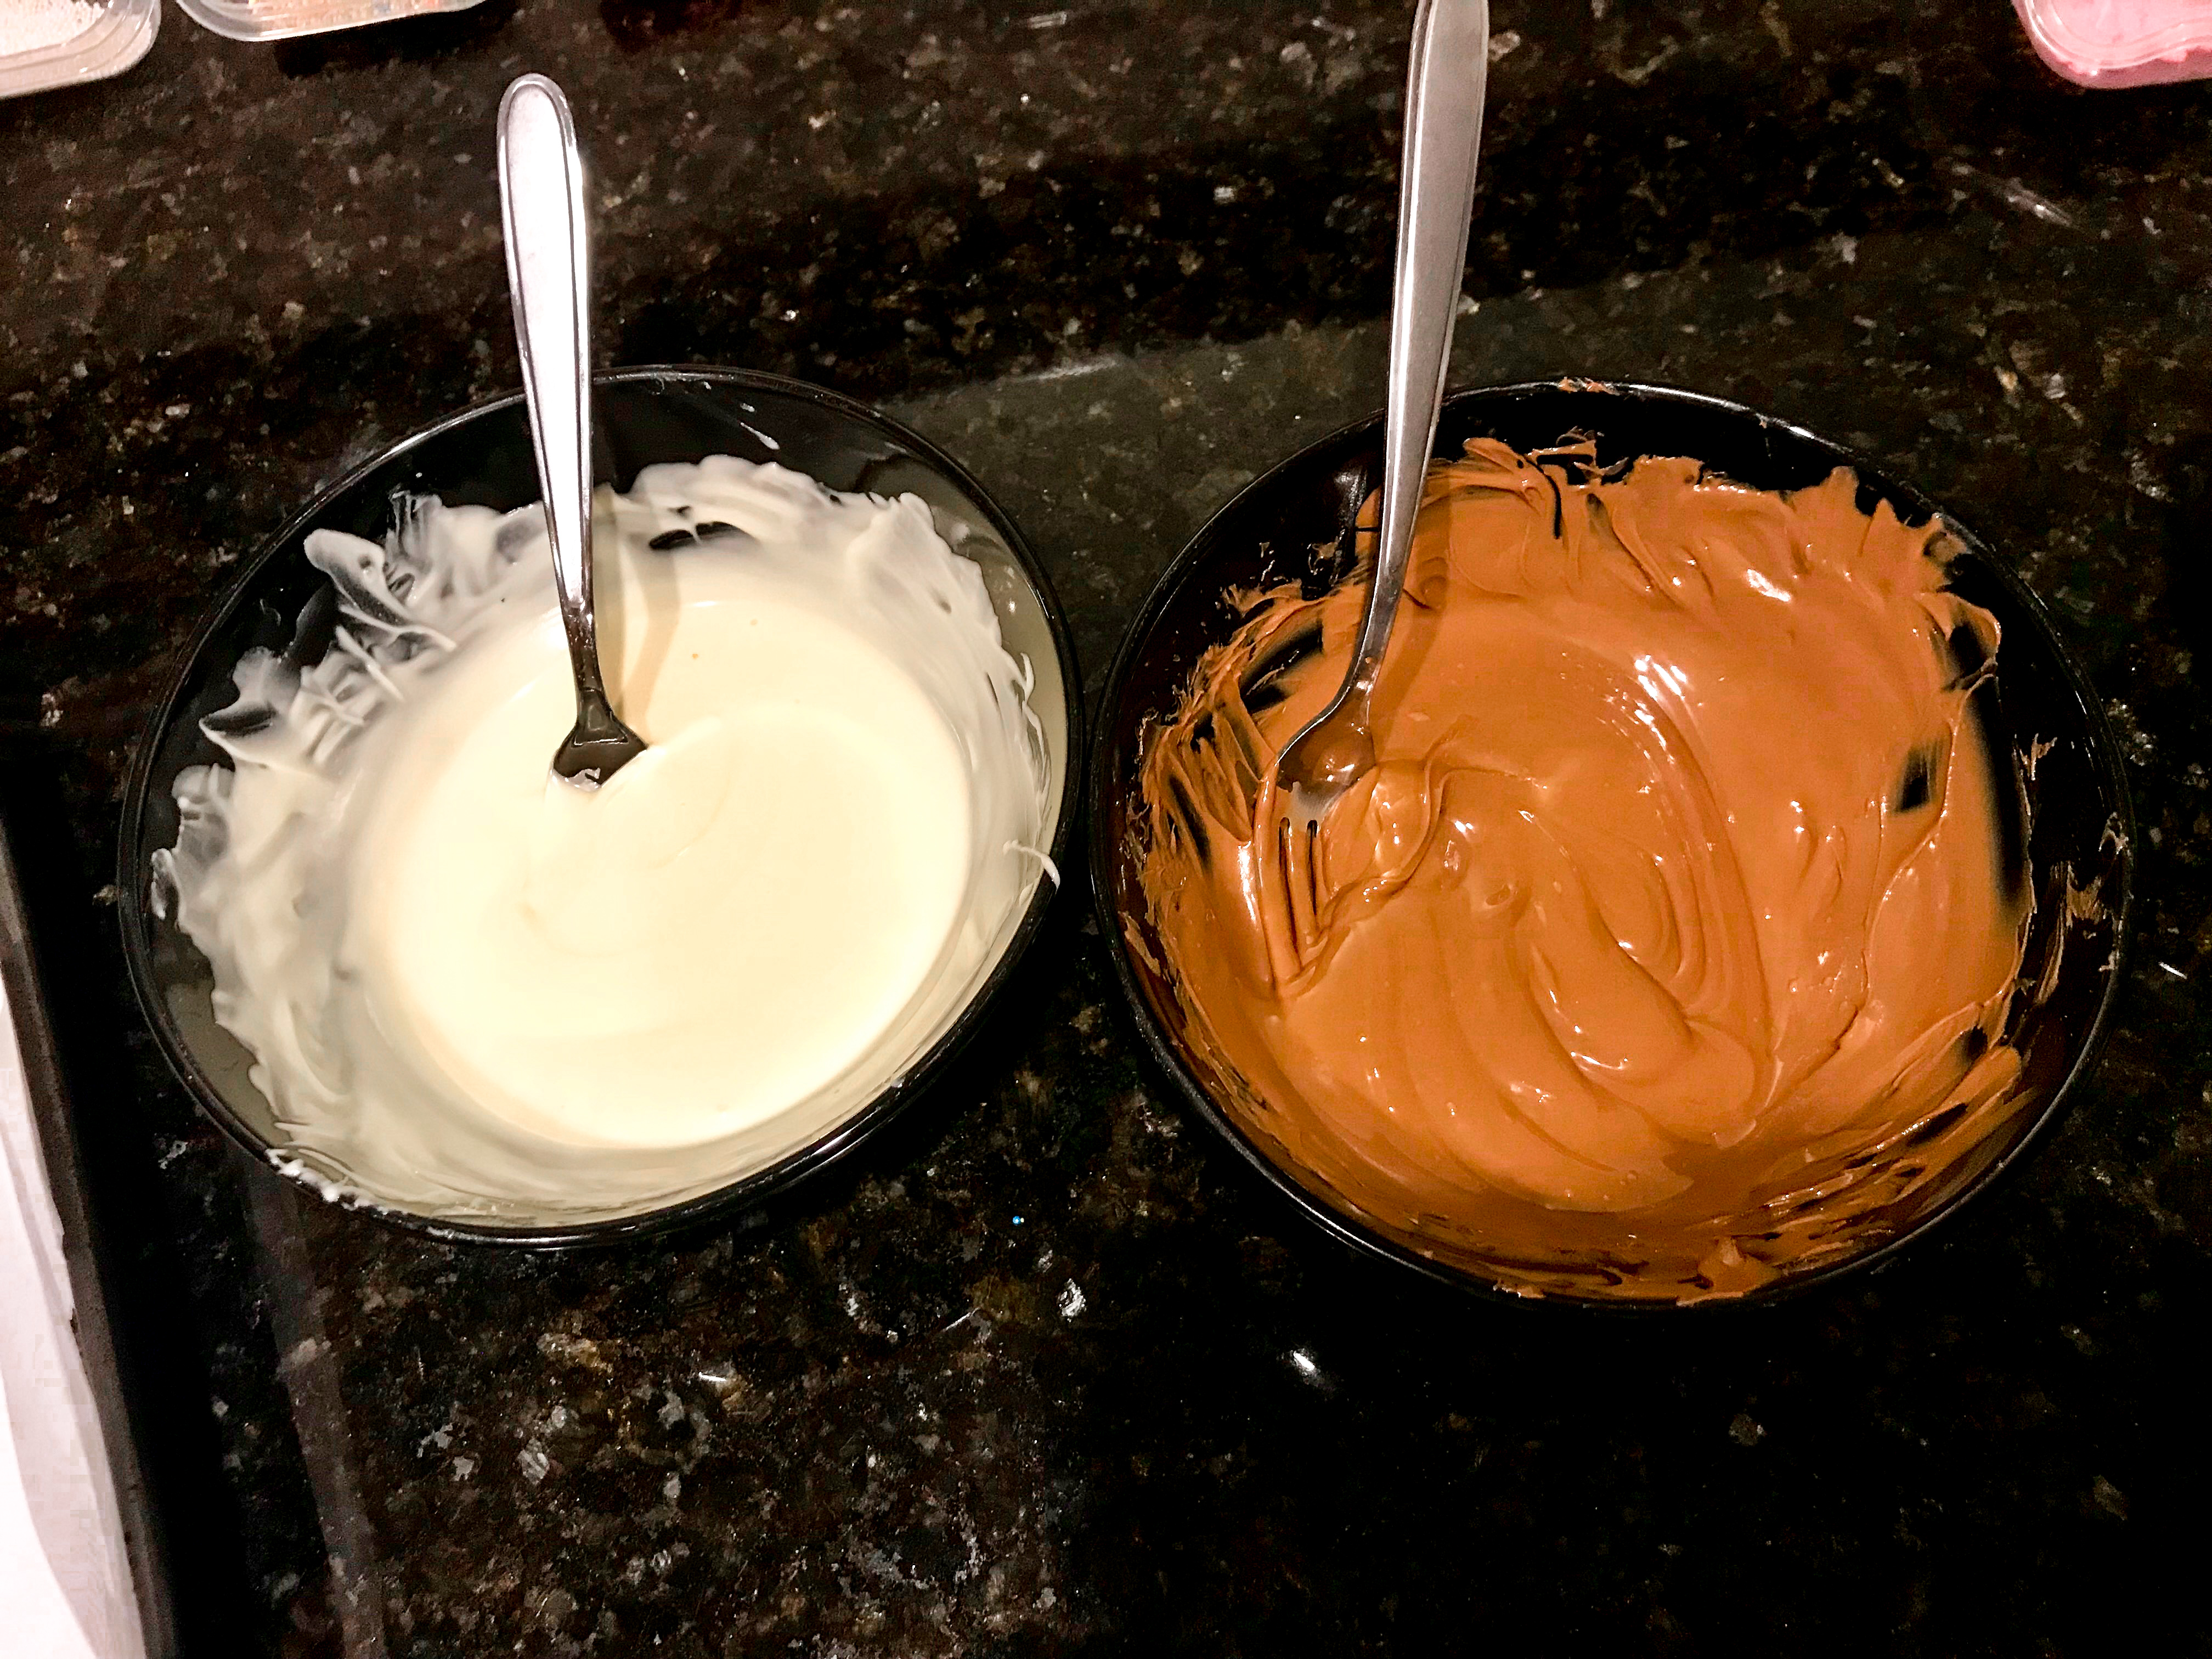
First things first get the station set up! Pour the milk chocolate chips into one microwave safe bowl and the white chocolate chips into another. If using sprinkles pour them into small containers as well.
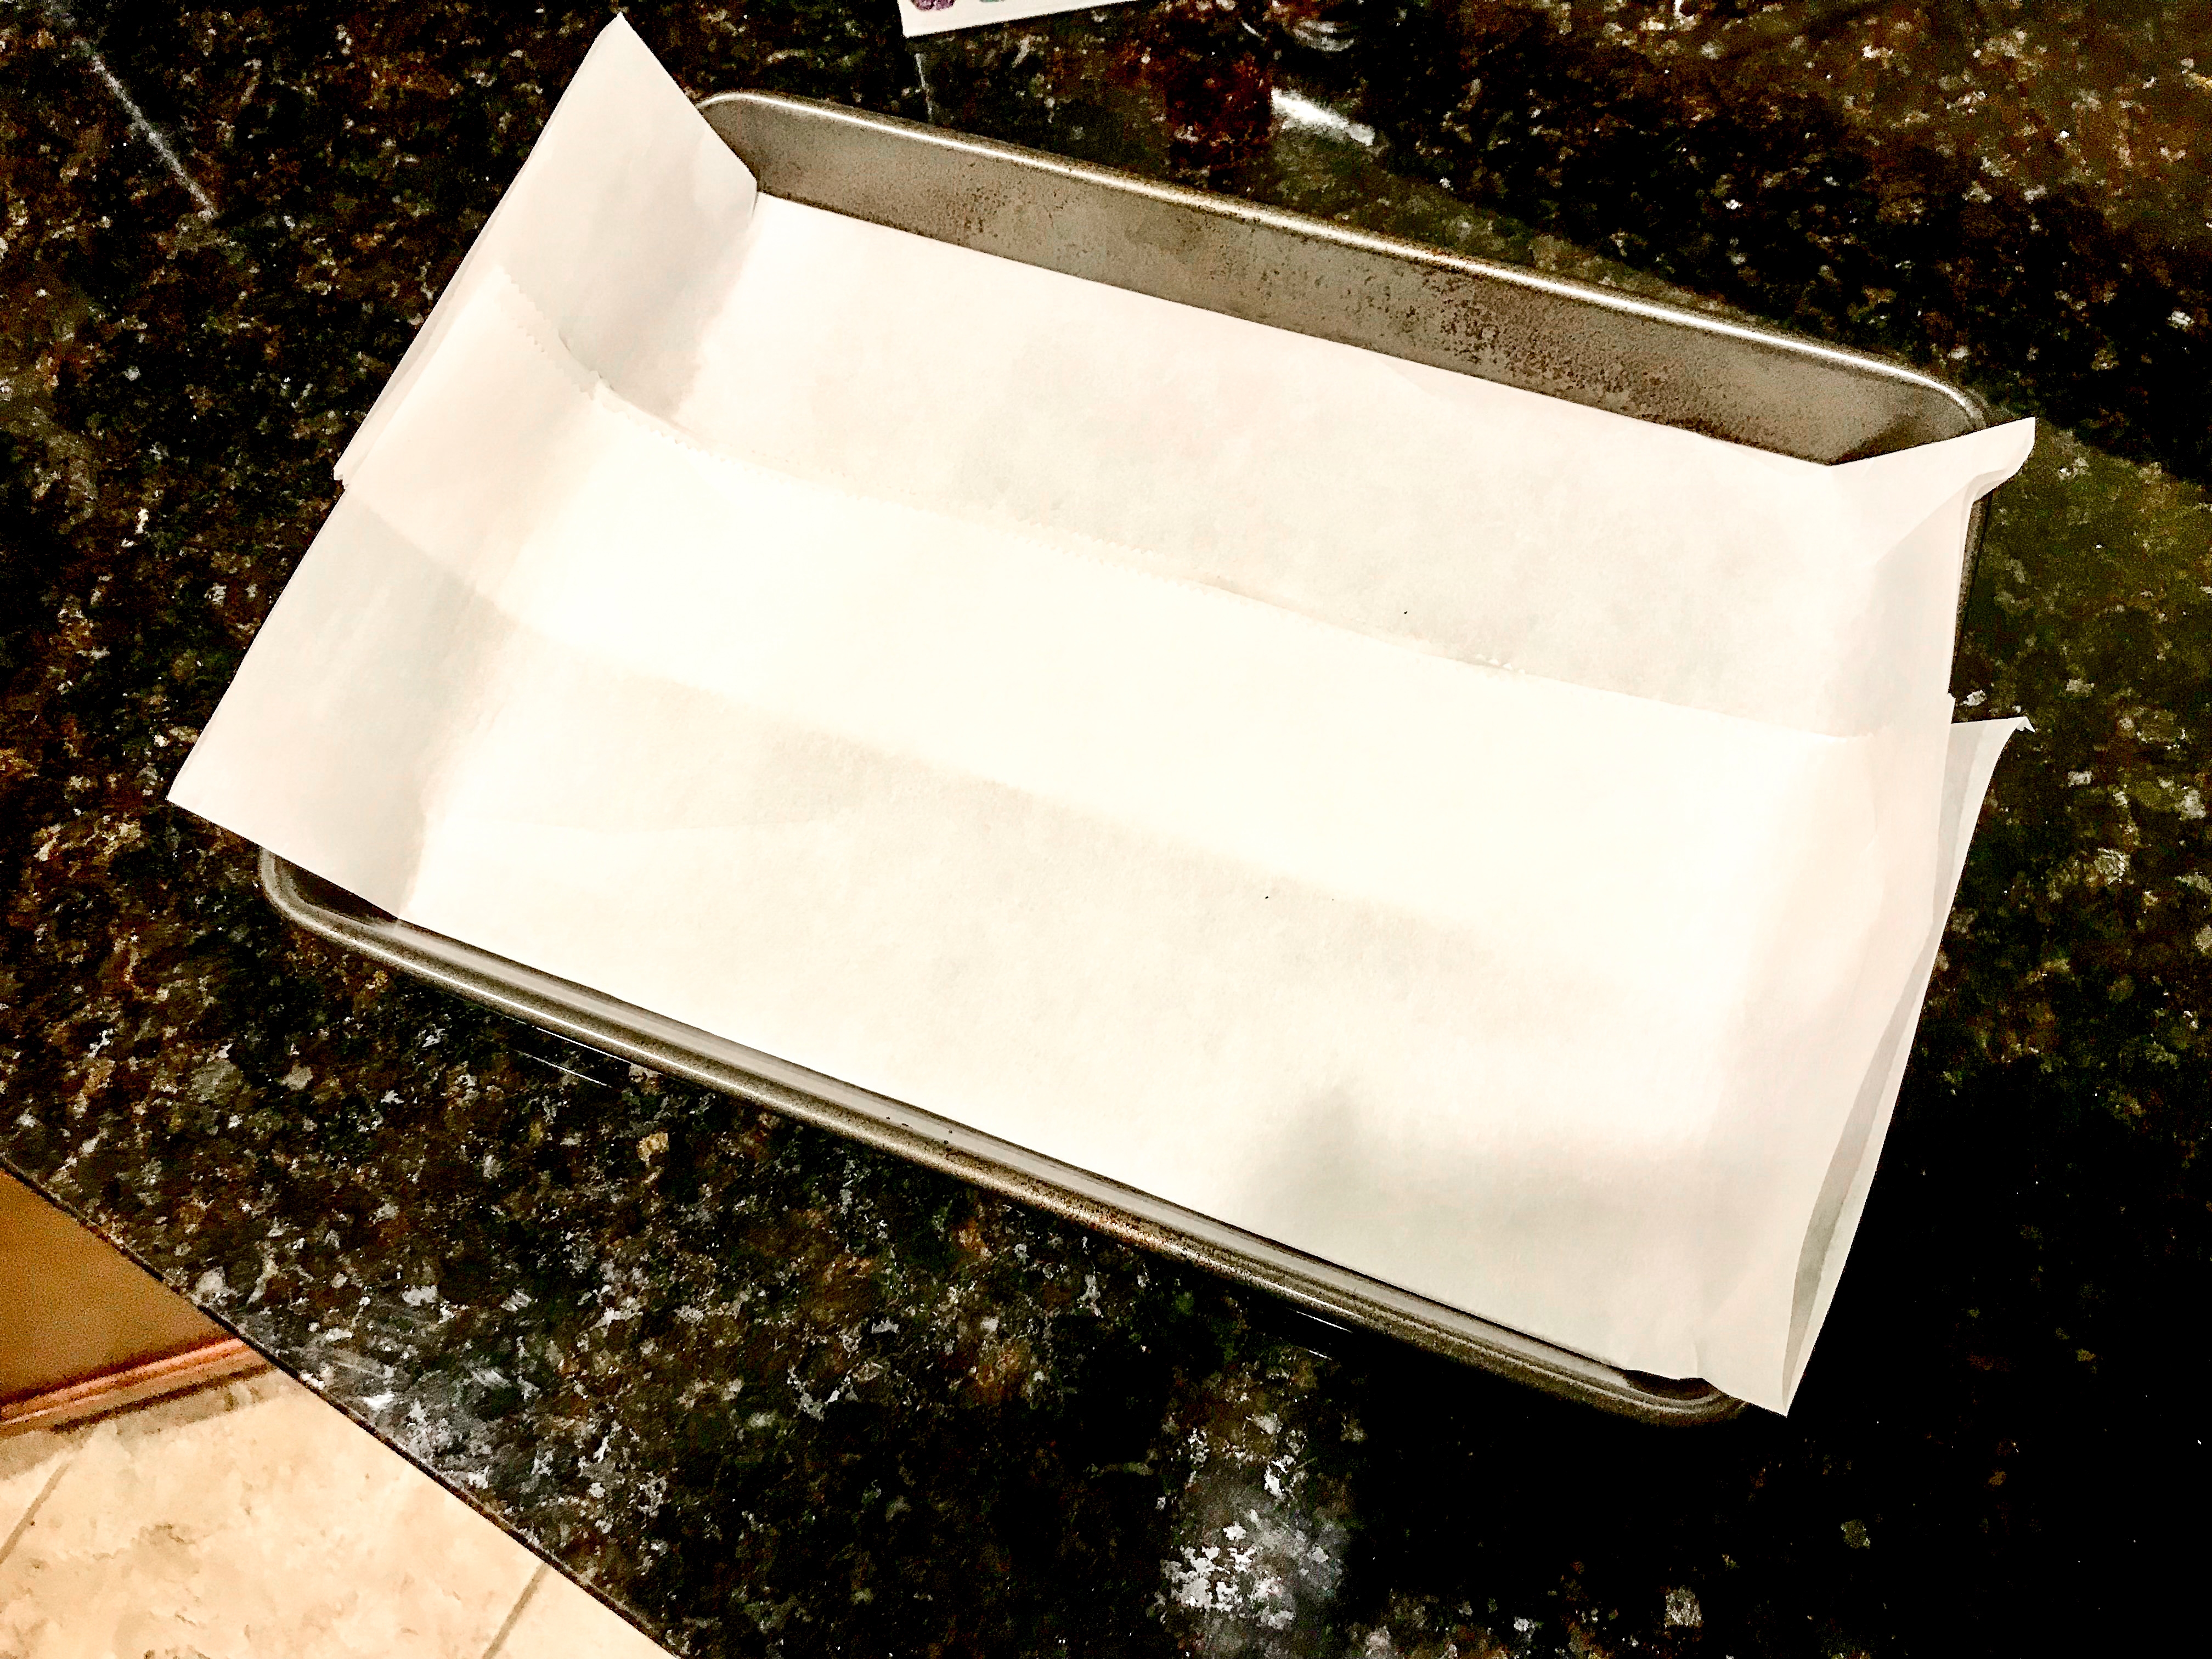
Line the pan with parchment paper.
Next melt the chocolate by microwaving in 10 second intervals and stirring thoroughly with a fork in between. Depending on the wattage of your microwave the total microwave time will be around 50 – 60 seconds.
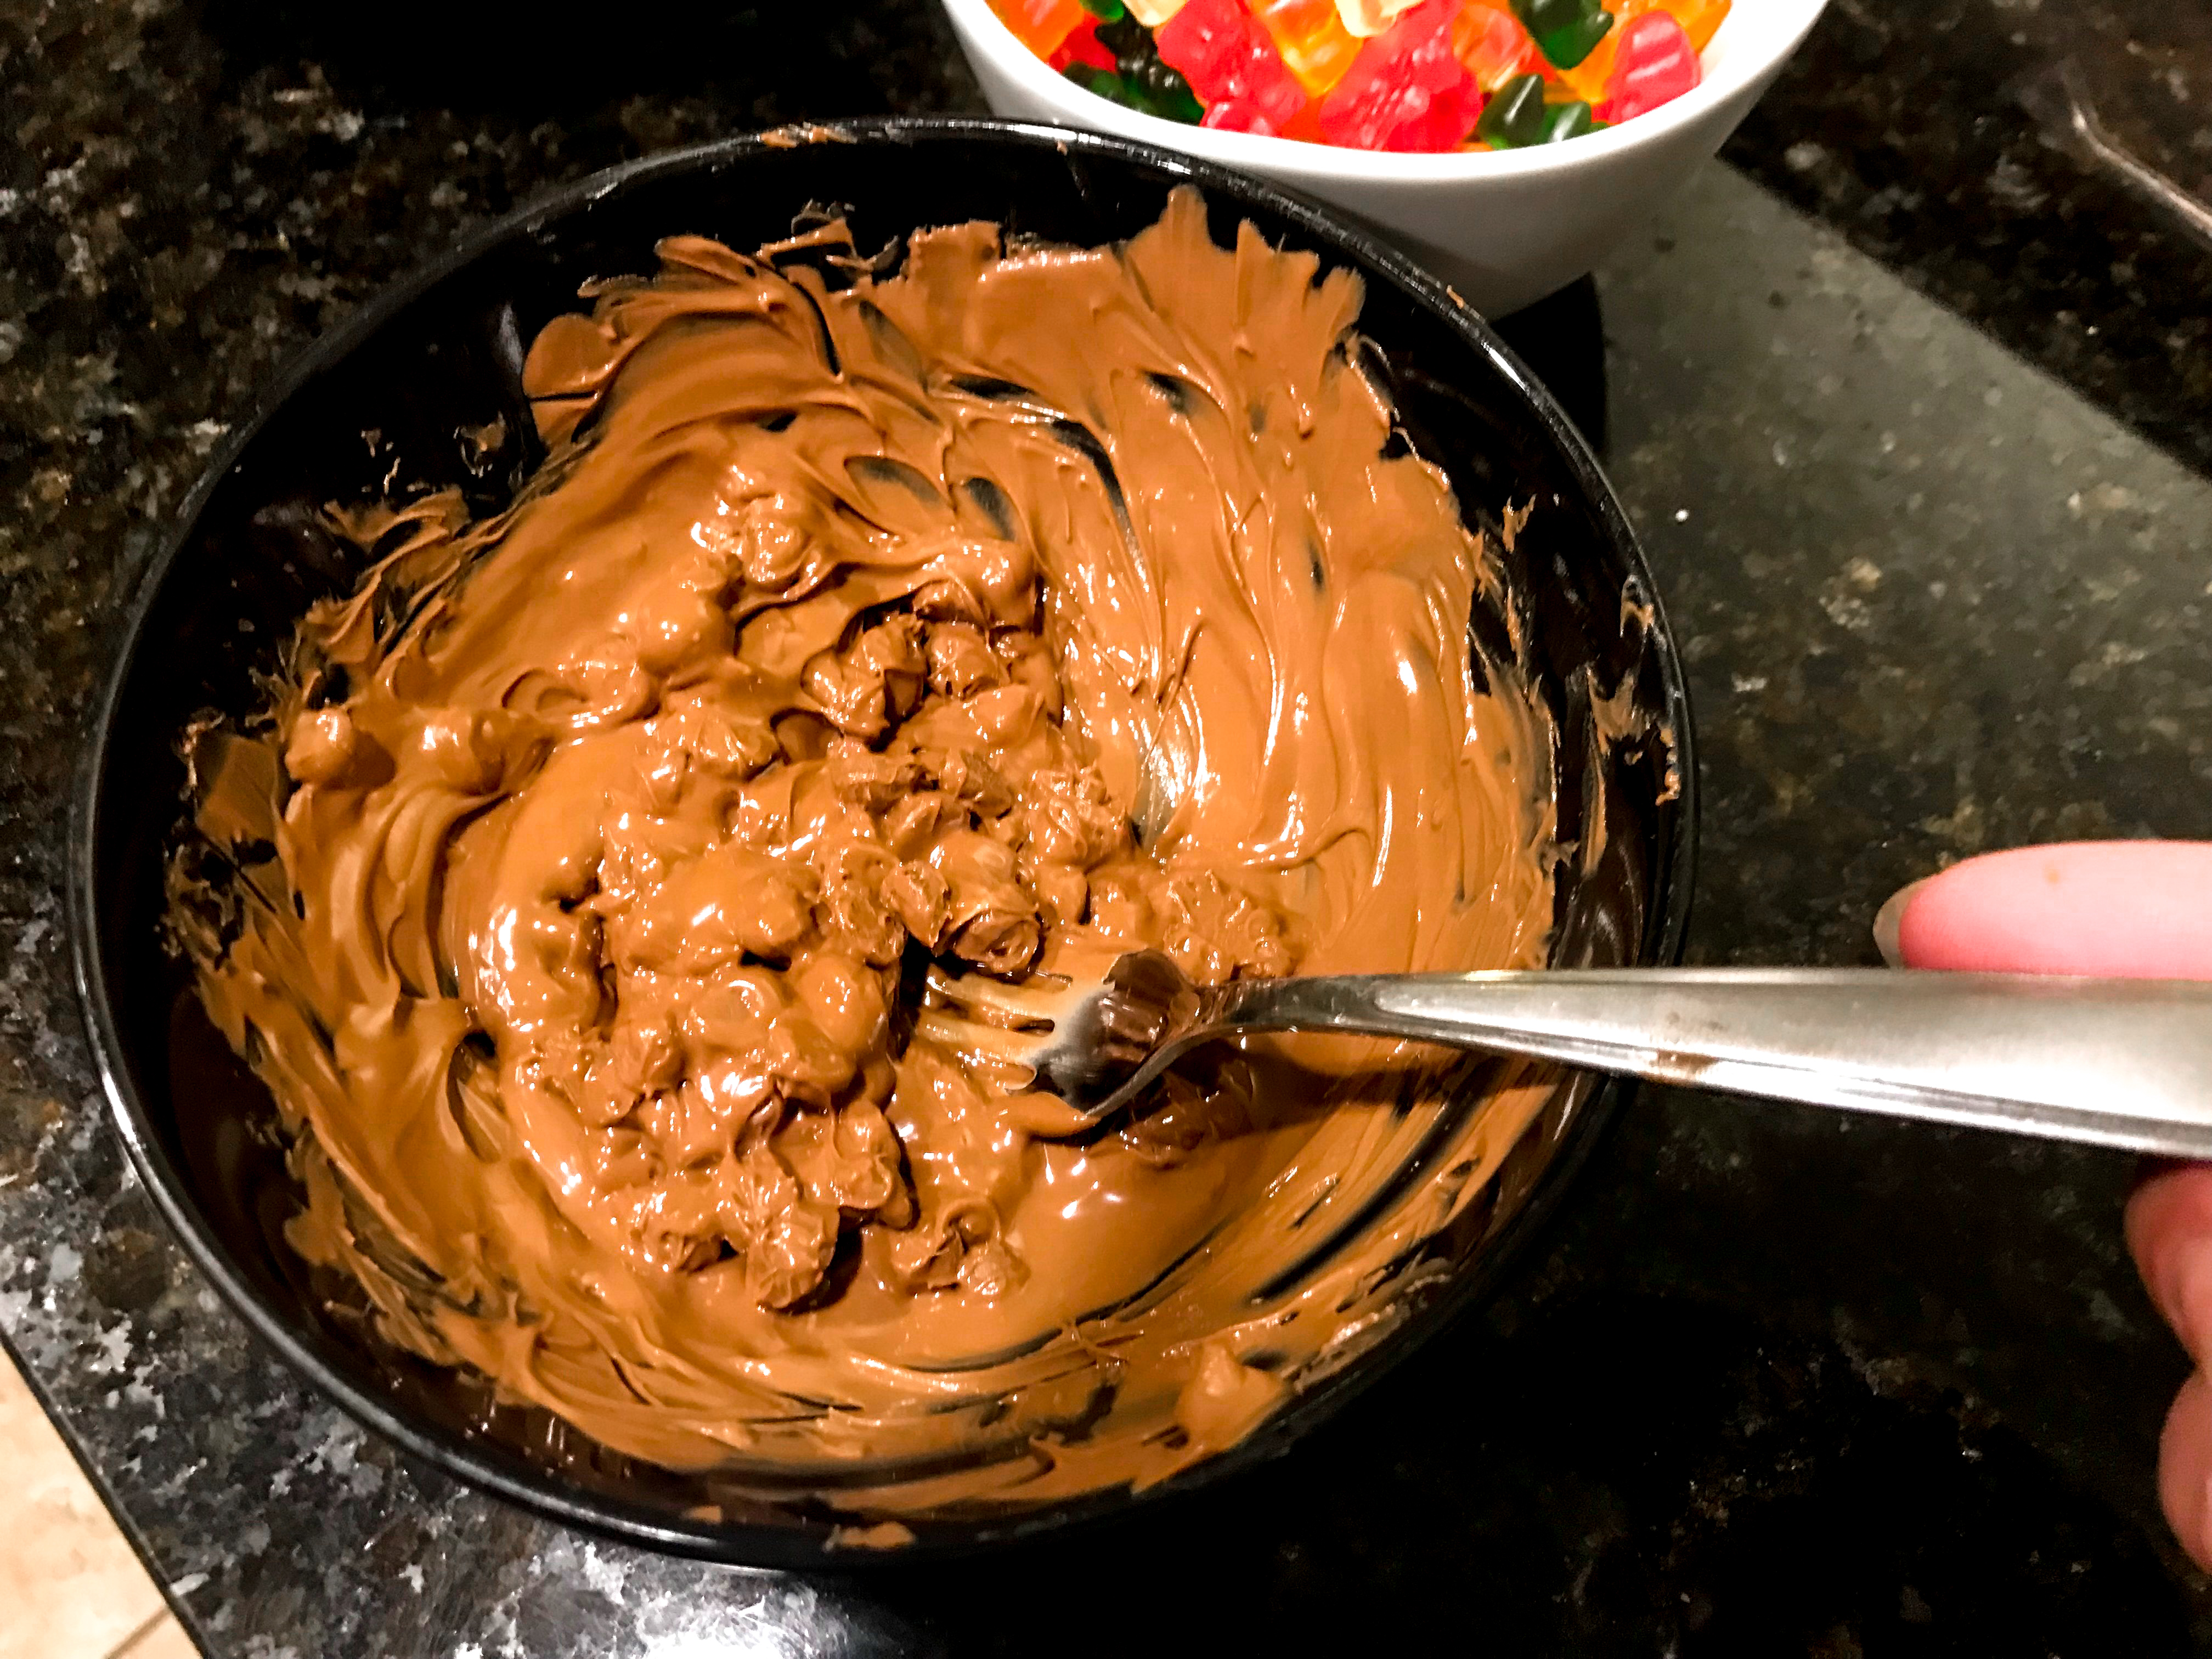
When the chocolate is completely melted it should look smooth (no lumps!) Repeat the same microwave process with the white chocolate.
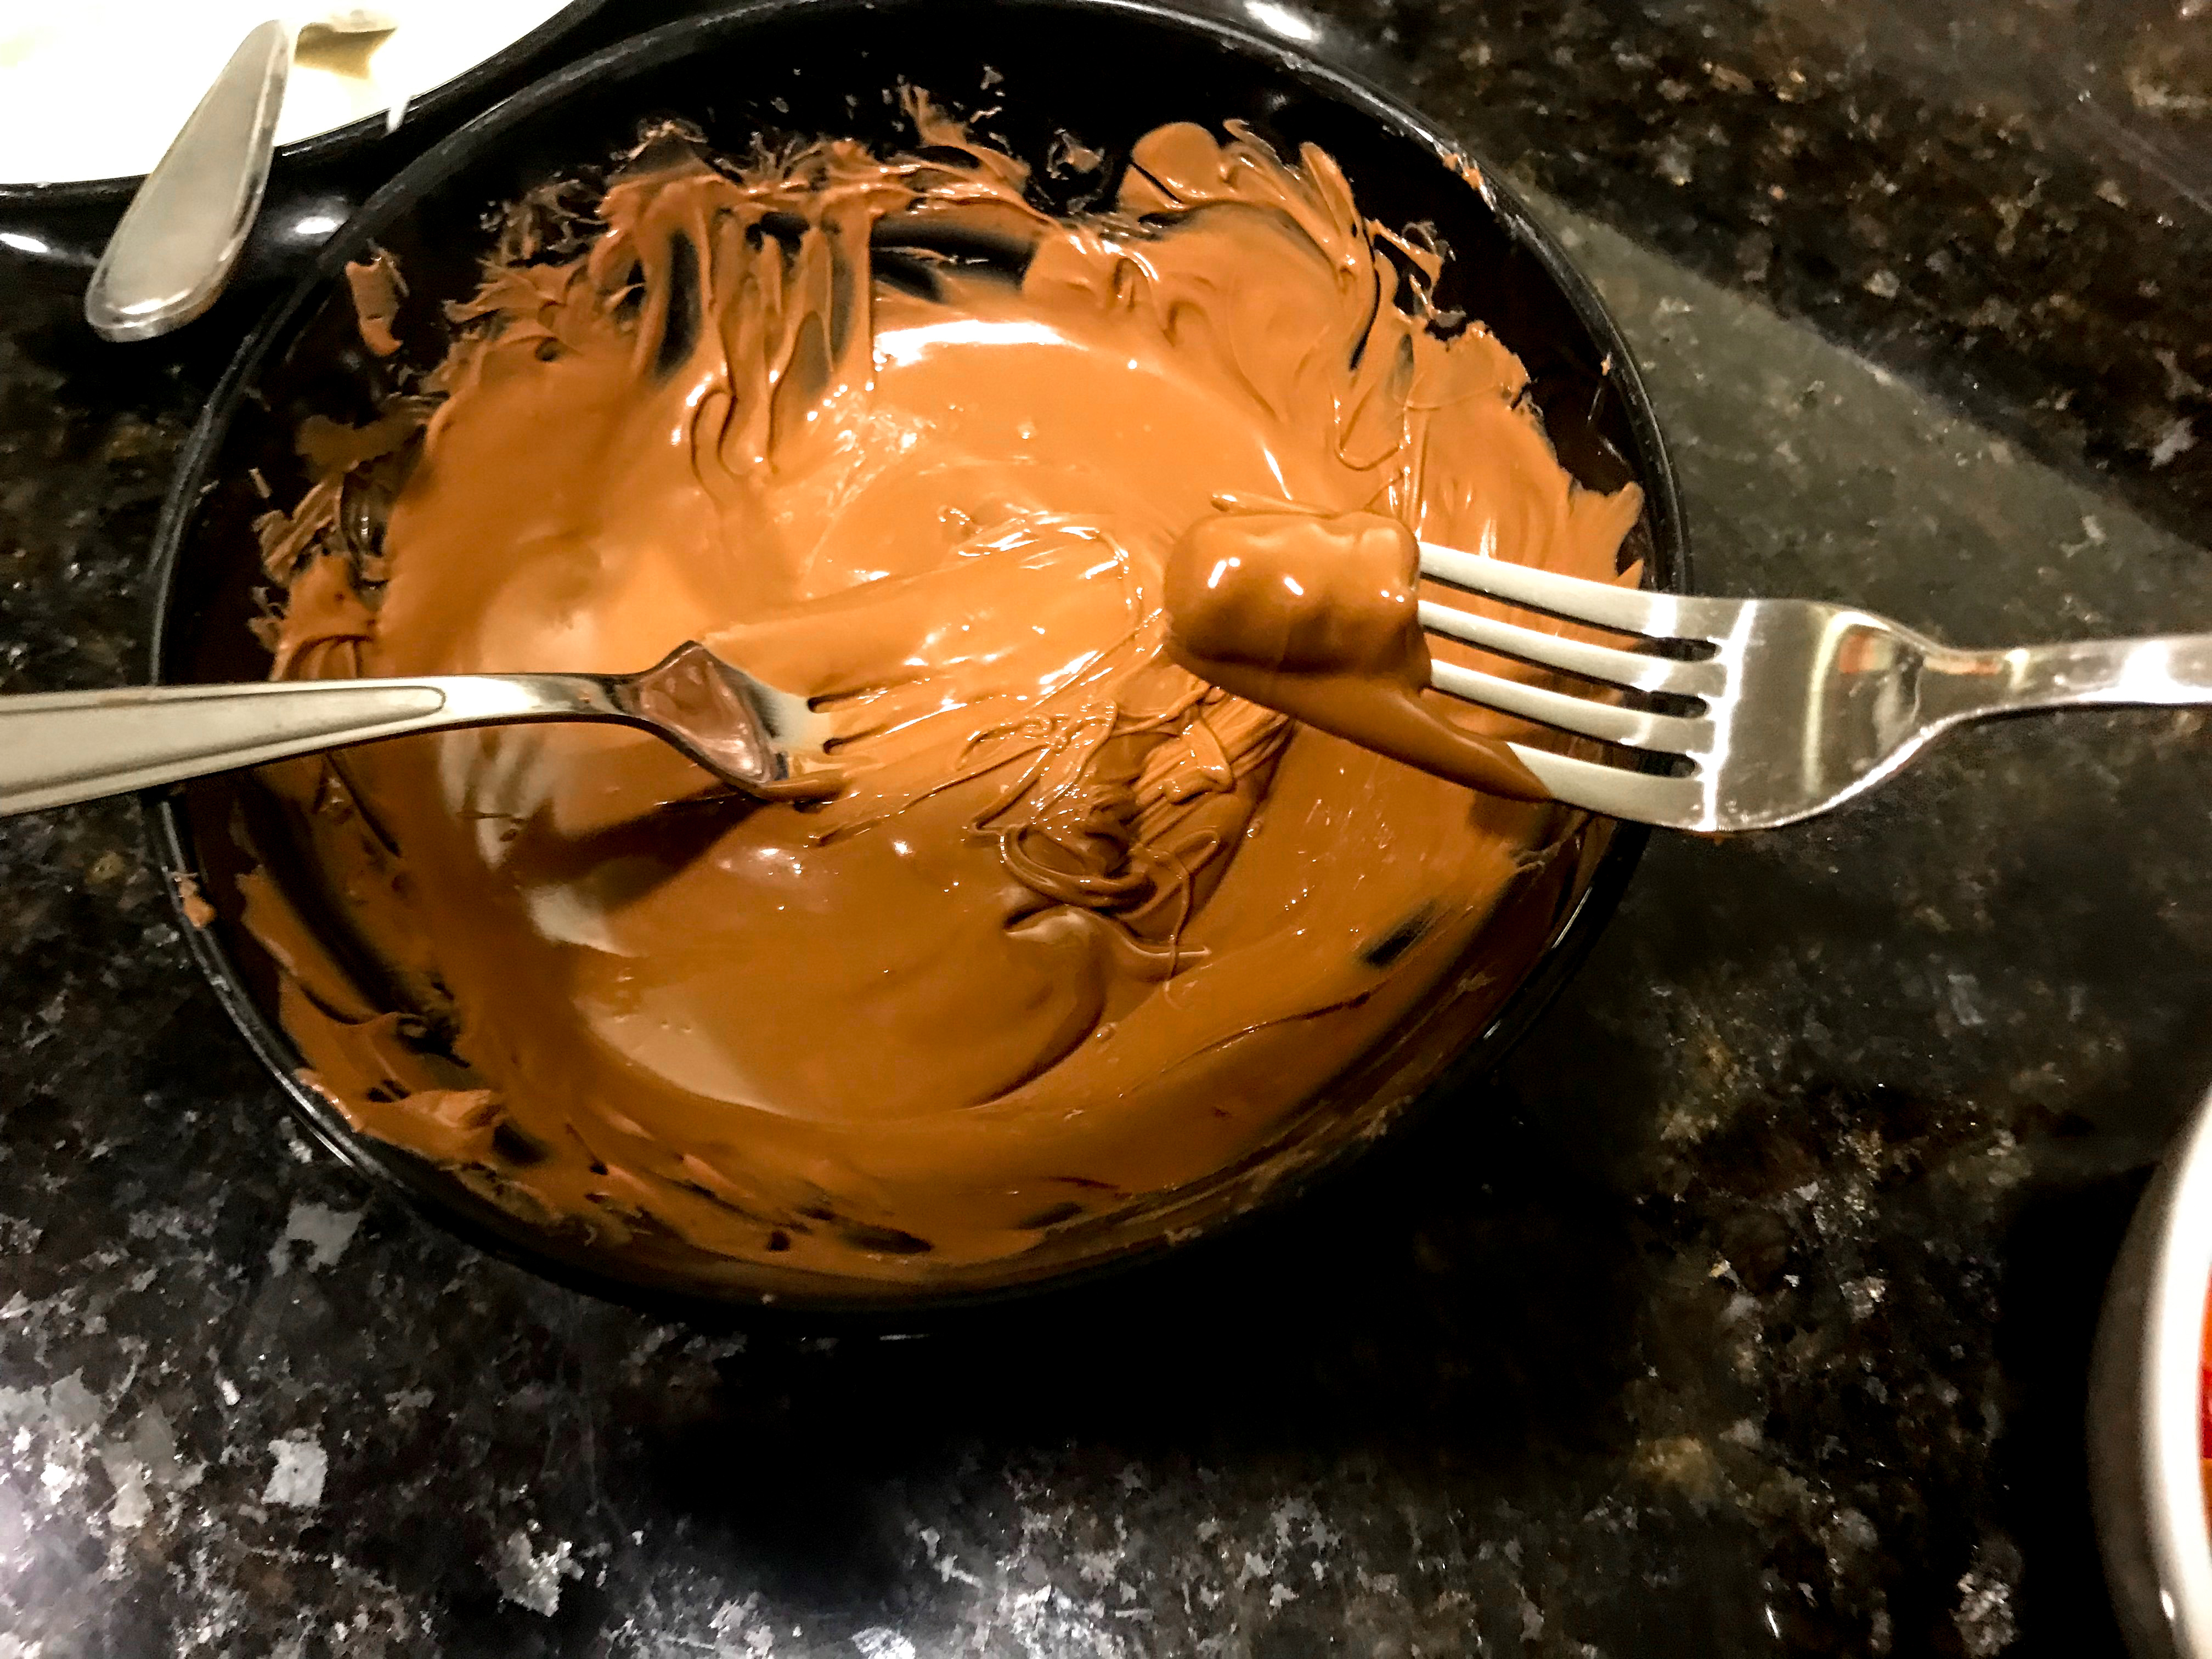
Now it is time to get dipping! Drop a gummy bear in and use one fork to take it out, then tap that fork gently on the side of the bowl so the excess chocolate drips off. Then pass to another fork to move it to the parchment paper.
hint: Using the cleaner fork to move it to the parchment paper keeps it from being REALLY messy!
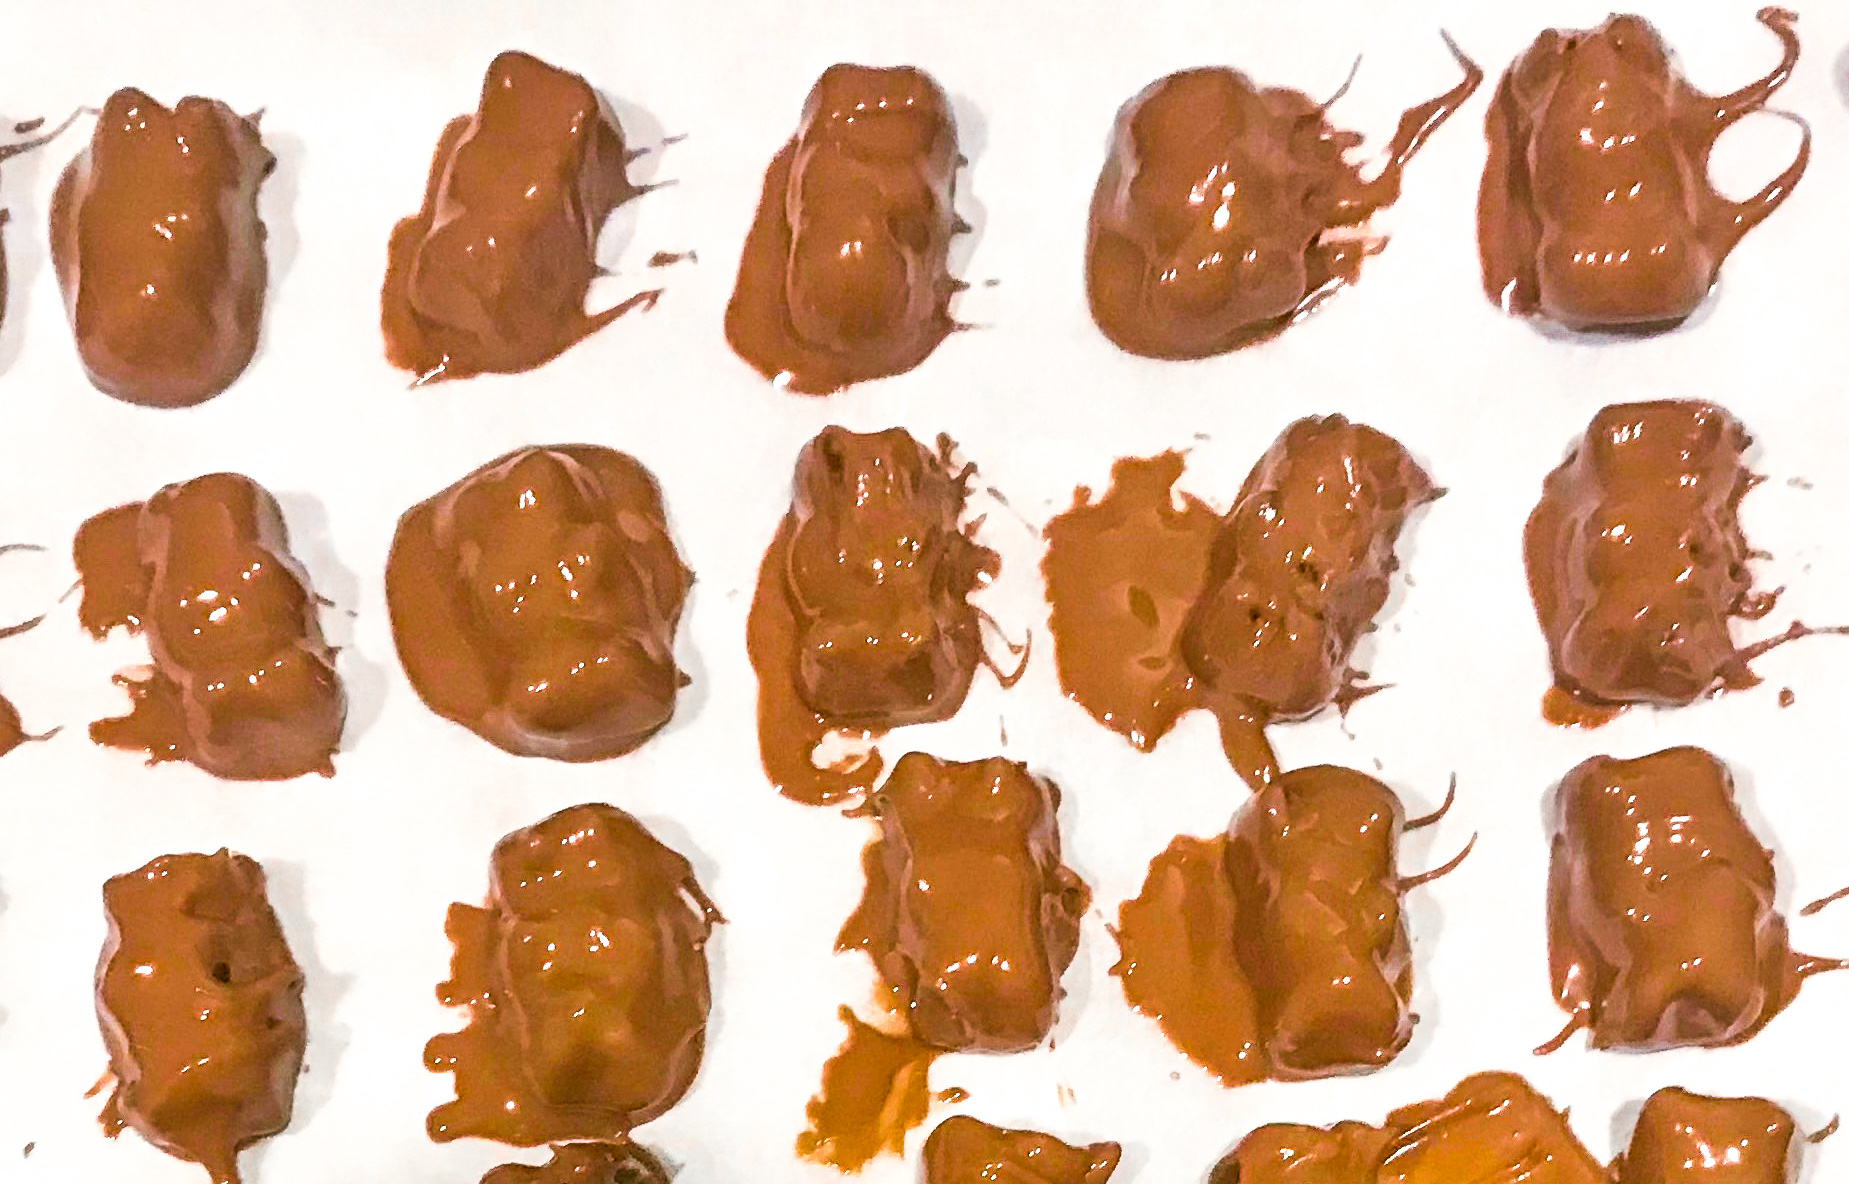
Be sure to keep the bears separated on the parchment paper!
What about the SPRINKLES?
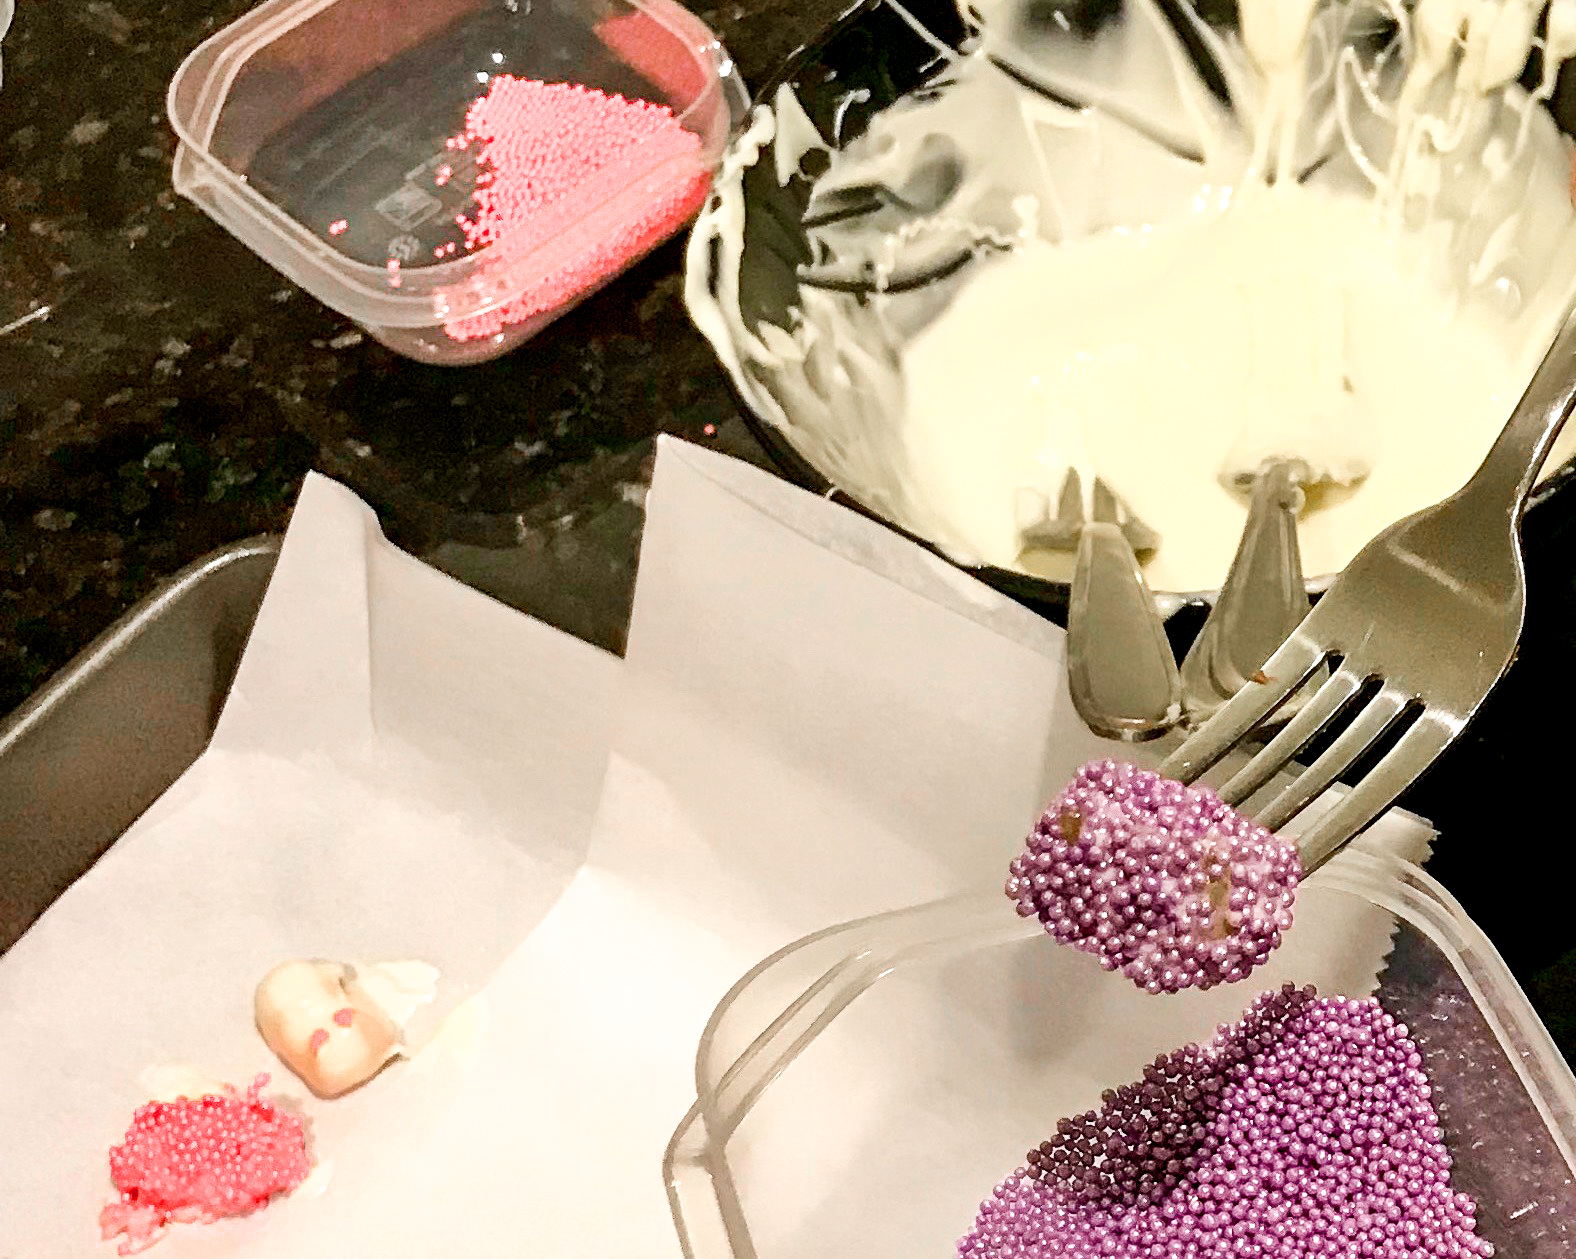
If you want to make a few (or a lot) pretty chocolate gummy bears, dip into the chocolate, tap off the extra, and once again transfer to the cleaner fork.
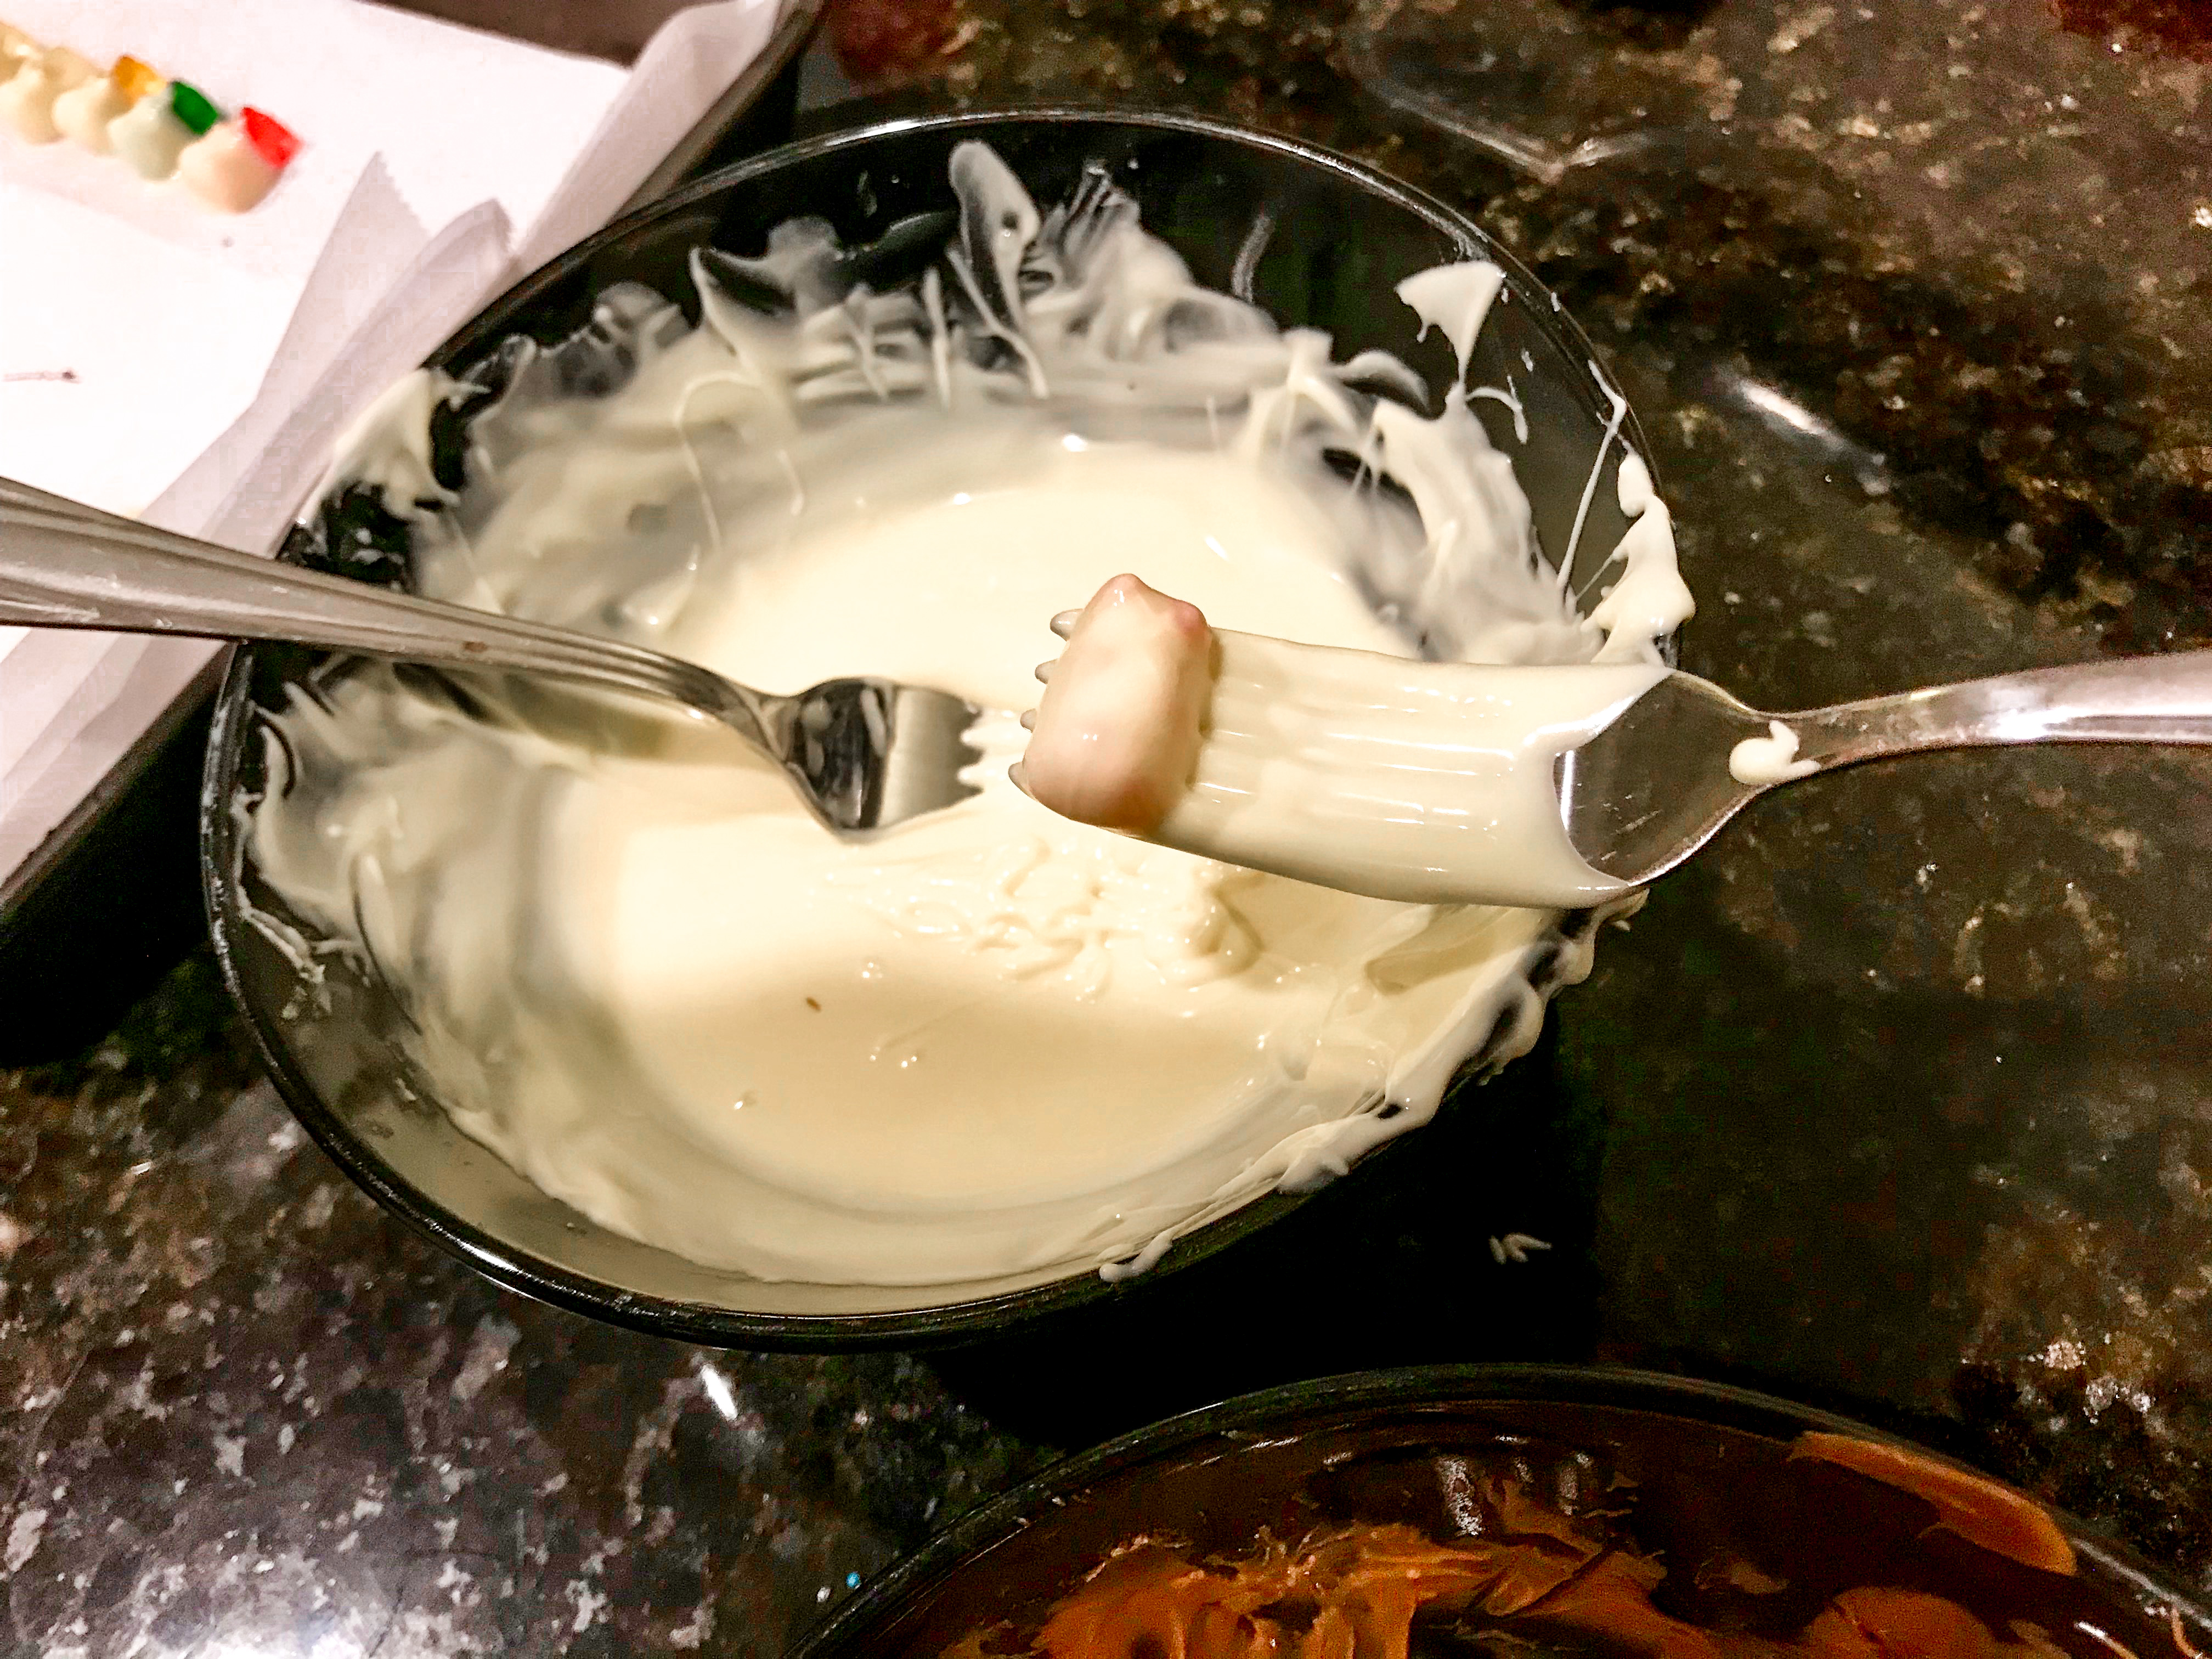
Then “dip” the front of the gummy bear into the sprinkles while still on the fork.
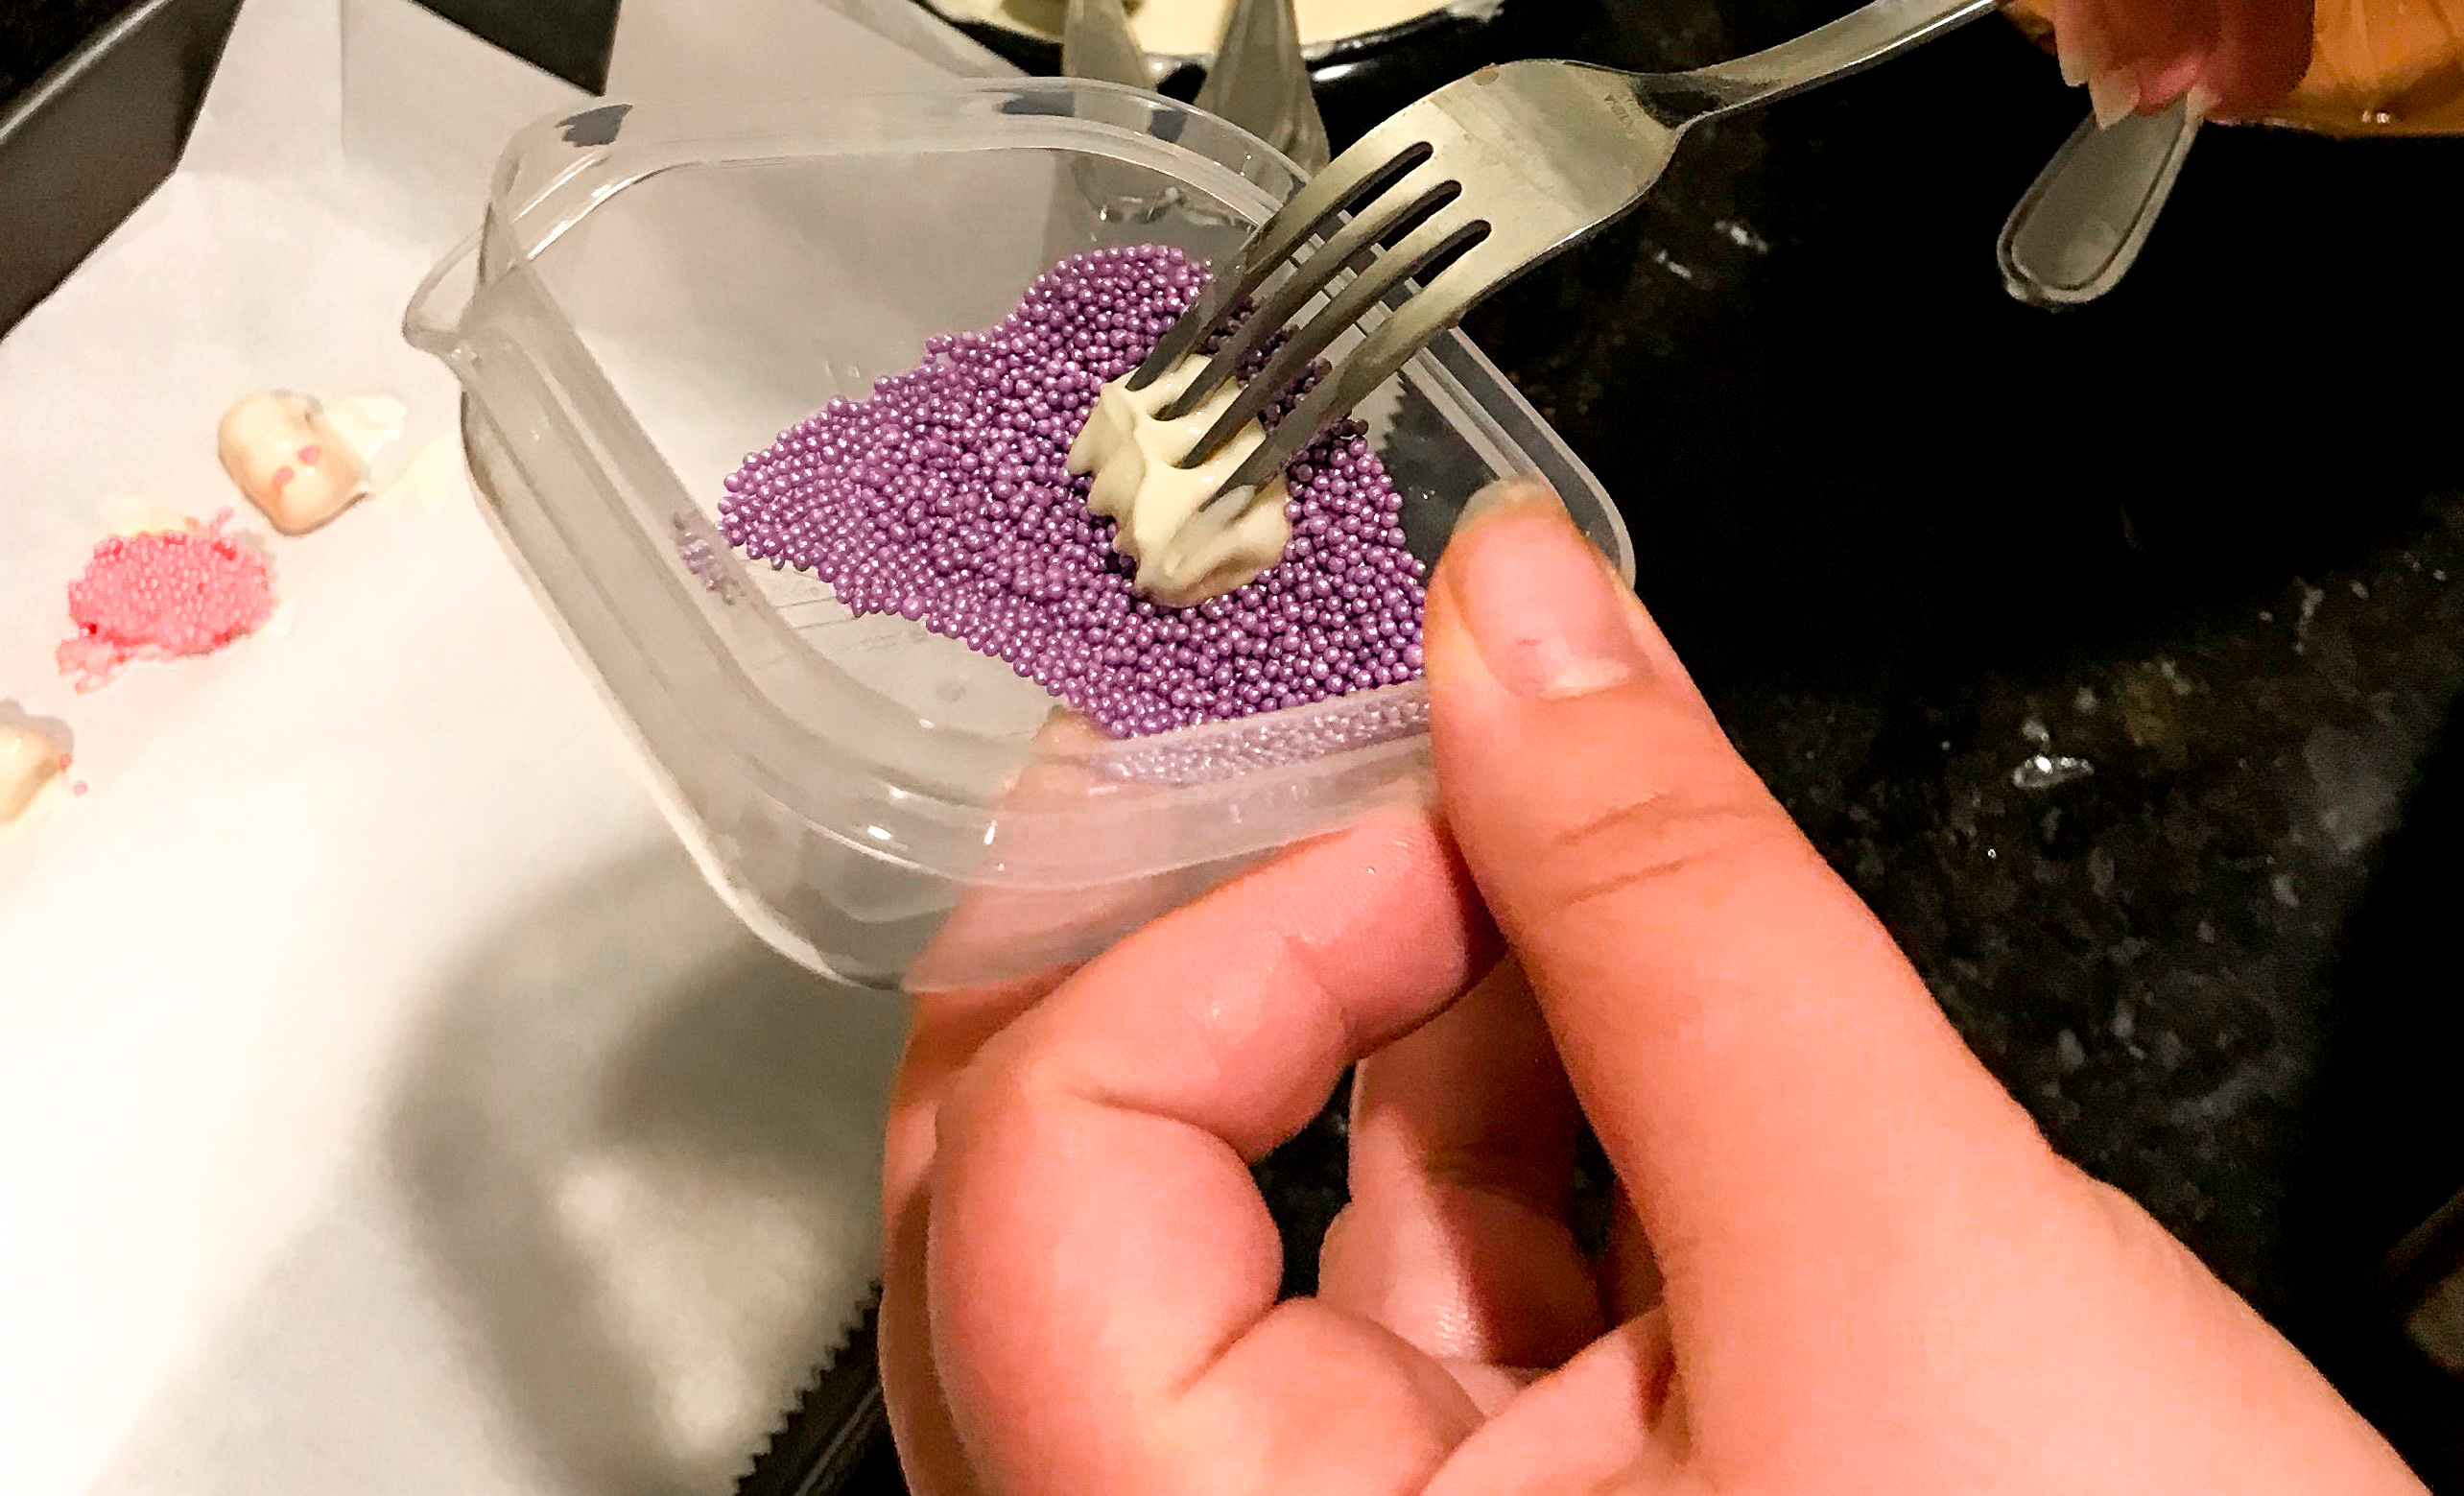
Wah lah a pretty sprinkled chocolate covered gummy bear!
It will take the bears a day or so to set up and harden. You can use the fridge to speed it up but be warned it may cause them to sweat later so probably not a good plan if you plan to package them, but fine for if you want a few to munch on!
ENJOY!

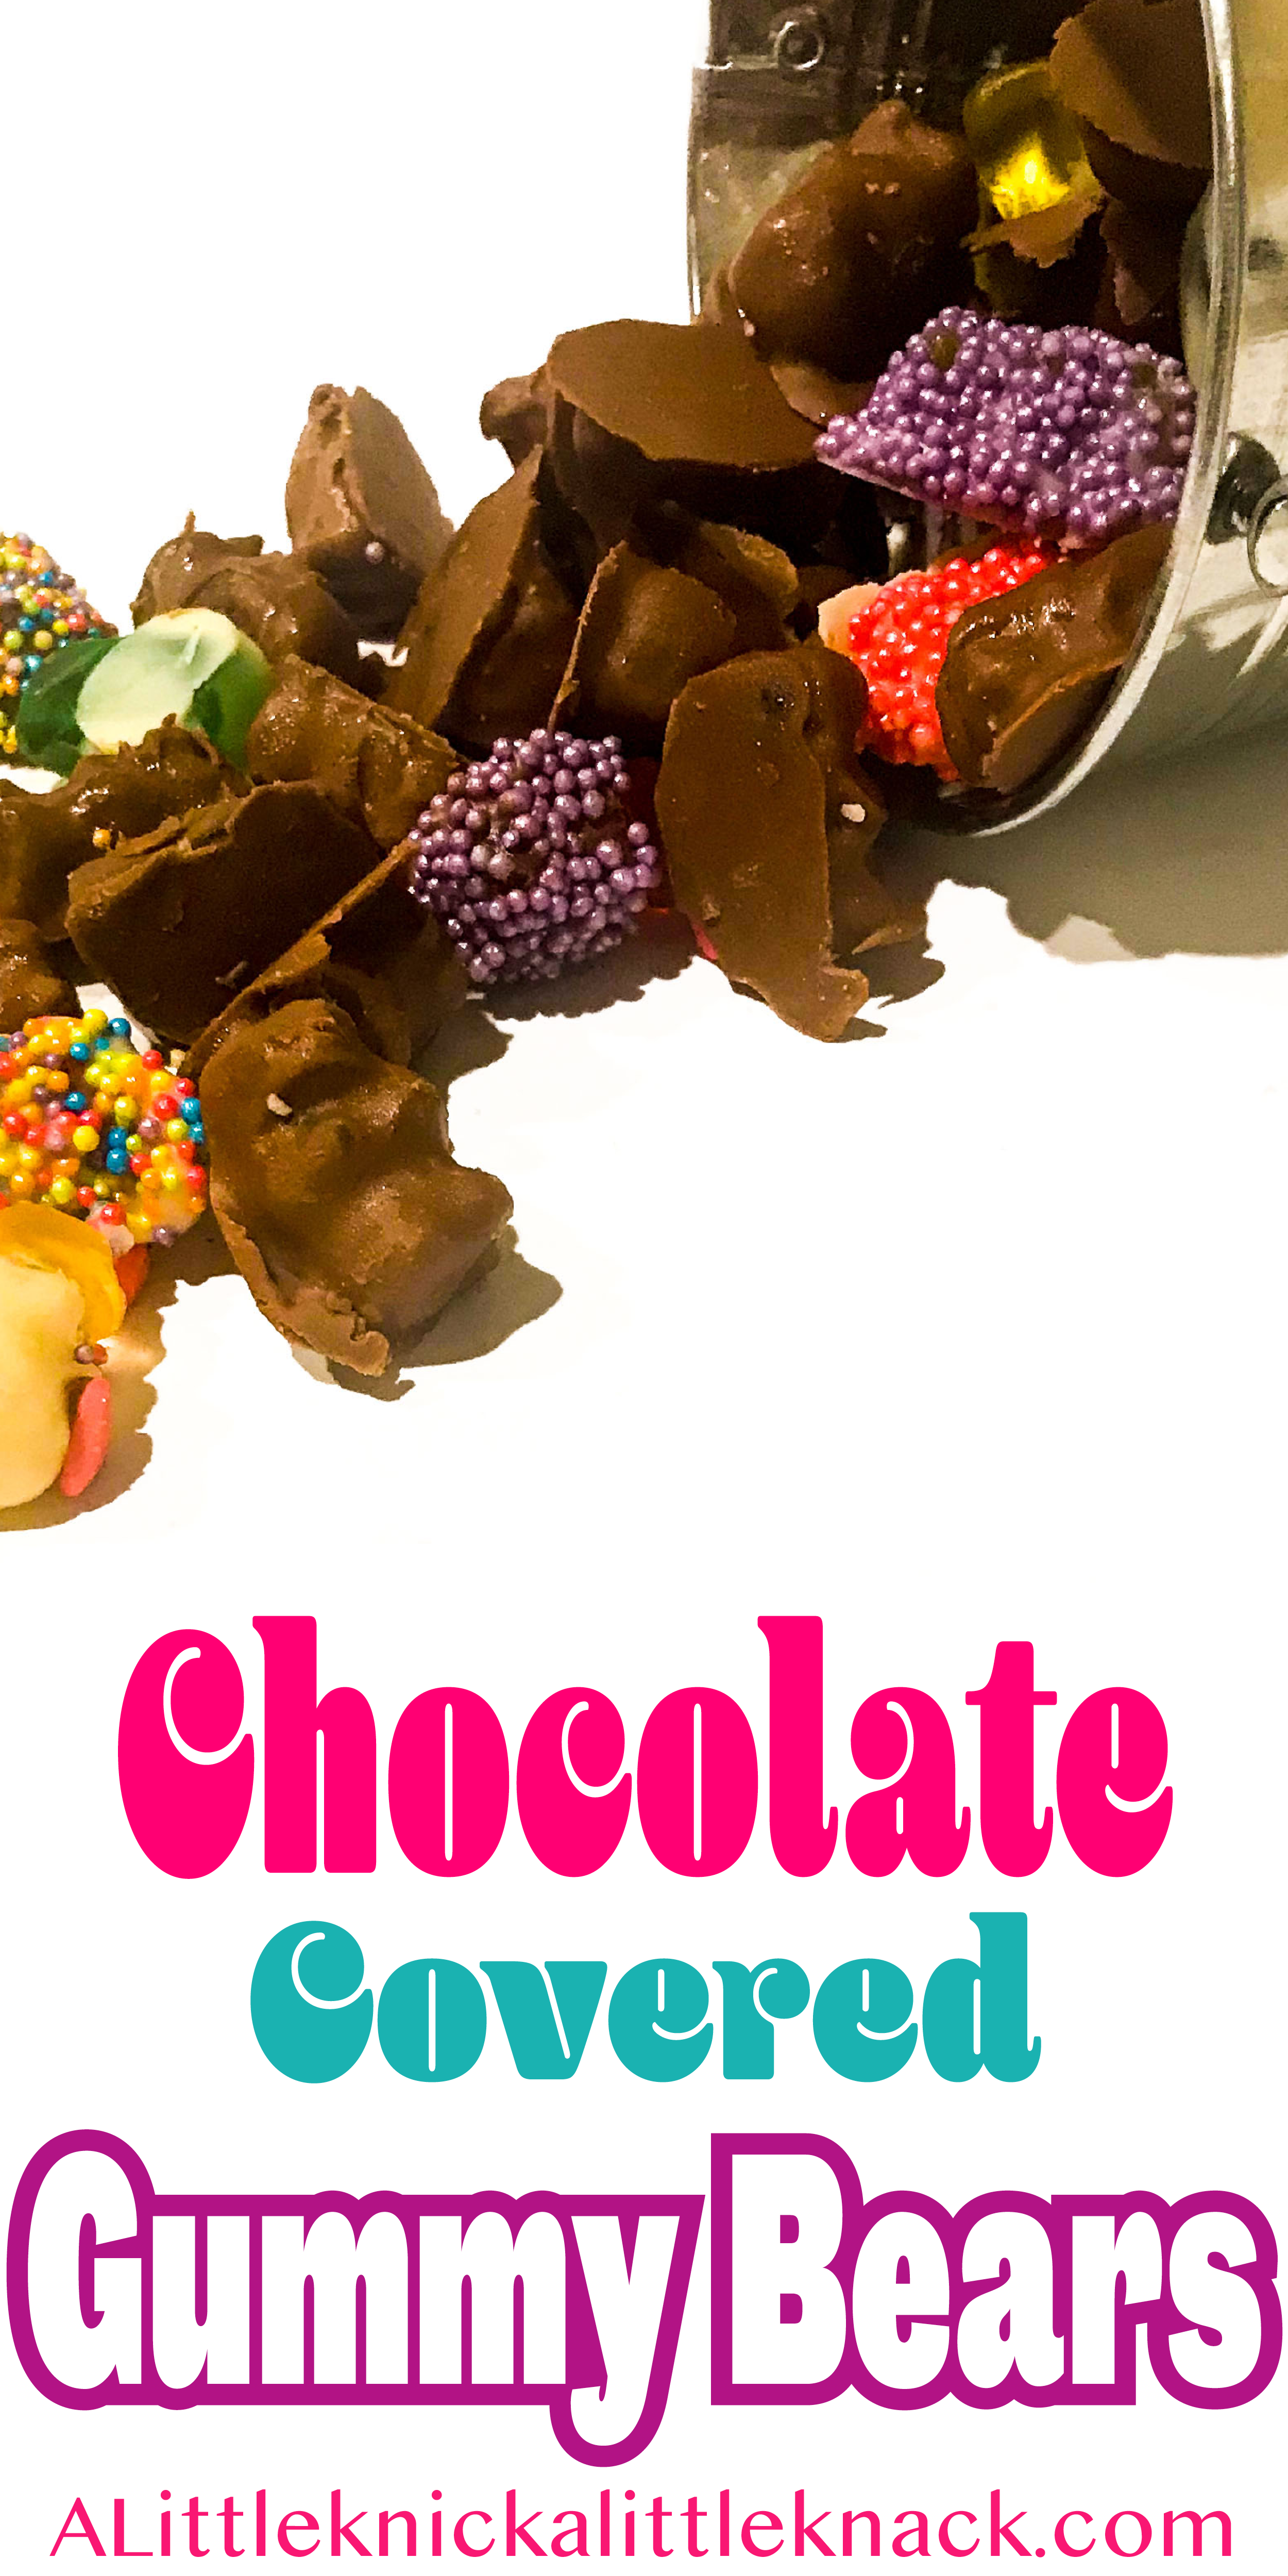
Chocolate covered gummy bears and pink heart sprinkles cascading out of a glass with text overlay.
Related Posts