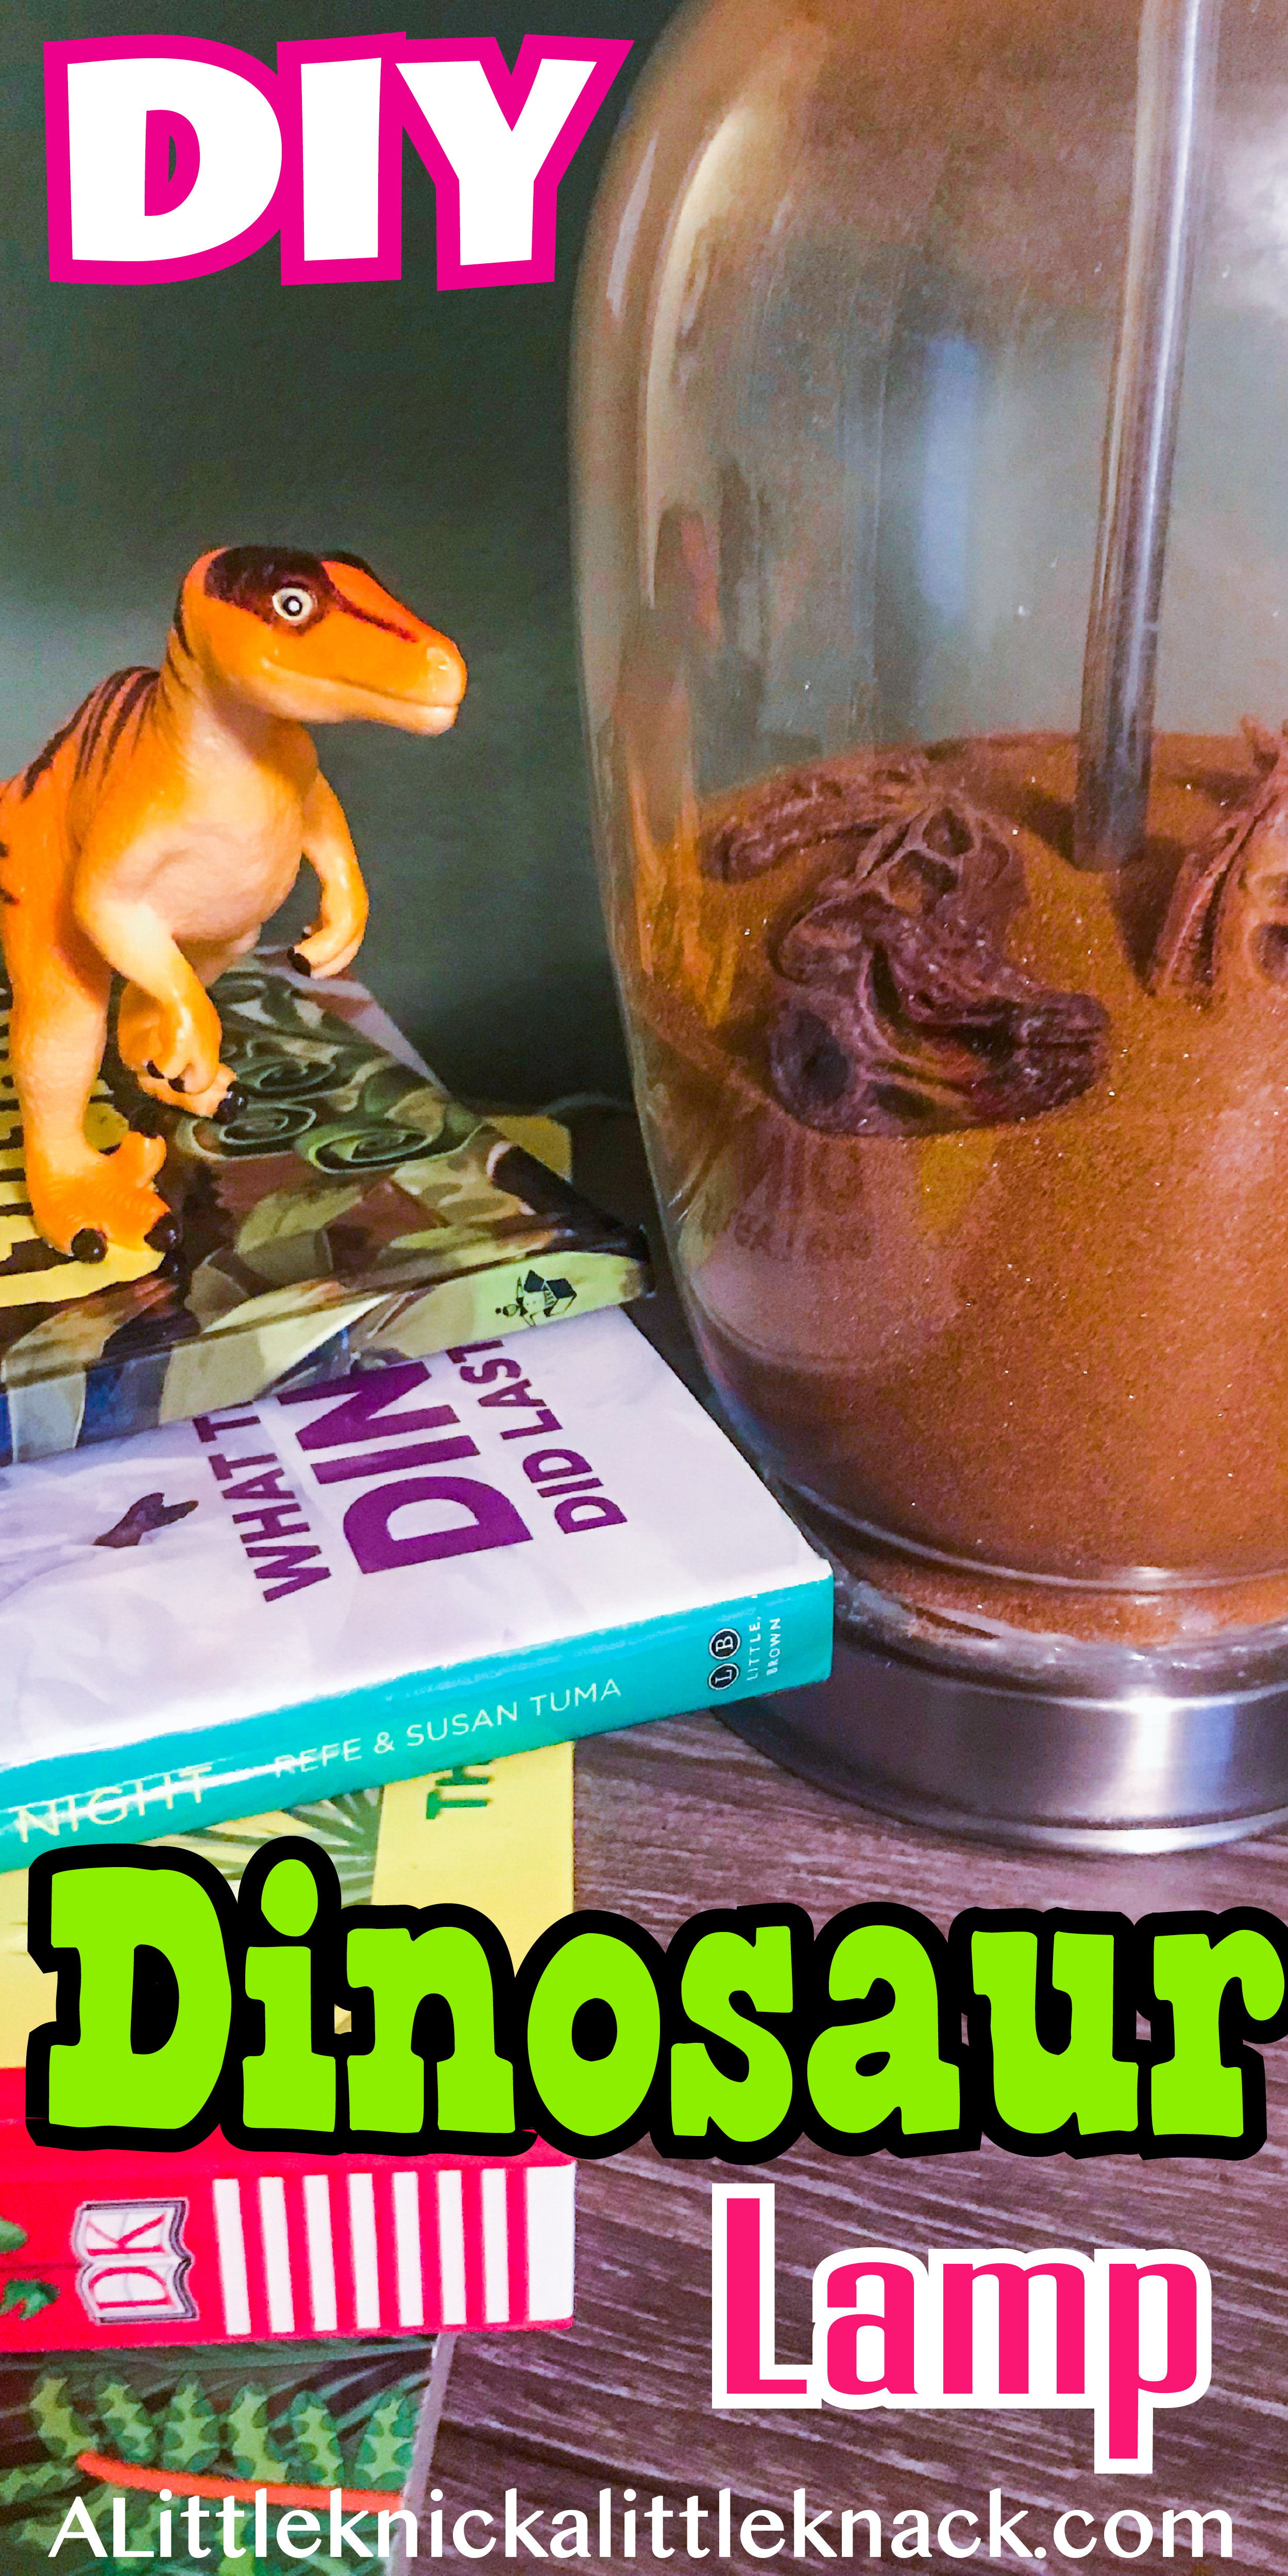
This is actually my second time doing this project. The first was way back in 2014 but I made a few mistakes that led to it not surviving the move to our new home. So I made a few adjustments and here is my new and improved DIY dinosaur dig lamp how to.
*This post may contain affiliate links which may allow us to receive a small commission (at no additional cost to you) for purchases you make after clicking on product links in our posts, to view our full affiliate disclosure click here.
But rest assured we fully believe in every product we endorse..
Time: 35-45 minutes
Materials:
- Fillable Craft Lamp
- Crafting Sand
- Dinosaur Skulls
- Hot Glue Gun
- Hot Glue Sticks
- Funnel or Measuring cup/ container with pour spout
- X-ACTO Knife
- Cookie Tray
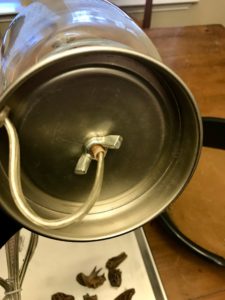
First things first, if you are using the lamp I linked to at the top, you will need to unscrew the base a little and glue around the top hole to prevent sand from pouring out as you pour it in. To unscrew simply turn the wing nut at the bottom and loosen up the base, you don’t want it to come all the way off just enough to where it is loose.
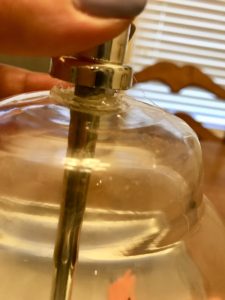
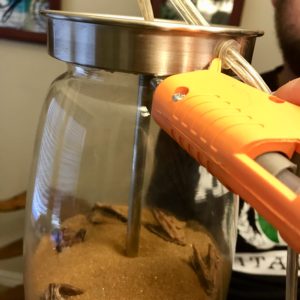
Then lift up the exterior cover on the top of the lamp and glue around the small hole in the glass. Push the exterior plastic cover back down until the glue dries.
Loosen up the wing nut until the entire base comes off and add in some of the dinosaur skulls.
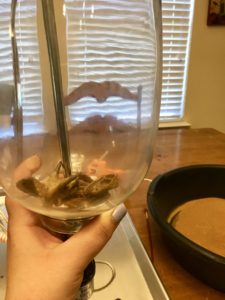
Pour the sand into the lamp OVER the cookie sheet. Spills may happen and it is a lot easier to clean up on a cookie sheet than off the floor (I don’t know about you but I even hate sand in my house after a beach vacation much less a crafting project).
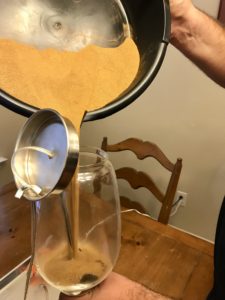
Add in the rest of your dinosaur skulls now.
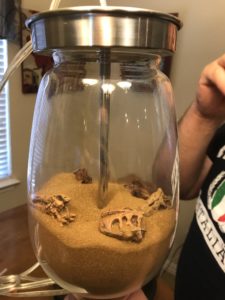
Screw the wing nut back on most of the way, leaving just a little wiggle room, and glue around the bottom of the glass ( the mistake I made last time was skipping this step leading to a sand catastrophe during our move). Try to be quick and it doesn’t have to be perfect. Then preferably while the glue is still warm tighten the wing nut all the way.
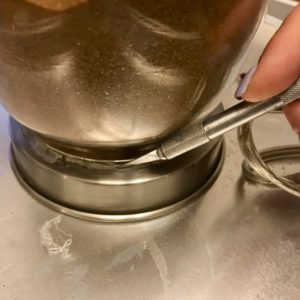
Cut off any excess glue with an Exacto knife.
At this point you are probably looking at it going did I miss a step? It looks like a lamp filled with sand. Don’t worry that’s how mine looked at first too (both times).
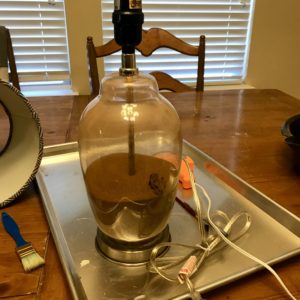
Here is where the magic happens: gently shake it and the skulls will start to rise to the top. Play around with it until you like the way it looks and then add a bulb and plug it in!
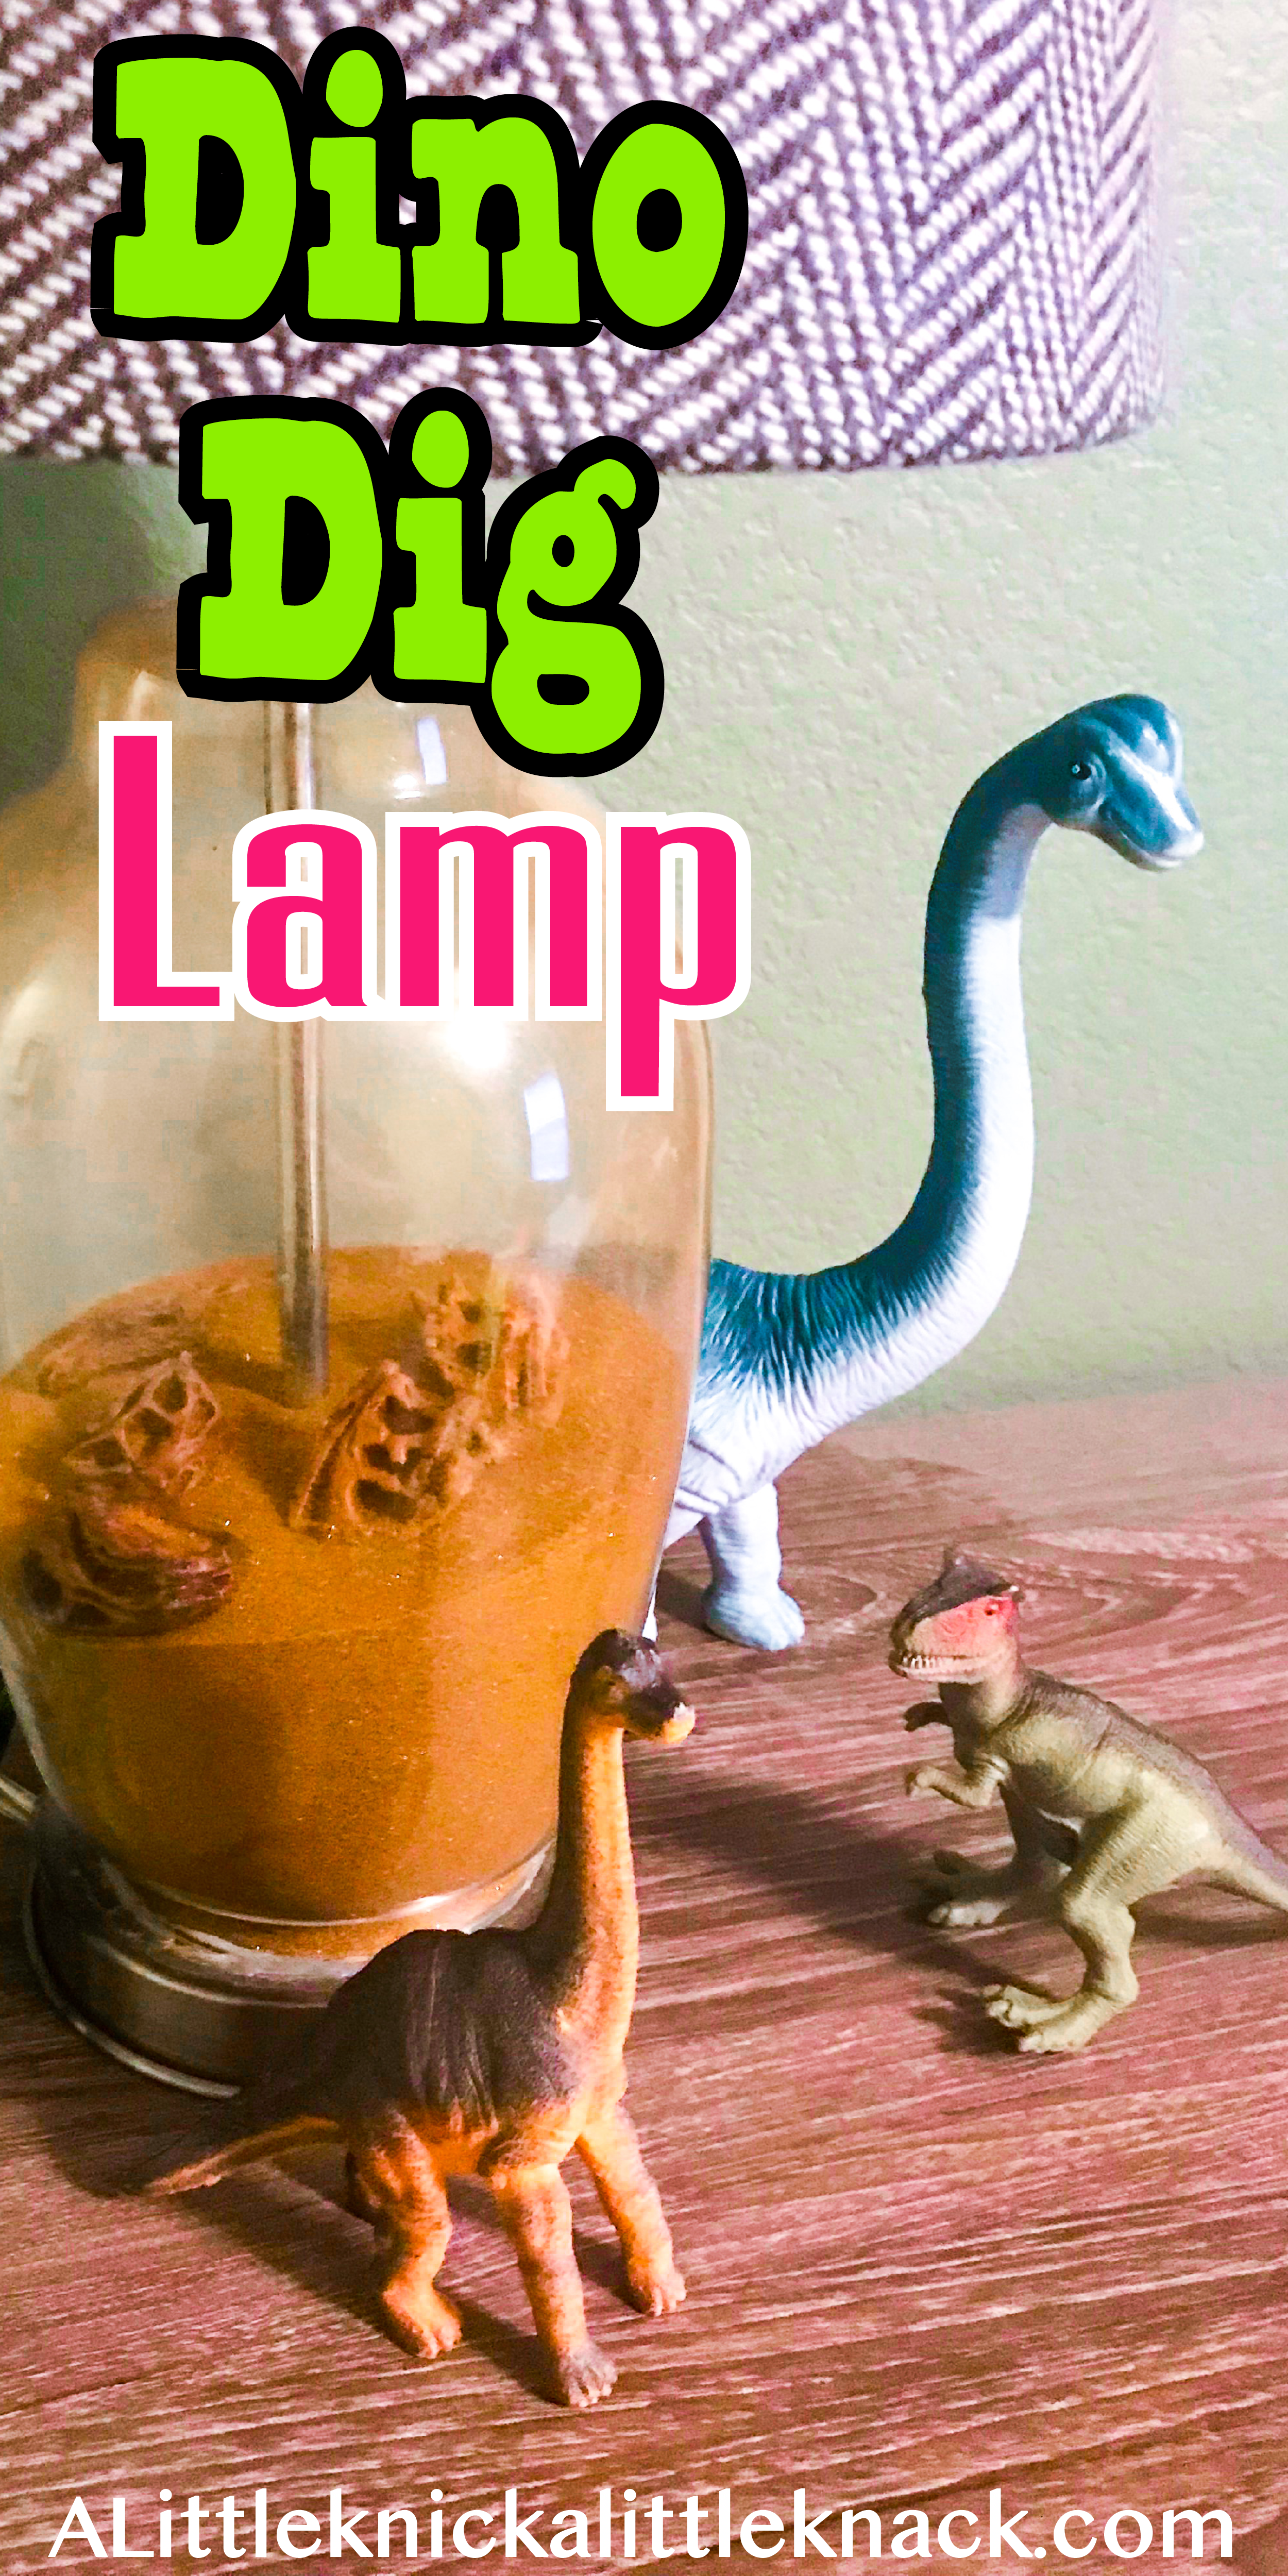
At first there may be some sand stuck to the inside of the glass, especially if you live somewhere humid like me. Give it time and as I learned last time it will settle!
Related Posts
Be sure to check out my Dinosaur Room board on Pinterest for more great ideas.


This is amazing! My son is going to be so excited when he gets this for his birthday!!! Thank you so so much for posting such an awesome idea/tutorial! I do have a question, have you ever used anything other than dinosaur skulls? Like shells, small plastic dinosaurs, and etc? I didn’t know if you had tried that and if they rose up to the top like the skulls when you shake it a little or not. Thinking of Christmas presents for my mom and nephew (he’s only 2.5 nervous the skulls will scare him unlike my 4yr old)
I’m so glad you liked the DIY and found a way to put it to good use! I have actually tried it with other objects and plastic toys/ other things of a similar density do rise to the top as well! The only thing I will caution you on is that some toys kind of end up laying funny since they aren’t quite as compact as the dino skulls. For seashells I typically find that a top loader lamp works a bit better but it’s not quite as childproof for kid’s rooms (shouldn’t be an issue if it is for your mom though!)
I hope your son has a wonderful birthday!