When I was designing our son’s room before we moved, he had one request: Yellow!
As much as I tried, I could not dissuade him from wanting a yellow room. Now I’m not sure about you, but bright yellow is not my favorite color and I was pretty sure he would tire of and outgrow an entire room in yellow pretty quickly (or if he didn’t I would). So I decided I would do an accent wall in yellow that complemented his dinosaur theme.
I researched premade dinosaur wall murals for hours.
I found a few I LOVED but for the size I needed they ran from three hundred to ONE THOUSAND dollars.
I don’t know about you but I do not have that type of money lying around in the best of times, much less right after purchasing a home. So being the crafty stubborn mama I am, I decided I can do this. I may not be an artist but I CAN figure this DIY dinosaur wall mural thing out out. (After all paint and brushes are a ton cheaper than three hundred bucks right?)
*This post may contain affiliate links which may allow us to receive a small commission (at no additional cost to you) for purchases you make after clicking on product links in our posts, to view our full affiliate disclosure click here.
But rest assured we fully believe in every product we endorse.
DIY Dinosaur Wall Mural Supplies
- Valspar Clear Mixing Glaze (16 fl-oz)
- Valspar Signature Satin Interior Paint in Lemon Curd(7.5 fl-oz))
- Valspar Signature Satin Interior Paint in Toffee Glaze(7.5 fl-oz))
- Valspar Signature Satin Interior Paint in Cowboy Hat(7.5 fl-oz))
- Valspar Signature Satin Interior Paint in Cliveden Camelback Sofa(1 Gallon)
- Valspar Signature Satin Interior Paint in Grandma’s Linen (1 Gallon)- This is for the other walls not the mural
- Purdy Paintbrush Value Pack
- Plastic Drop Cloth
- Painter’s Tape (Buy Frog Tape if you can afford it)
- Dinosaur Vinyl Wall Decals
Preparing The Room
Honestly one of the longest parts was preparing the room.
I laid down the tarp and taped it to the top of the base moulding, removed light switch plates and window blind hardware ( it really is worth it because otherwise you can never get close enough),and taped up all the wall edges and around the base moulding. Having messy edges can ruin the whole look and make you wish you just hired painters.
Personally I think Frog Tape is one of the best, but I was feeling frugal and bought the cheapo stuff. Of course the result was messy edges I then had to clean up.
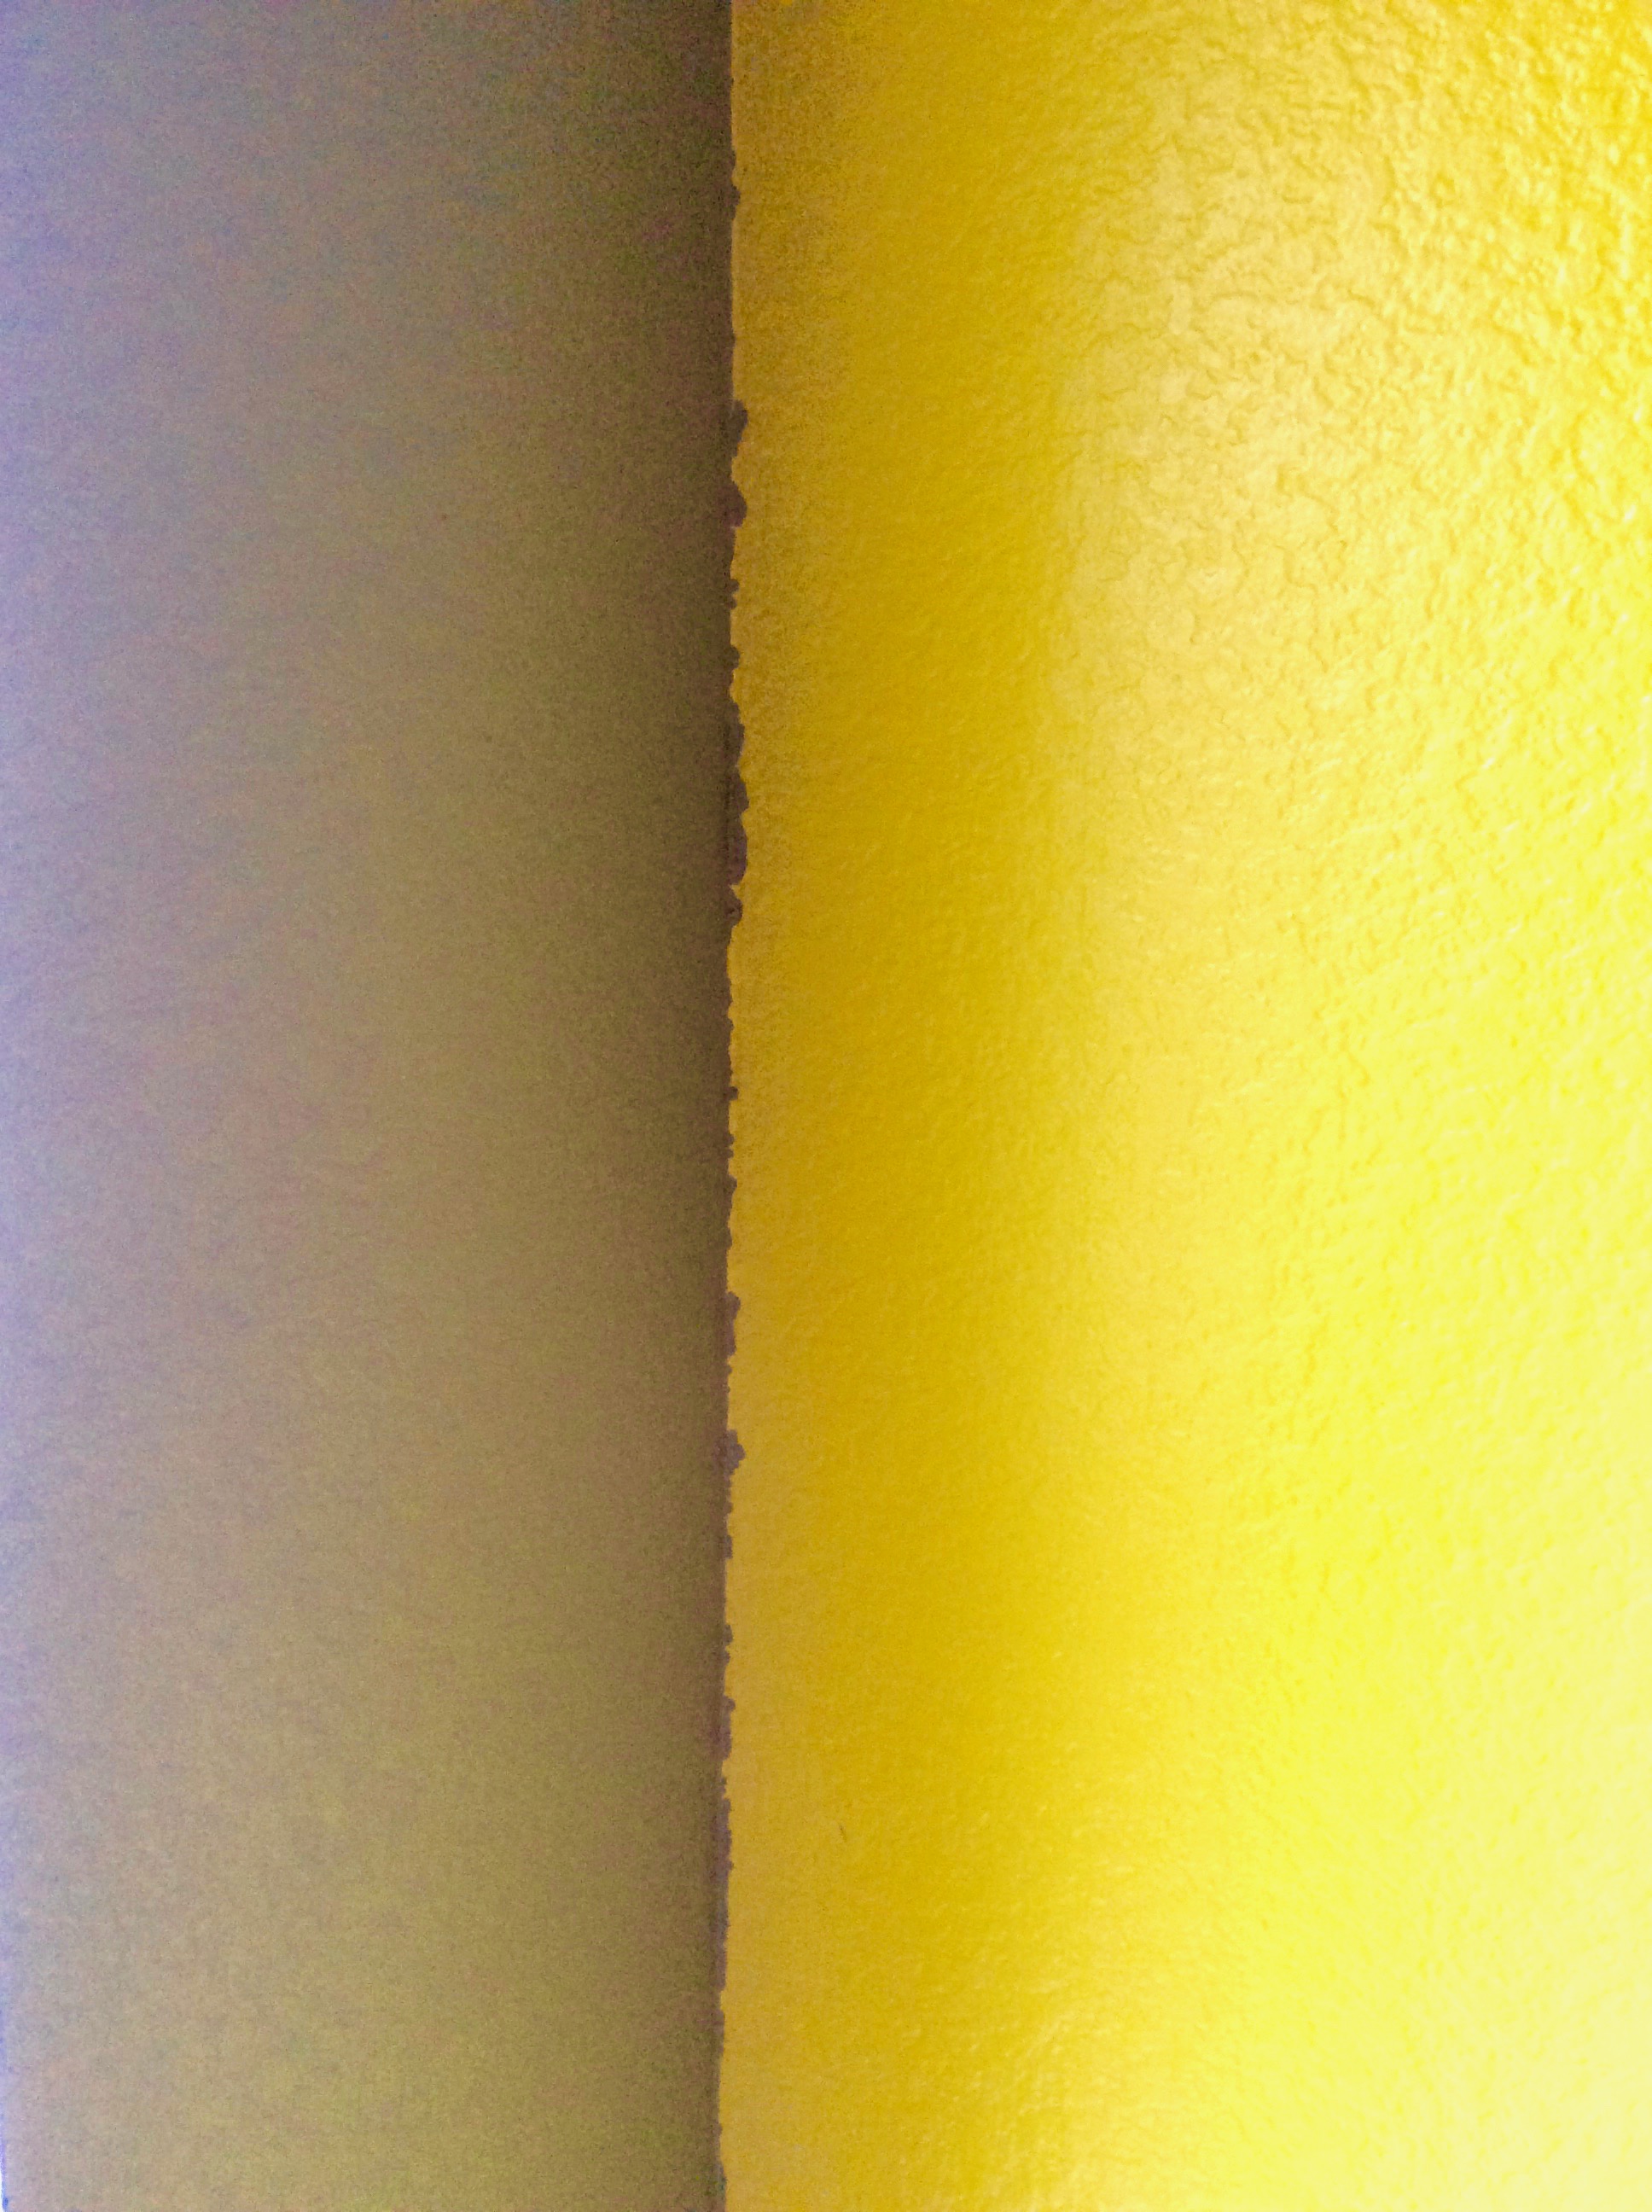
Before Edge Clean-Up
I then painted all the non-mural walls in Grandma’s Linen (such an attractive name), let that dry, then painted the entire mural wall in Cliveden Camelback Sofa.
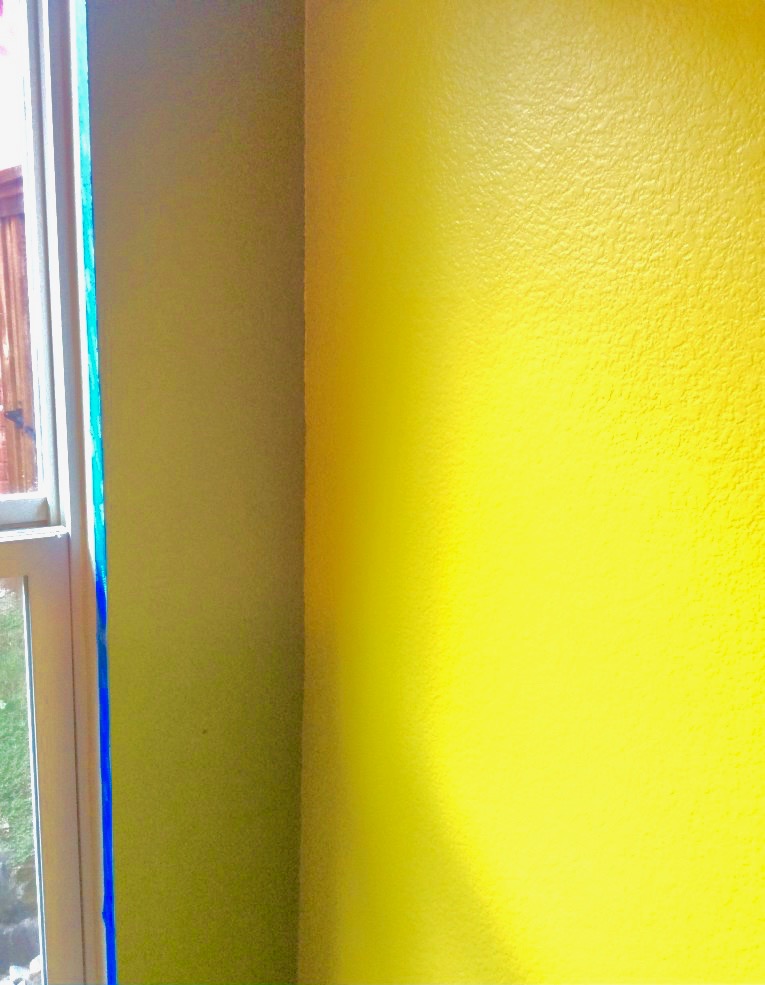
After Edge Clean Up
Painting Your DIY Dinosaur Wall Mural
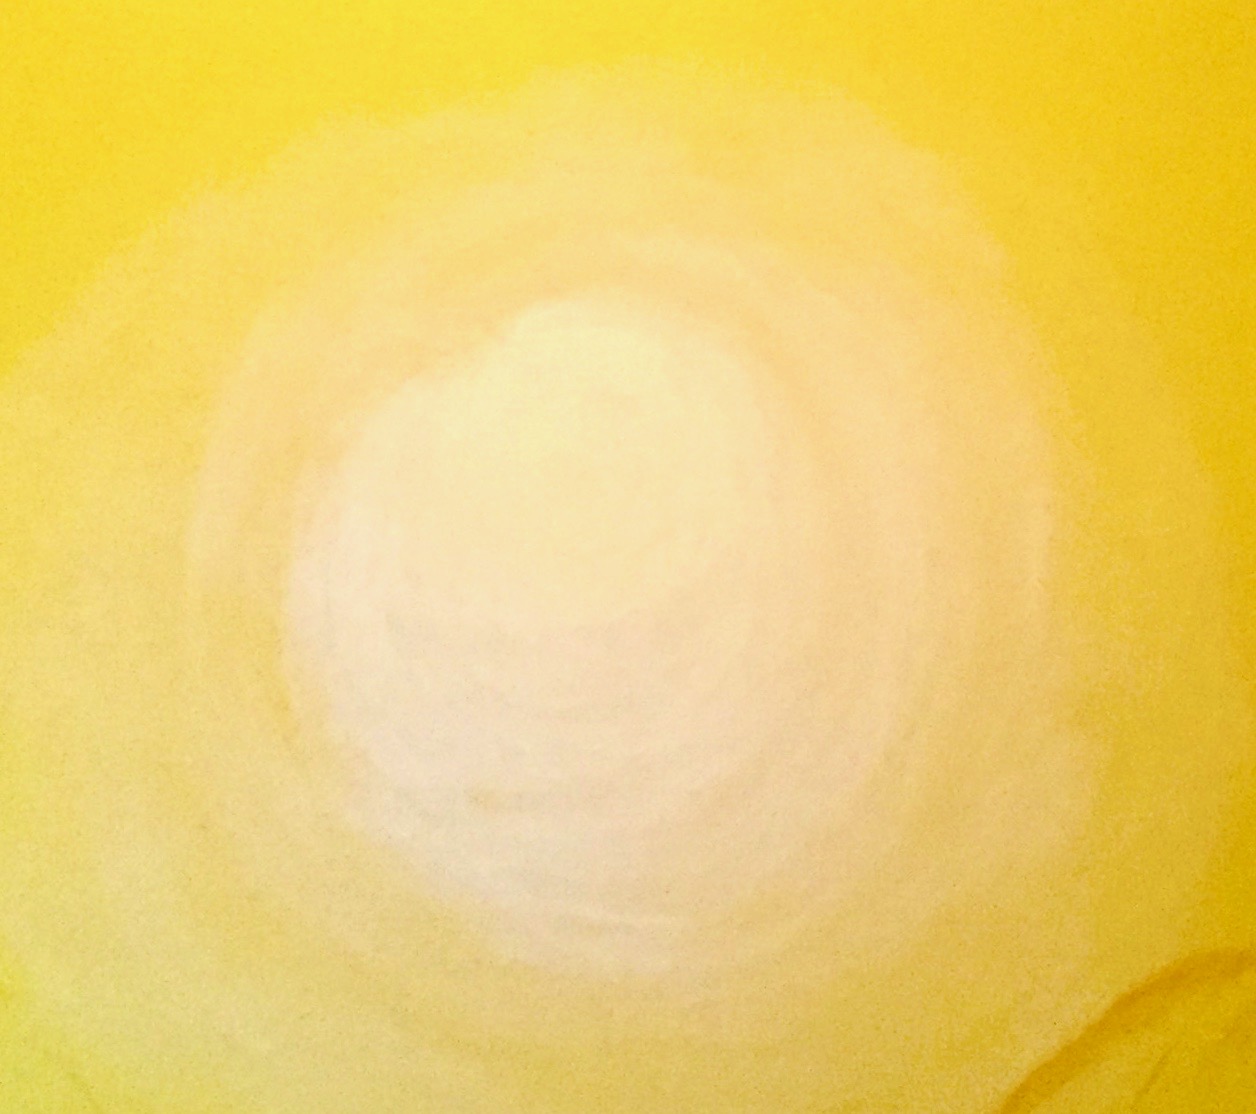
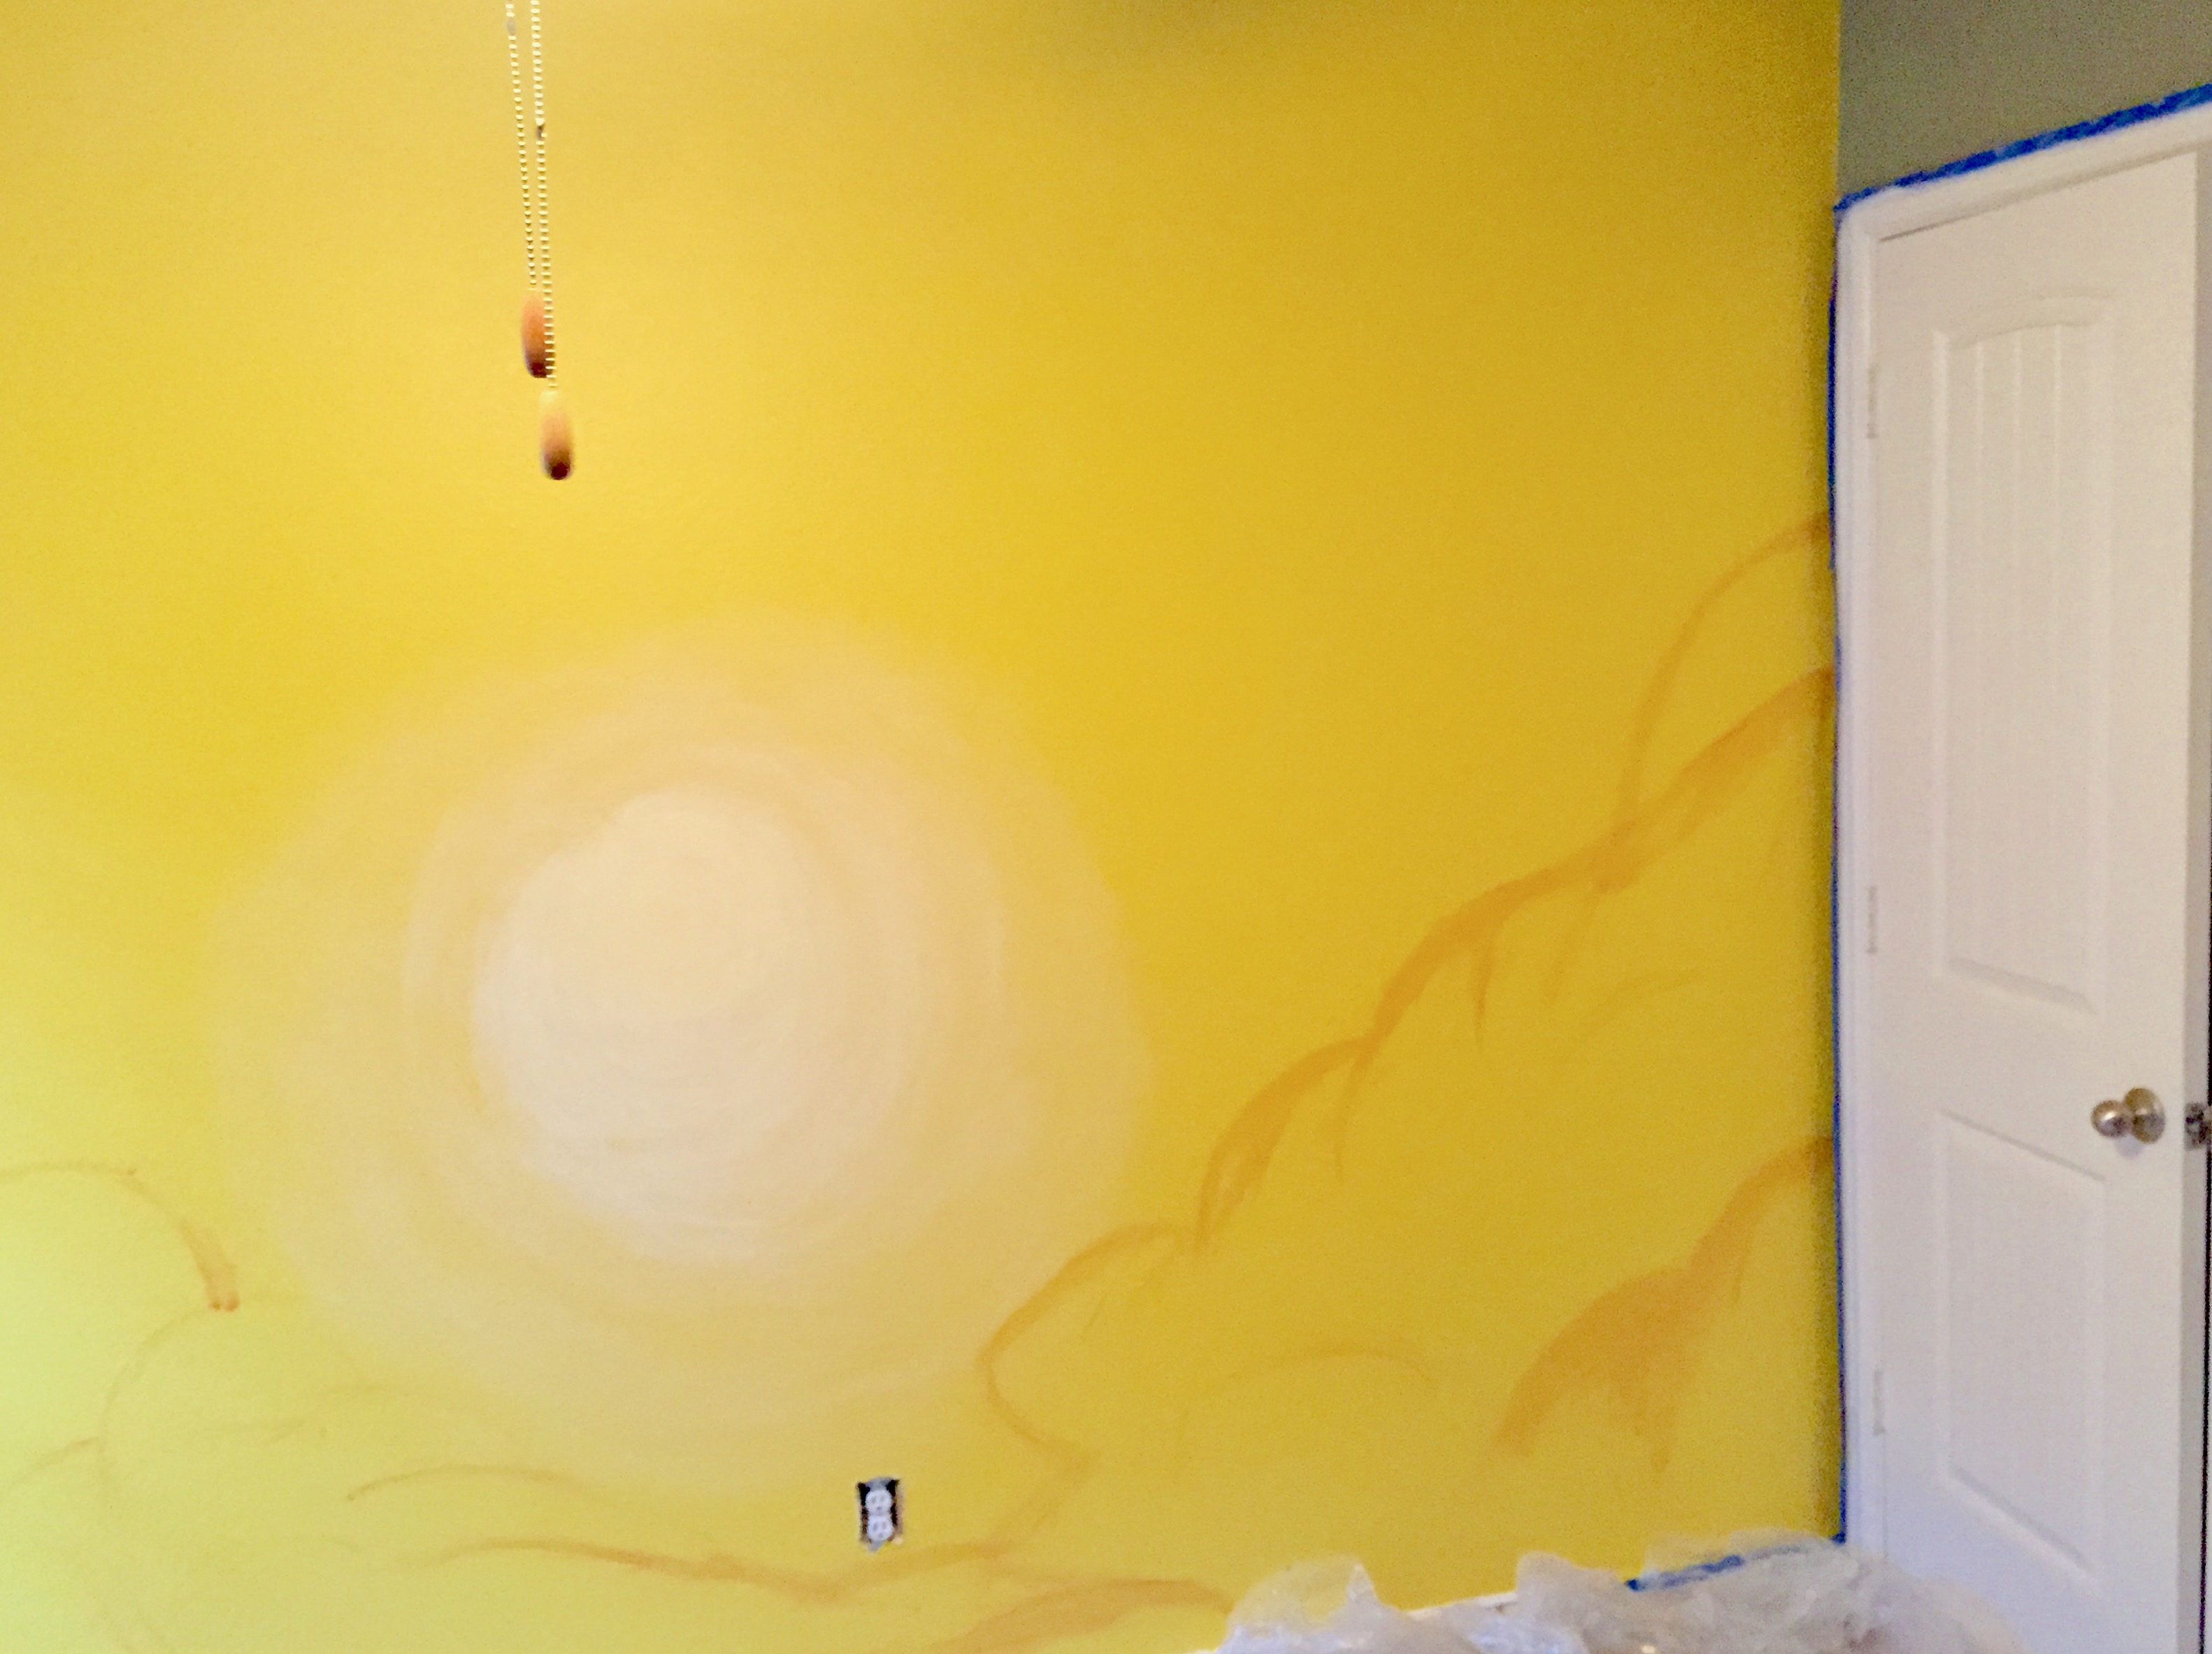
1) The Sun
For me it was easiest to start my dinosaur wall mural with the sun, plus I wanted the clouds to “lay” above the sunlight so it had to come first .
I mixed a tiny bit of Valspar Glaze with a much larger amount of Lemon Curd paint (about a one to ten ratio) and painted a circle. If you’ve ever taken a art class you probably know it’s near impossible to create a perfect circle in one go, so just relax, and go over it a few times.
hint: If you’ve ever taken a art class you probably know it’s near impossible to create a perfect circle in one go, so just relax, and go over it a few times.
My initial circle ended up only being about 6 inches in diameter. I filled it in with the one part glaze 10 part paint mixture moving from the edges inward in concentric circles.
Then I added a bit more glaze ( about a 3 part glaze 7 part paint mixture) and made a loose circle around the more solid one. I then made another circle with about a 1 part glaze 1 part paint mixture. I went by feel and added more glaze until a gradient was created, giving the illusion of diffuse sunlight.
2) The Clouds
Next came the clouds. I initially used a mixture of a little Toffee Glaze paint plus a lot of glaze (think one part paint four parts glaze) to “sketch” where I wanted the clouds to be.
Using a heavily glaze mixture is important in this step because otherwise you will be left with hard lines it will be near impossible to camouflage later.
From there I started shading.
A great tip is doing a quick google image search for sunset clouds to see the huge amount of dimension that exists in real life.
I never used solid long lines after my initial sketch and used little circular strokes with varying mixtures of glaze and Toffee Glaze paint. I found it was easiest to work from the outer edges furthest from the sun with a more concentrated mixture of paint and up the glaze content as you move towards where the light would be the most pronounced.

Now go back and repeat the process with a mix of the Cowboy Hat Paint, the Toffee Glaze Paint, and glaze. For this step I was pretty heavy handed with the glaze. I used about 2 parts glaze per one part Toffee Glaze paint and one part Cowboy Hat paint.
The idea here is to create shadows where the sun would not be shining and add another subtle layer of dimension. Define the bumps and crevices your earlier circular strokes created but stay away from solid lines!
Your clouds should be finished and looking three dimensional and you should be well on your way to having a beautiful DIY dinosaur wall mural. The hard part is over!

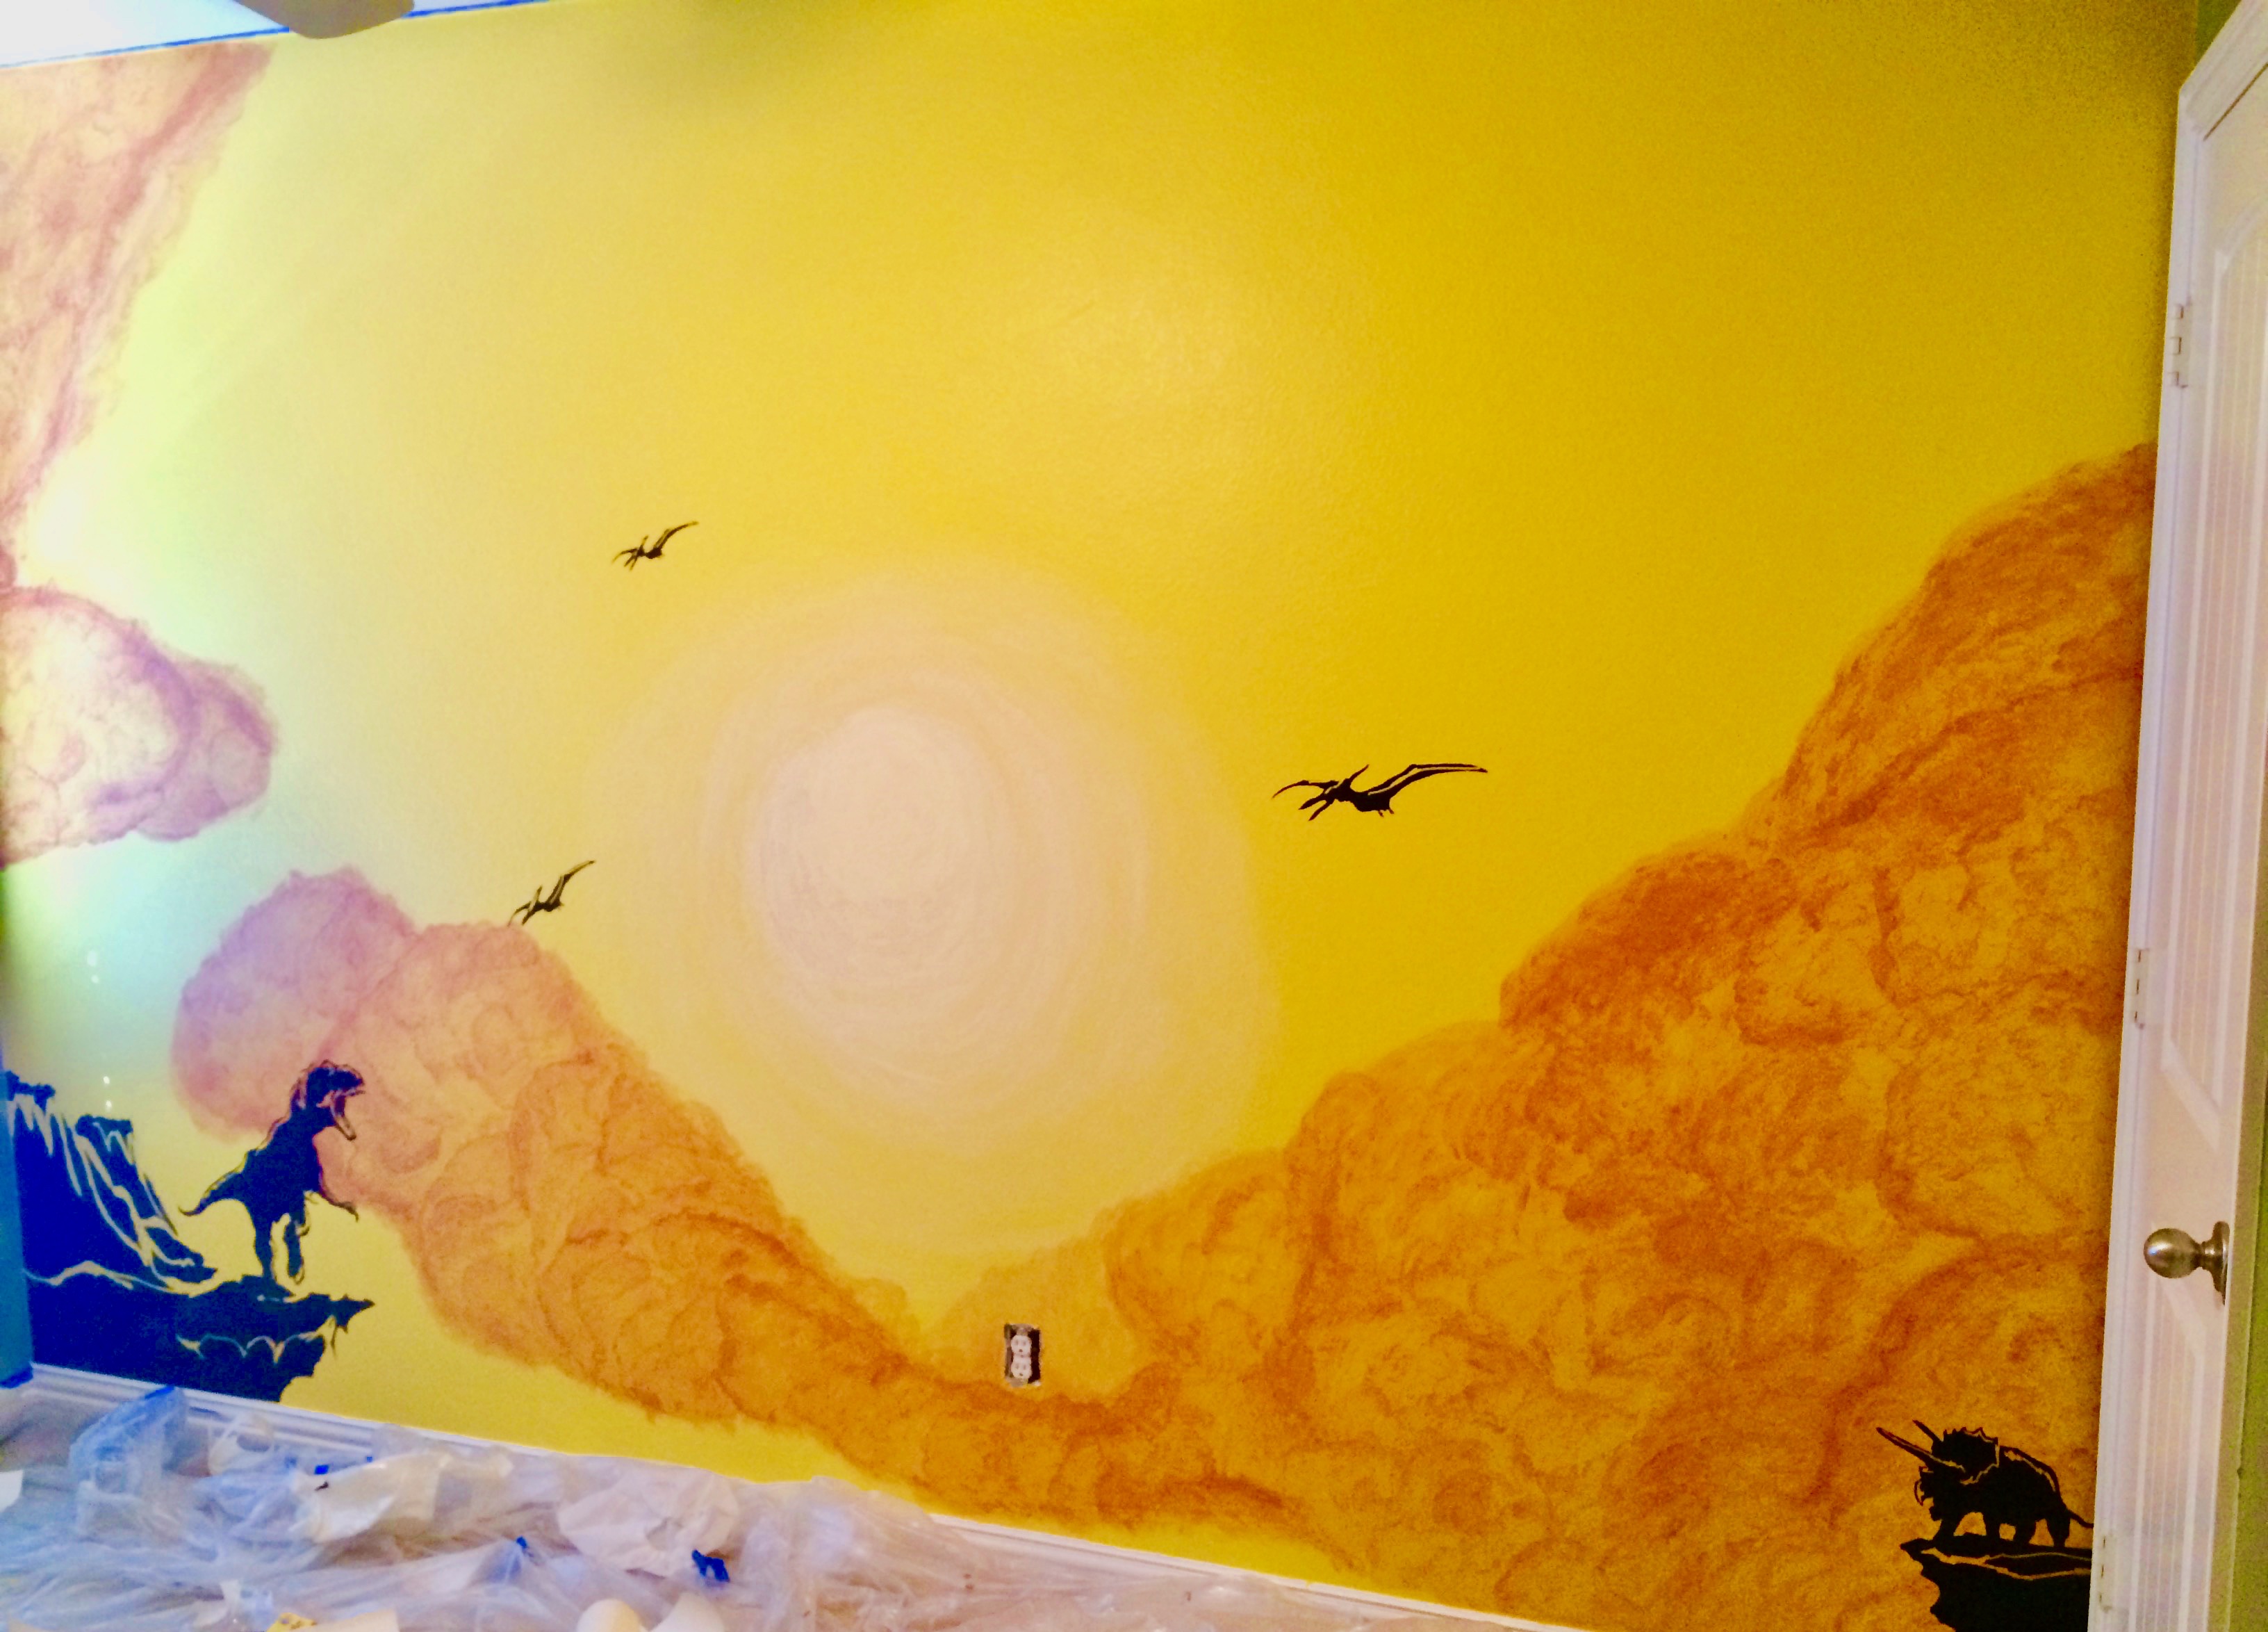
3) The Dinosaurs
Currently you have a sun and some clouds of course all that is missing now are your dinosaurs (I suppose it’s kind of important for a dinosaur wall mural to actually contain dinosaurs).
This is the easy part.
I debated using stencils but lets be real I didn’t want to risk my newly painted masterpiece being marred by stencil smudges (black paint is pretty hard to camouflage on an otherwise yellow wall). So I found these great Dinosaur Vinyl Wall Decals on Amazon.

I got them in the mail and (oops!) the instructions say that the paint needs to be a few weeks old before applying due to the vapors that new paint can release.
Well move in date was in just a few days so I let the paint dry as long as I could then went ahead and applied them to my wall figuring I could just reorder them if they peeled off. After all I wanted my son to be excited to see his new room, completed DIY dinosaur wall mural and all!
I guess I got lucky because a year later and they are still up!
Tips For Applying Vinyl Wall Decals
I will do a post on detailing a fool proof method for putting up vinyl wall stickers at a later date but for now let me give you a few tips I learned the hard way.
1. This so much easier if you have two people doing it. My husband actually had to watch the kiddo so I was on my own and it probably contributed to some of my later issues.
2. Don’t let the vinyl touch another part of the vinyl or anything except the wall exactly where you want it. This stuff sticks to everything! If you notice there are a few lovely Brachiosaurus in the vinyl picture that did not make it to my wall. I made the mistake of removing the protective covering and then putting it down. Well they were shipped in a tube and prone to rolling onto itself so one Brachiosaurus stuck to the other one and it was over. Trying to pull them apart was impossible so I salvaged my little Triceratops and moved on. I did actually buy a replacement but decided I kind of liked it as is so I left it.
3. Slowly move it towards the wall while pulled taut then do a gentle rub over the back to help set it.
4. Go over every nook and cranny with a credit card before even thinking about trying to pull away the paper from the wall. Otherwise you will get an incomplete transfer to the wall. Especially pay attention to any projections from the main piece like the Triceratops horns because these are the hardest to get to stick!
My son loved his room and his dinosaur wall mural! For more information about how we decorated the room check out our post on “The Dinosaur Room.”
Related Posts

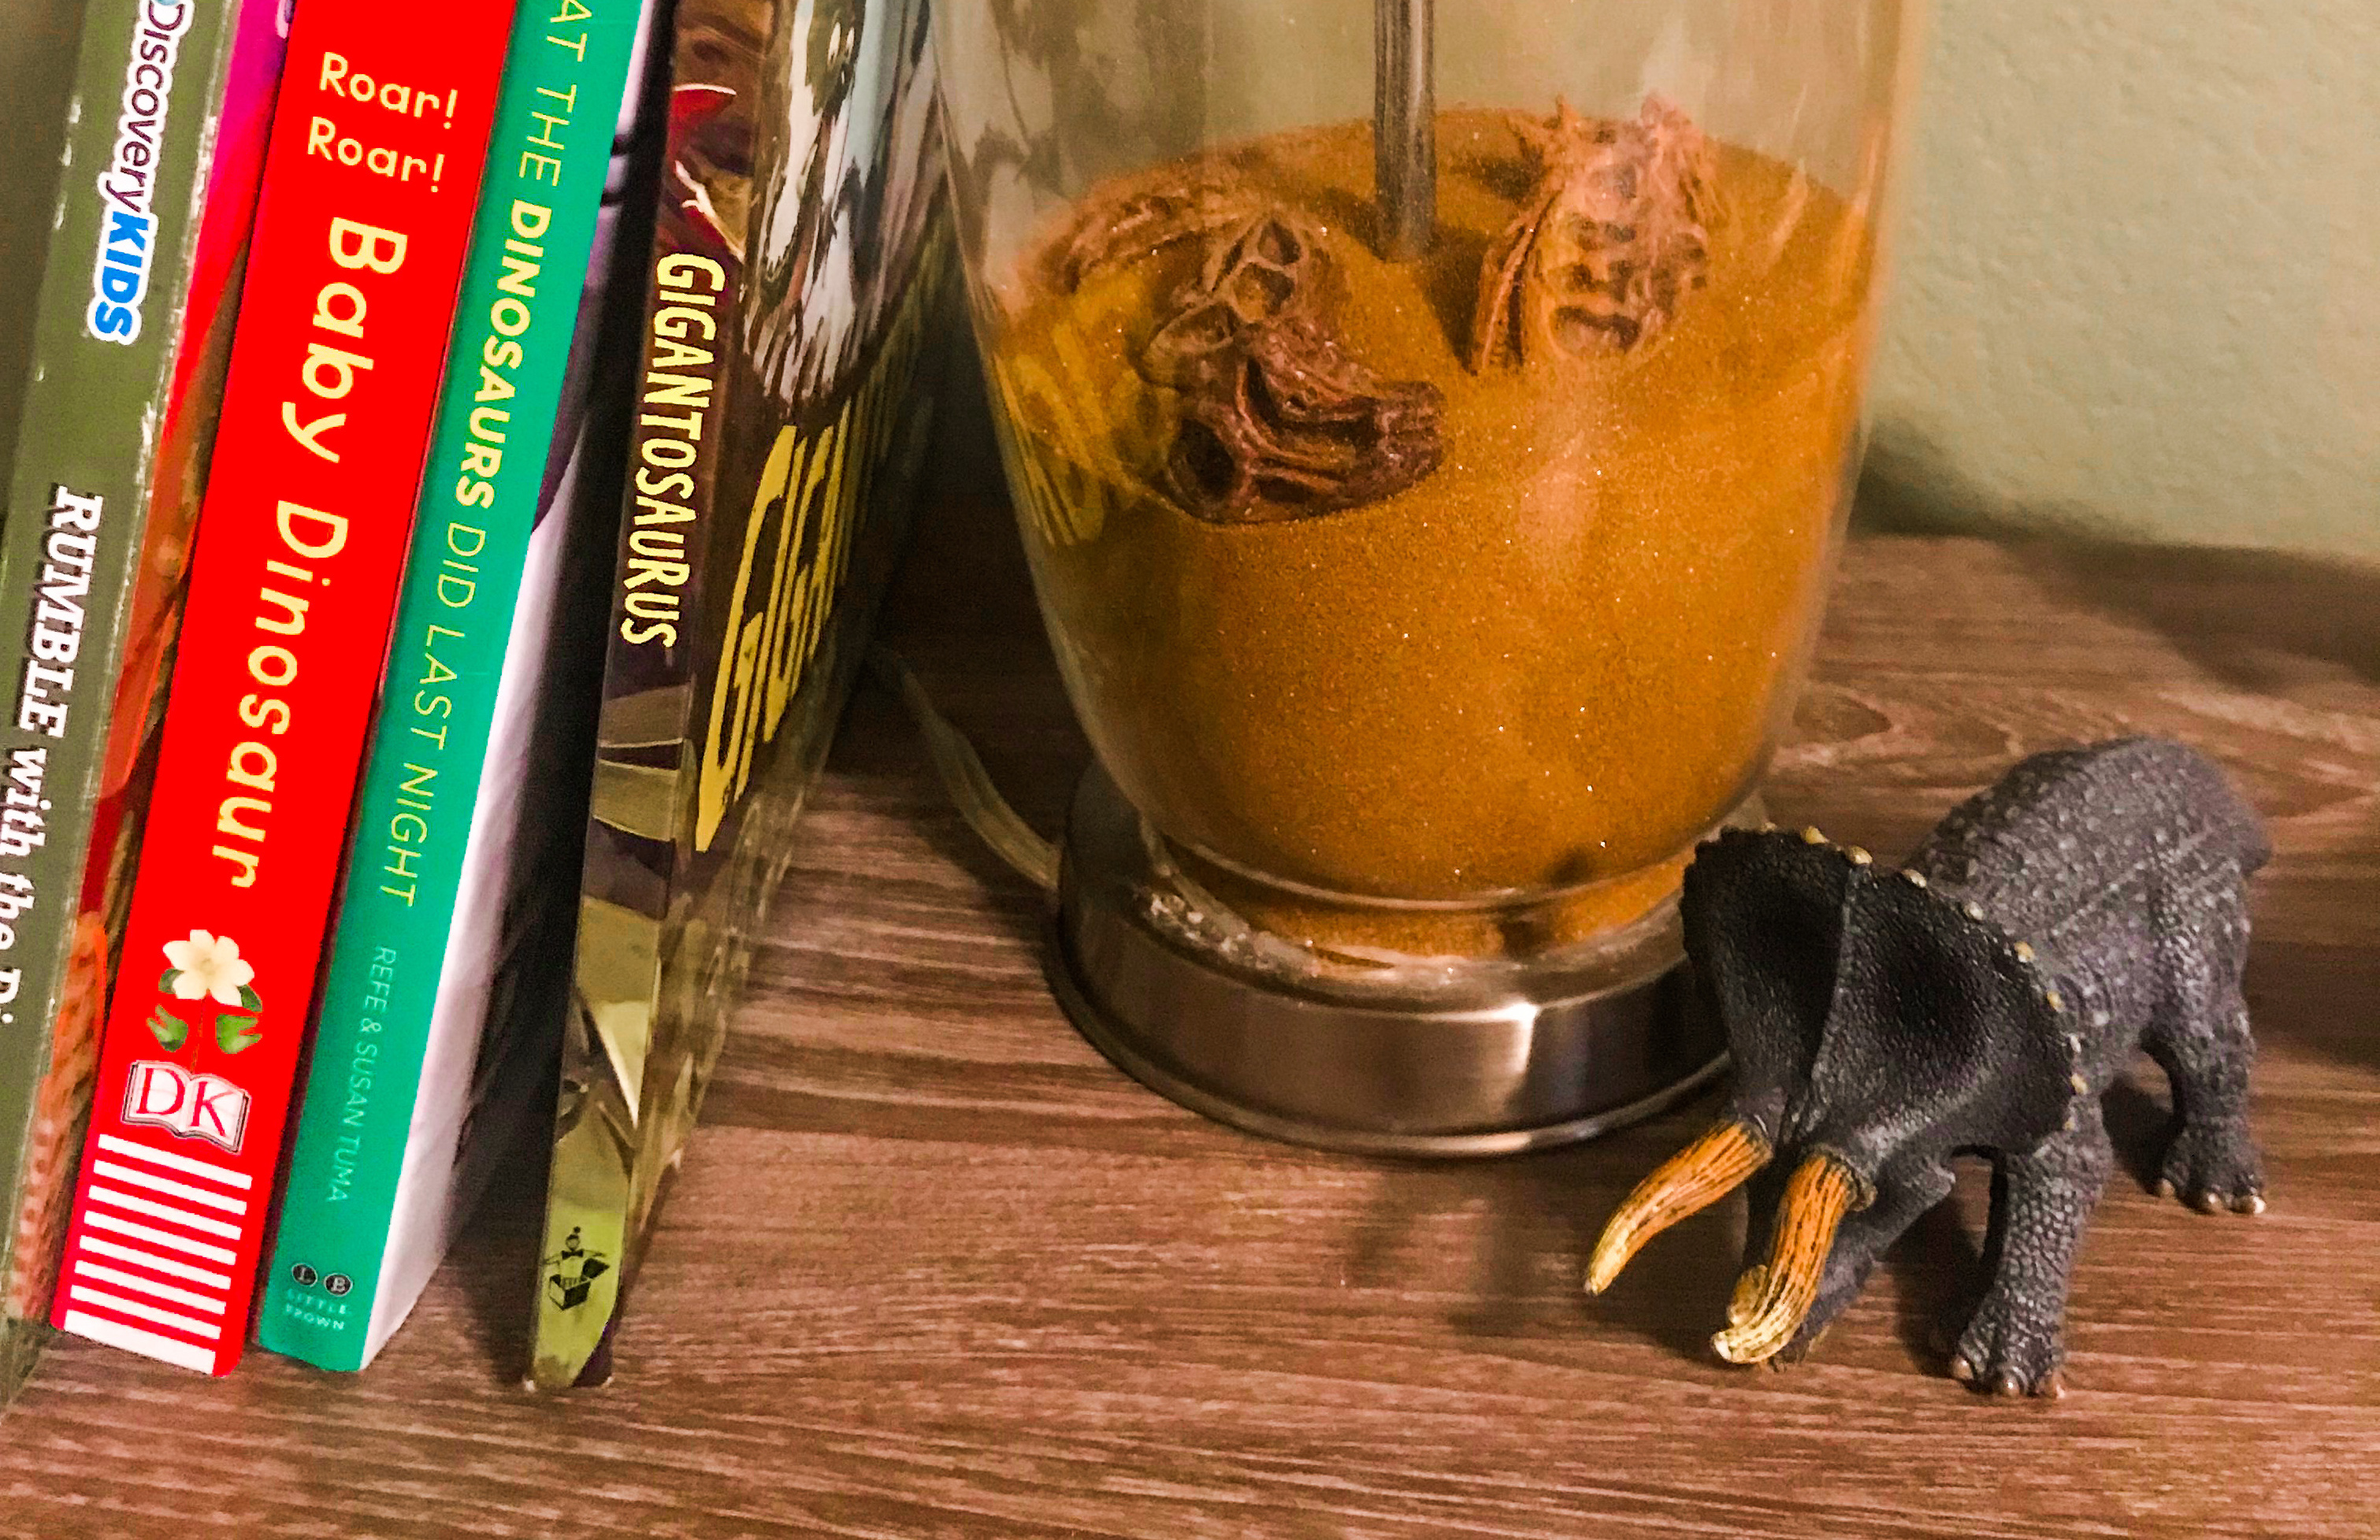
Be sure to follow my Dinosaur Room Pinterest Board for more great ideas!