
I LOVE wreaths but every time I find one I want the price tag has always led to an internal conflict: do I want these beautiful wreaths or do I want to be able to pay my mortgage so I can have a place to hang the wreath to begin with. So I started making my own for a fraction of the price! Don’t get me wrong the materials aren’t exactly cheap but as a former craft store employee I have a few tricks to keep the cost down.
Fall is by far my favorite season and his floral wreath incorporates jute, a metal welcome detail, and lots of fall silk flowers. I personally love the way it turned out and can’t wait until we move beyond the hundred degree days so I can display it. I can practically taste the pumpkin spice already!
*This post may contain affiliate links which may allow us to receive a small commission (at no additional cost to you) for purchases you make after clicking on product links on our posts , to view our full affiliate disclosure click here.
But rest assured we fully believe in every product we endorse.
Time: 1.5 hours
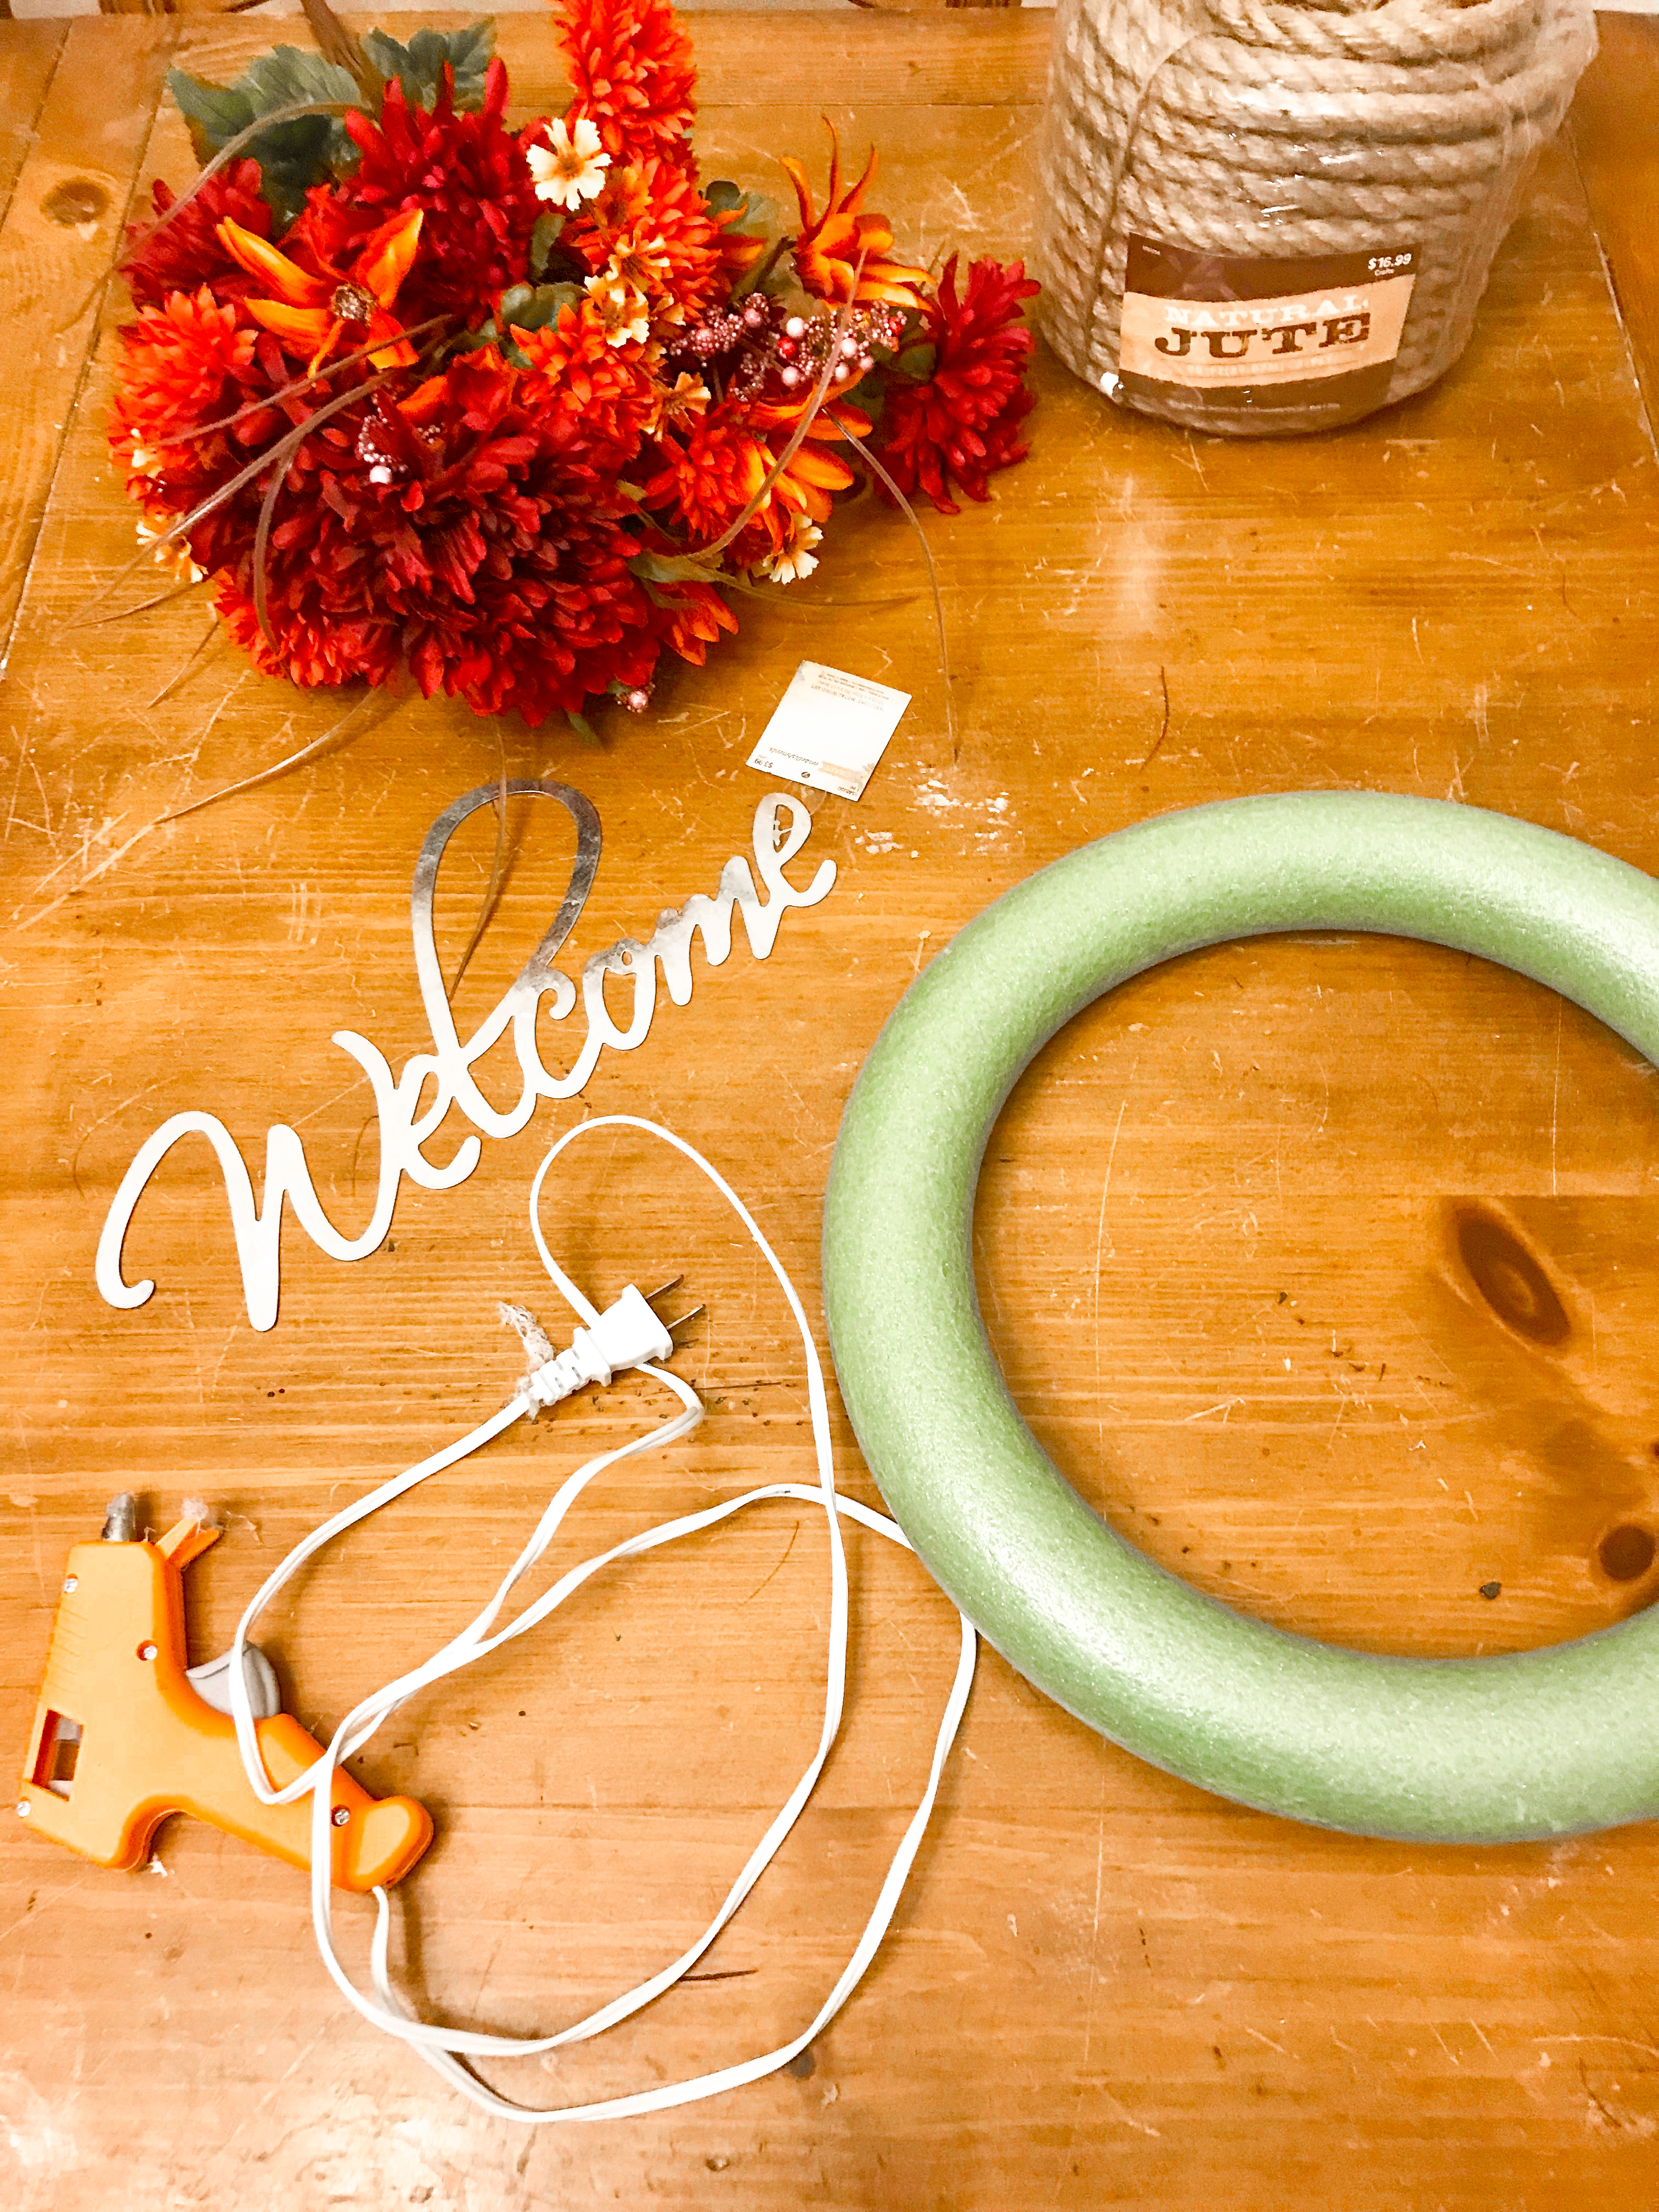
Materials
- Wreath Form
- Twisted Jute (or Hemp) Rope, 1/2-Inch
- Scissors
- Hot Glue Gun
- Hot Glue Sticks
- Fall Silk Flower Bouquet
- Metal “Welcome” sign ( I bought mine from Hobby Lobby’s craft dept.)
- Thompson’s Waterseal Fabric Seal, Scotchgard Heavy Duty Water Shield, or other waterproofing spray
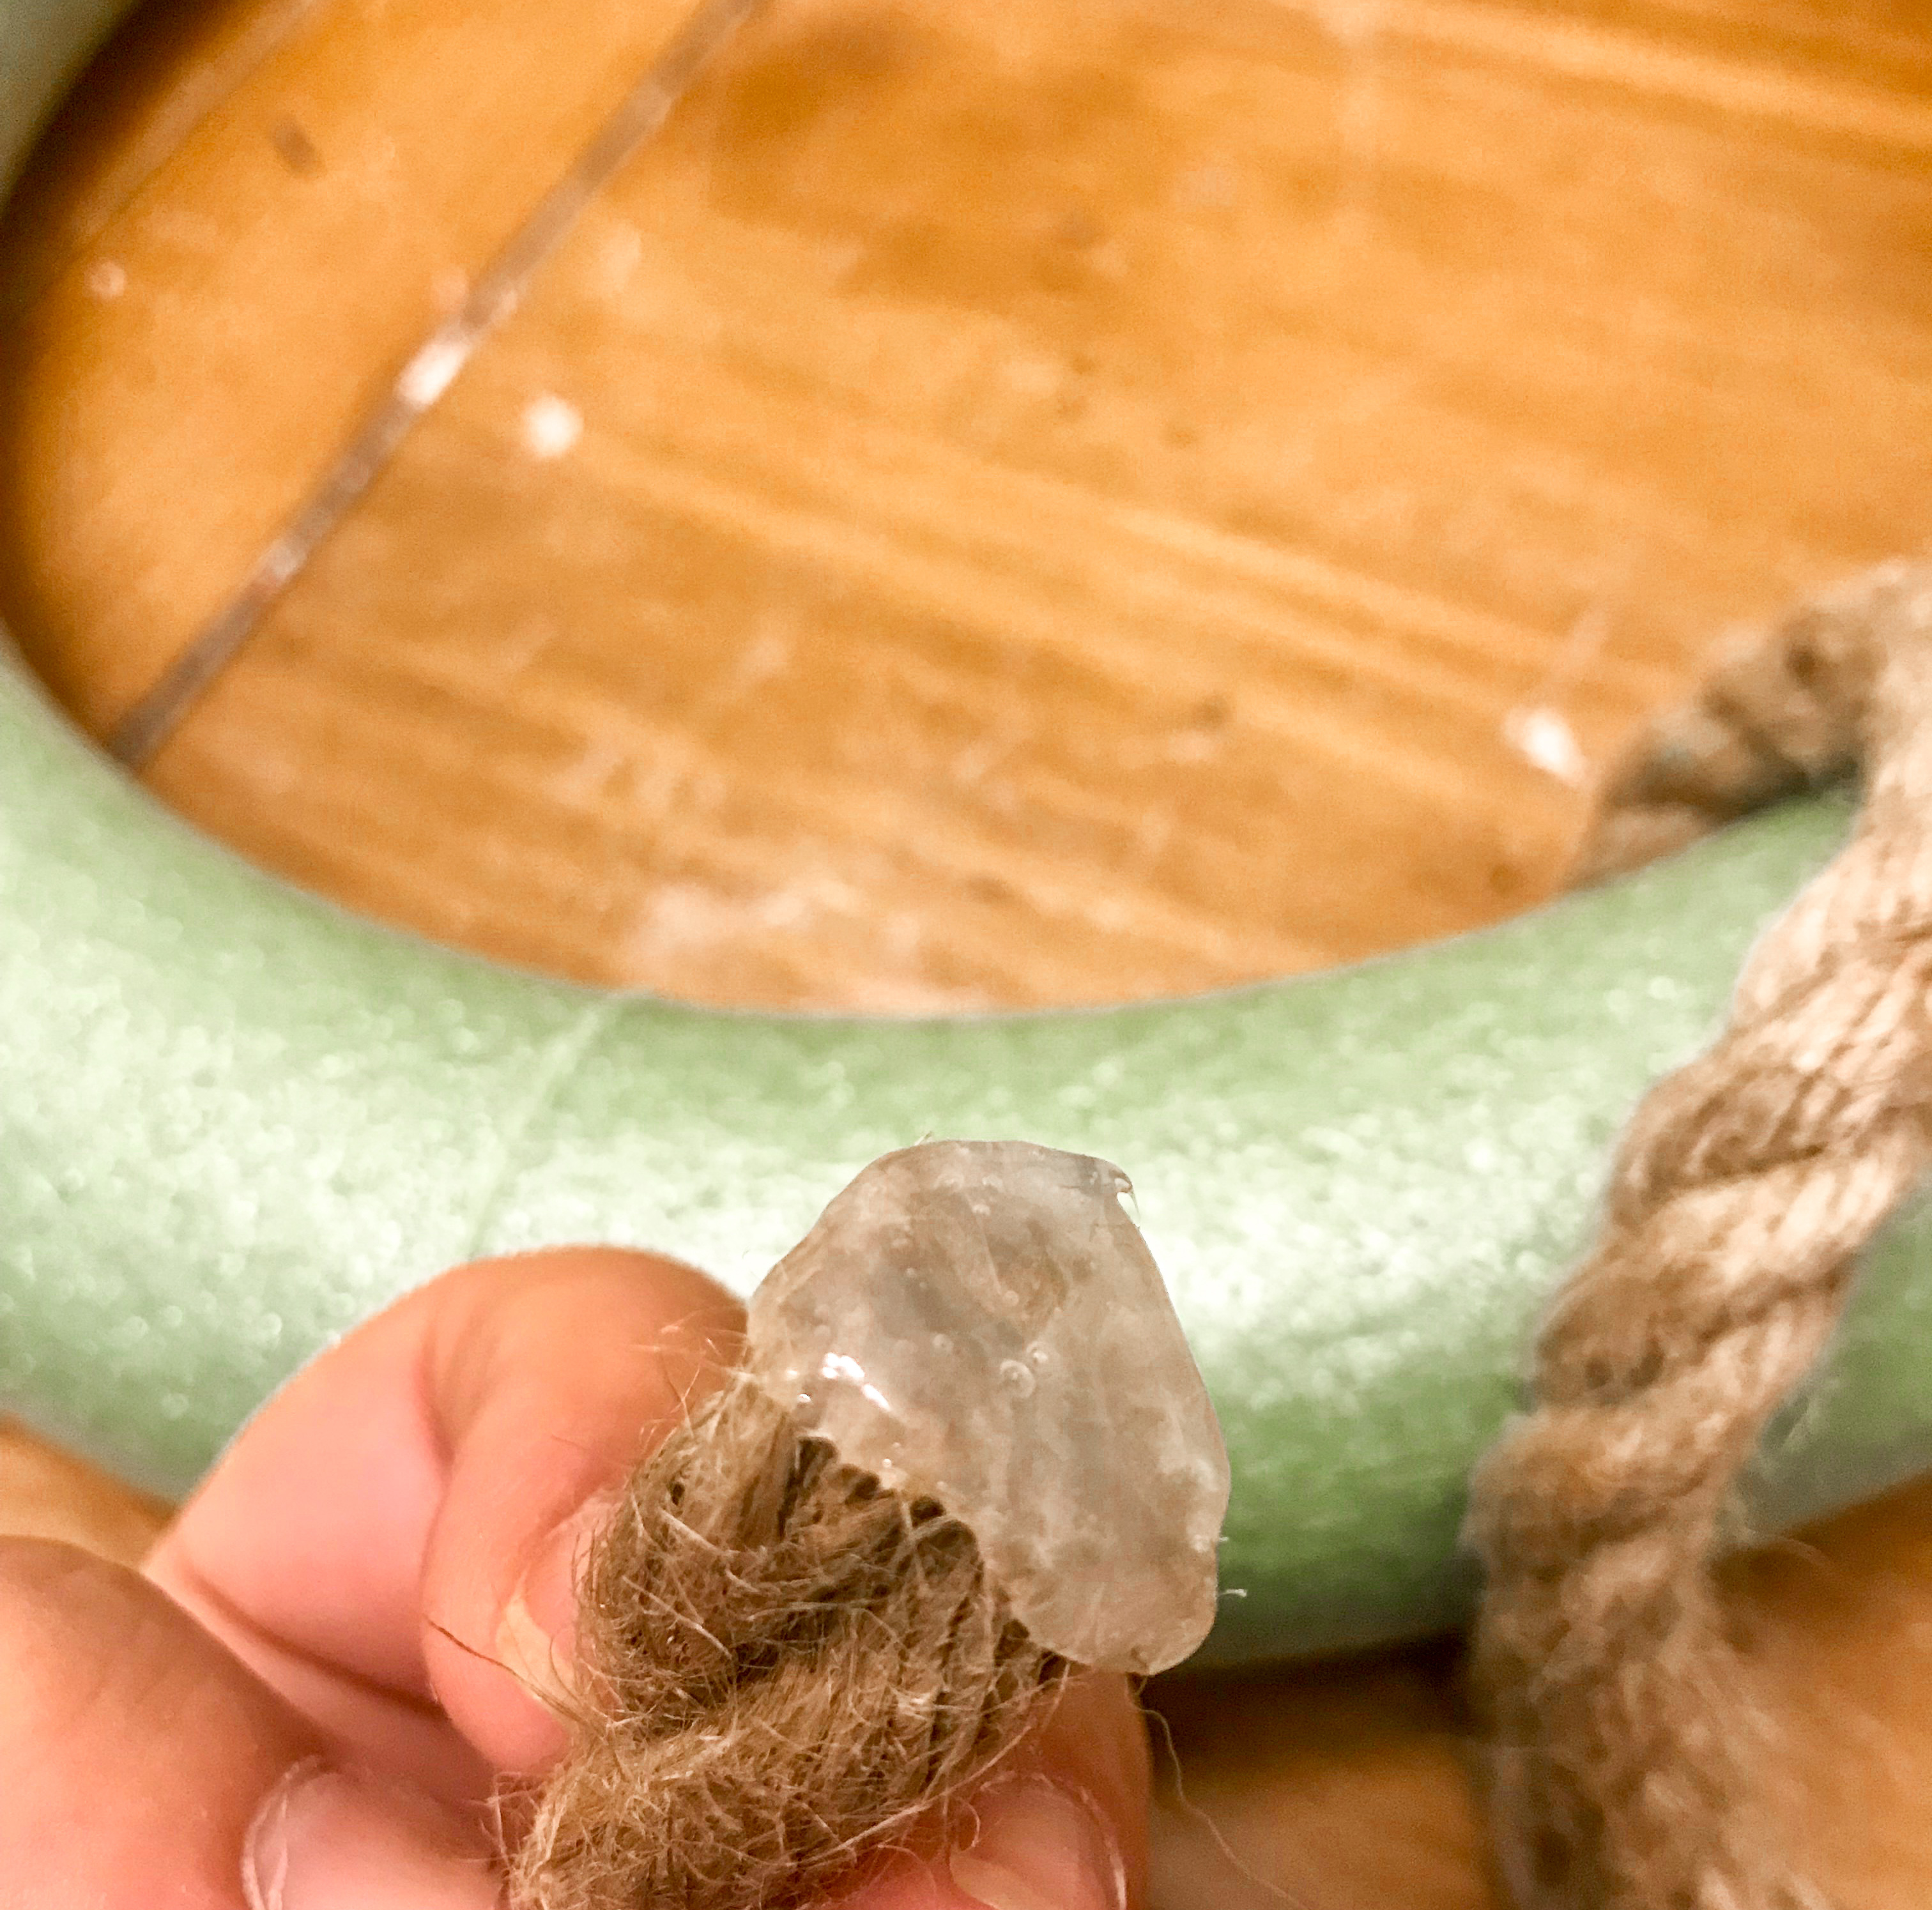
If you want this wreath to last more than a few days the first step is sealing the end of the jute rope. Simply glop on a thick layer of hot glue to the end of the rope being sure to catch any and all wispy bits.
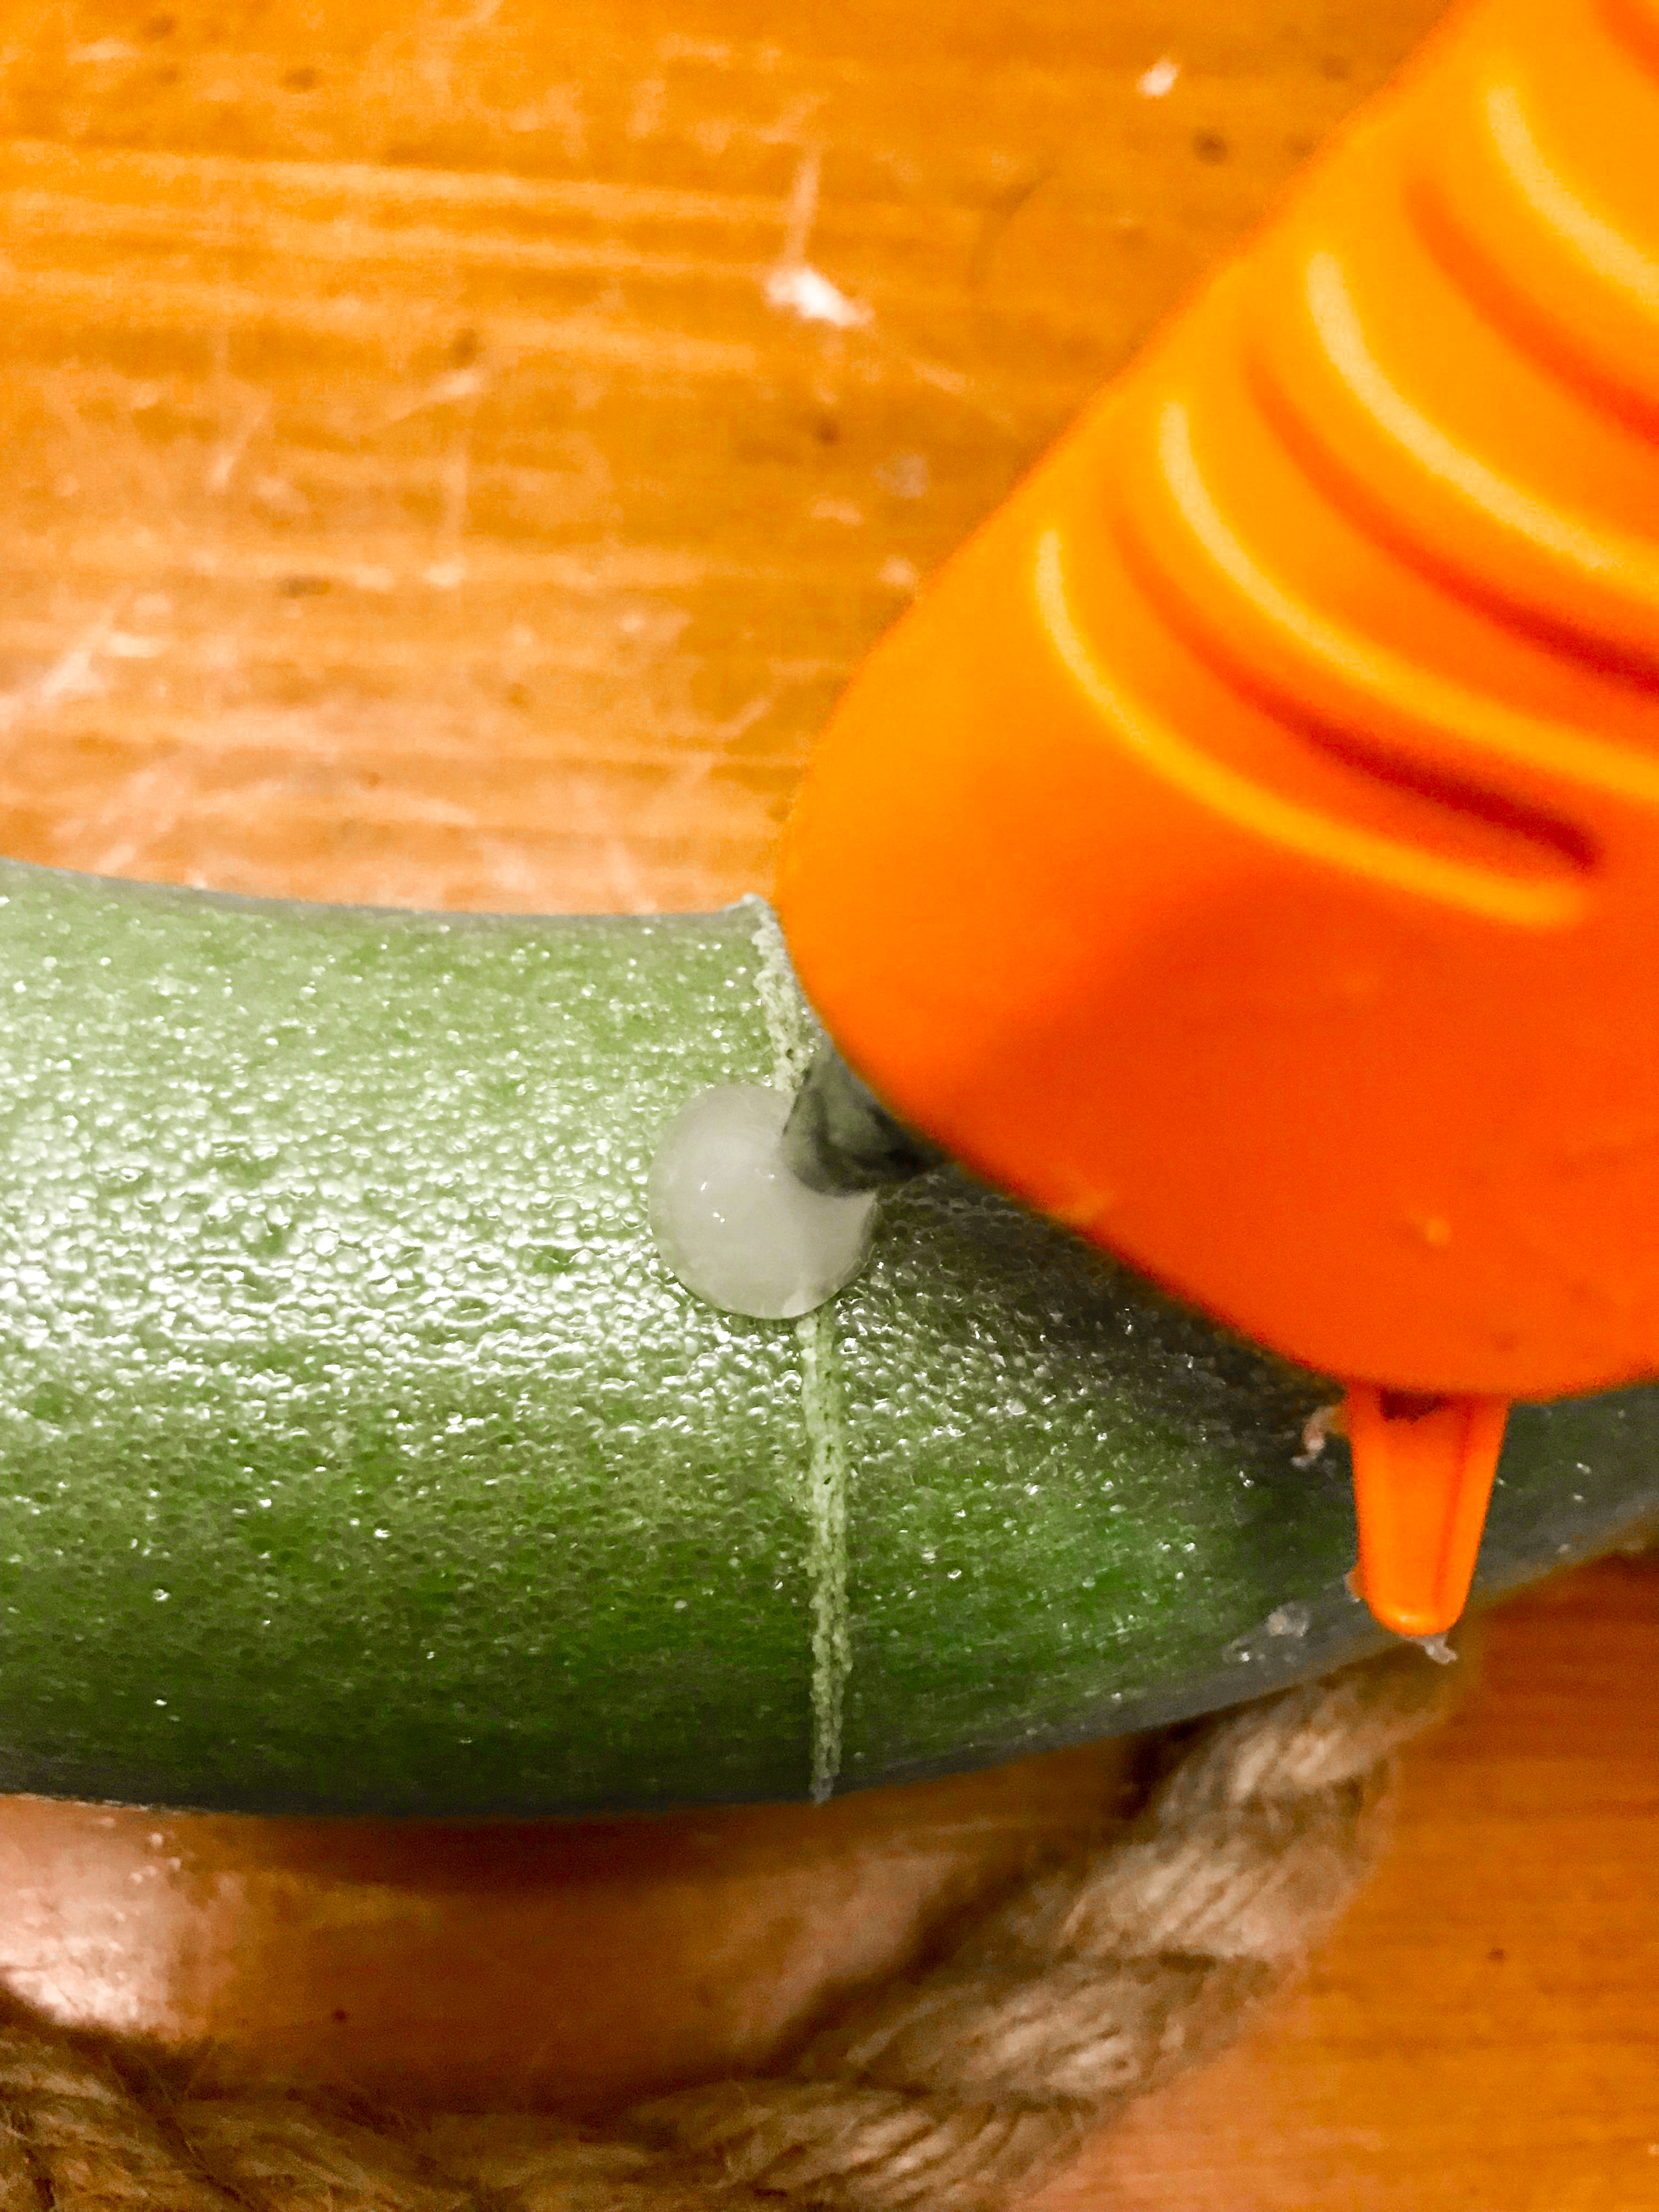
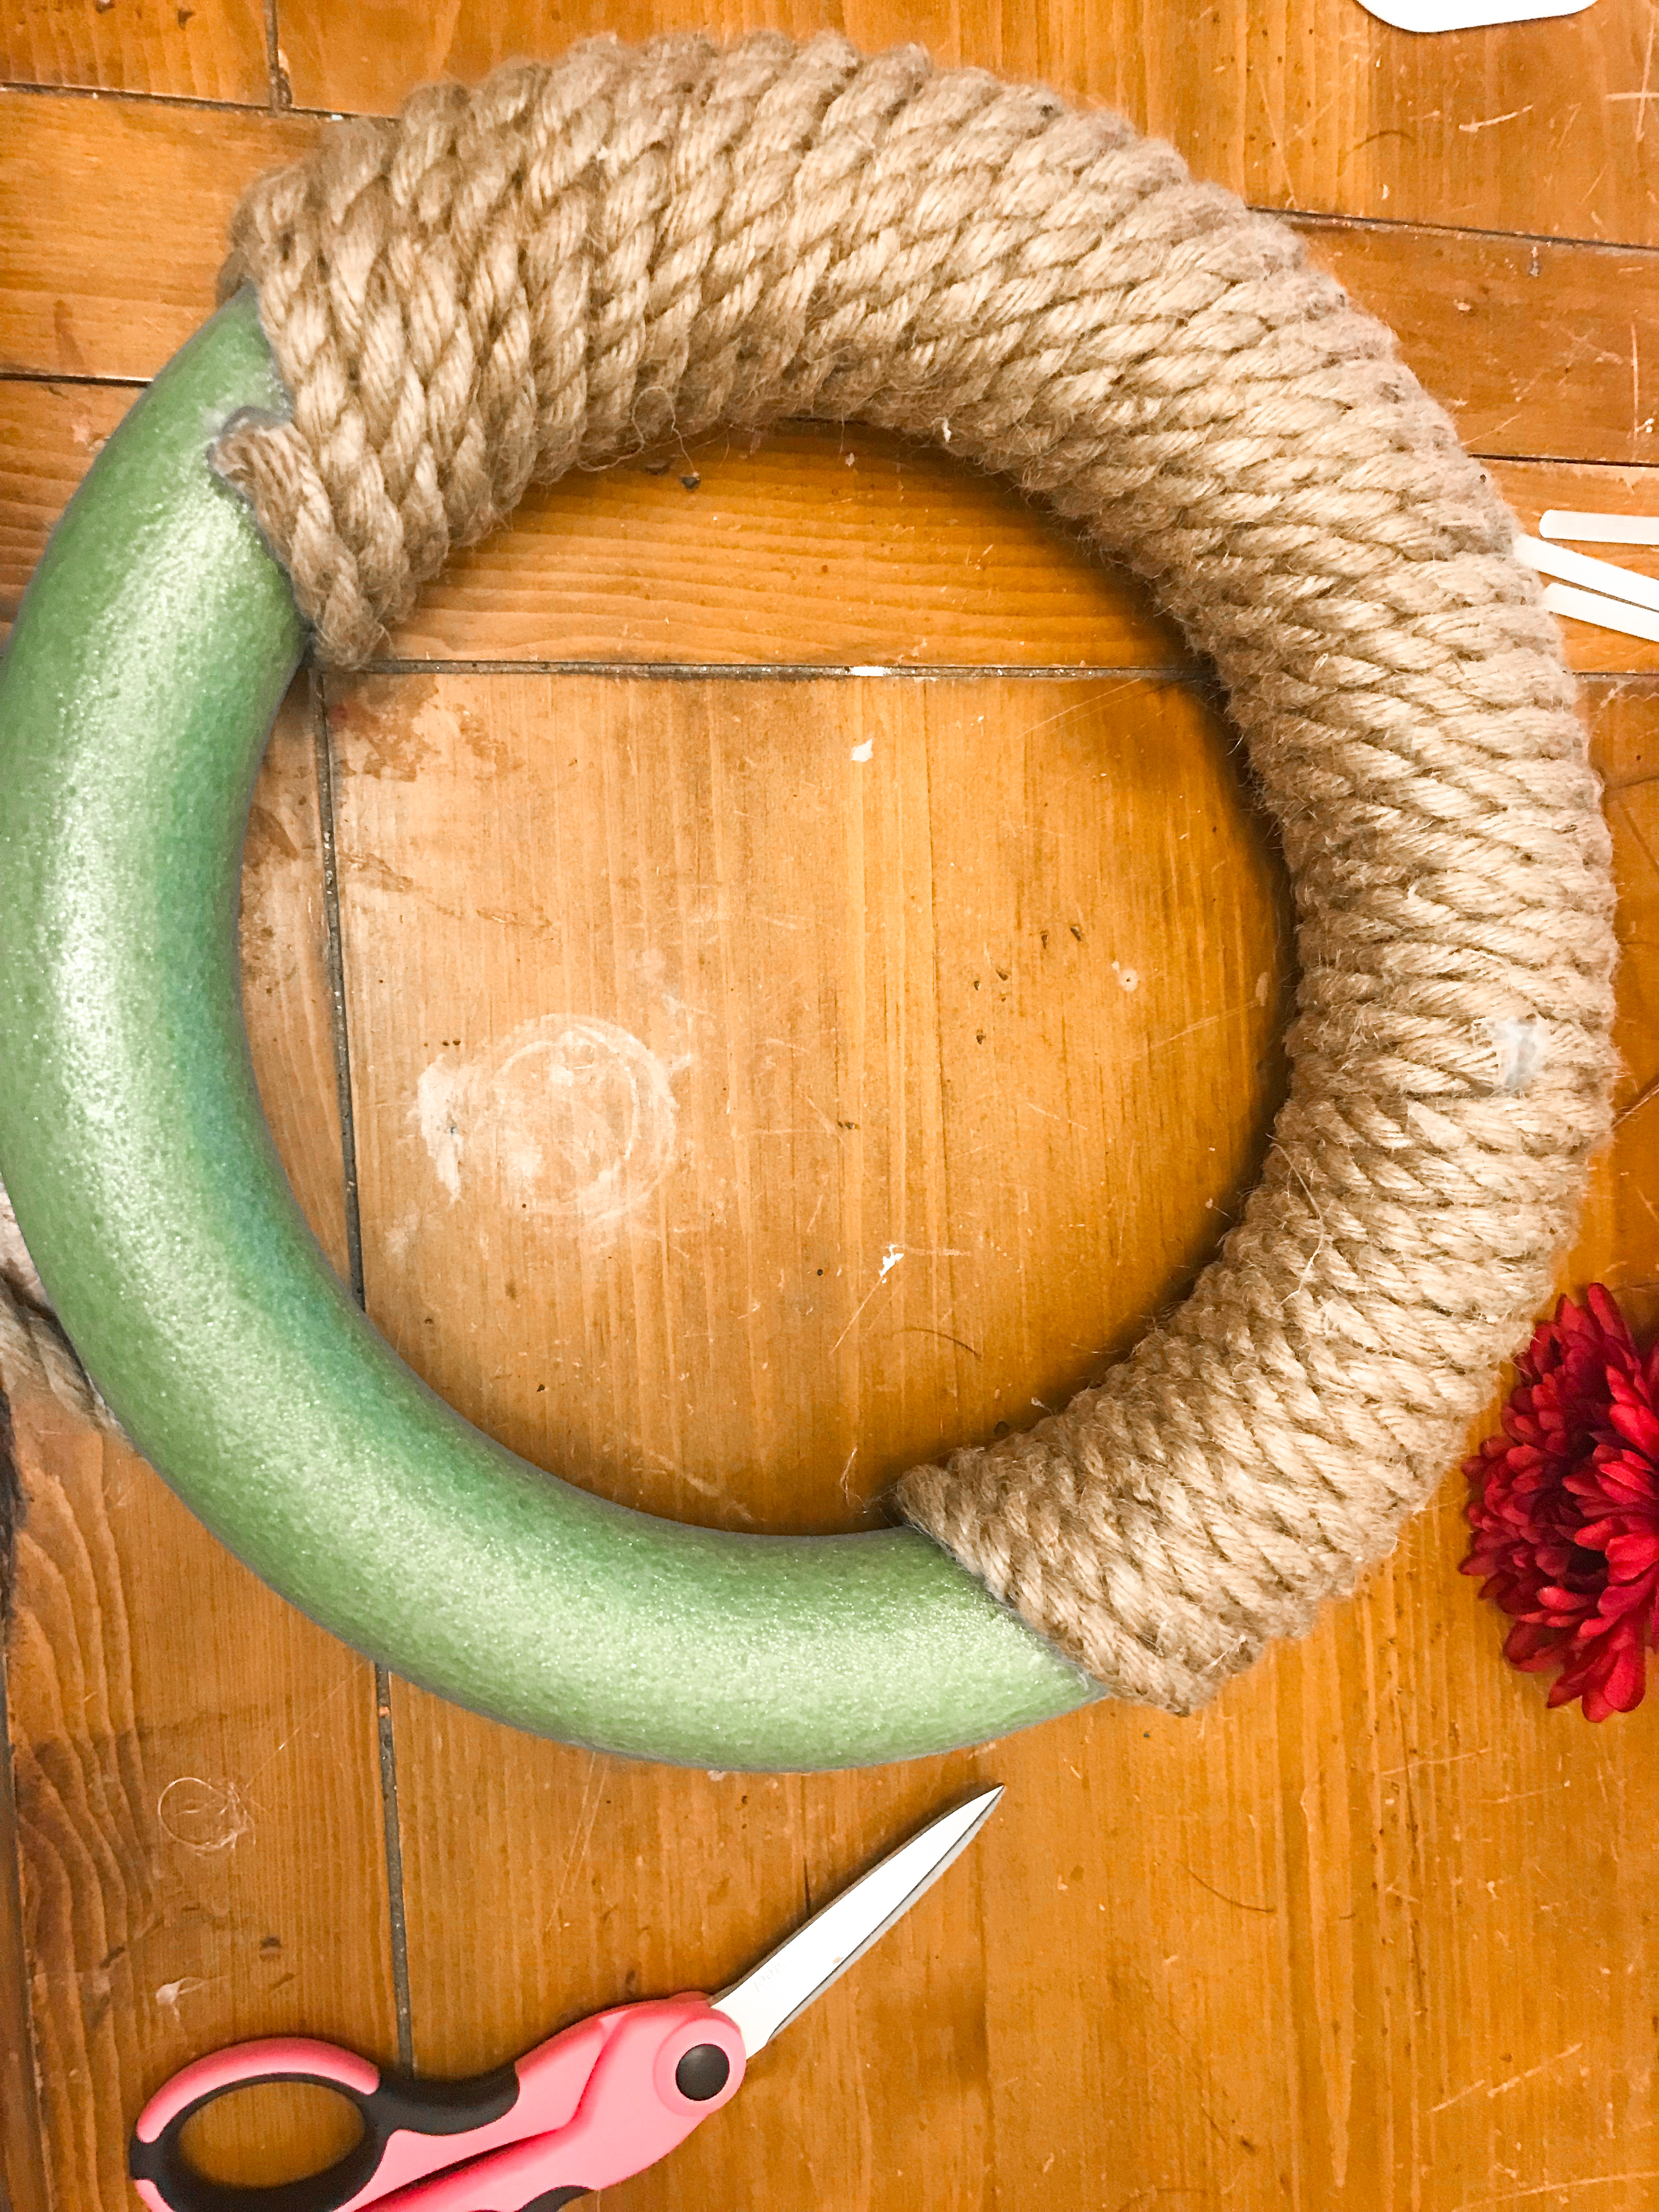
Next place a bit of hot glue onto the middle of the wreath form. This will be the back of your wreath but be sure to keep it in the middle so that the glued end won’t be visible from the front. I used the preexisting line on the form to make sure that I was at least beginning with a straight line.
Then begin to wrap the jute around gluing as you go.
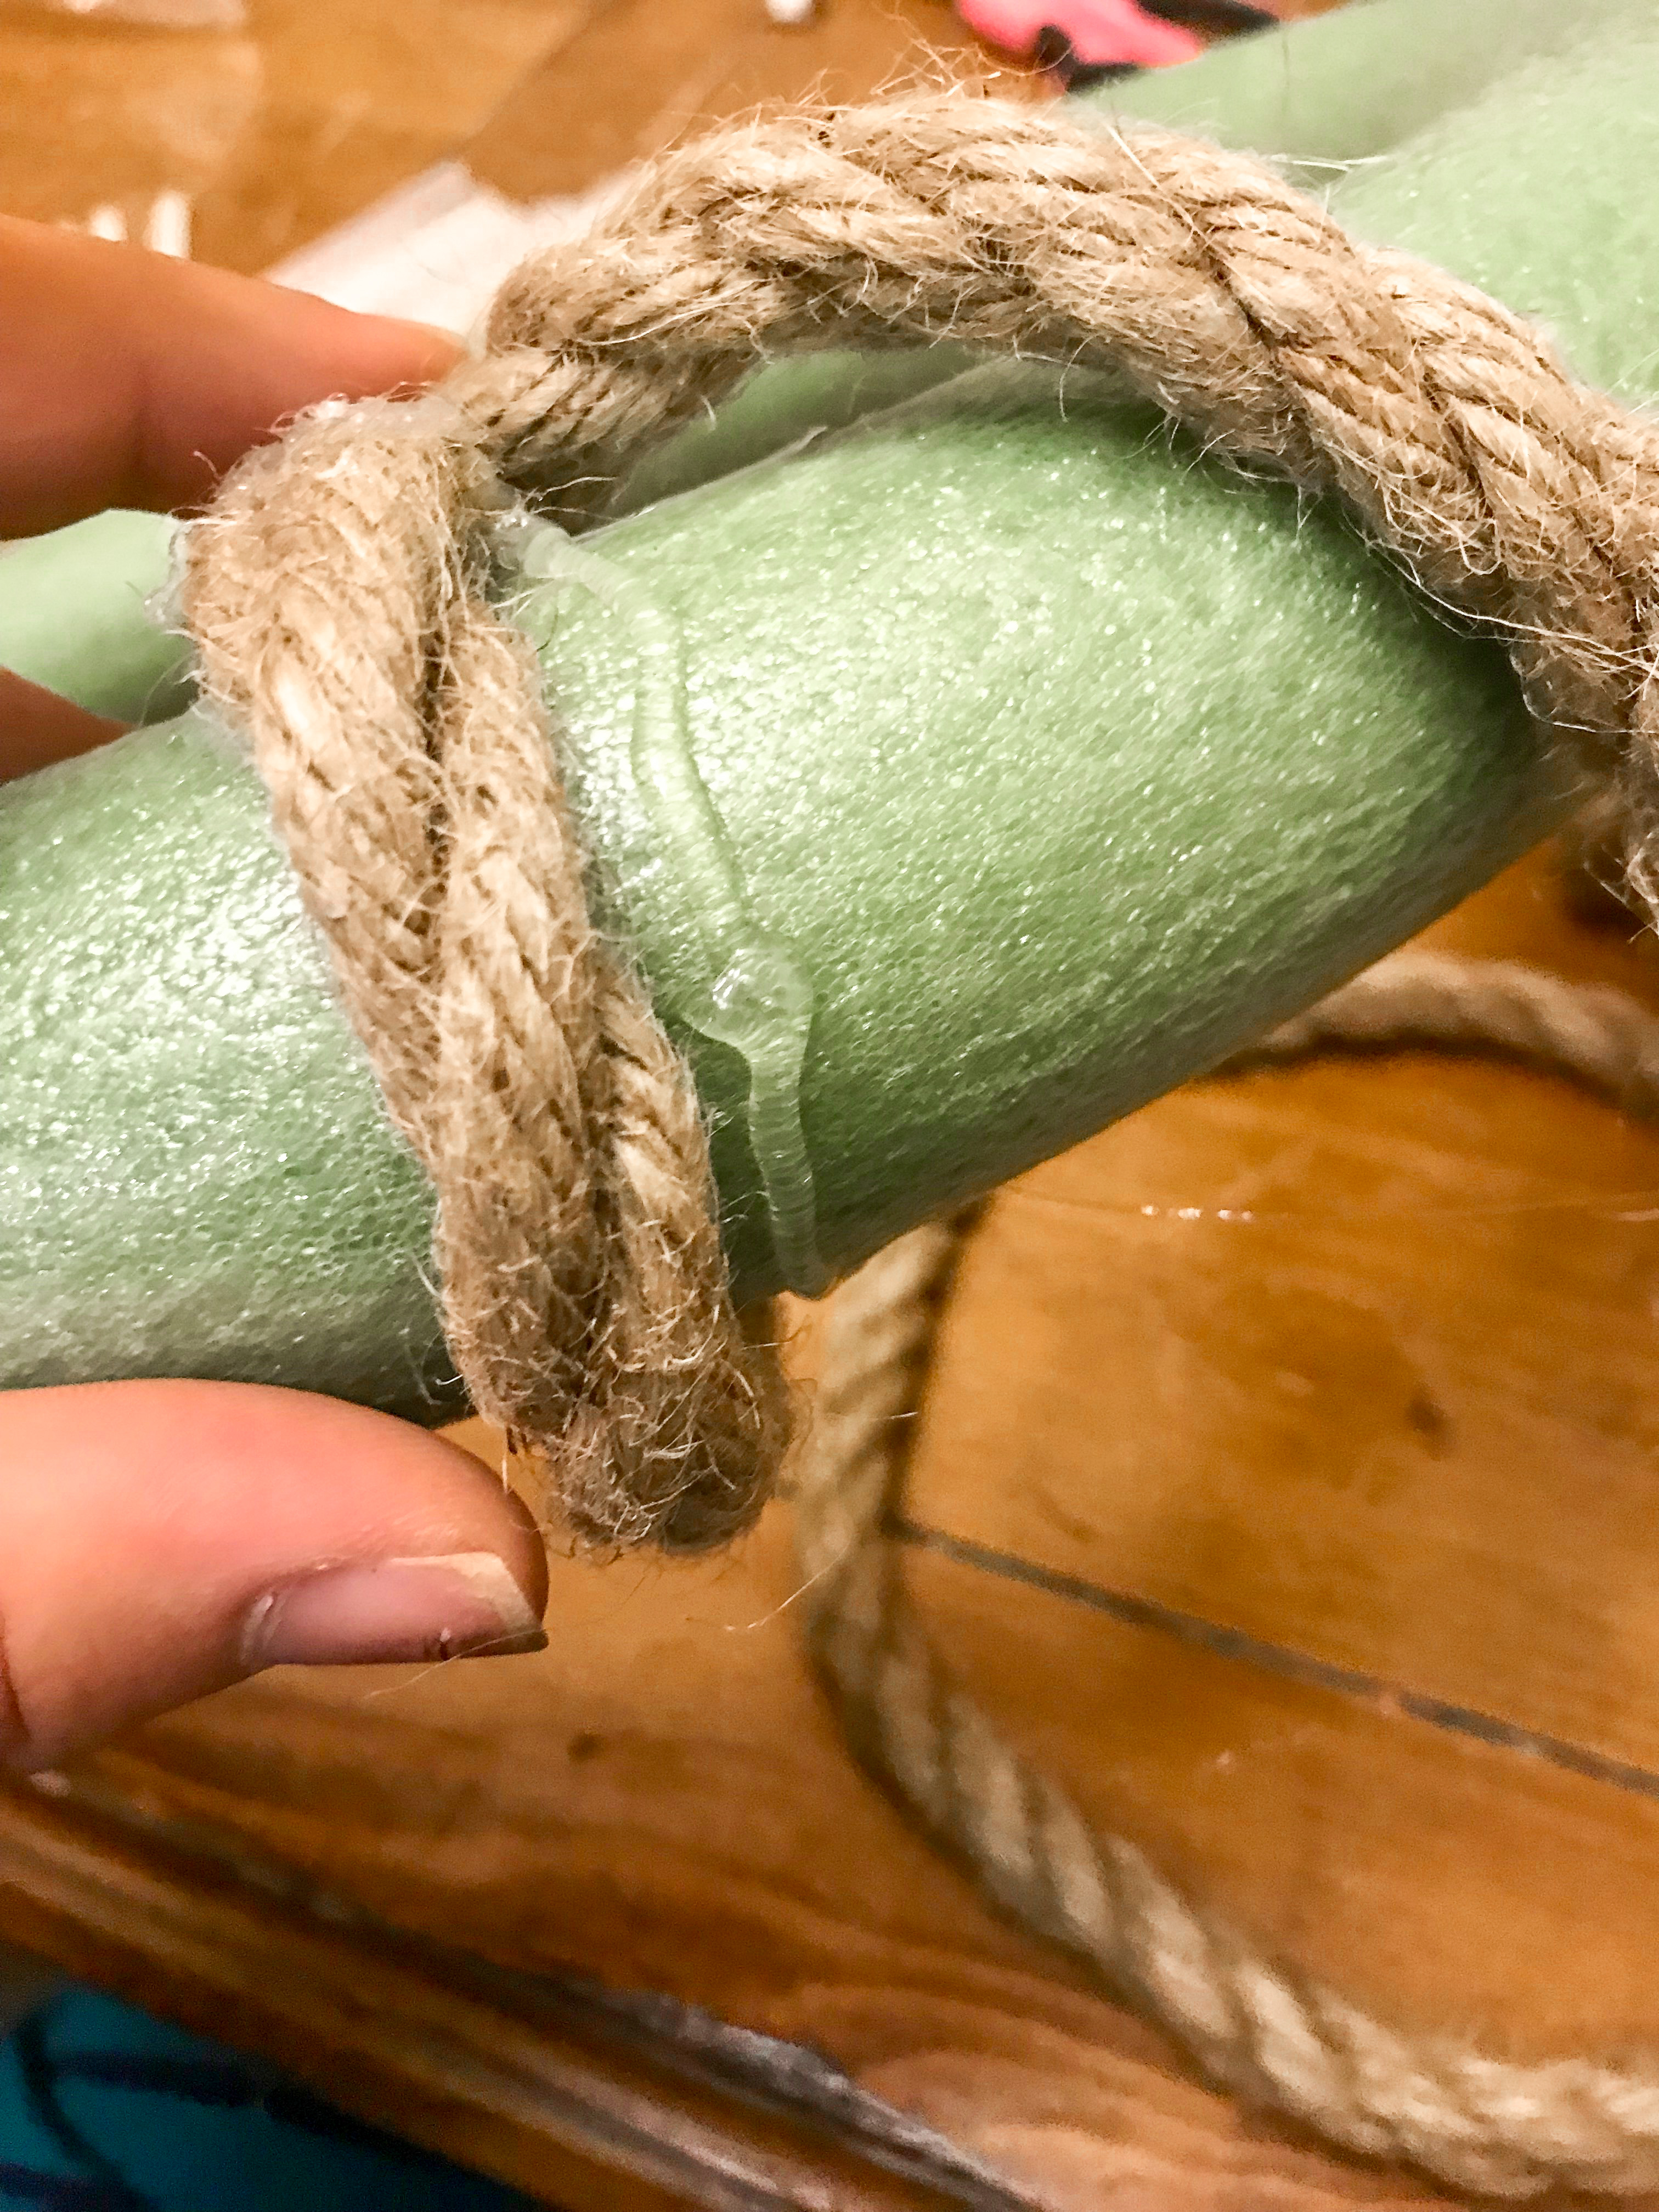
One thing to keep in mind is that as you wrap the straight line will begin to become a slight angle because obviously the “inner circle” is smaller than the bigger outer edge circle. Because of this I only wrapped in the one direction a little past the halfway mark as shown below. Be sure to seal the end with hot glue!
Seal the new end of the jute with hot glue then begin to wrap in the opposite direction from the first straight line of jute you wrapped (not where you left off). This will keep the wreath looking symmetrical!
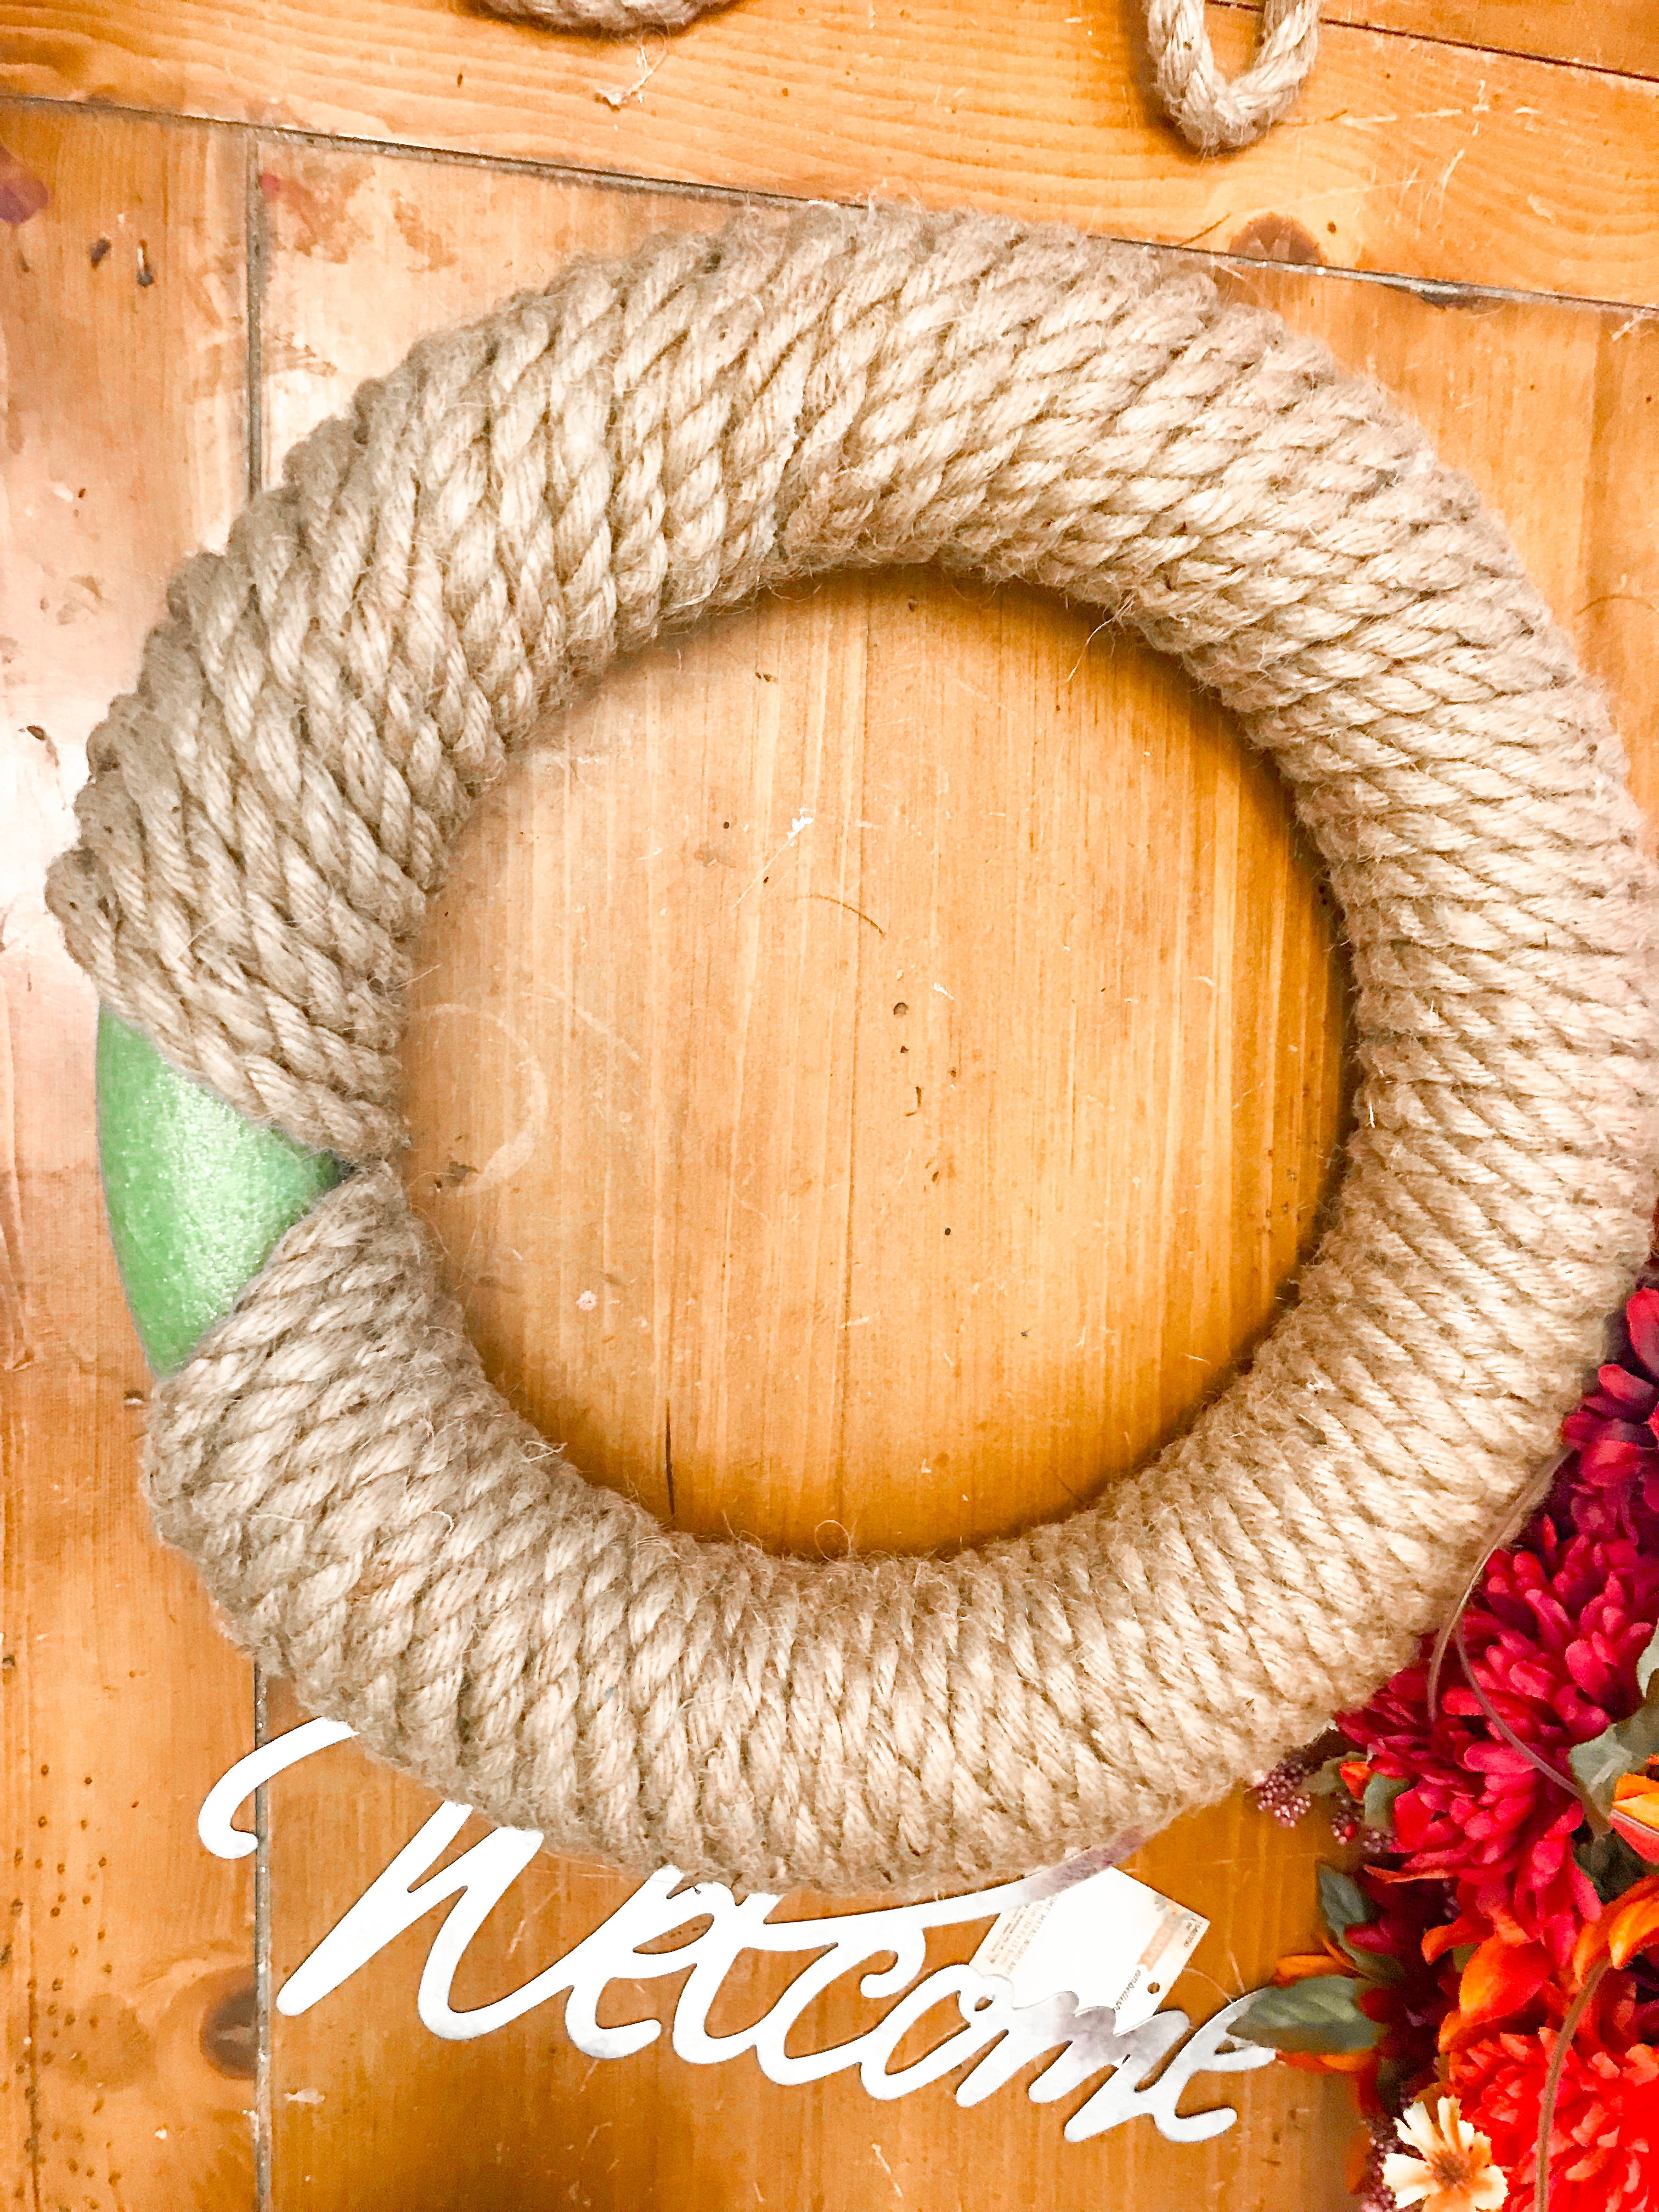
As you can see you will be left with an uncovered triangle of wreath form. This part is going to be covered up by the flowers so it doesn’t need to be pretty but I still highly recommend covering it so the wreath looks beautiful from all angles.
To cover it I personally alternated adding a strand to the left and then to the right as seen below. Then at the bottom I wrapped a piece of jute into a circle and glued it into the hole left at the bottom.

If you’ve made it this far you will be happy to know the most time intensive part is now behind you! The rest is the my favorite part: decorating!
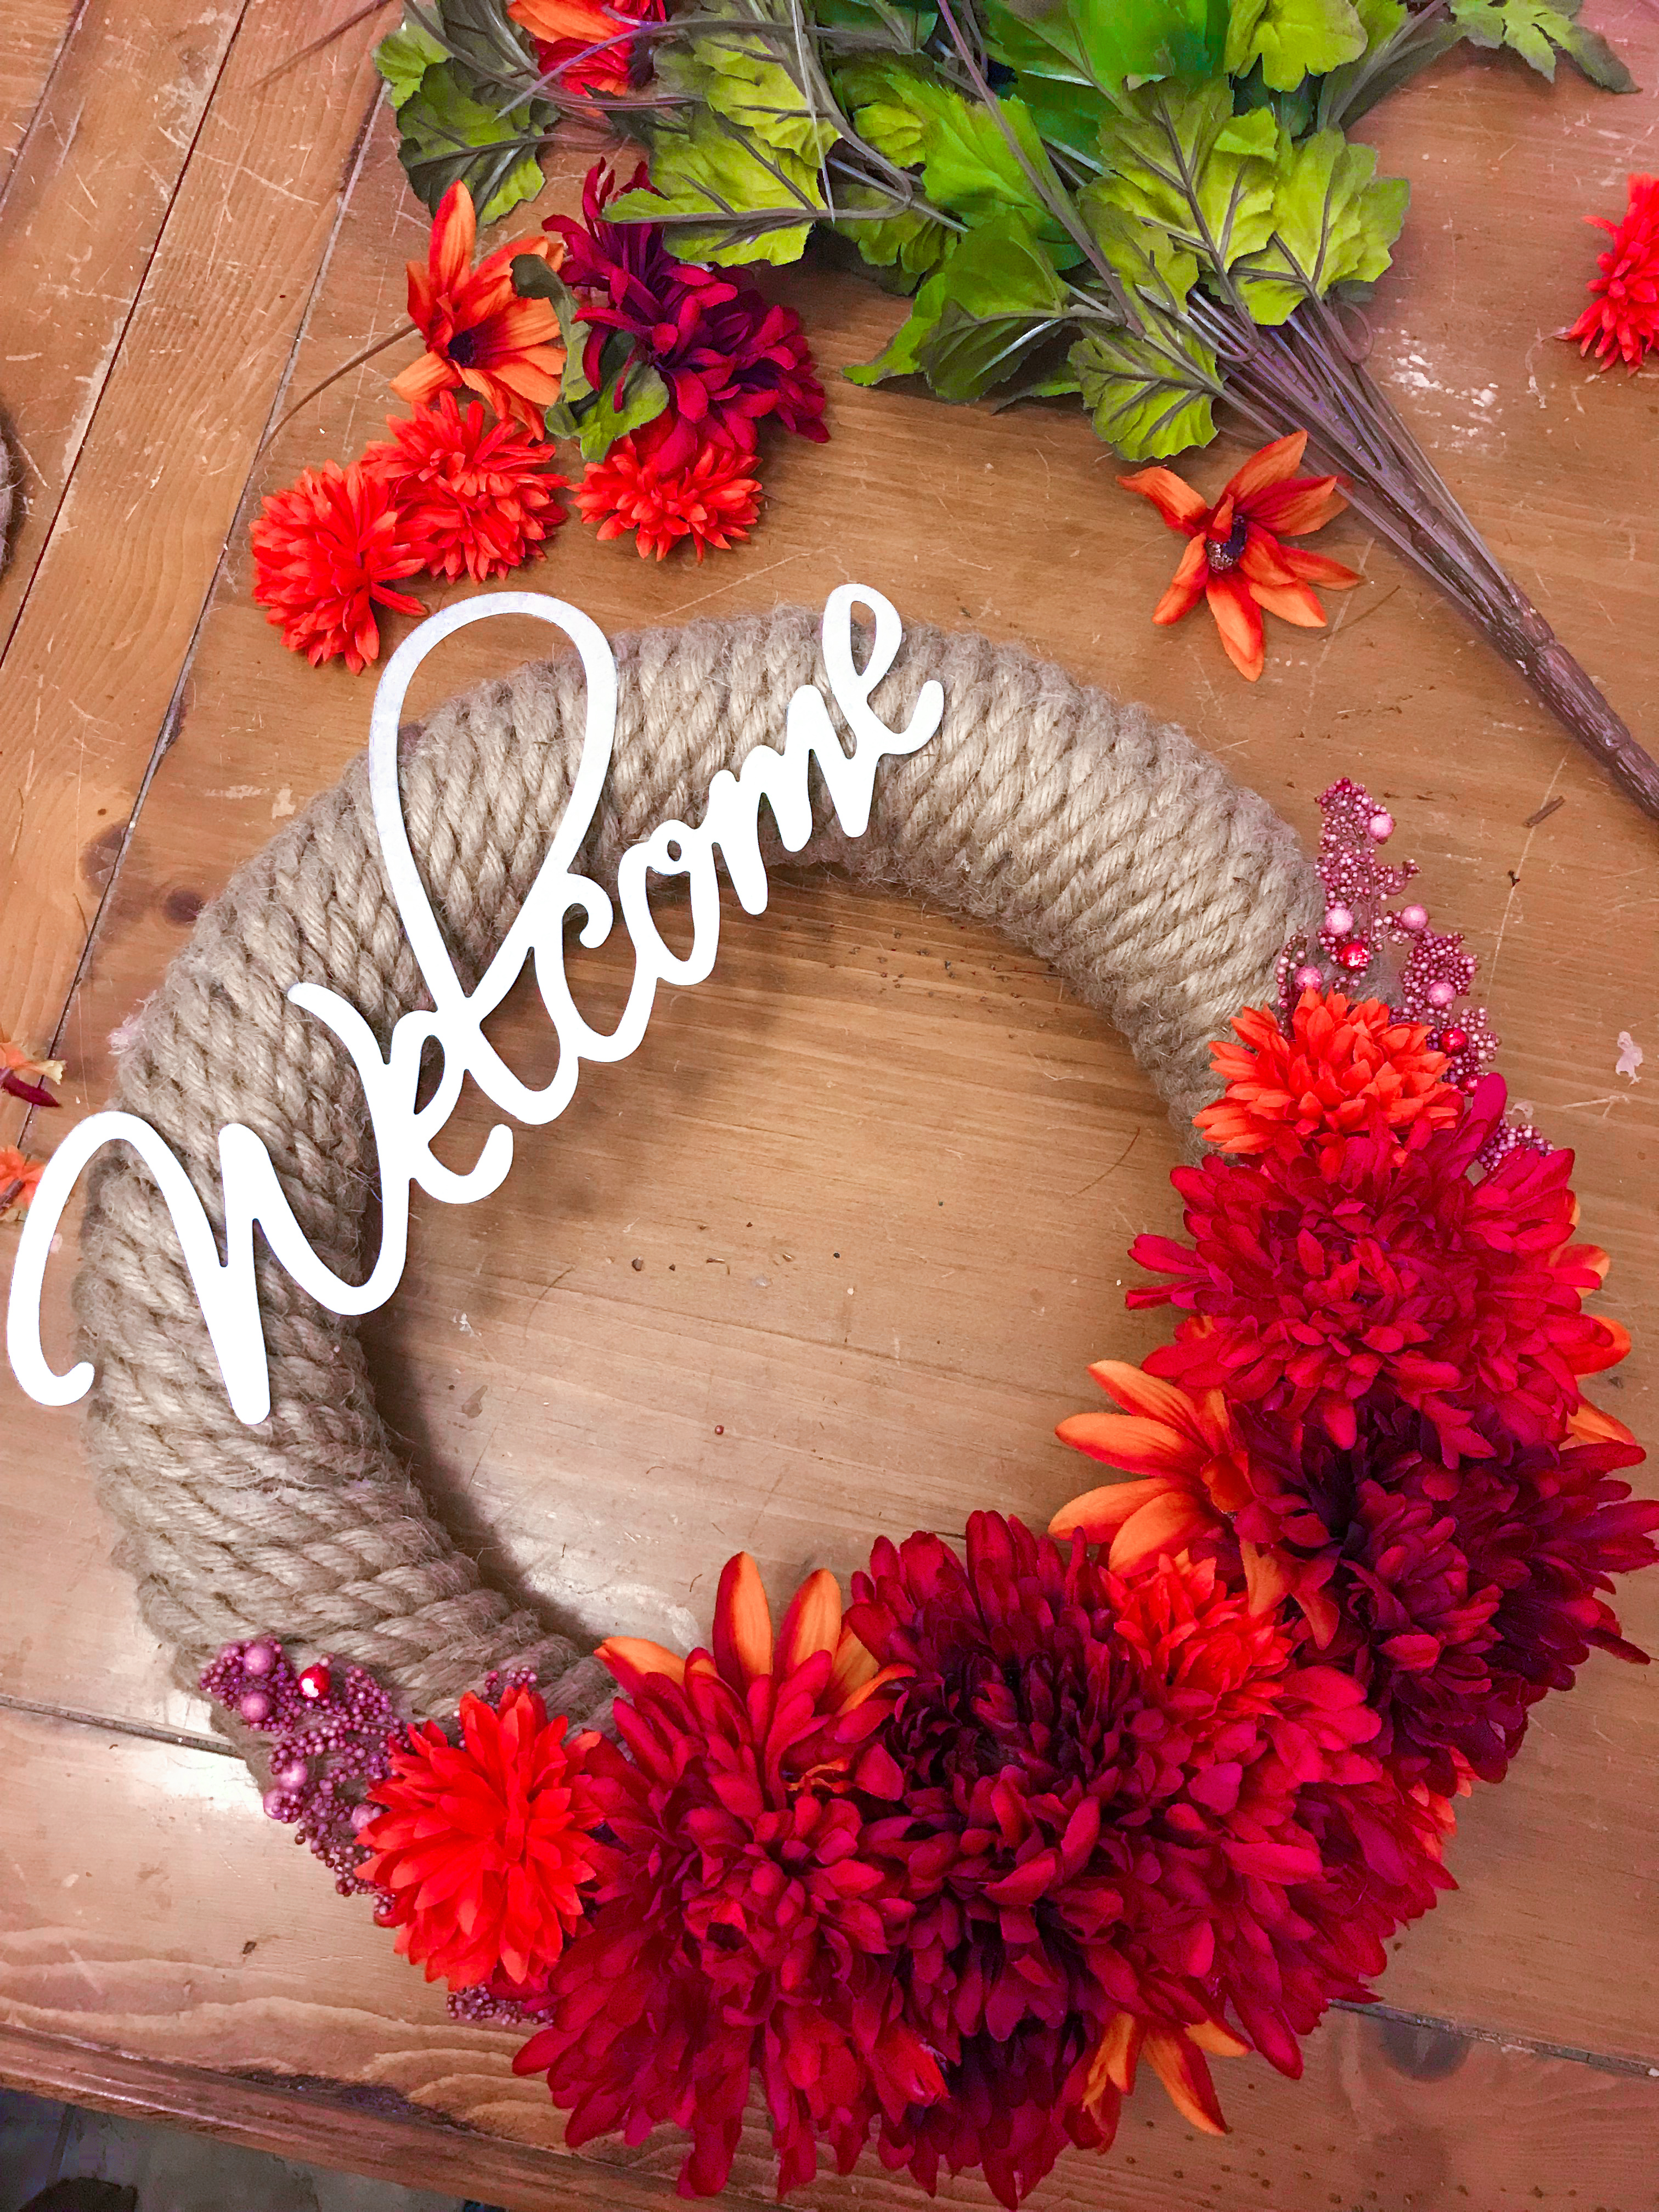
I decided to offset the welcome sign at an angle. To attach it I worked from the W and attached any points that made contact with the jute with a dab of hot glue. From there I worked my way down the sign gluing all points of contact until I reached the final “e”!

For the bigger flowers I cut them off the bouquet about and inch from the base and left the metal core intact to allow them to attach securely into the wreath form and then secured using hot glue. For the smaller flowers I cut or detached them by pulling them from the stems and then hot glued them where I wanted them!
Because this wreath is a little bulky I separated one strand of jute from the rope and twisted it to form a loop and then secured it to the back with LOTS of hot glue to ensure it would hang correctly !

Then I went ahead and gave it a spray with Thompson’s Waterseal Fabric Seal to waterproof it so I can hang it outside come fall!