This probably says a lot about me but my “happy place” is Hobby Lobby. I worked there for a good chunk of time and even now my husband jokes that with as much time as I spend there I might as well work there again. The truth is I would totally be game if it wasn’t for the crazy cost of daycare.
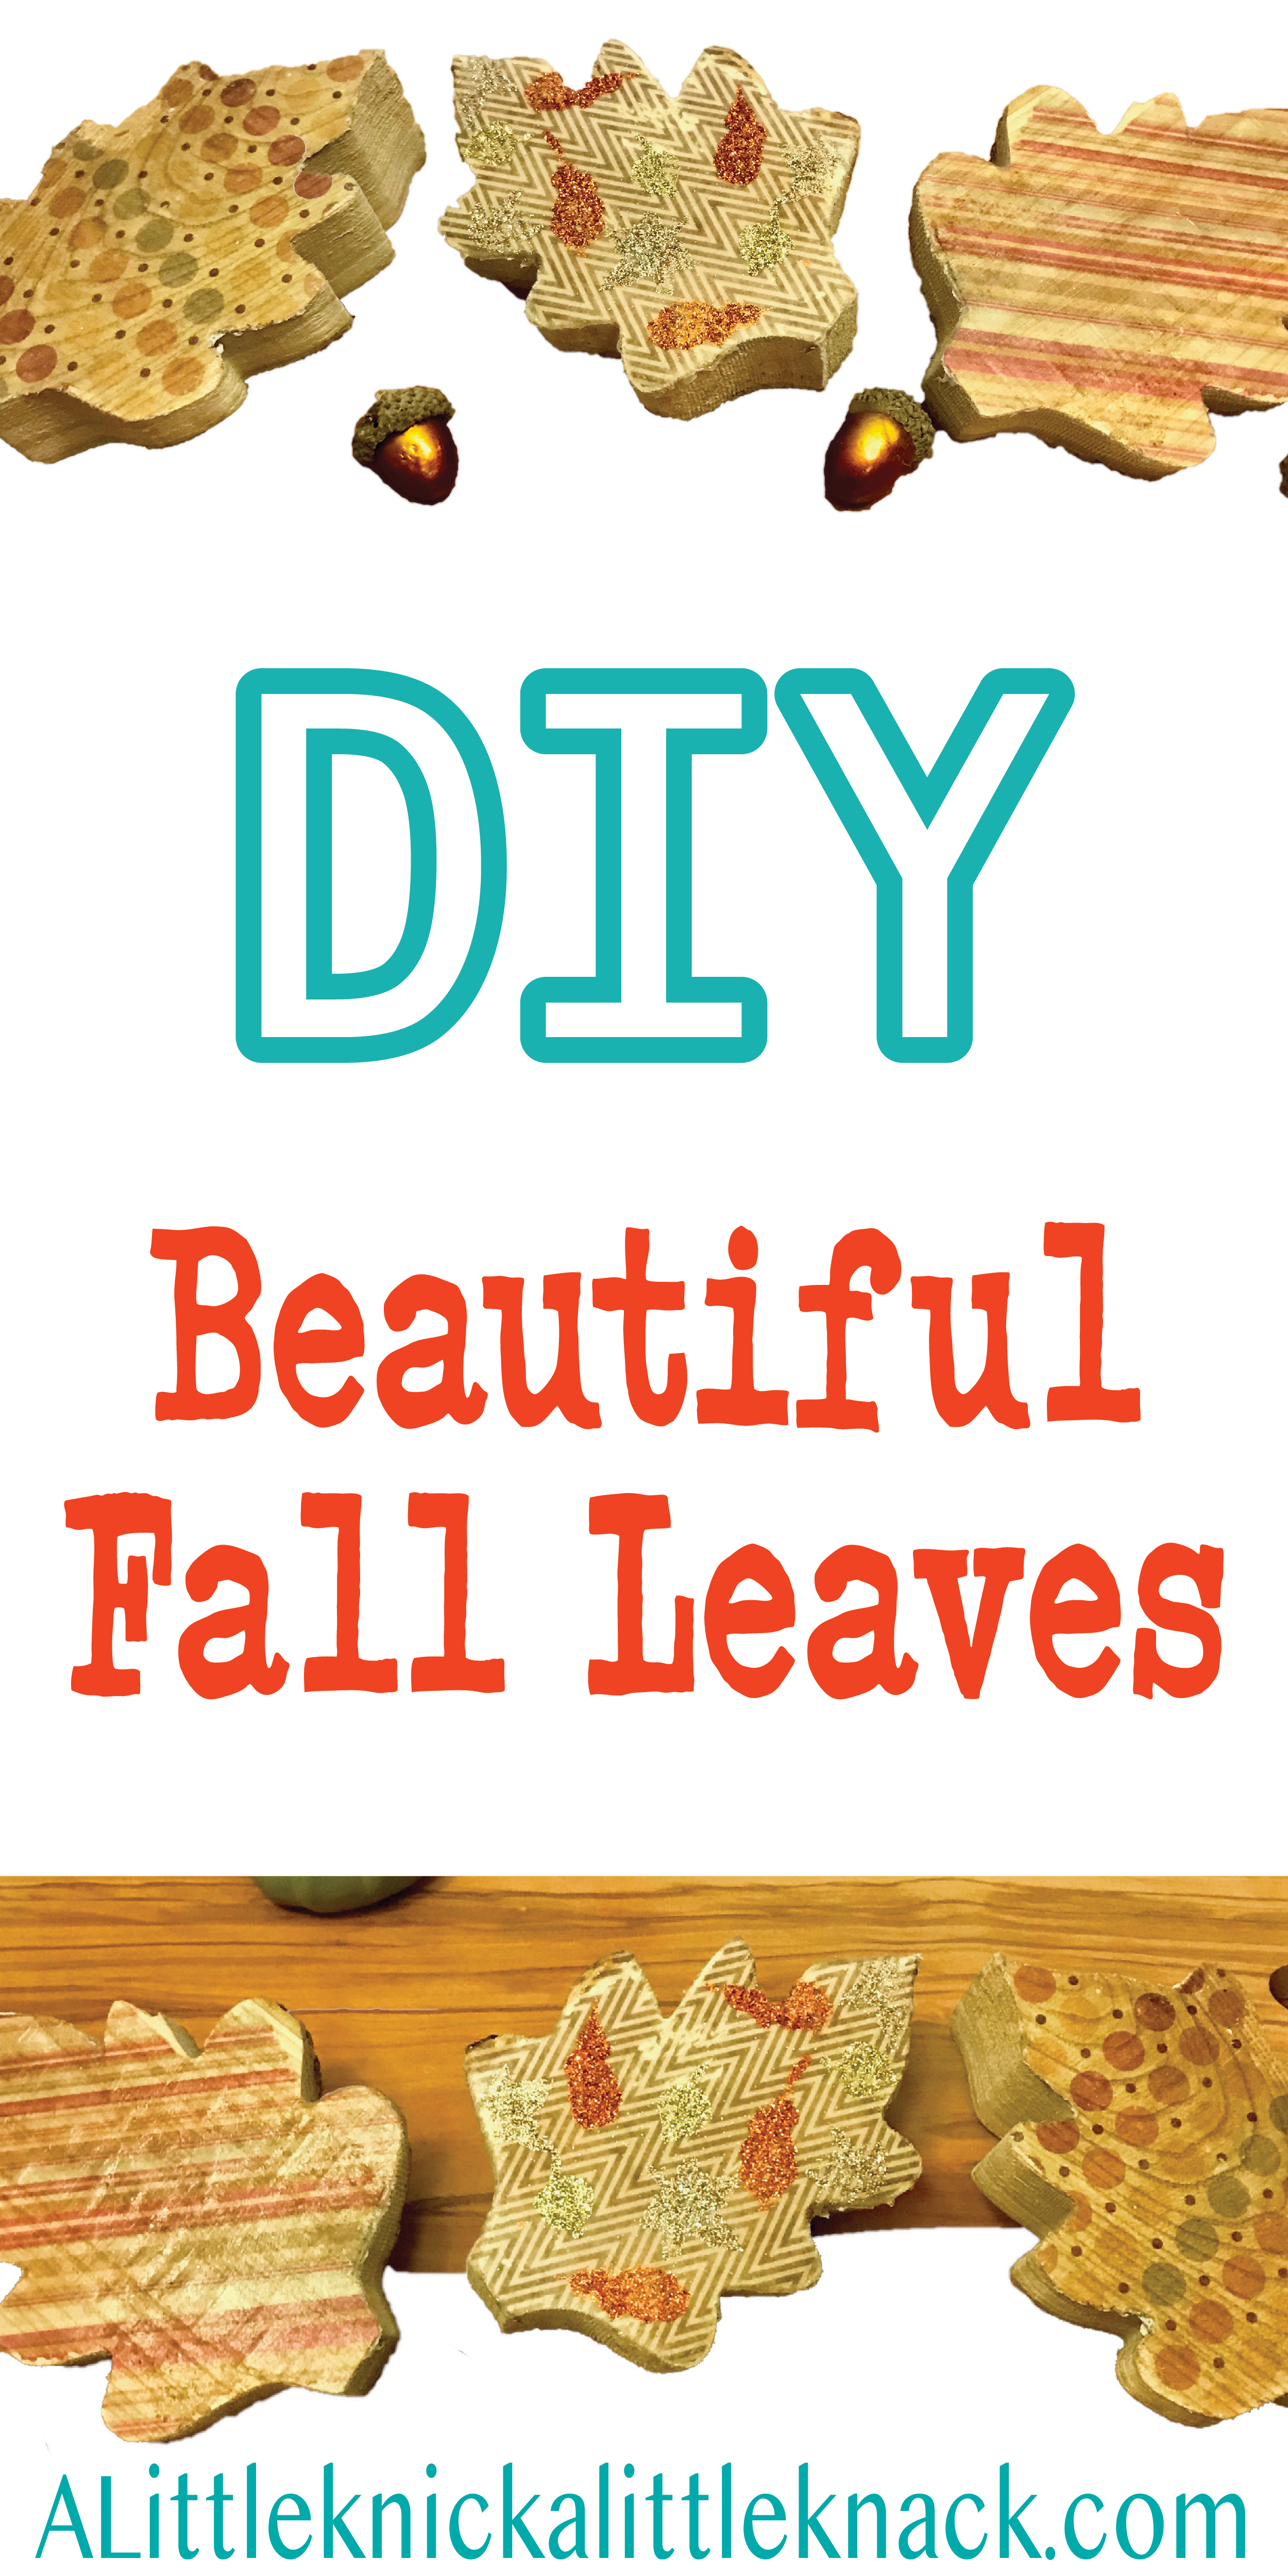
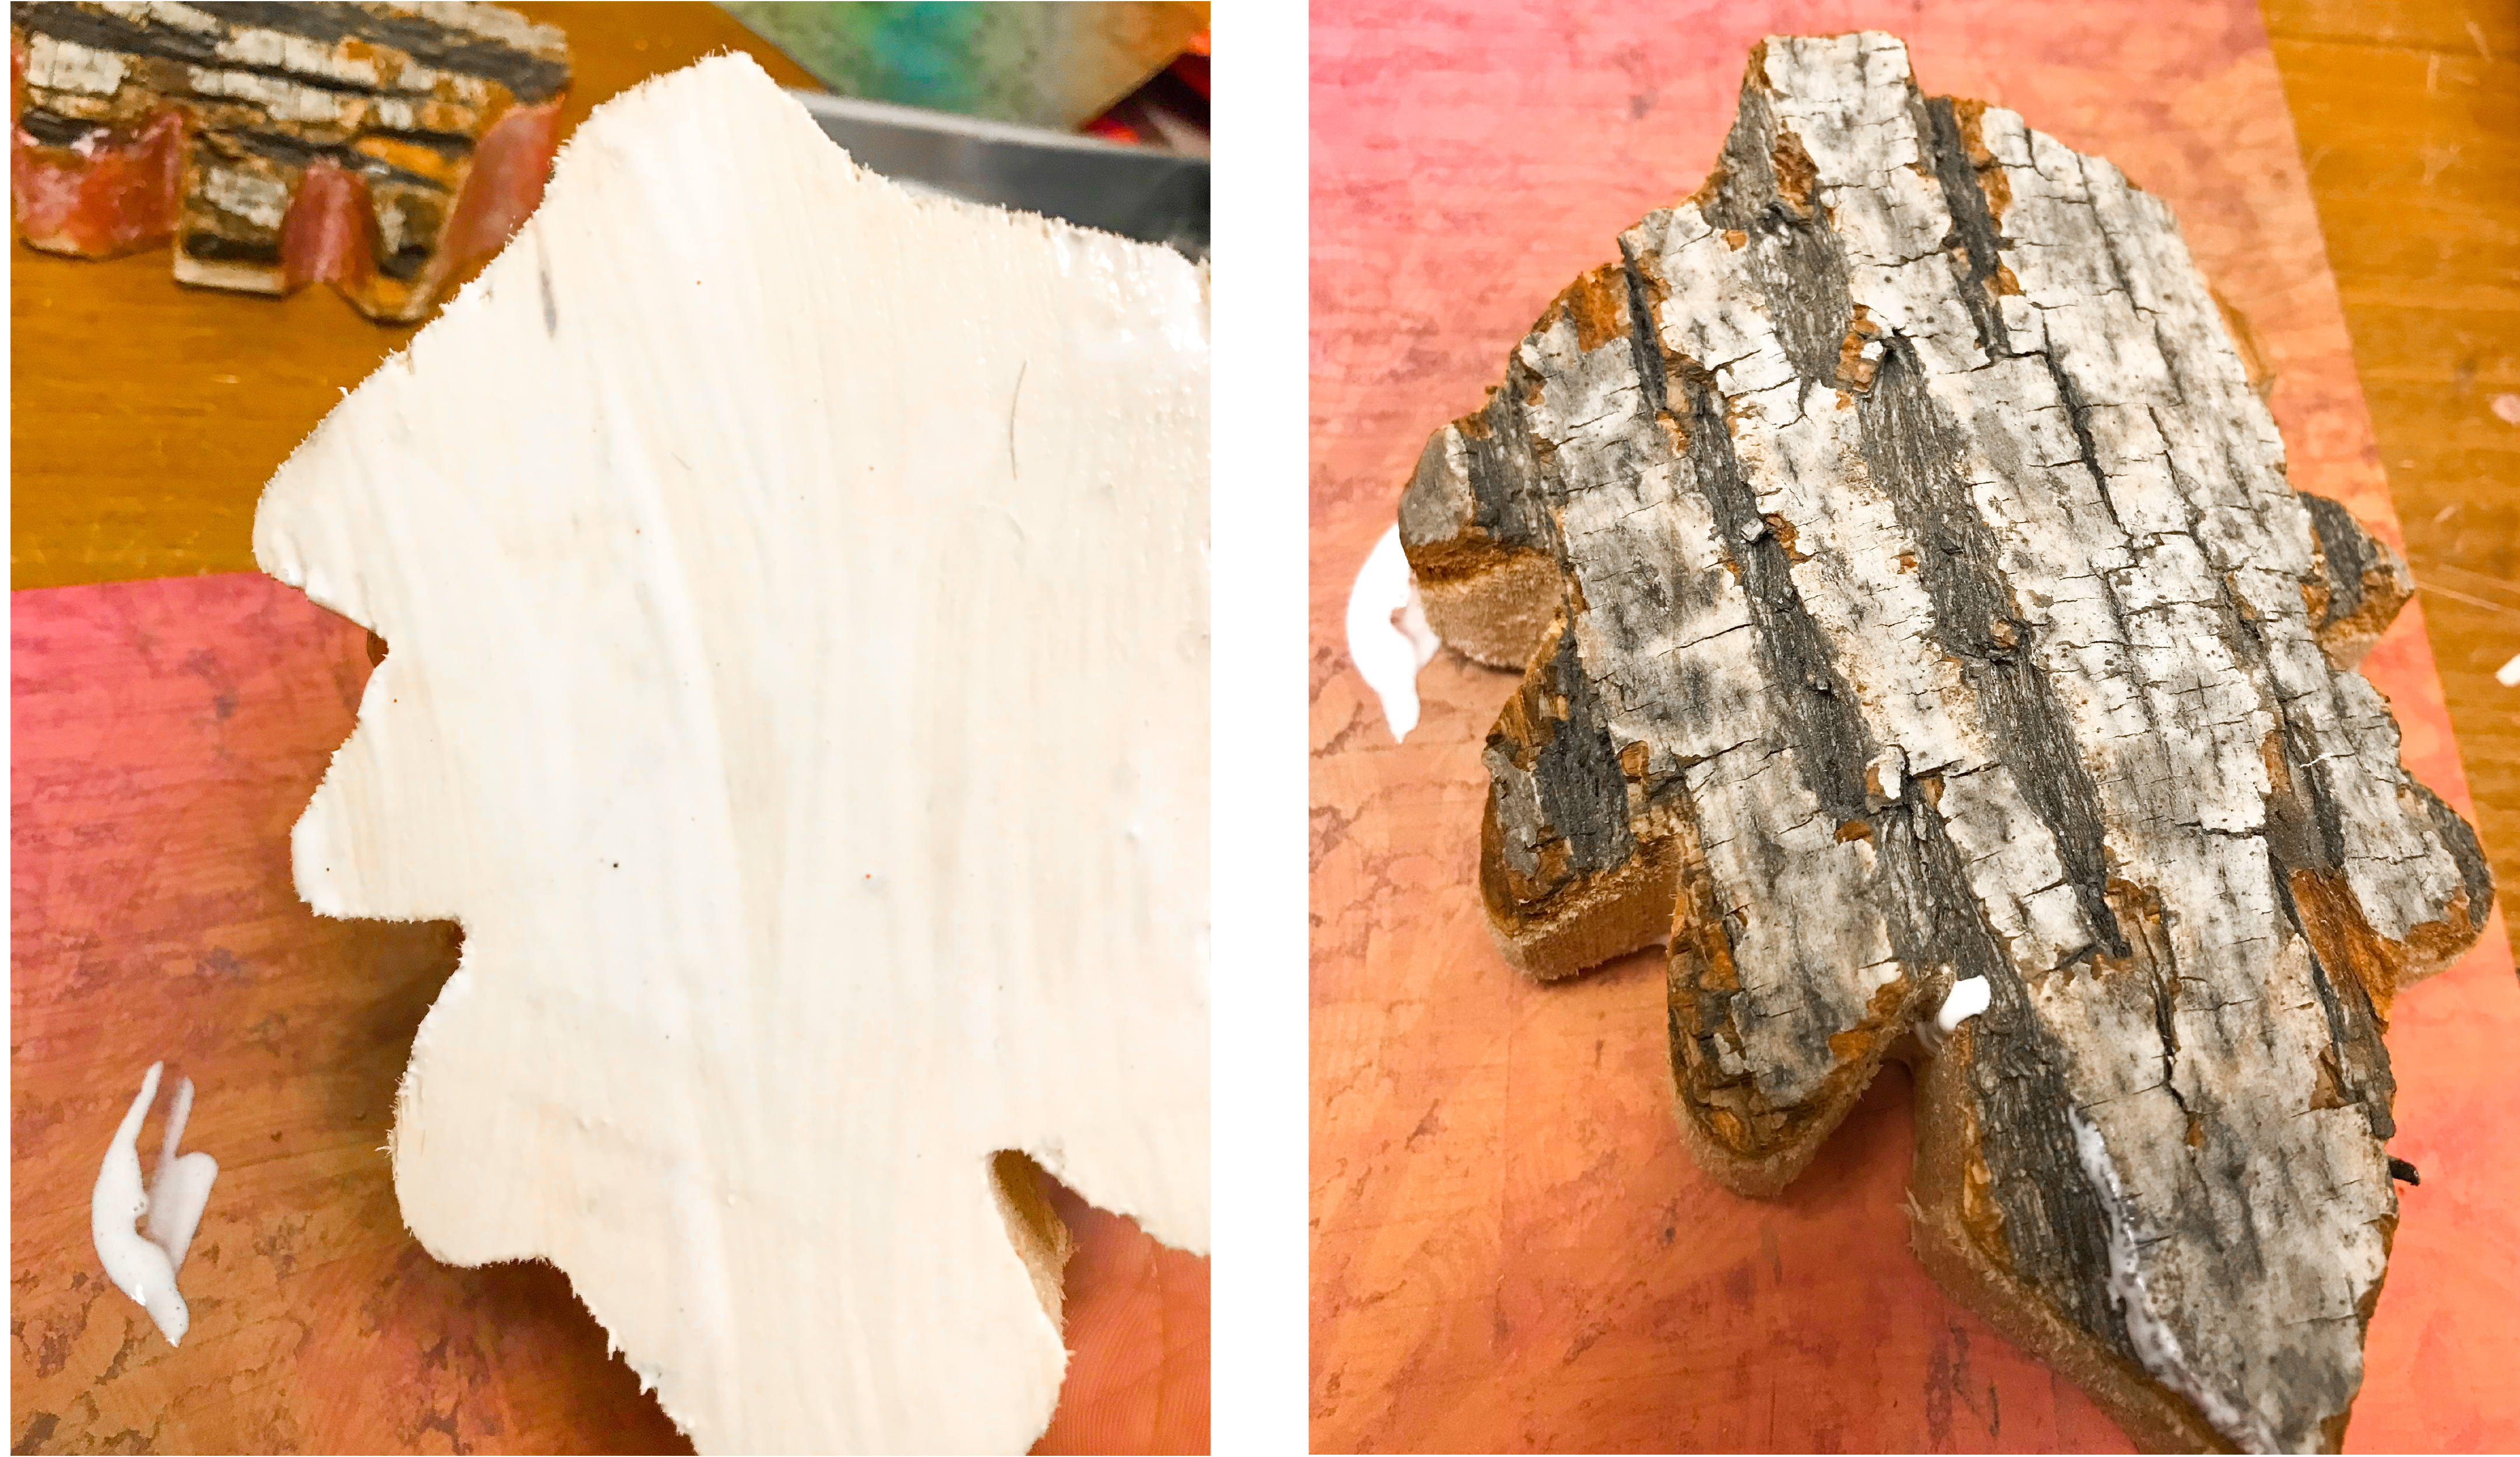
Every time I walk through those doors I know I will find something to inspire me and this time was no different! Hiding on a bottom shelf in the fall section there were some awesome real-wood carved “leaves.” They had bark on one side and were flat on the other (perfect for some DIYing)!
Obviously seasonal stock varies but this scrapbook paper transfer method can be used on pretty much any wooden surface. There are a TON of wood leaf cut-outs out there or you could use it for a different wood project altogether! Be sure to check out my Crafting On a Budget article to keep the costs down on this DIY as well as all your others!
*This post may contain affiliate links which may allow us to receive a small commission (at no additional cost to you) for purchases you make after clicking on product links on our posts , to view our full affiliate disclosure click here.
But rest assured we fully believe in every product we endorse.
Time: 1.5 hours for 6 leaves (longer if you don’t use my mod podge drying hack)
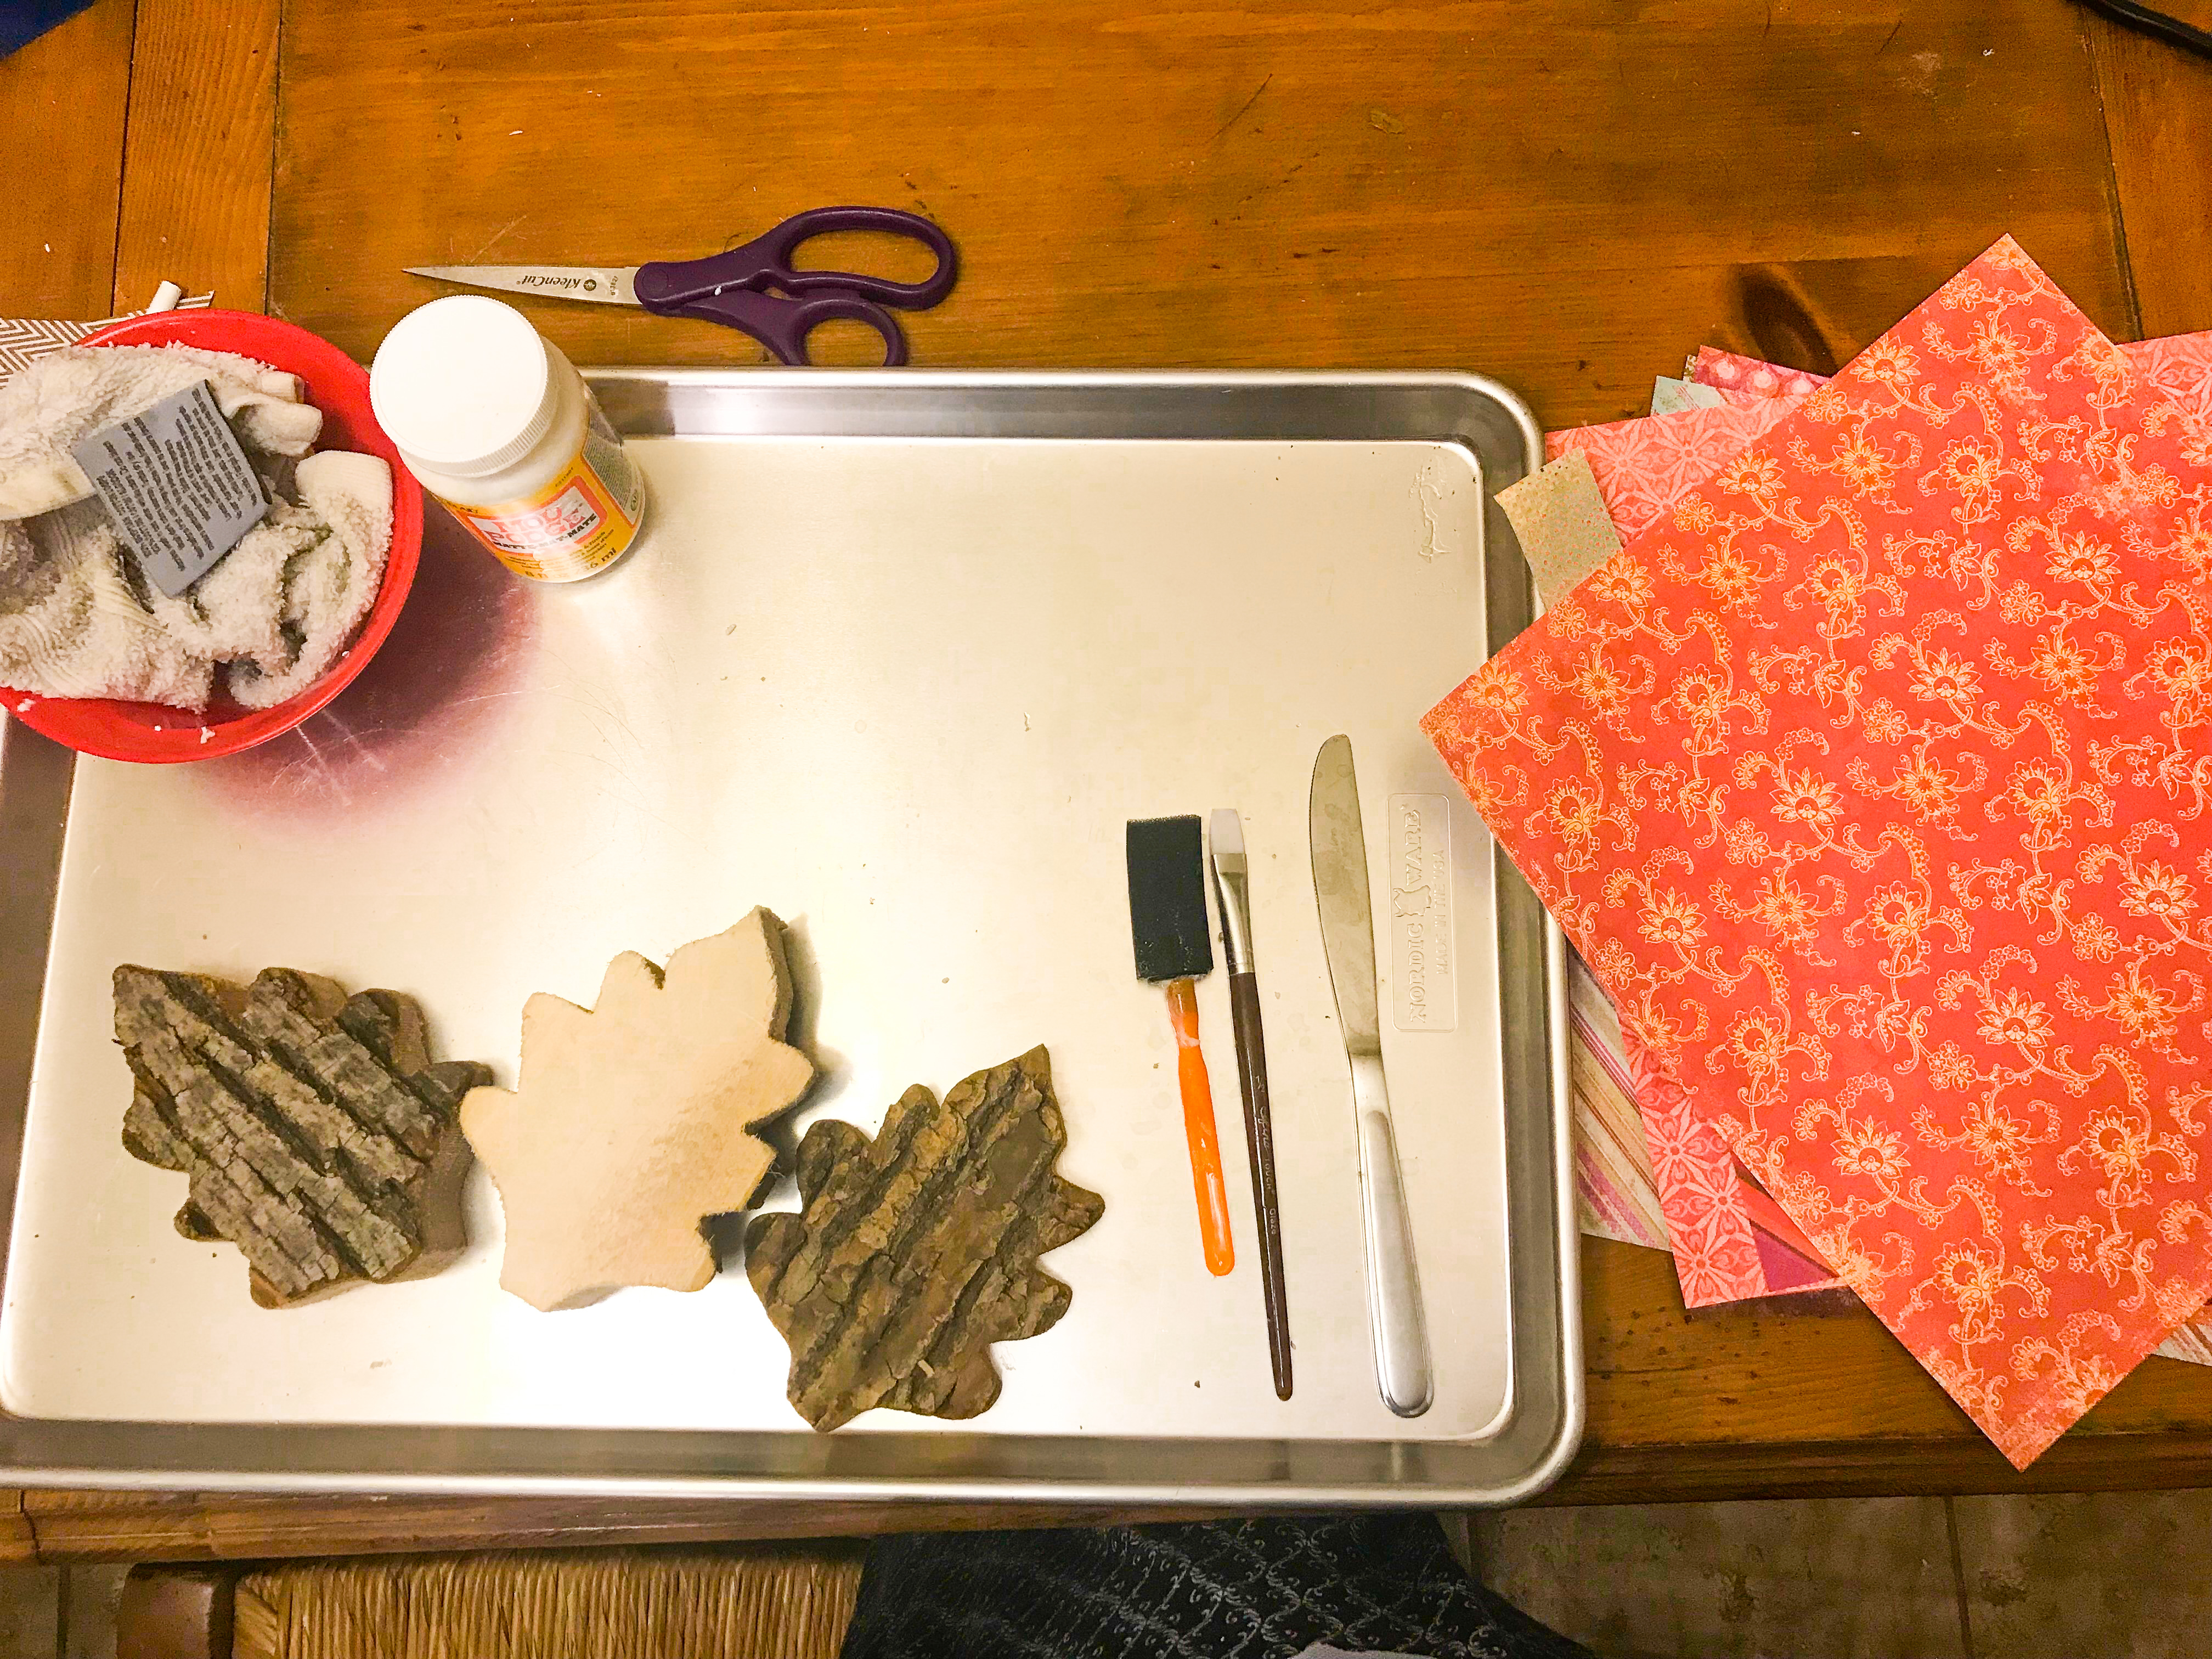
Materials
- Wooden leaf cut-out (or other raw wood piece)
- Matte Mod Podge
- Foam Crafting Brush
- A Paint Brush
- Scrapbook Paper
- A Washcloth
- A Bowl and Water
- A Knife or Bone Folder
- A Baking Sheet (or other non-porous crafting surface)
- Krylon Kamar Varnish Aerosol Spray
- (Optional) Hairdryer
- (Optional) Stamps, Glitter, Stickers, Stencils
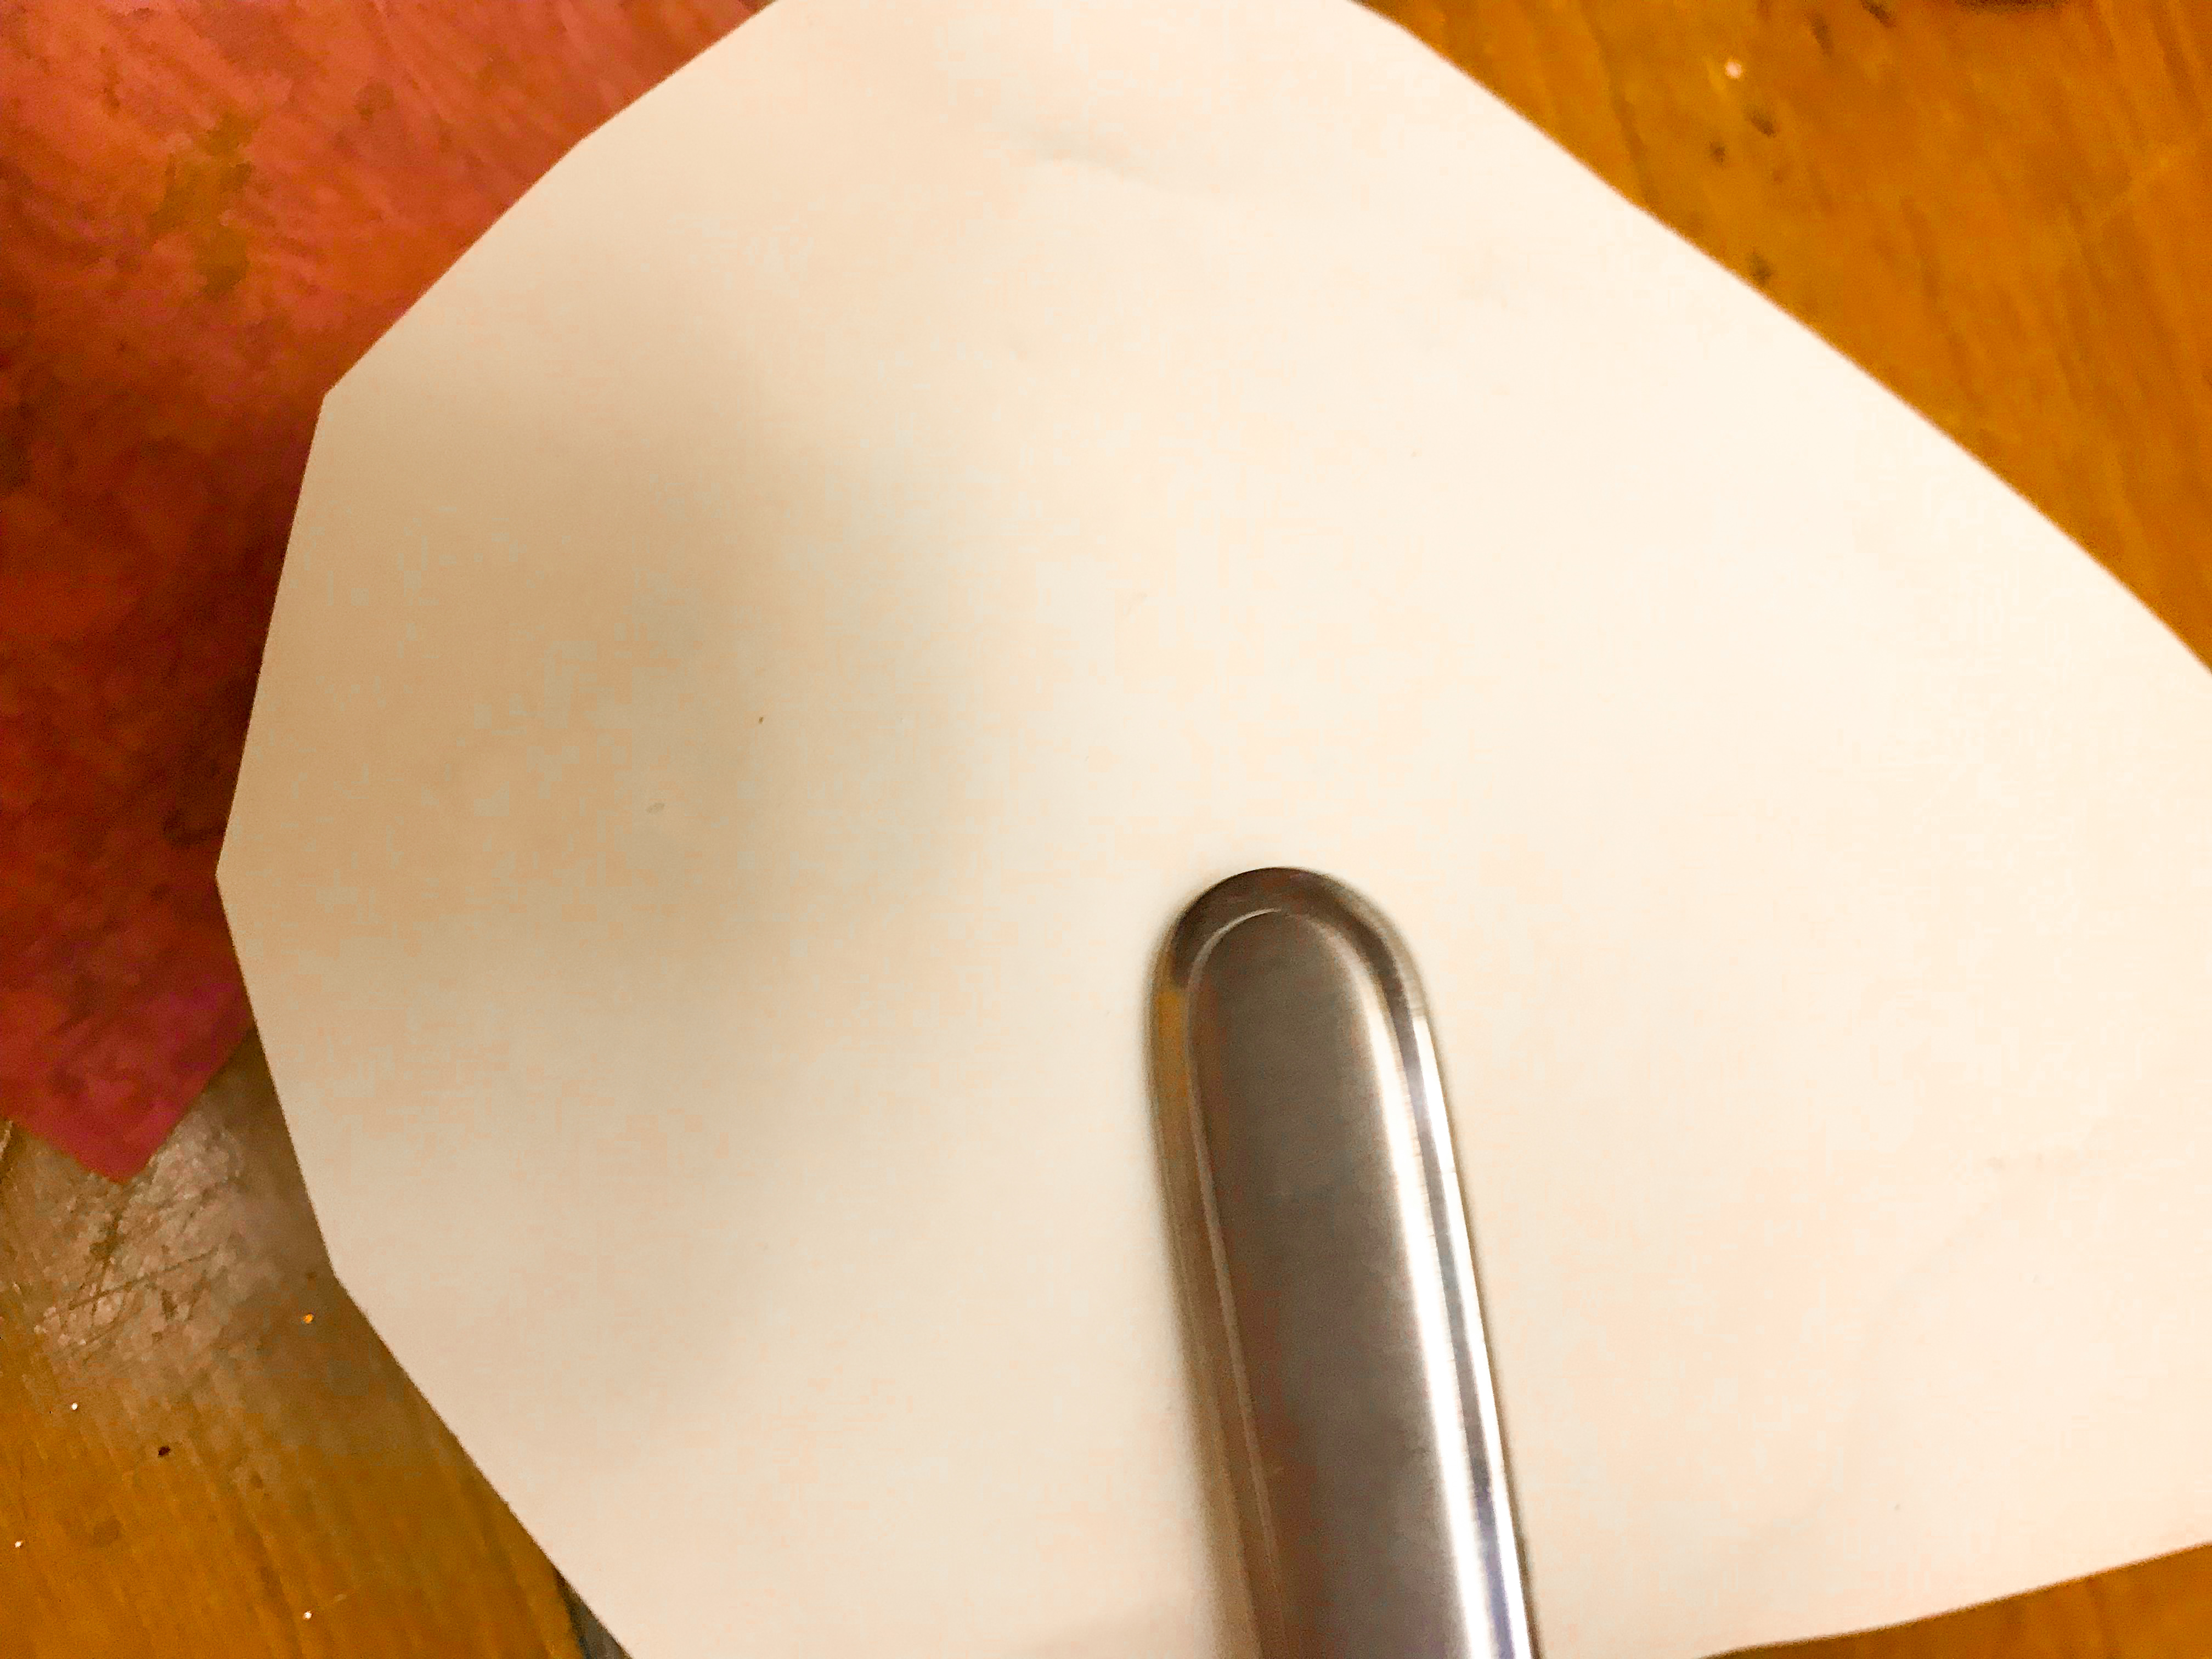
First apply a thin layer of matte Mod Podge to the wooden surface. Next place the wooden object face down onto the scrapbook paper so that the “pretty” side of the scrapbook paper is touching Mod Podged surface.
Take the back end of the knife or the boning folder and rub it along the back of the scrapbook paper. Try to smooth out any bubbles or other areas where the wood isn’t making good contact with the paper.
Hint: If the edges aren’t sticking well, add a little bit more Mod Podge to them using the painting brush.
Now you have 2 options:
1) Wait 24 hours for it to dry.
2) God try my super easy Mod Podge drying time hack and be ready to move onto the next stem in a bout 25 minutes.
I personally used both and the results were the same!
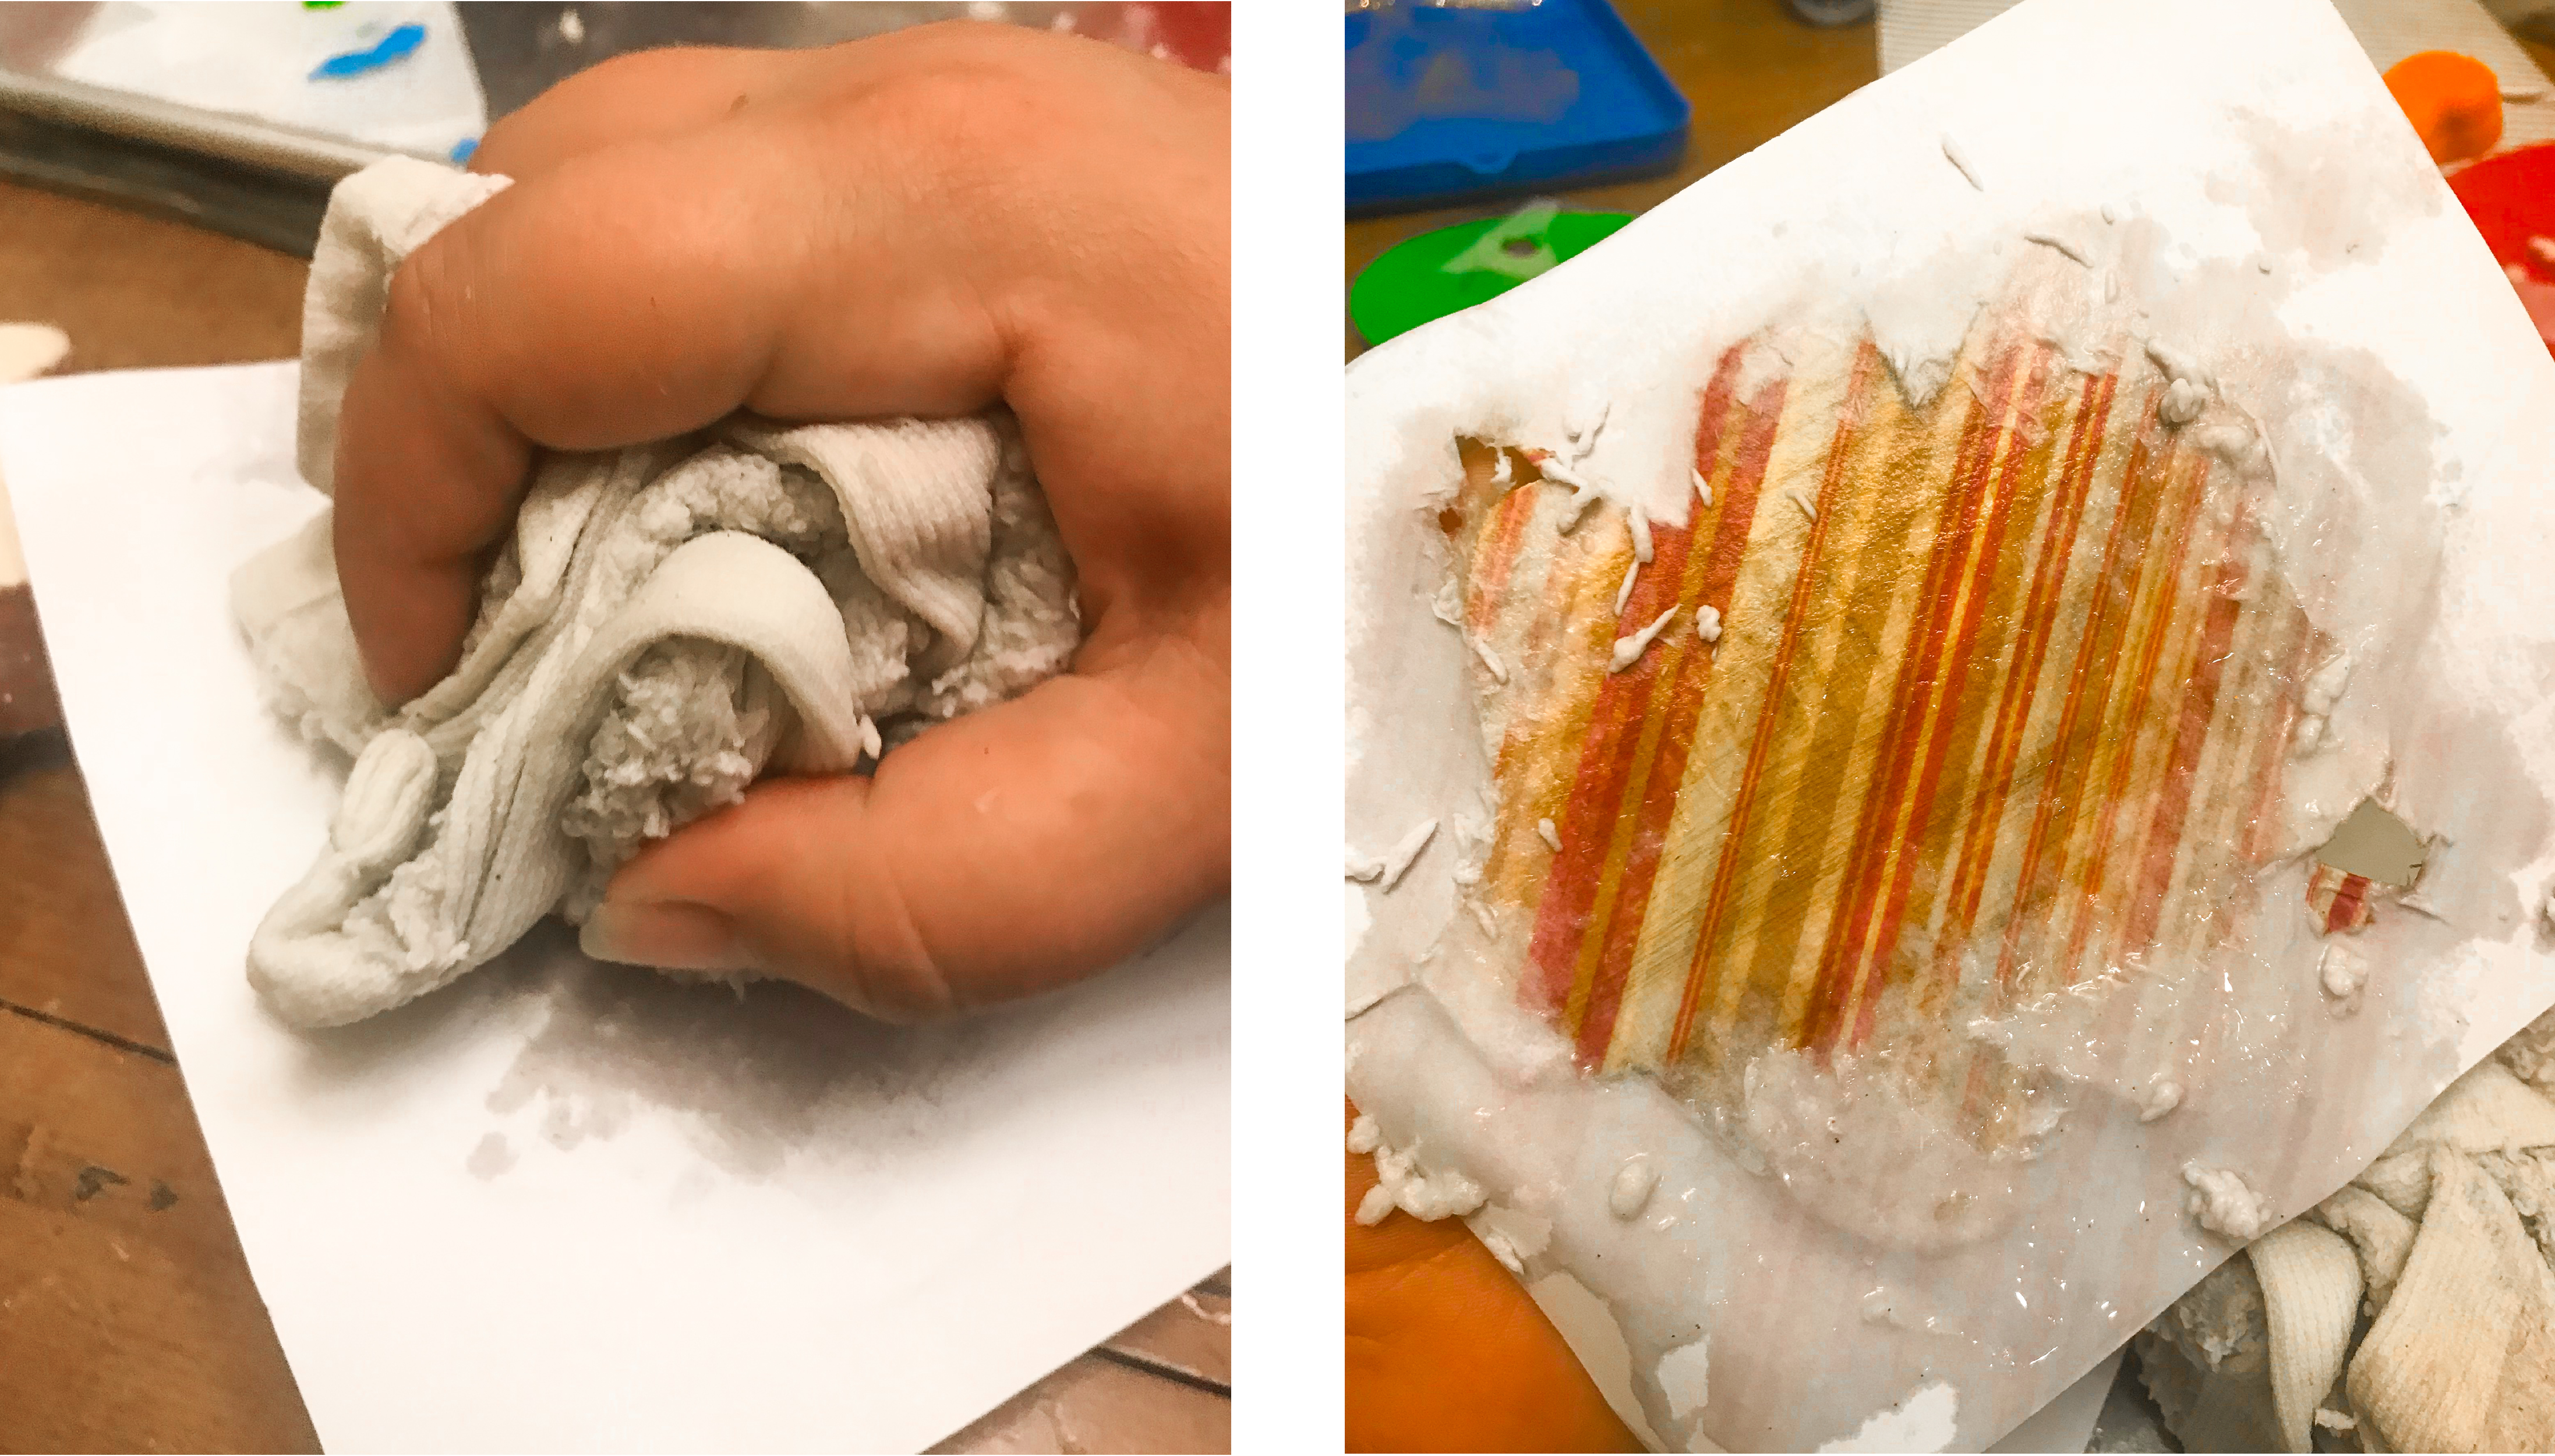
Once the Mod Podge is thoroughly dry, place some water in the bowl and get the washcloth soaking wet (loosely ring it out just enough where it’s not dripping everywhere).
Take the wet wash cloth and rub the back of the scrapbook paper. The white part of the paper will start to peel away.
Hint: I won’t lie with the first few I was terrified to rub too hard making this part take way longer than it should have. Don’t go crazy muscle man on it but you can rub pretty firmly without it the transfer coming off. If you want a rustic worn look then rub as hard as you like until the transfer does come off in spots.
From here I would let the leaves air dry for about 5-10 minutes and repeat the process with the washcloth. Sometimes the thin bits of paper will look transparent until they dry out and by letting it dry you can see what areas you need to work on some more.
Next let it dry for another 24 hours or once again use the Mod Podge Drying Hack.
Hint: You may notice that there is still what looks like a little paper attached and you may be thinking that the colors look nowhere near as bright as the original scrapbook paper was. The next step will fix both these issues so don’t fret or freak out!
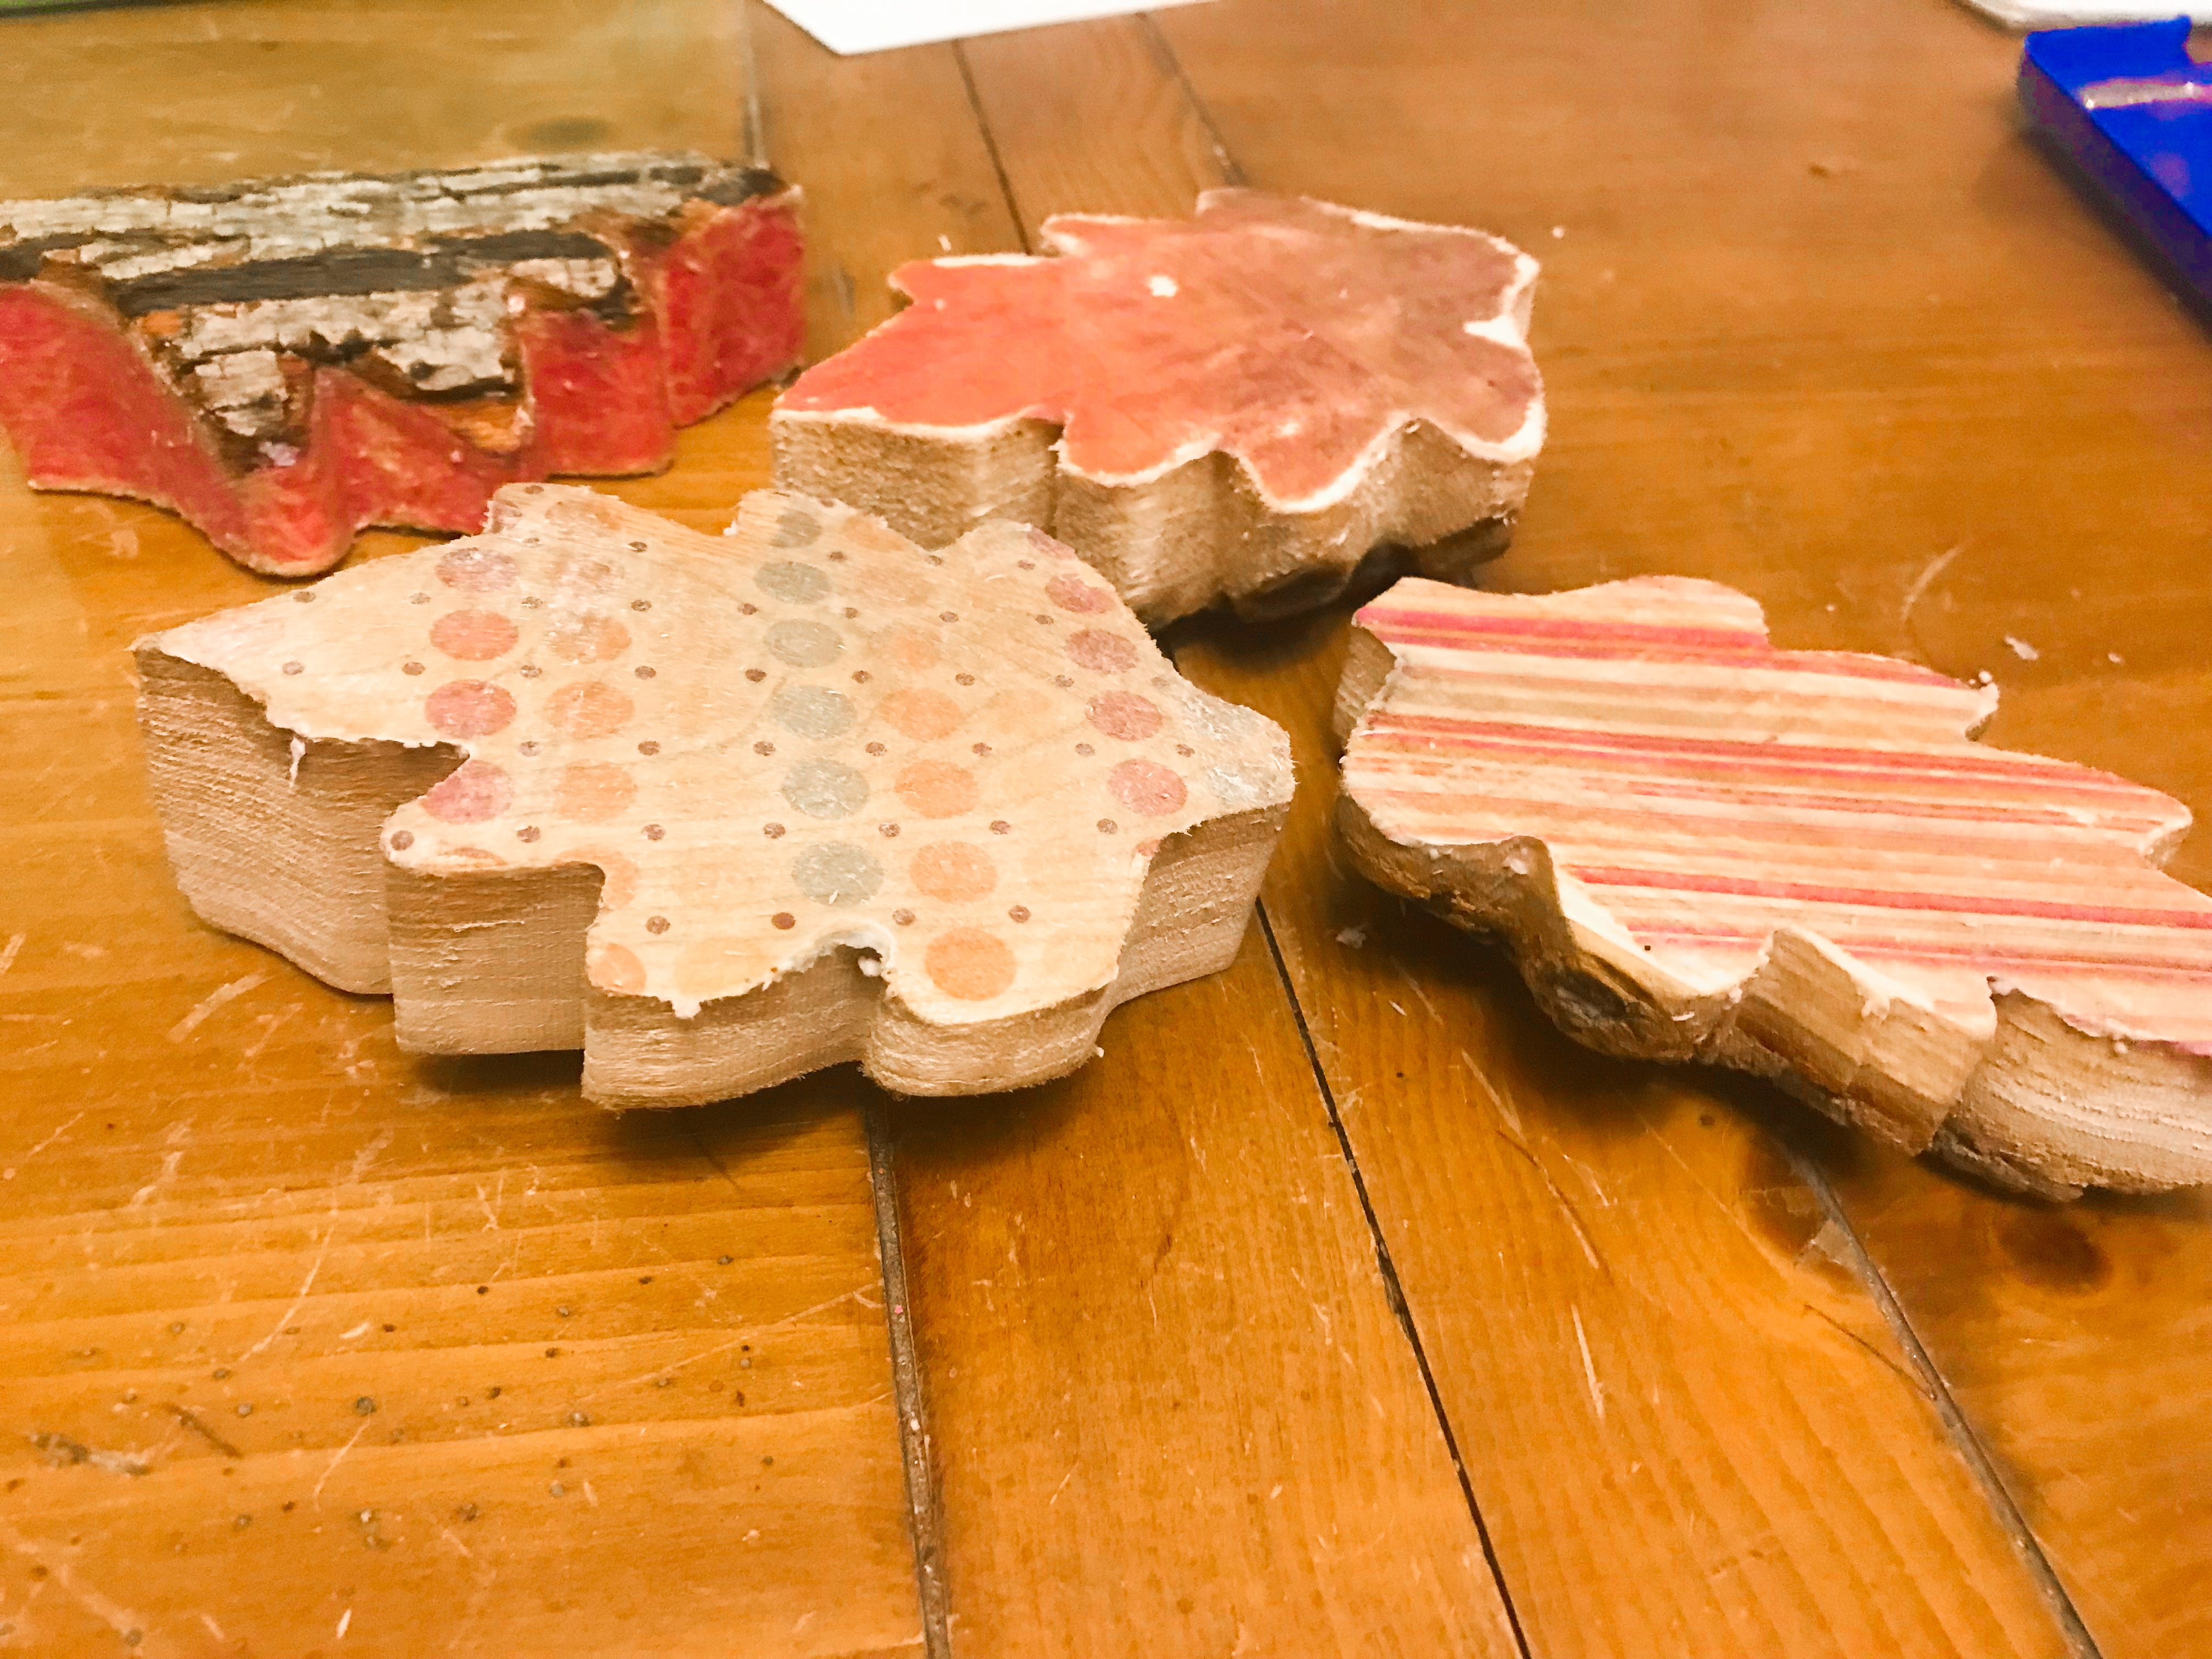
After the project is dry, rub off any small visible paper tags that may be hanging around with your finger to the best of your ability. Then head outside and give the surface a quick coat of Krylon Kamar Varnish Aerosol Spray.
The varnish should turn any last bits of thin paper transparent as well as really enhance the colors of the scrapbook paper!
Let the varnish dry (preferably outside) for an hour.
From here where you take this project is up to you. You could leave them as is or decorate them with stickers, stencils, paint, etc! The possibilities are limitless.
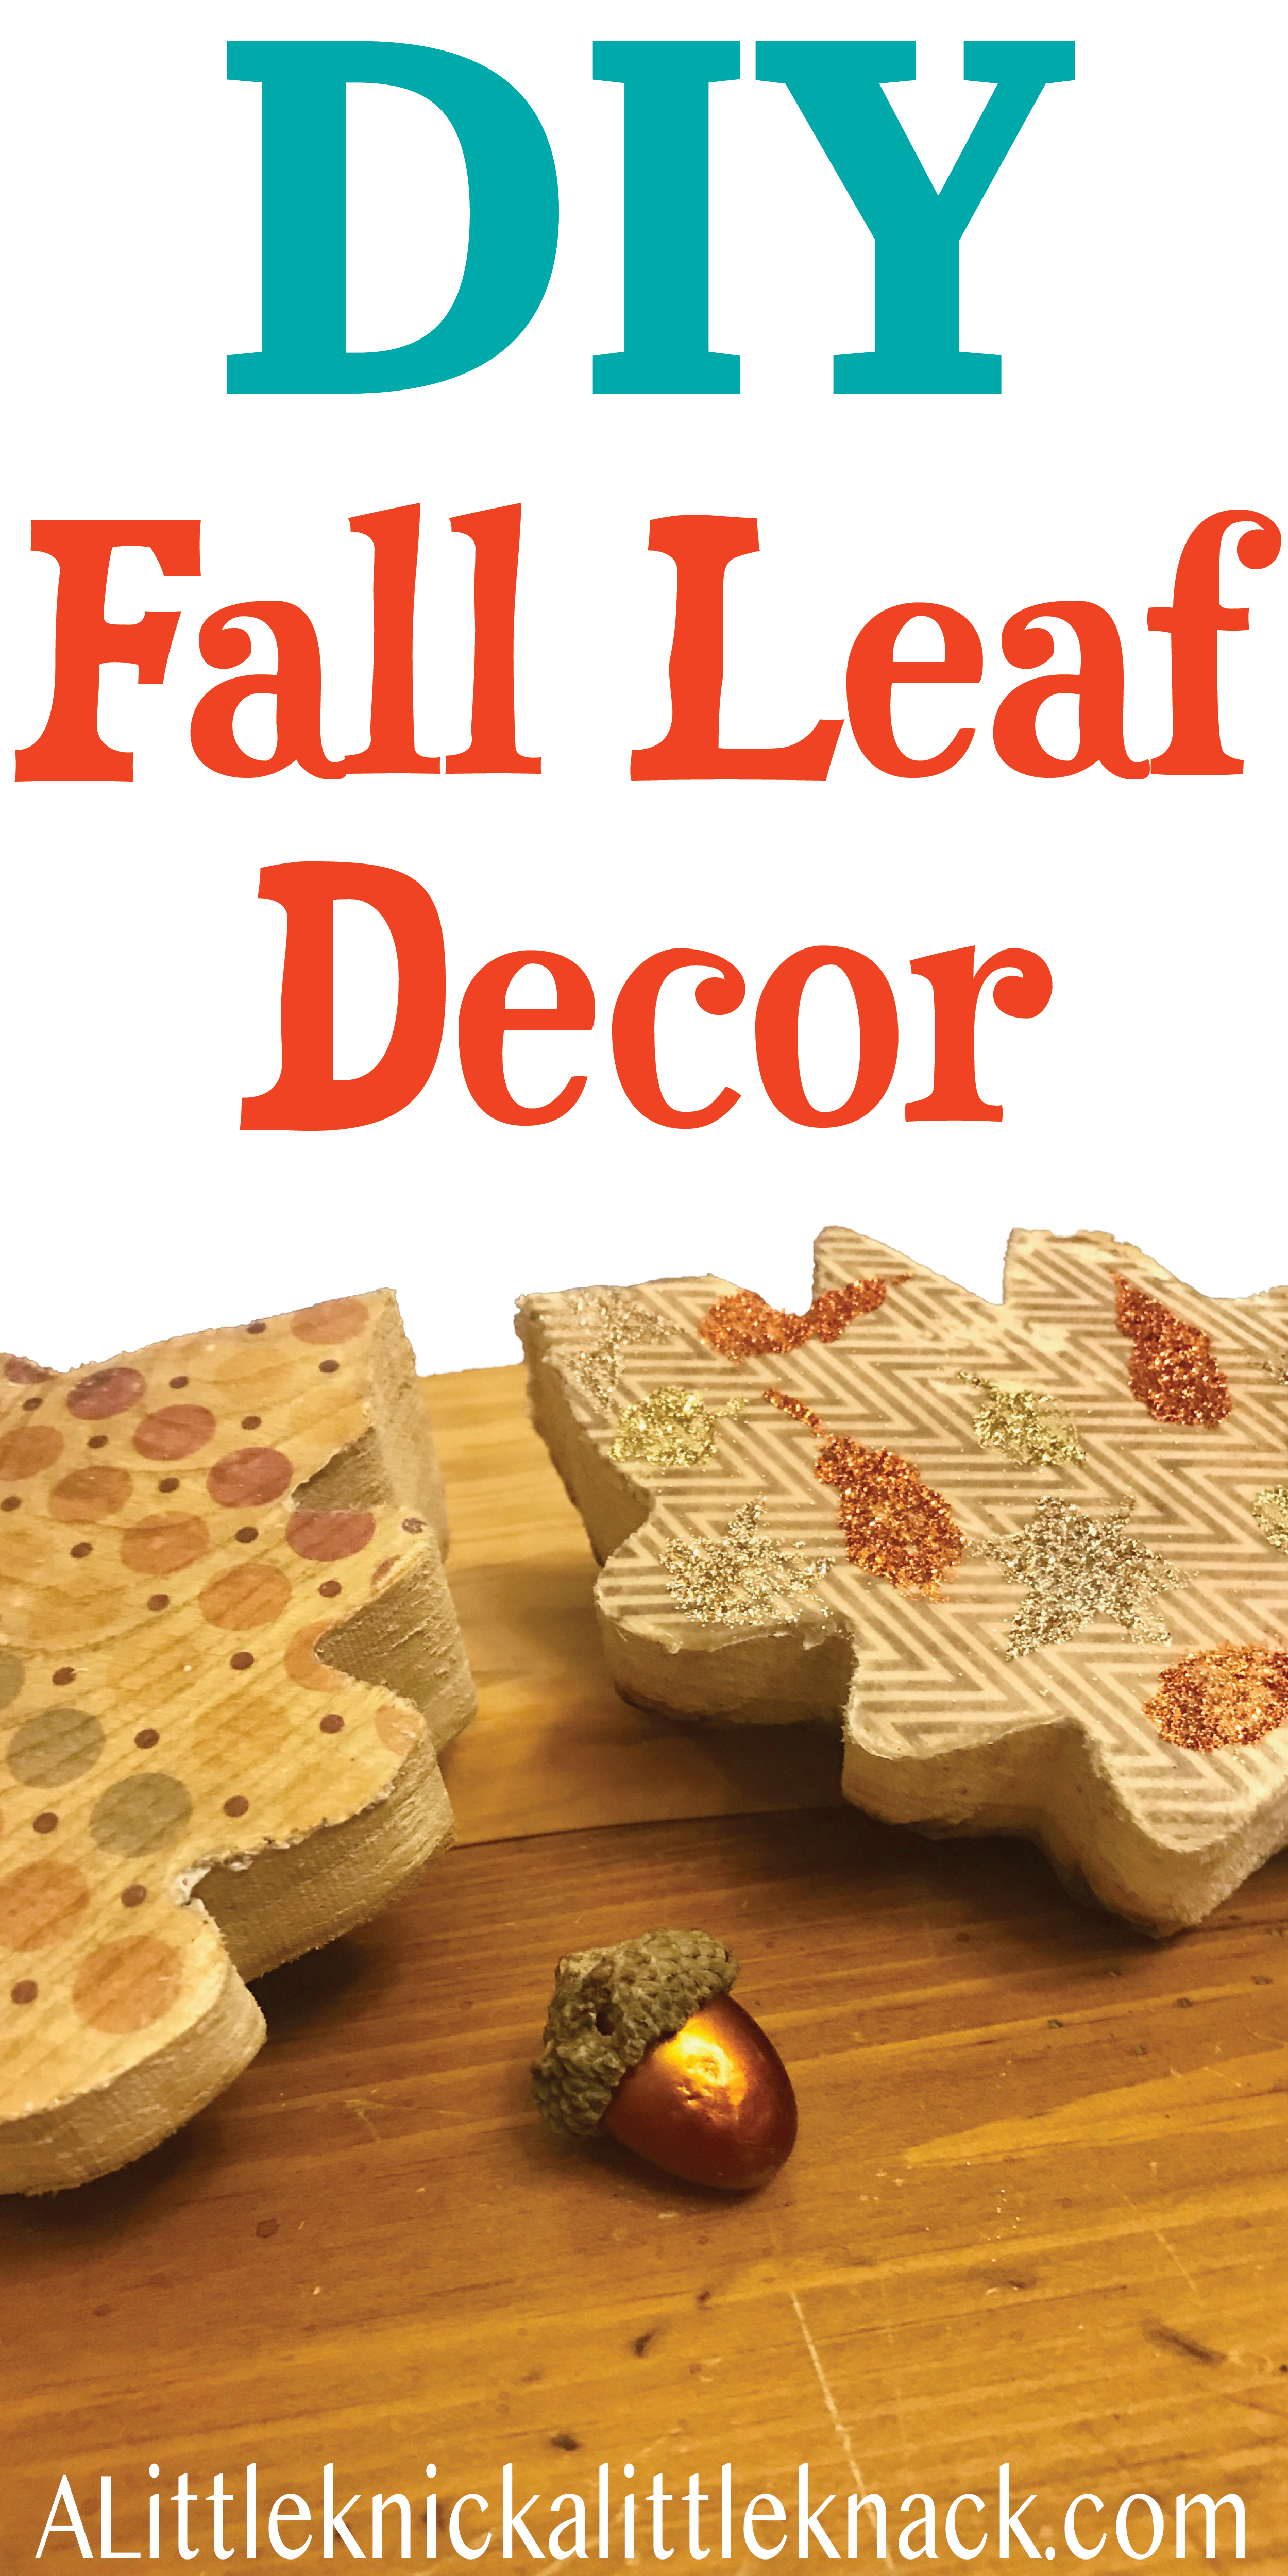
Personally I picked one and used some homemade leaf stamps and a bit of Mod Podge to glue glitter in various fall colors in a cascading leaf pattern. I’m thinking next I may pick one to add some fall lettering to. Use your imagination and have fun with it!
If you want to seal in your additions I would use a Glossy Acrylic Spray over the surface.
There you have it. A super easy way to transfer scrapbook paper designs to wood and a display worthy fall decor DIY.


