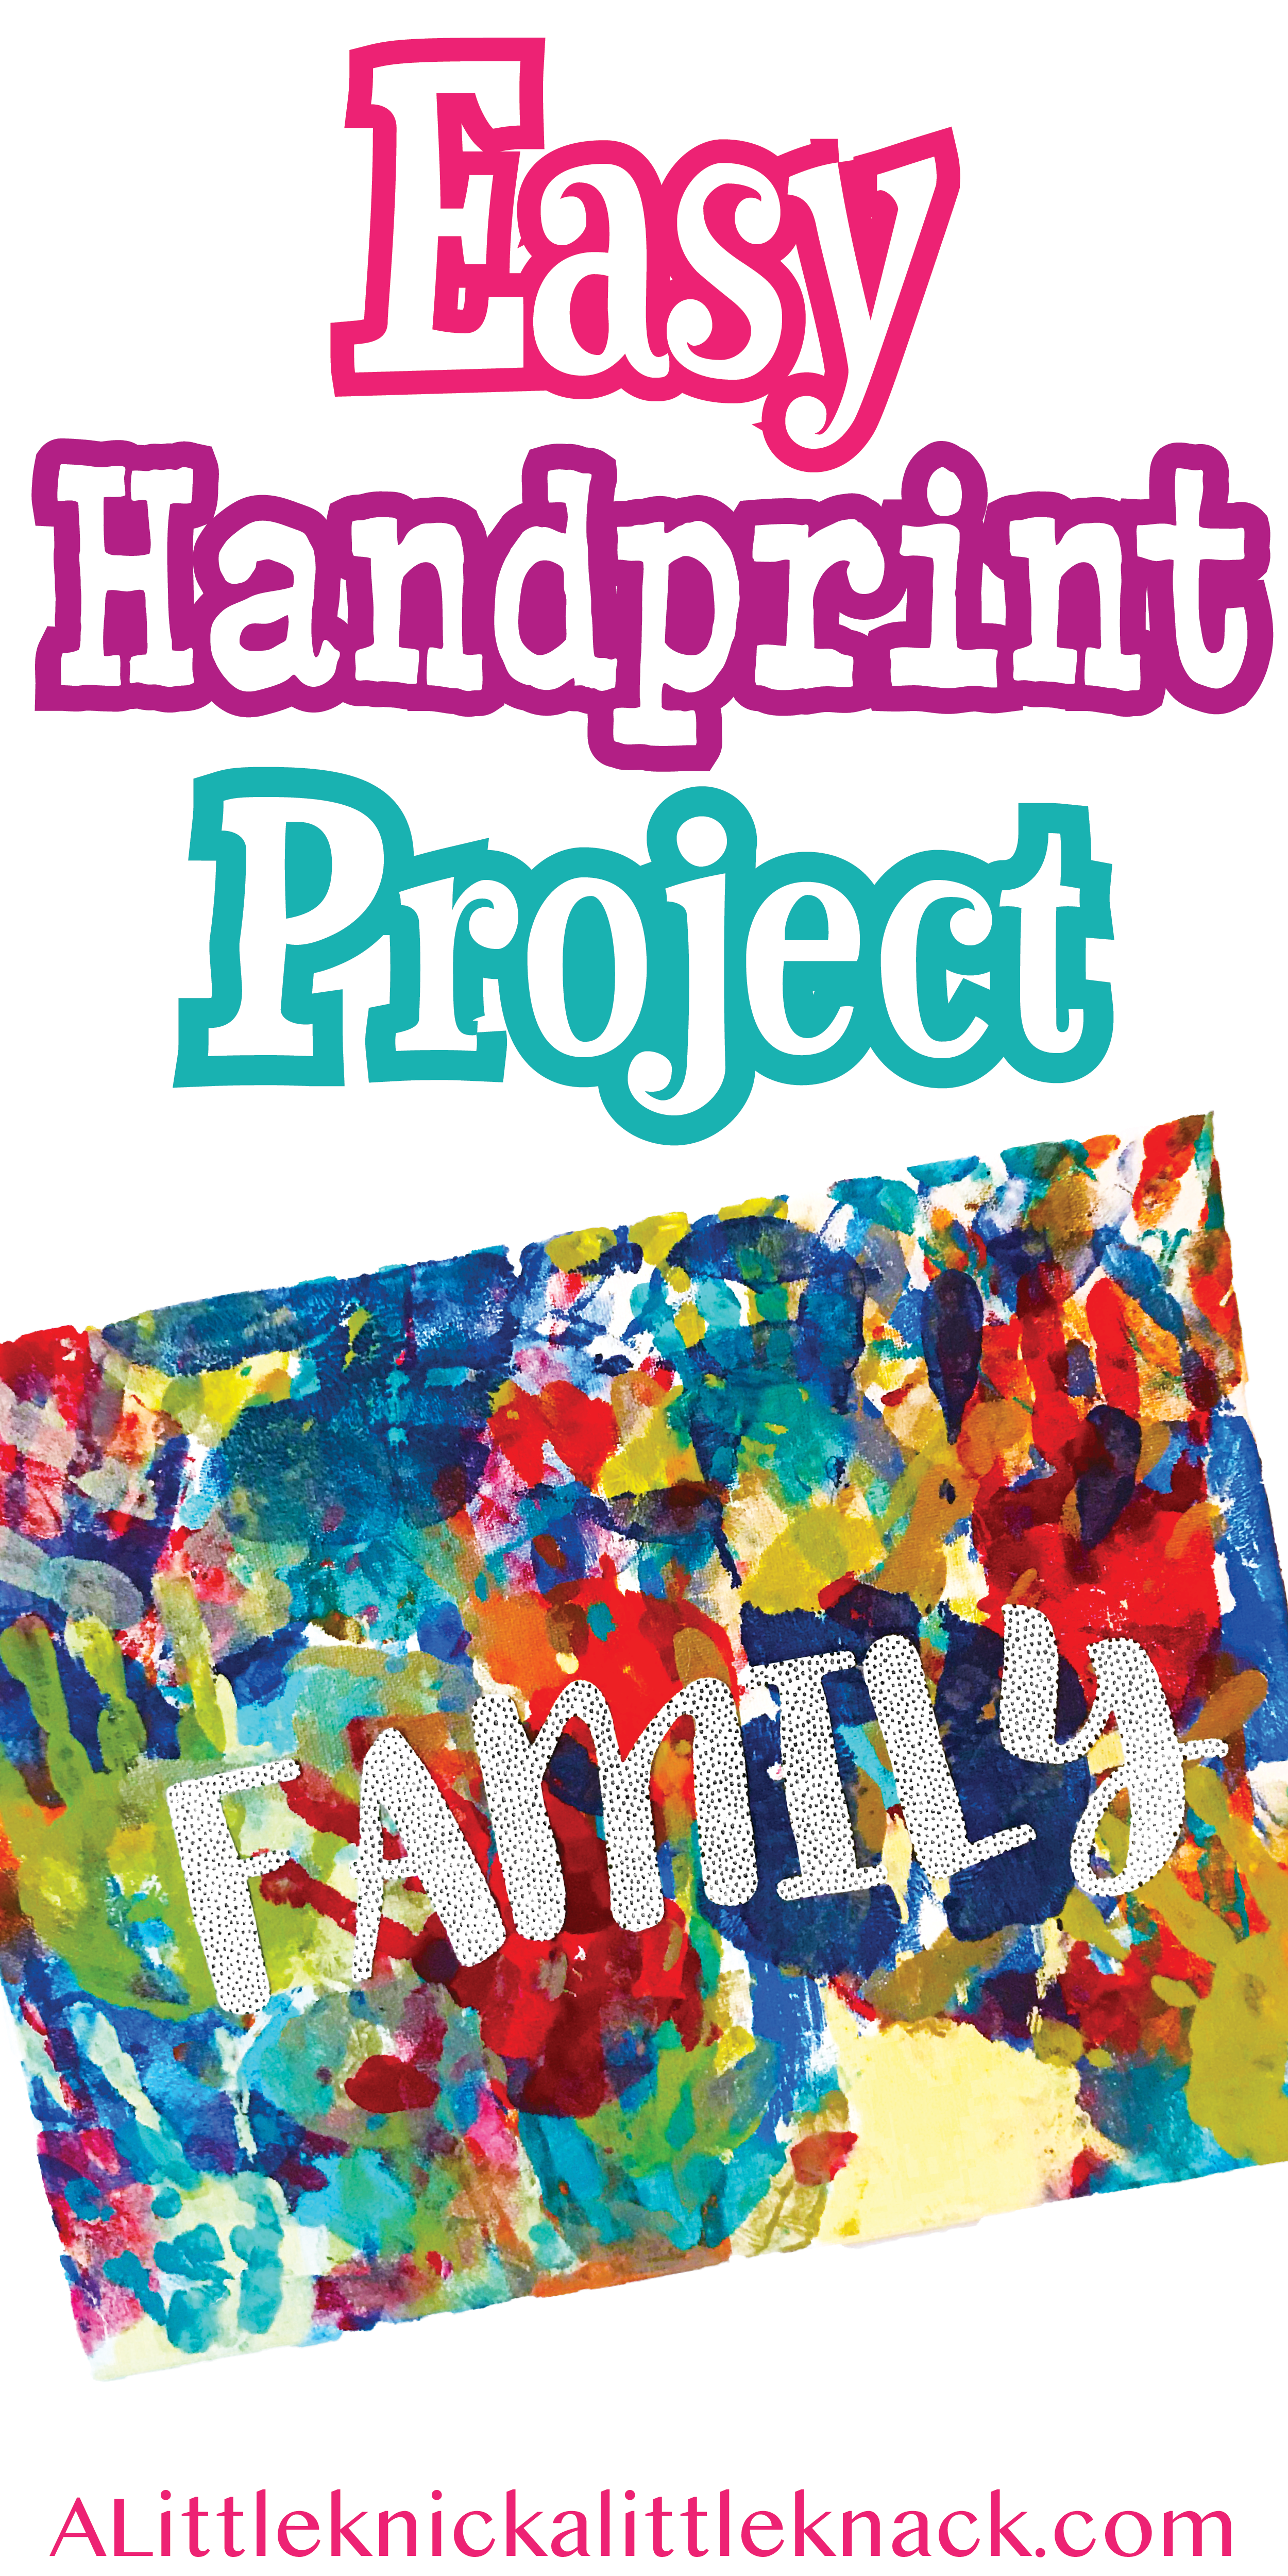
For our second spring break playroom art project I decided we should do a handprint project which could involve the whole family! My one regret is that I didn’t buy a bigger canvas because I think it would have looked even better oversized.
I know what you are thinking? Handprint projects = MESSY! While this is normally true, I have a few tips and tricks to minimize the mess and collateral damage.
*This post may contain affiliate links which may allow us to receive a small commission (at no additional cost to you) for purchases you make after clicking on product links in our posts, to view our full affiliate disclosure click here.
But rest assured we fully believe in every product we endorse.
Time: 45- 60 minutes
Craft Supplies Needed:
- Stretched Canvas
- Several colors of acrylic paint
- 2 Paintbrushes
- Two cups of water
- Baby wipes
- Paper Towels
- Letter stickers
- Matte Mod Podge
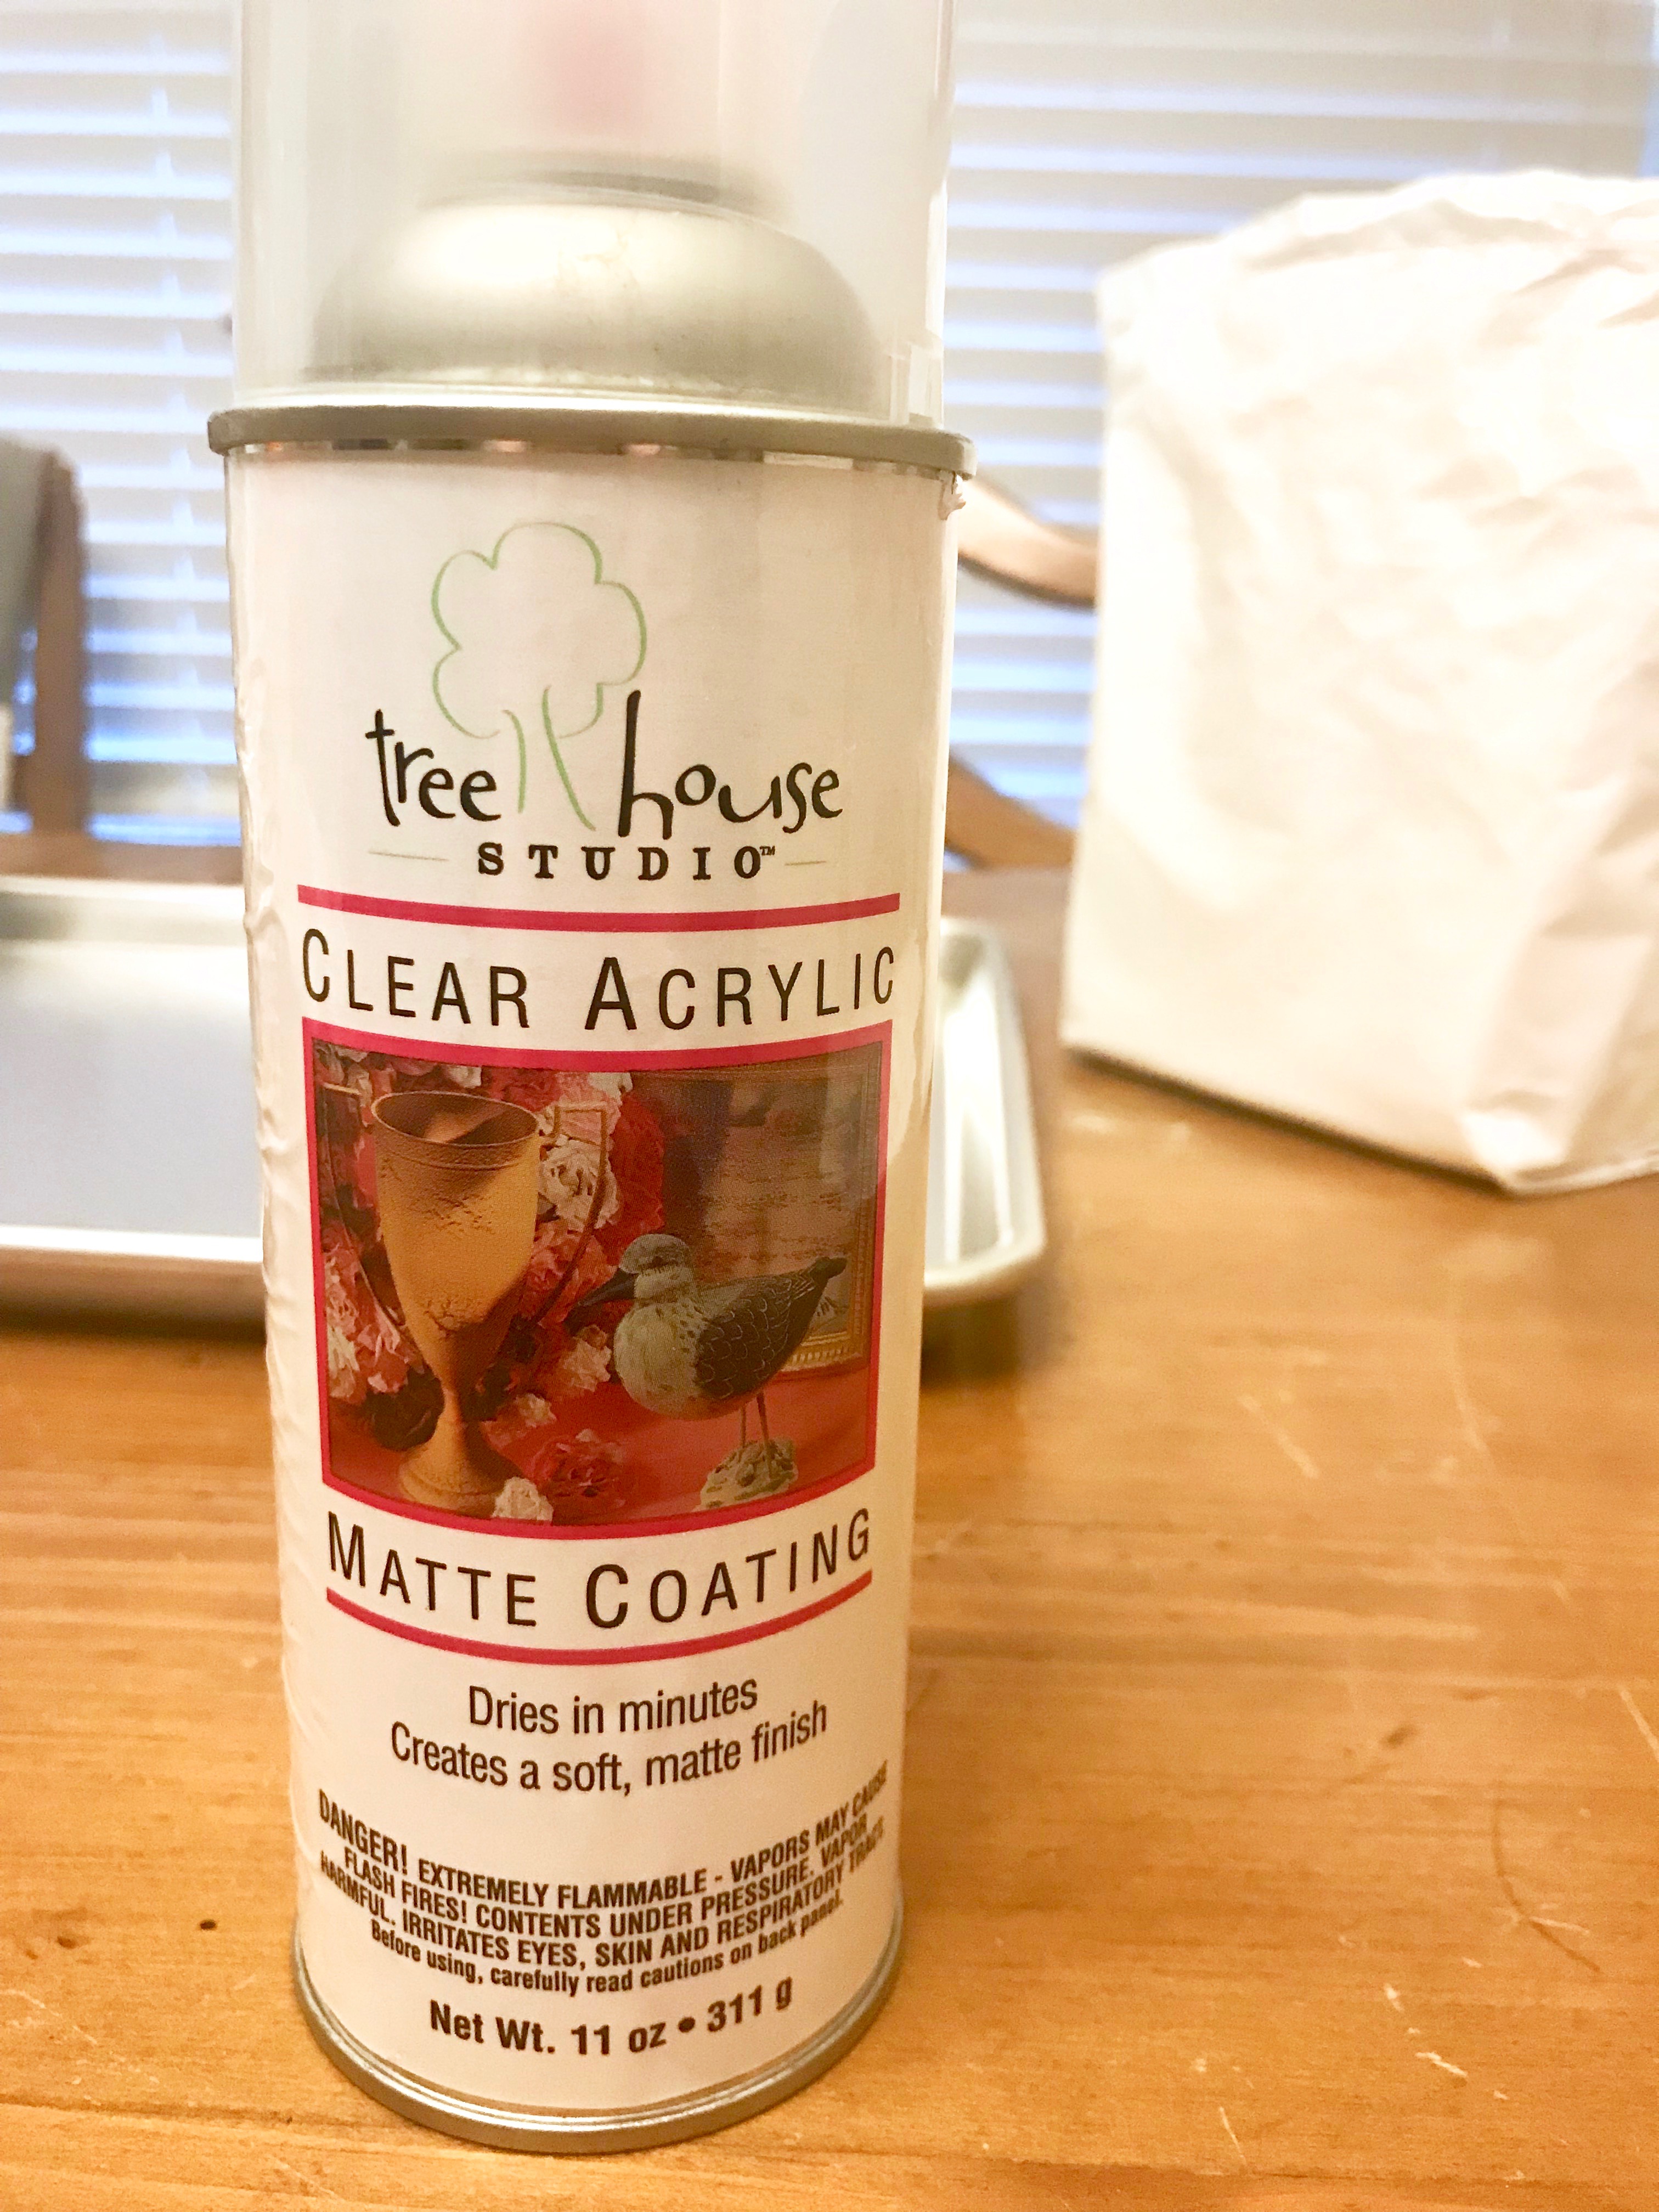
- Matte Varnish Aerosol Spray
- Cookie sheets
- 2 cheap tupperware containers/ disposable plates/ or one art palette
First things first, make sure you and your child are dressed appropriately. We miraculously managed to get through this project without looking like we just ran a paint splatter 5K but I have made many handprint projects where that was not the case. Wear clothes that if they get ruined you won’t care. Growing up we used our parents’ old T-shirts as our designated craft shirts but with my son I just let him wear an old pair of shorts while doing this project while I wore a shirt that had seen better days thanks to a hair coloring incident.
Next gather your supplies and place your canvas on a cookie sheet. As I mentioned in my Spring Craft Post this will make clean up so much easier!
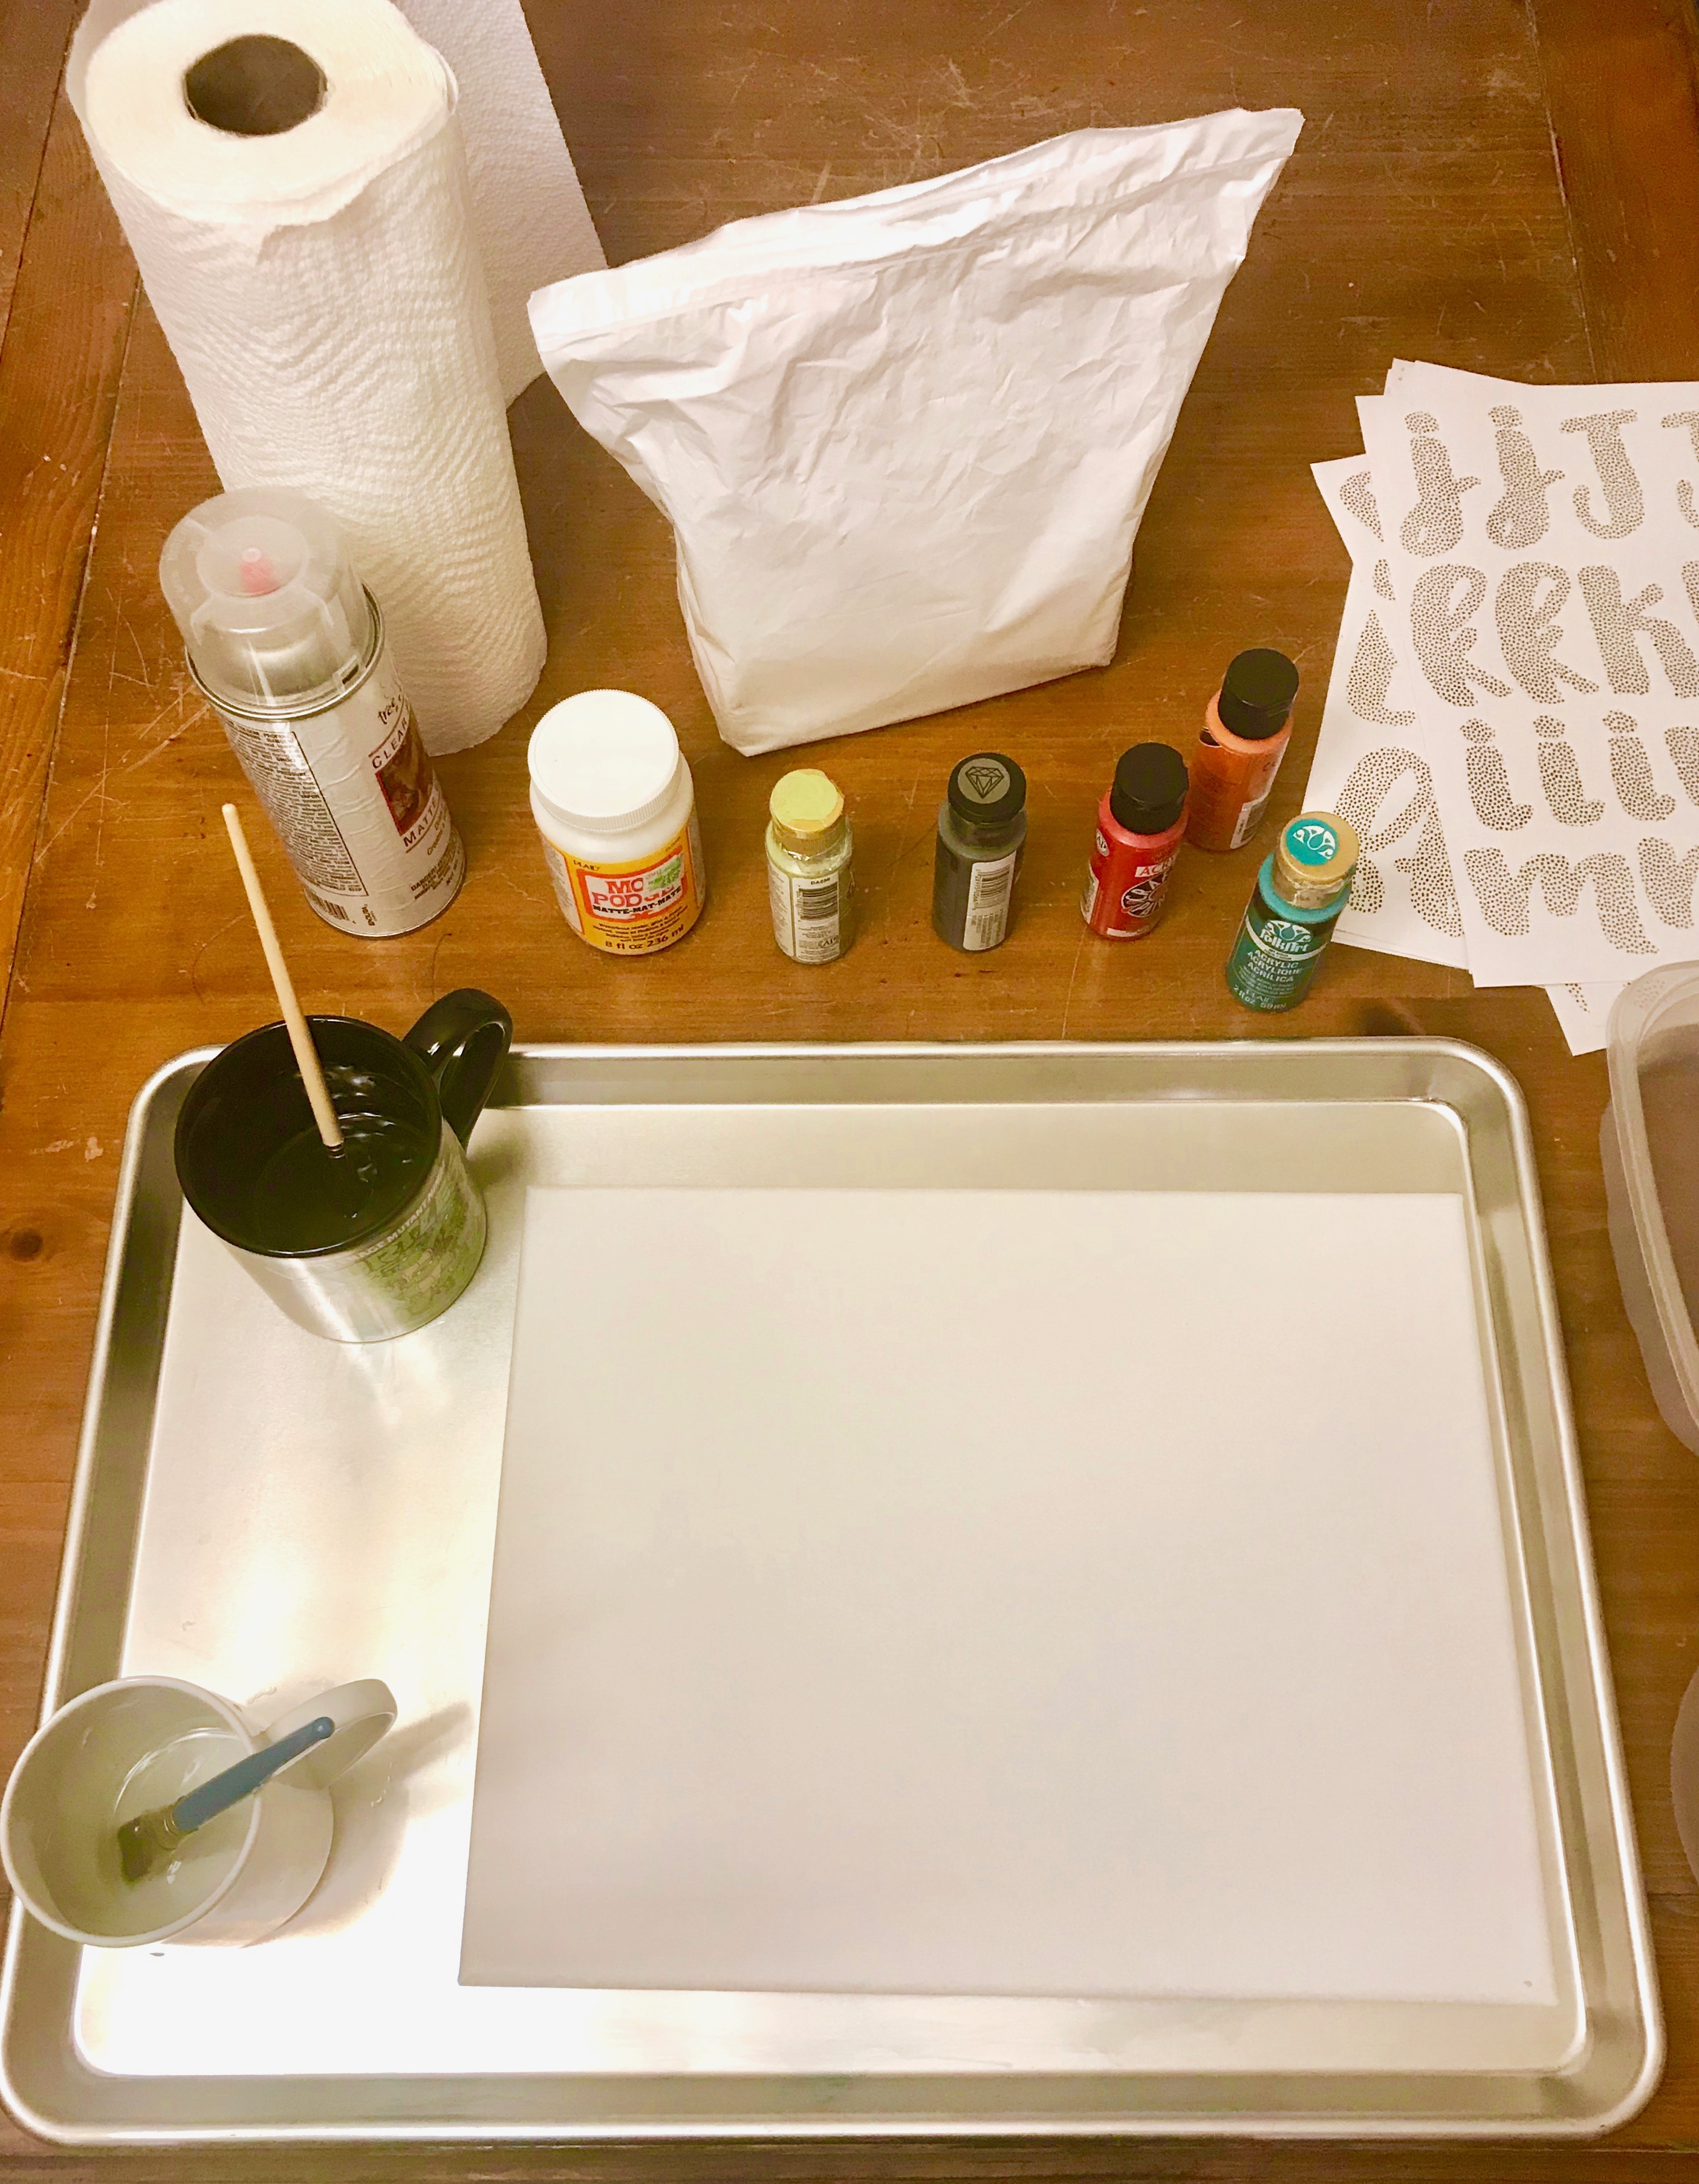
The reason I doubled up on paintbrushes, tupperware/plates, and cups is I HATE when colors mix and become a muddy brown mess. By separating cool and warm colors at every stage you can prevent ending up with a canvas filled with various shades of brown ( unless of course that’s what you are into in which case go for it!)
Place a nickel sized drop of color into your makeshift palette (or real one if you are fancy like that) and then use a paintbrush to coat your child’s hand. The key here is full coverage thick enough where it takes a minute to dry without a lot of excess to avoid splatters. I typically find paintbrushes accomplish this a lot easier than the foam sponge brushes.
Have your child spread their finger and help guide them lay their hand flat onto the canvas in one motion to avoid smudges. Then repeat on other parts of the canvas until there is minimal to no paint transfer (for this project partial handprints work just as well for canvas filler).

I don’t know about you but I don’t want my son running back and forth to the sink with paint coated hands so instead use a baby wipe to remove as much of the paint as humanly possible and don’t worry about the excess until we are done with the project.
Designate one hand for warm colors and one for cool colors and continue painting, hand printing, and wiping until the canvas is almost full (or completely full if only using one child’s handprints). Then go do a full wash of their hands, personally I use a drop of Dawn in the kitchen sink and it comes right off.
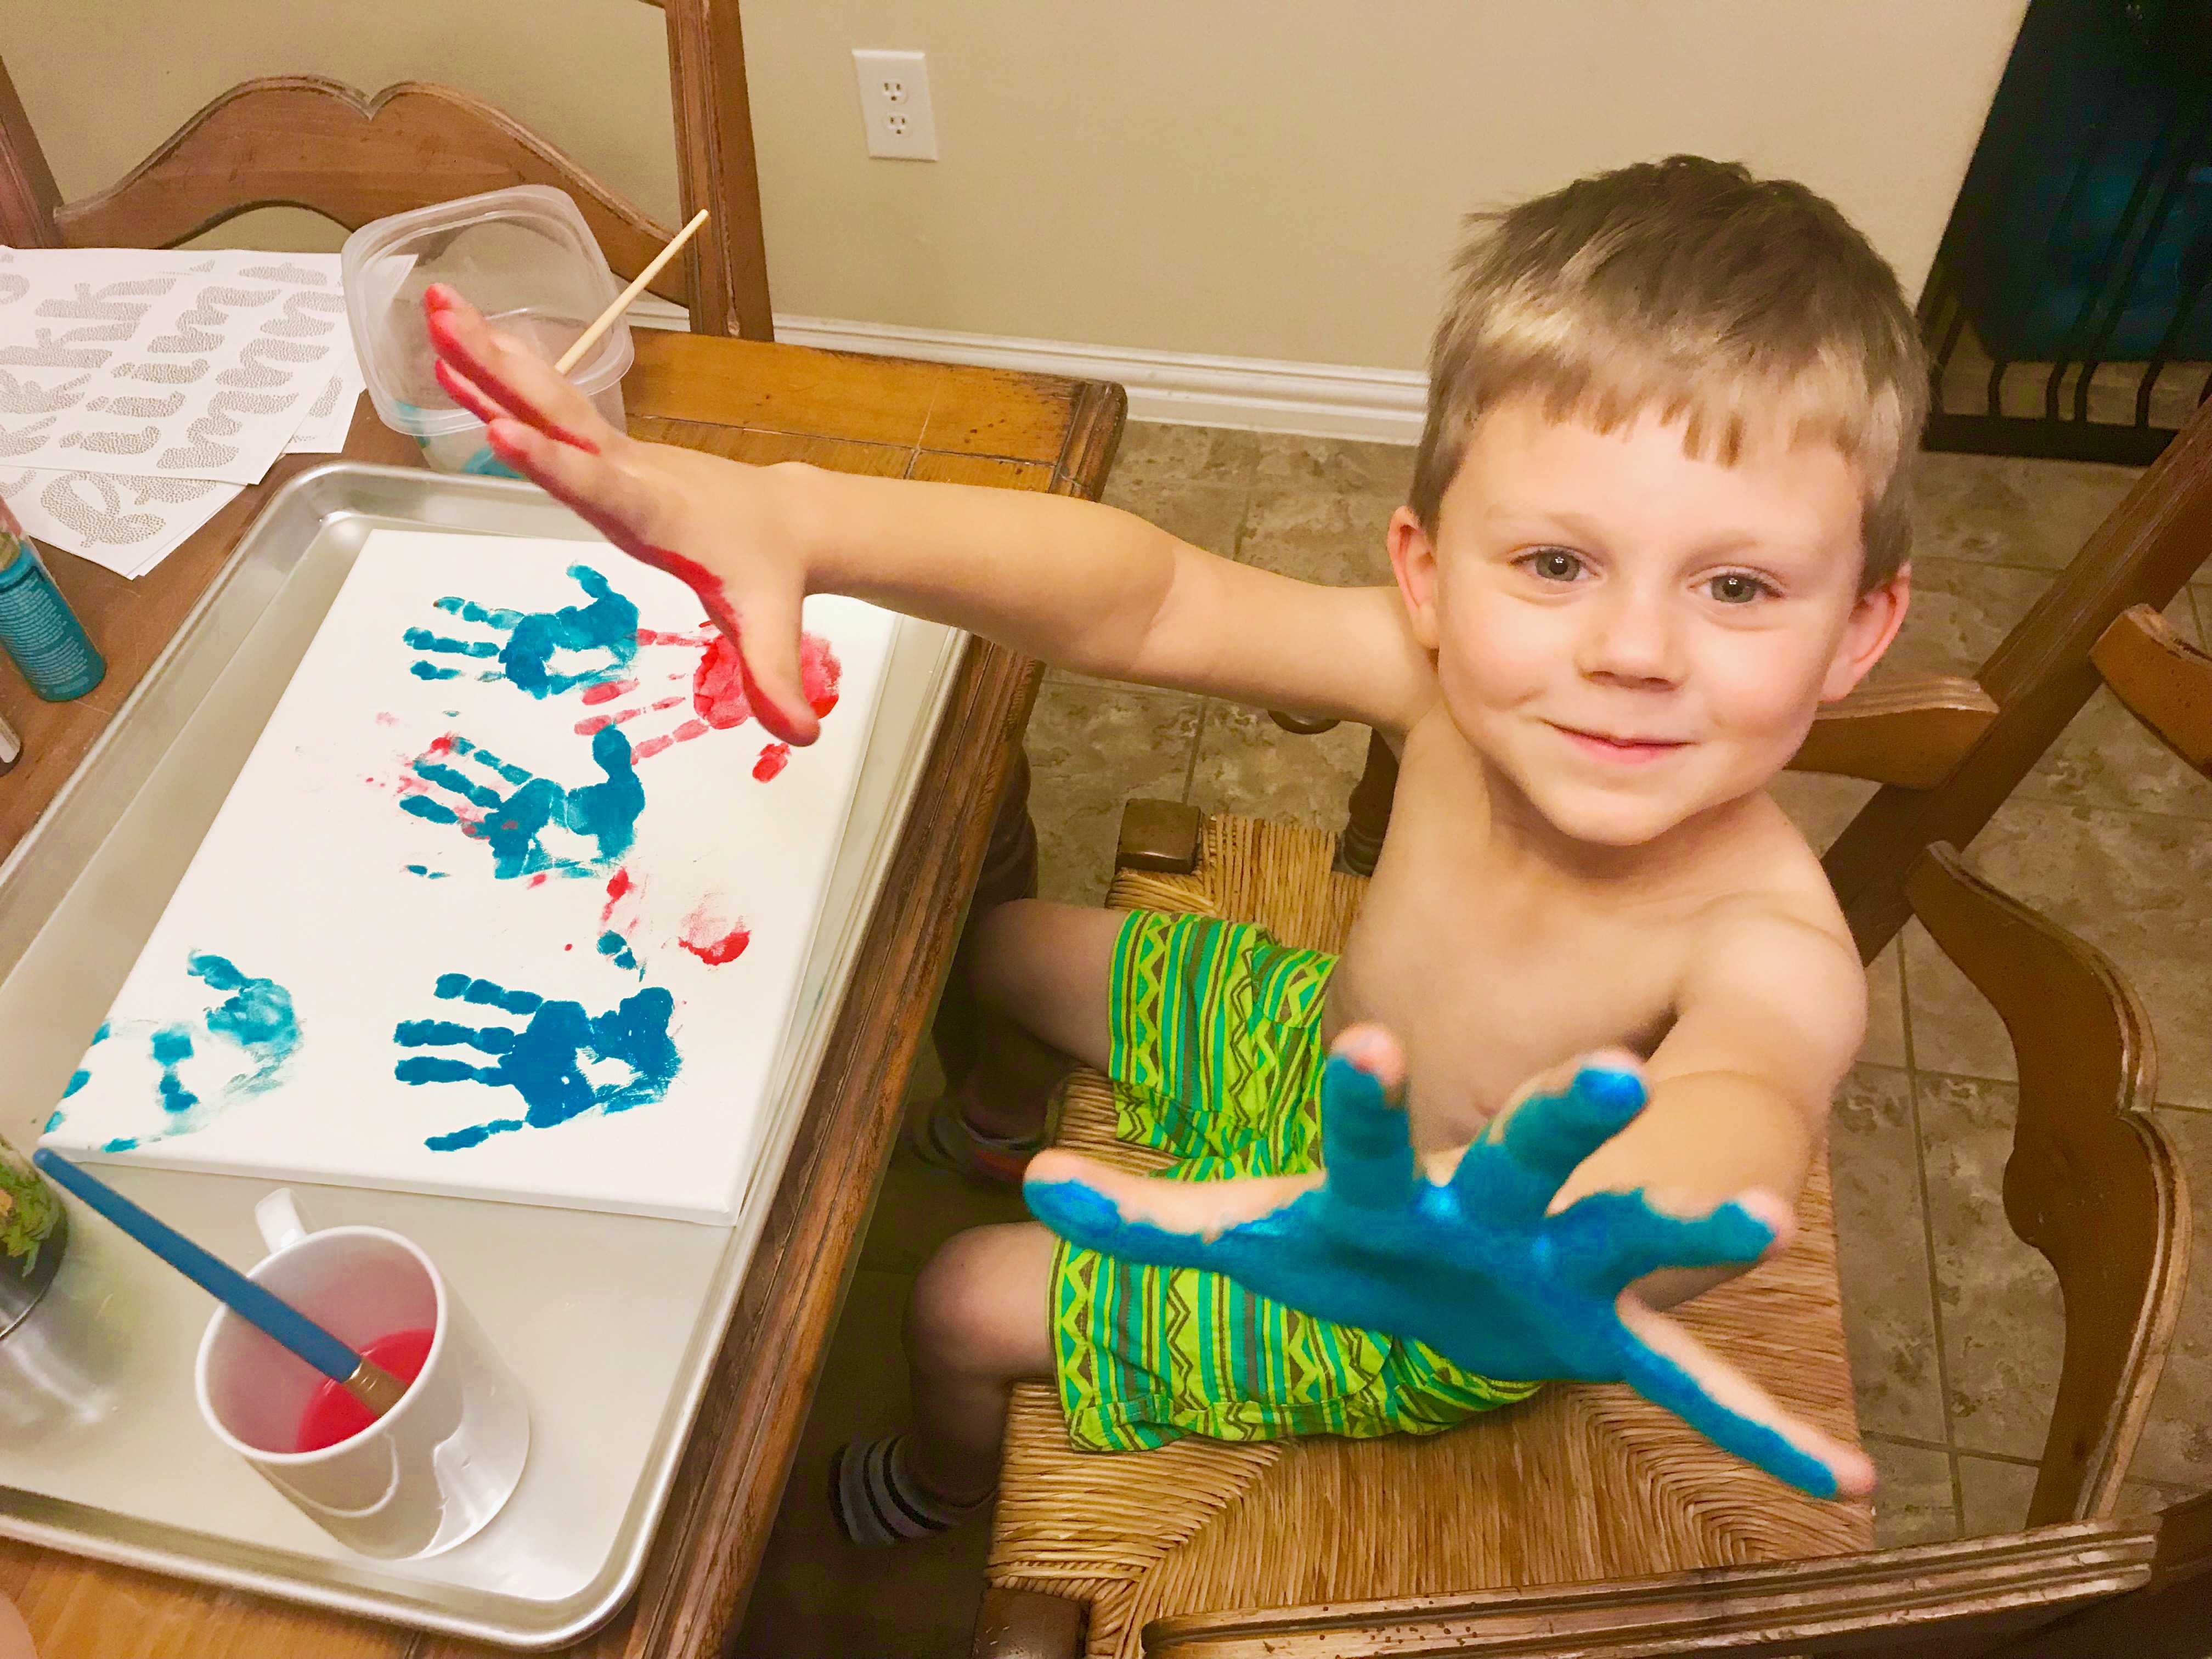
Next we did one print from me, one from dad, and even one from our 5 month old ( that was a two person job). Let the project dry completely.
For the letters I used a pack of stickers I had previously bought but never used.
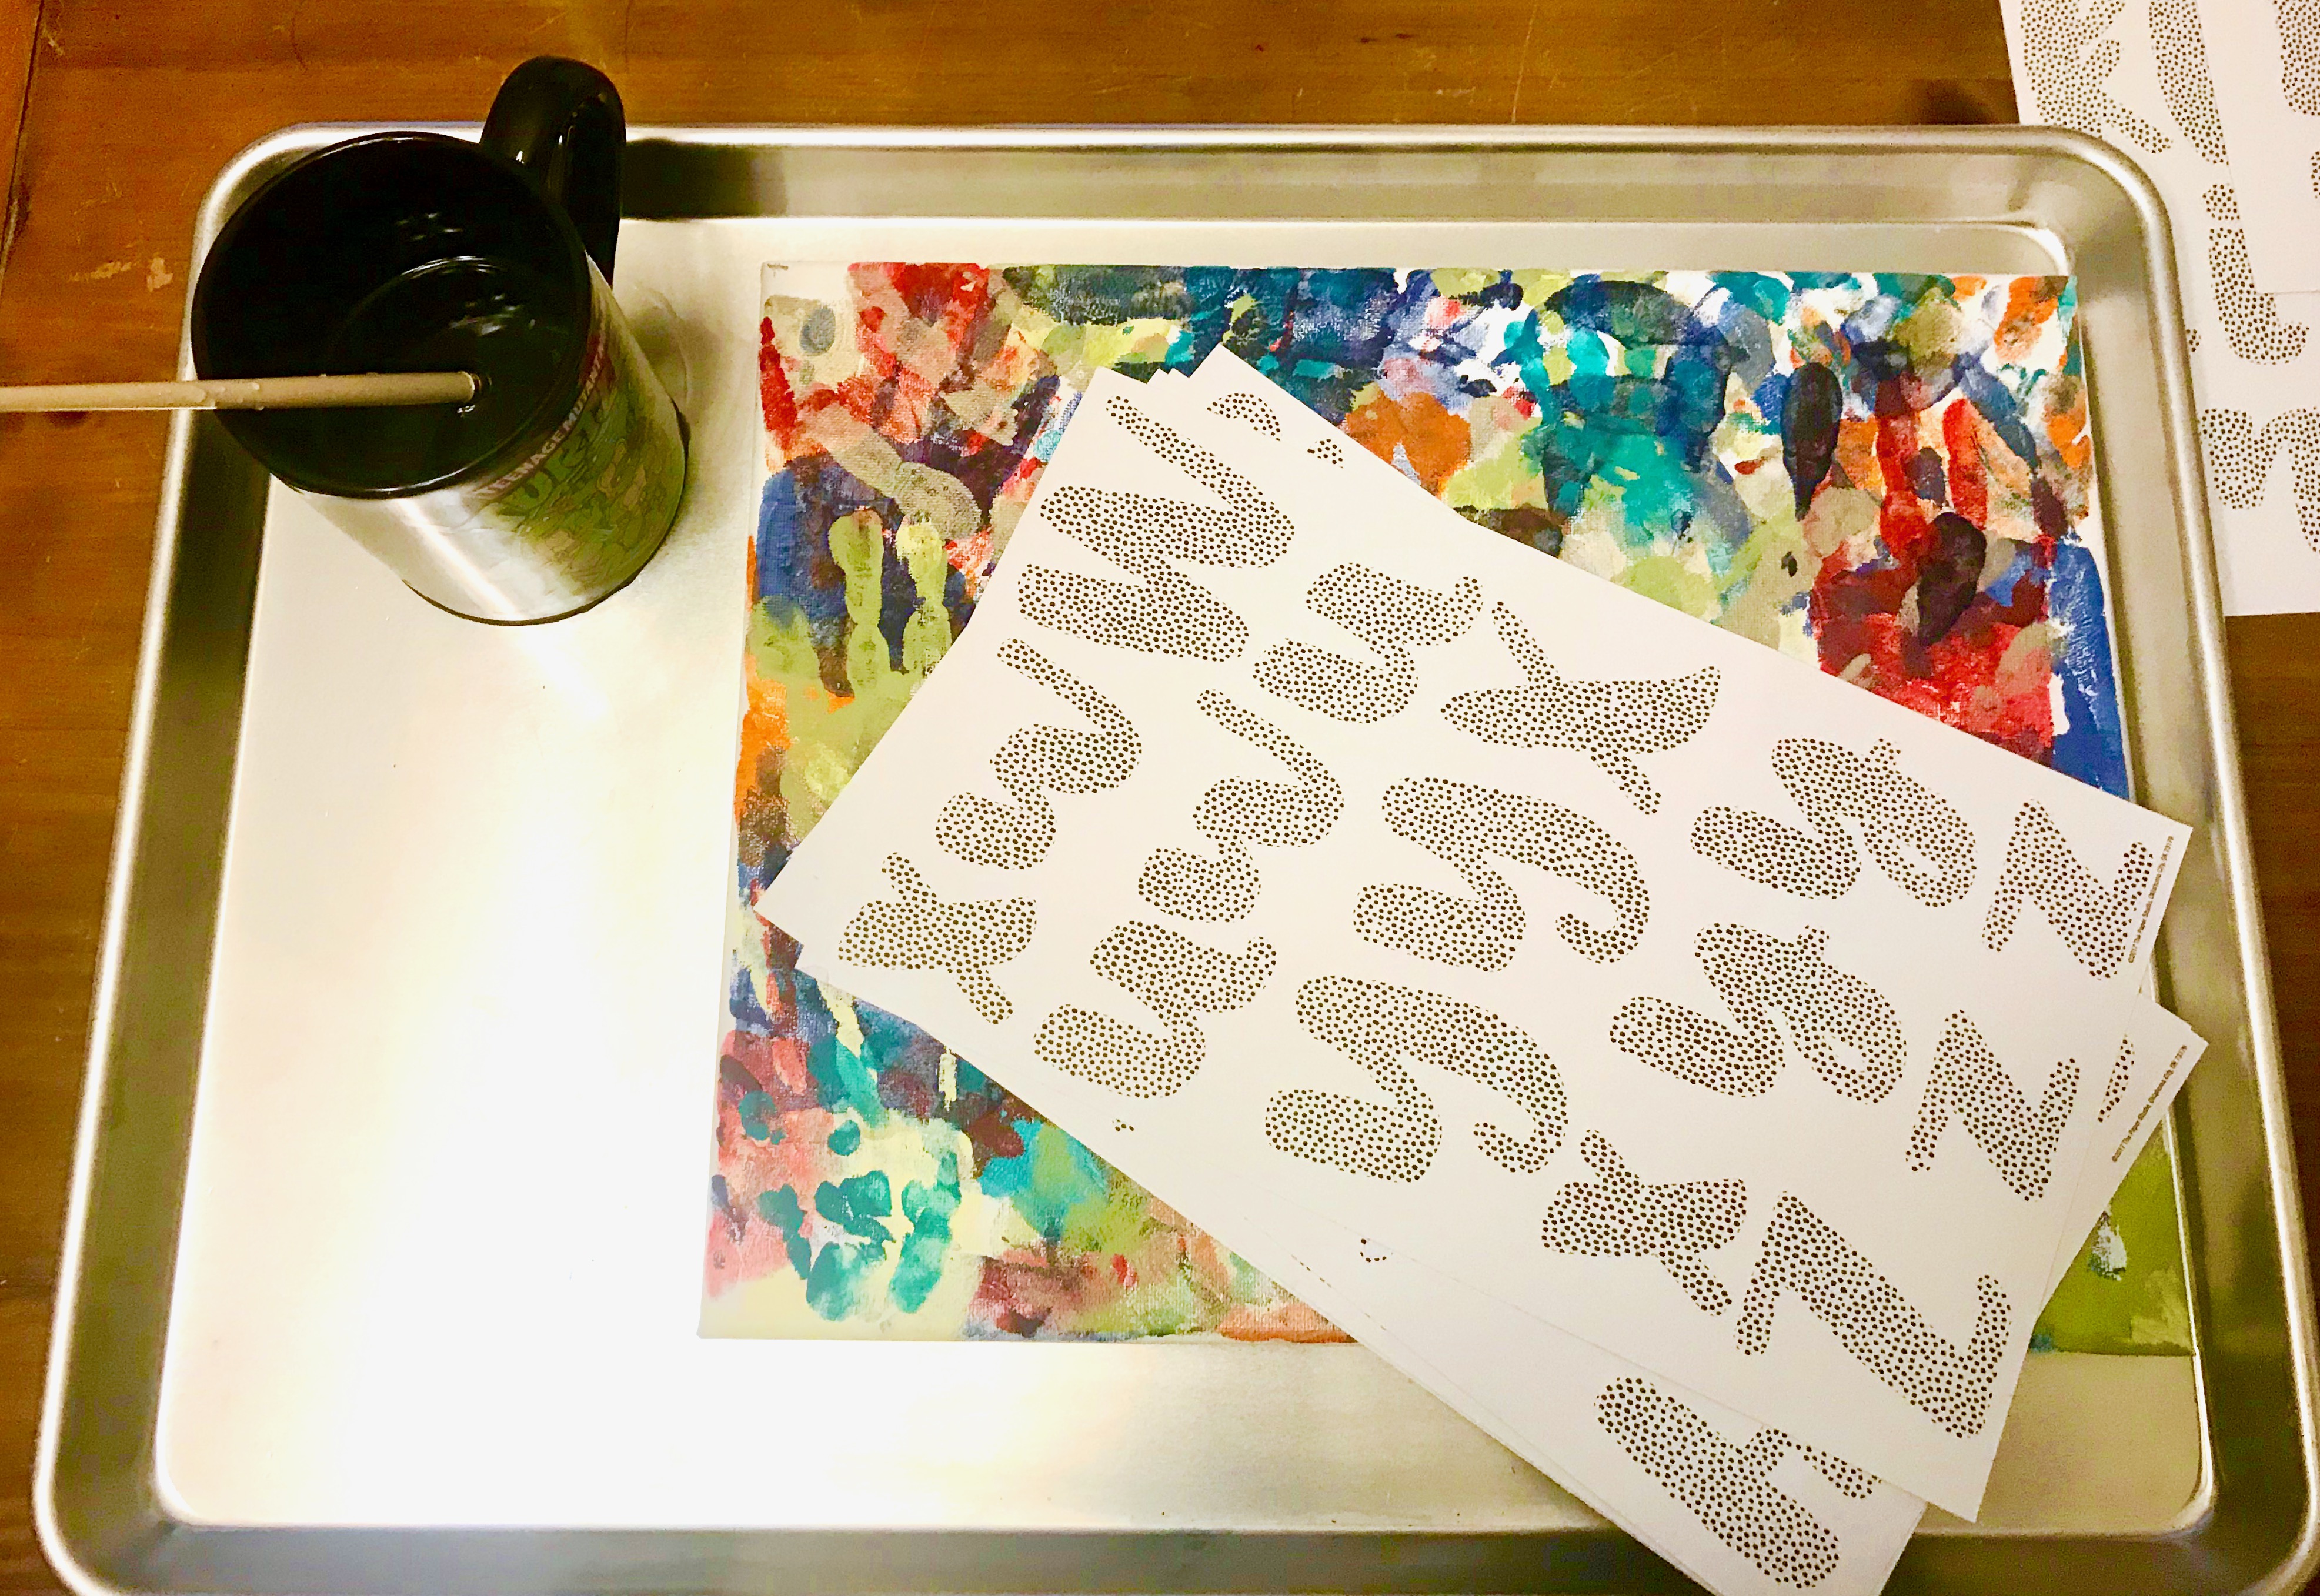
They didn’t want to stick, perhaps vinyl letters would have worked better. I wasn’t about to run to the store so I pulled out my handy dandy Matte Mod Podge and applied a thin coat of the adhesive to the back of each letter and it worked like a charm.
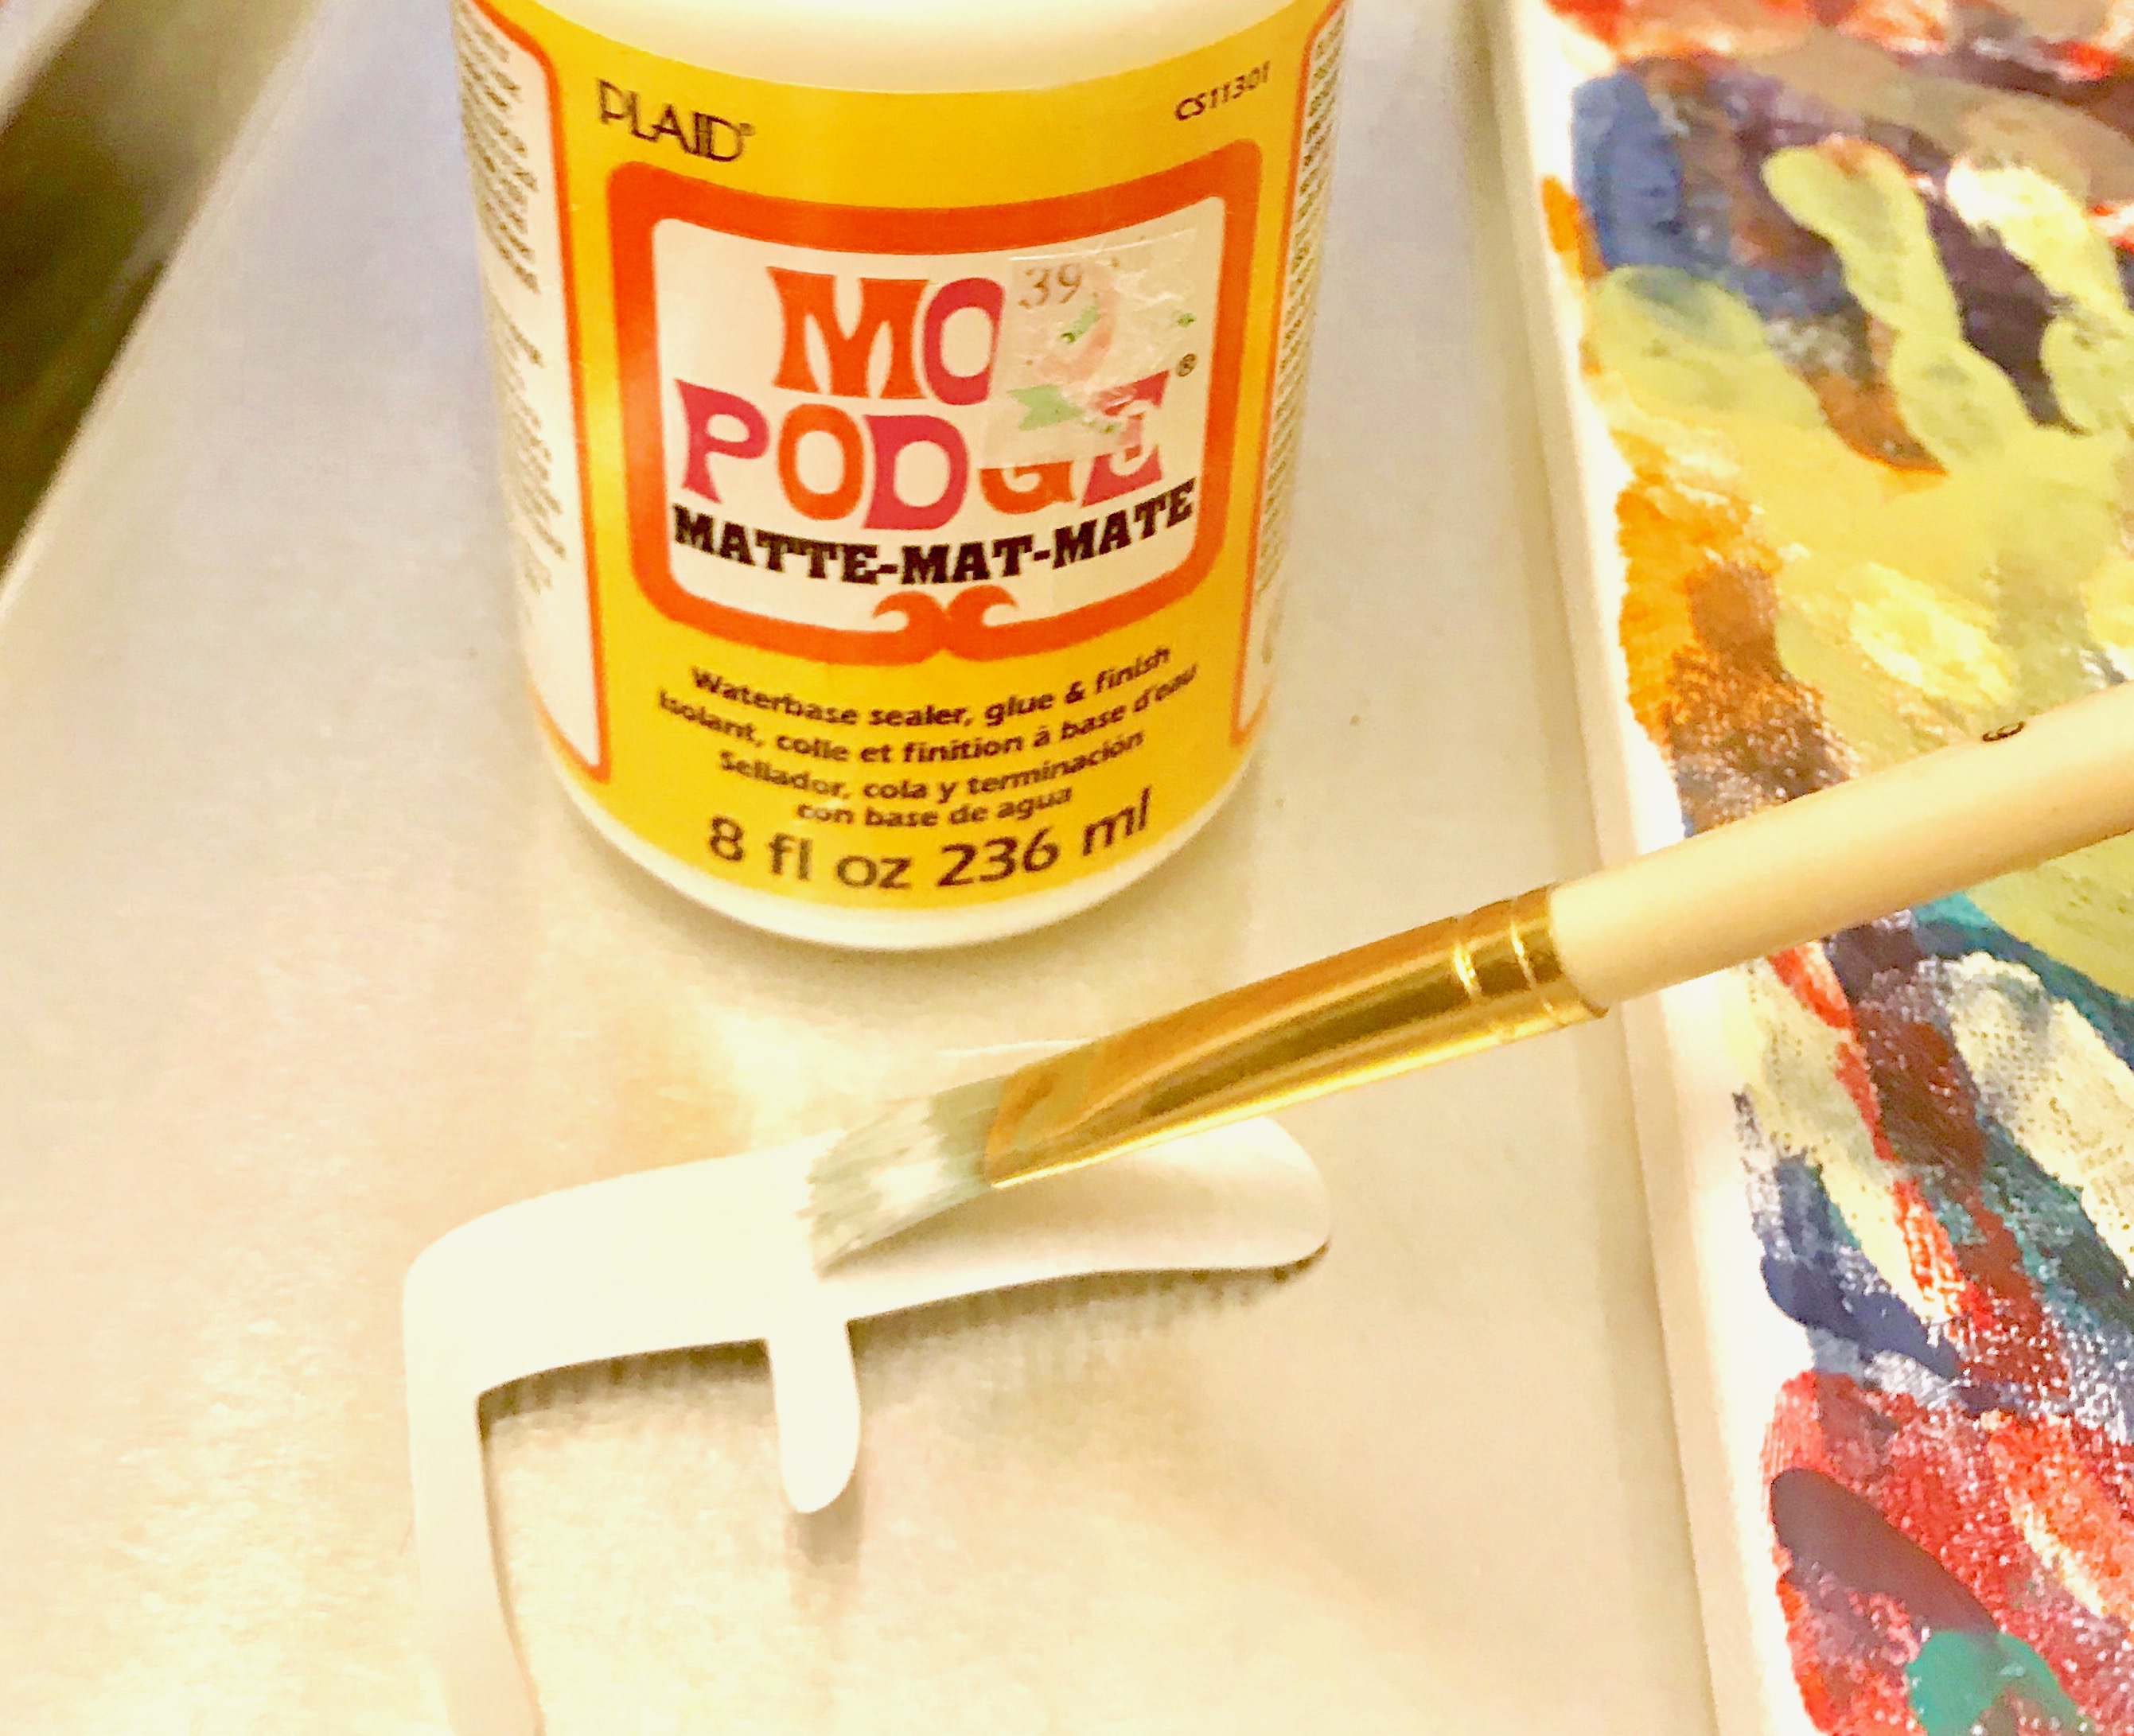
After the Mod Podge dried I took it outside and did a quick coat of Matte Finishing Spray to preserve it and ward off dust.
It was a fun and not too messy project to hang in our playroom and I can definitely see us redoing it on a larger scale when my youngest gets older.
Related Posts
Be sure to check out my Crafting With Kids Board on Pinterest for more fun ideas!
