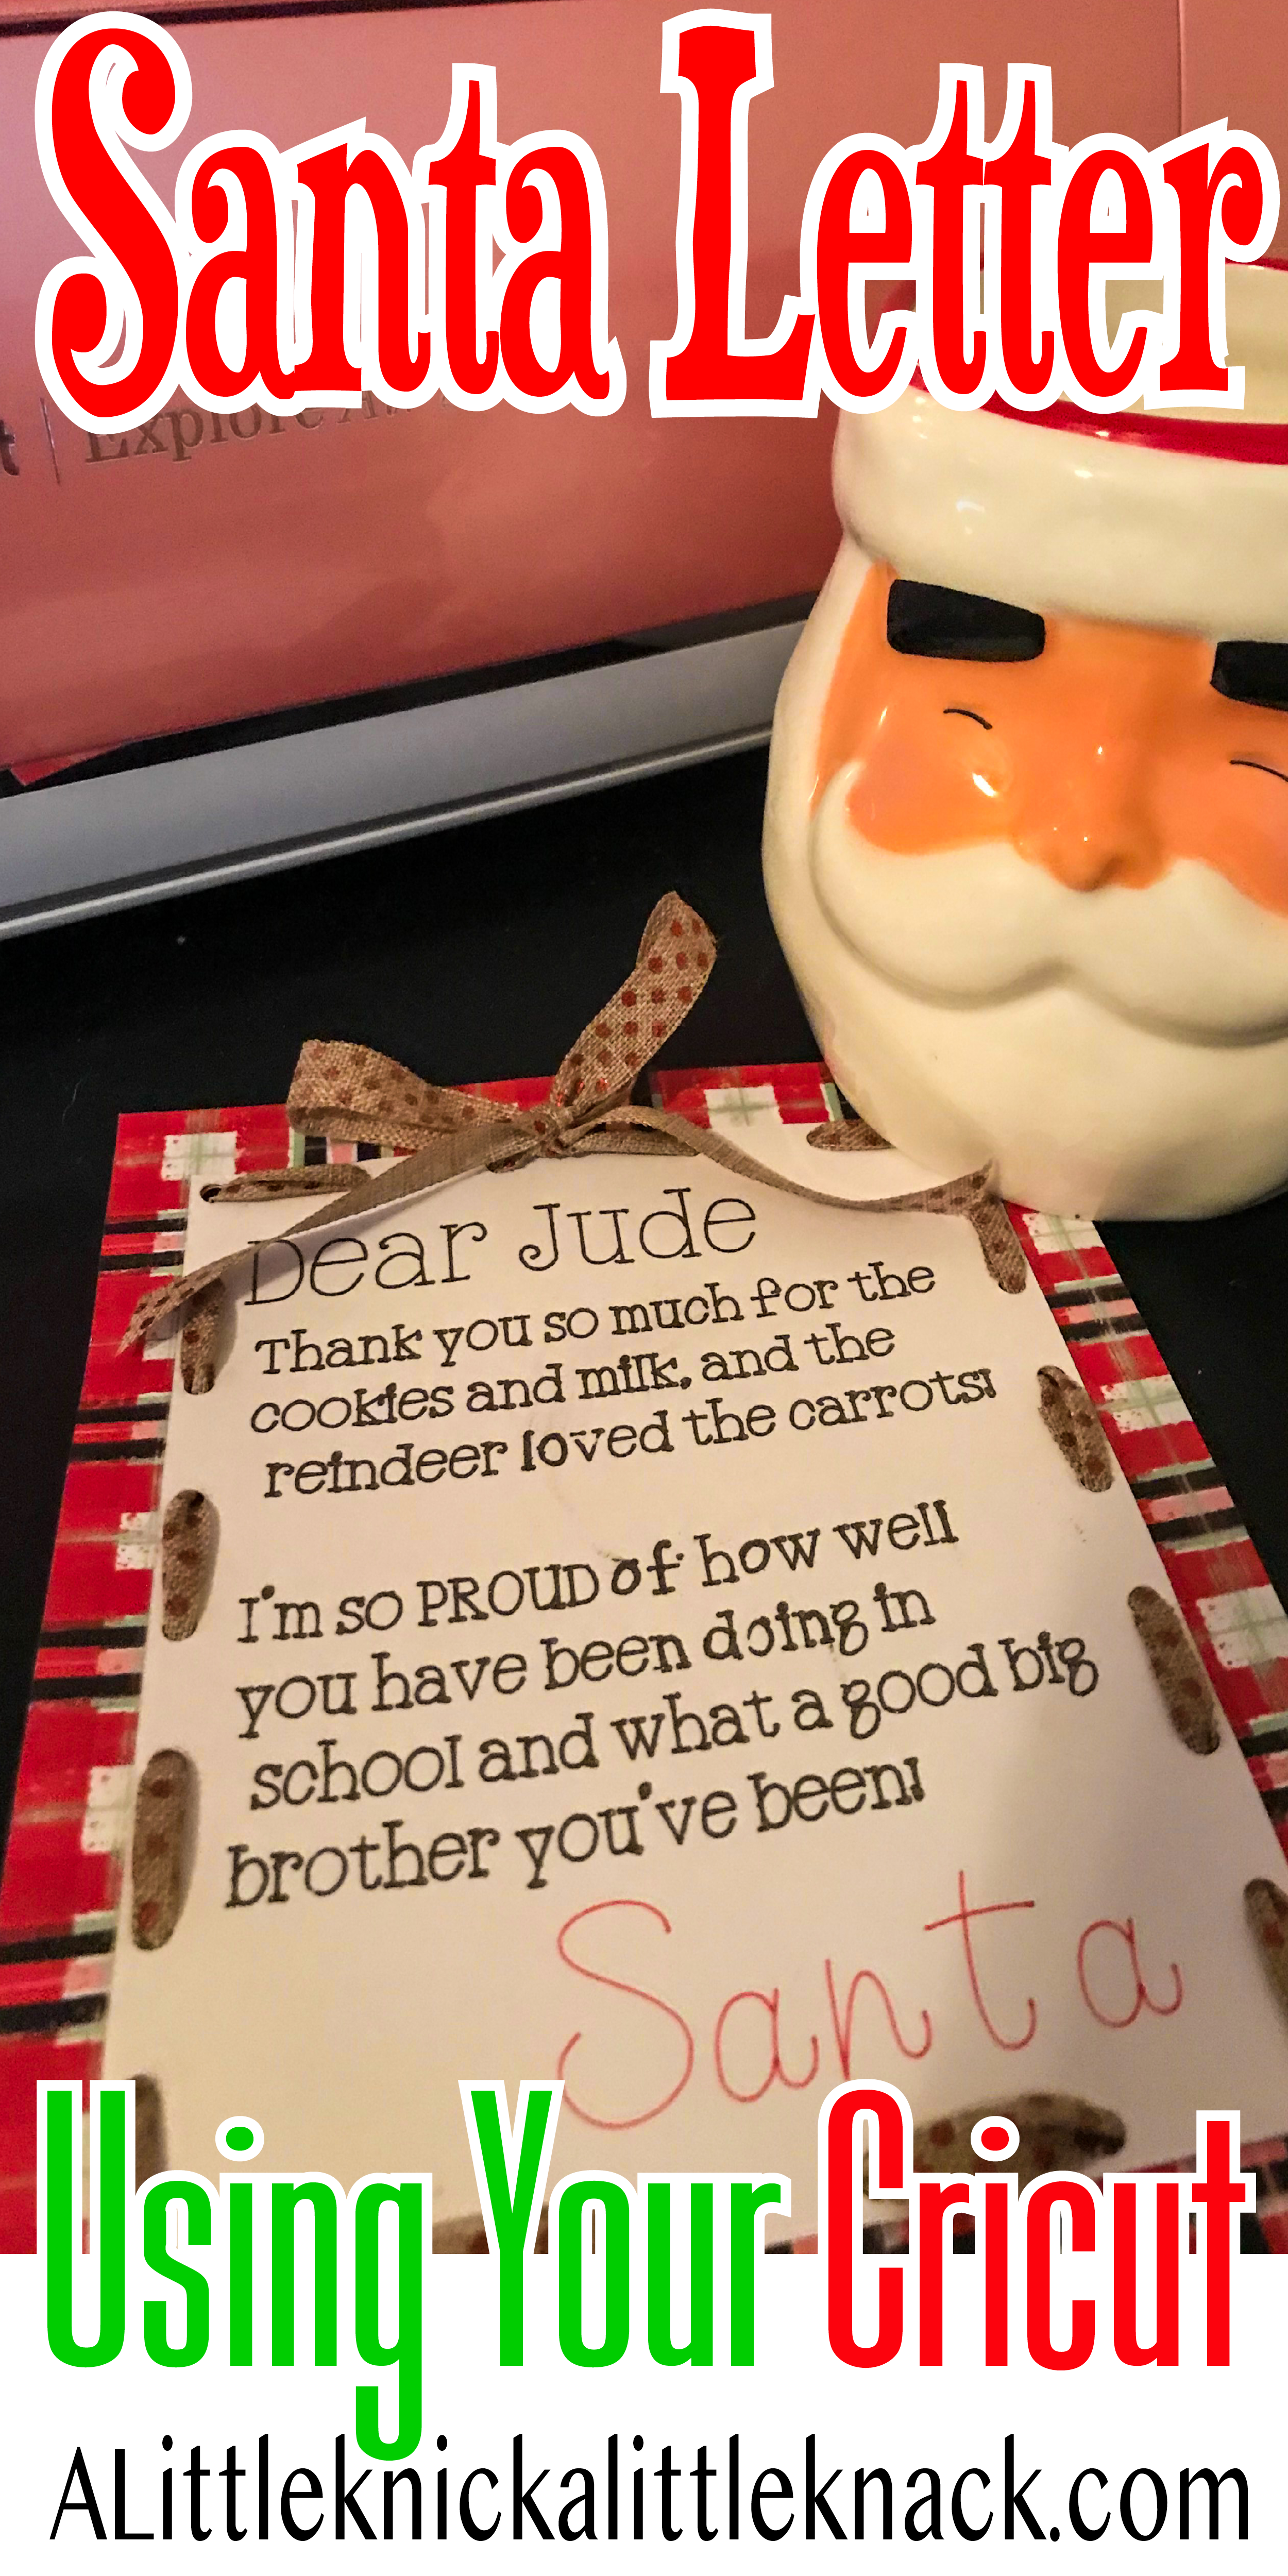
I have horrendous handwriting, and my husband’s is only slightly better, so our Santa letter’s have been a bit less than magical in years past. This year I decided enough with trying to mask my own handwriting, and pulled out my Cricut to have it write our Santa letter FOR me! To find out how to create a Santa Letter using your Cricut and for my free SVG template scroll on!
*This post may contain affiliate links which may allow us to receive a small commission (at no additional cost to you) for purchases you make after clicking on product links on our posts , to view our full affiliate disclosure click here.
But rest assured we fully believe in every product we endorse.
Materials
- White Cardstock
- Glitter Gel Basics Pen Set
- Cricut® Candy Shop Markers
- Cricut Explore Air™ 2 machine
- Ribbon
- Cricut® 12×12 LightGrip Adhesive Cutting Mat
- Scrapbook Paper
First you are going to need to download the SVG template I used.

Next upload the SVG file into your Cricut design space and scale to the size you want.
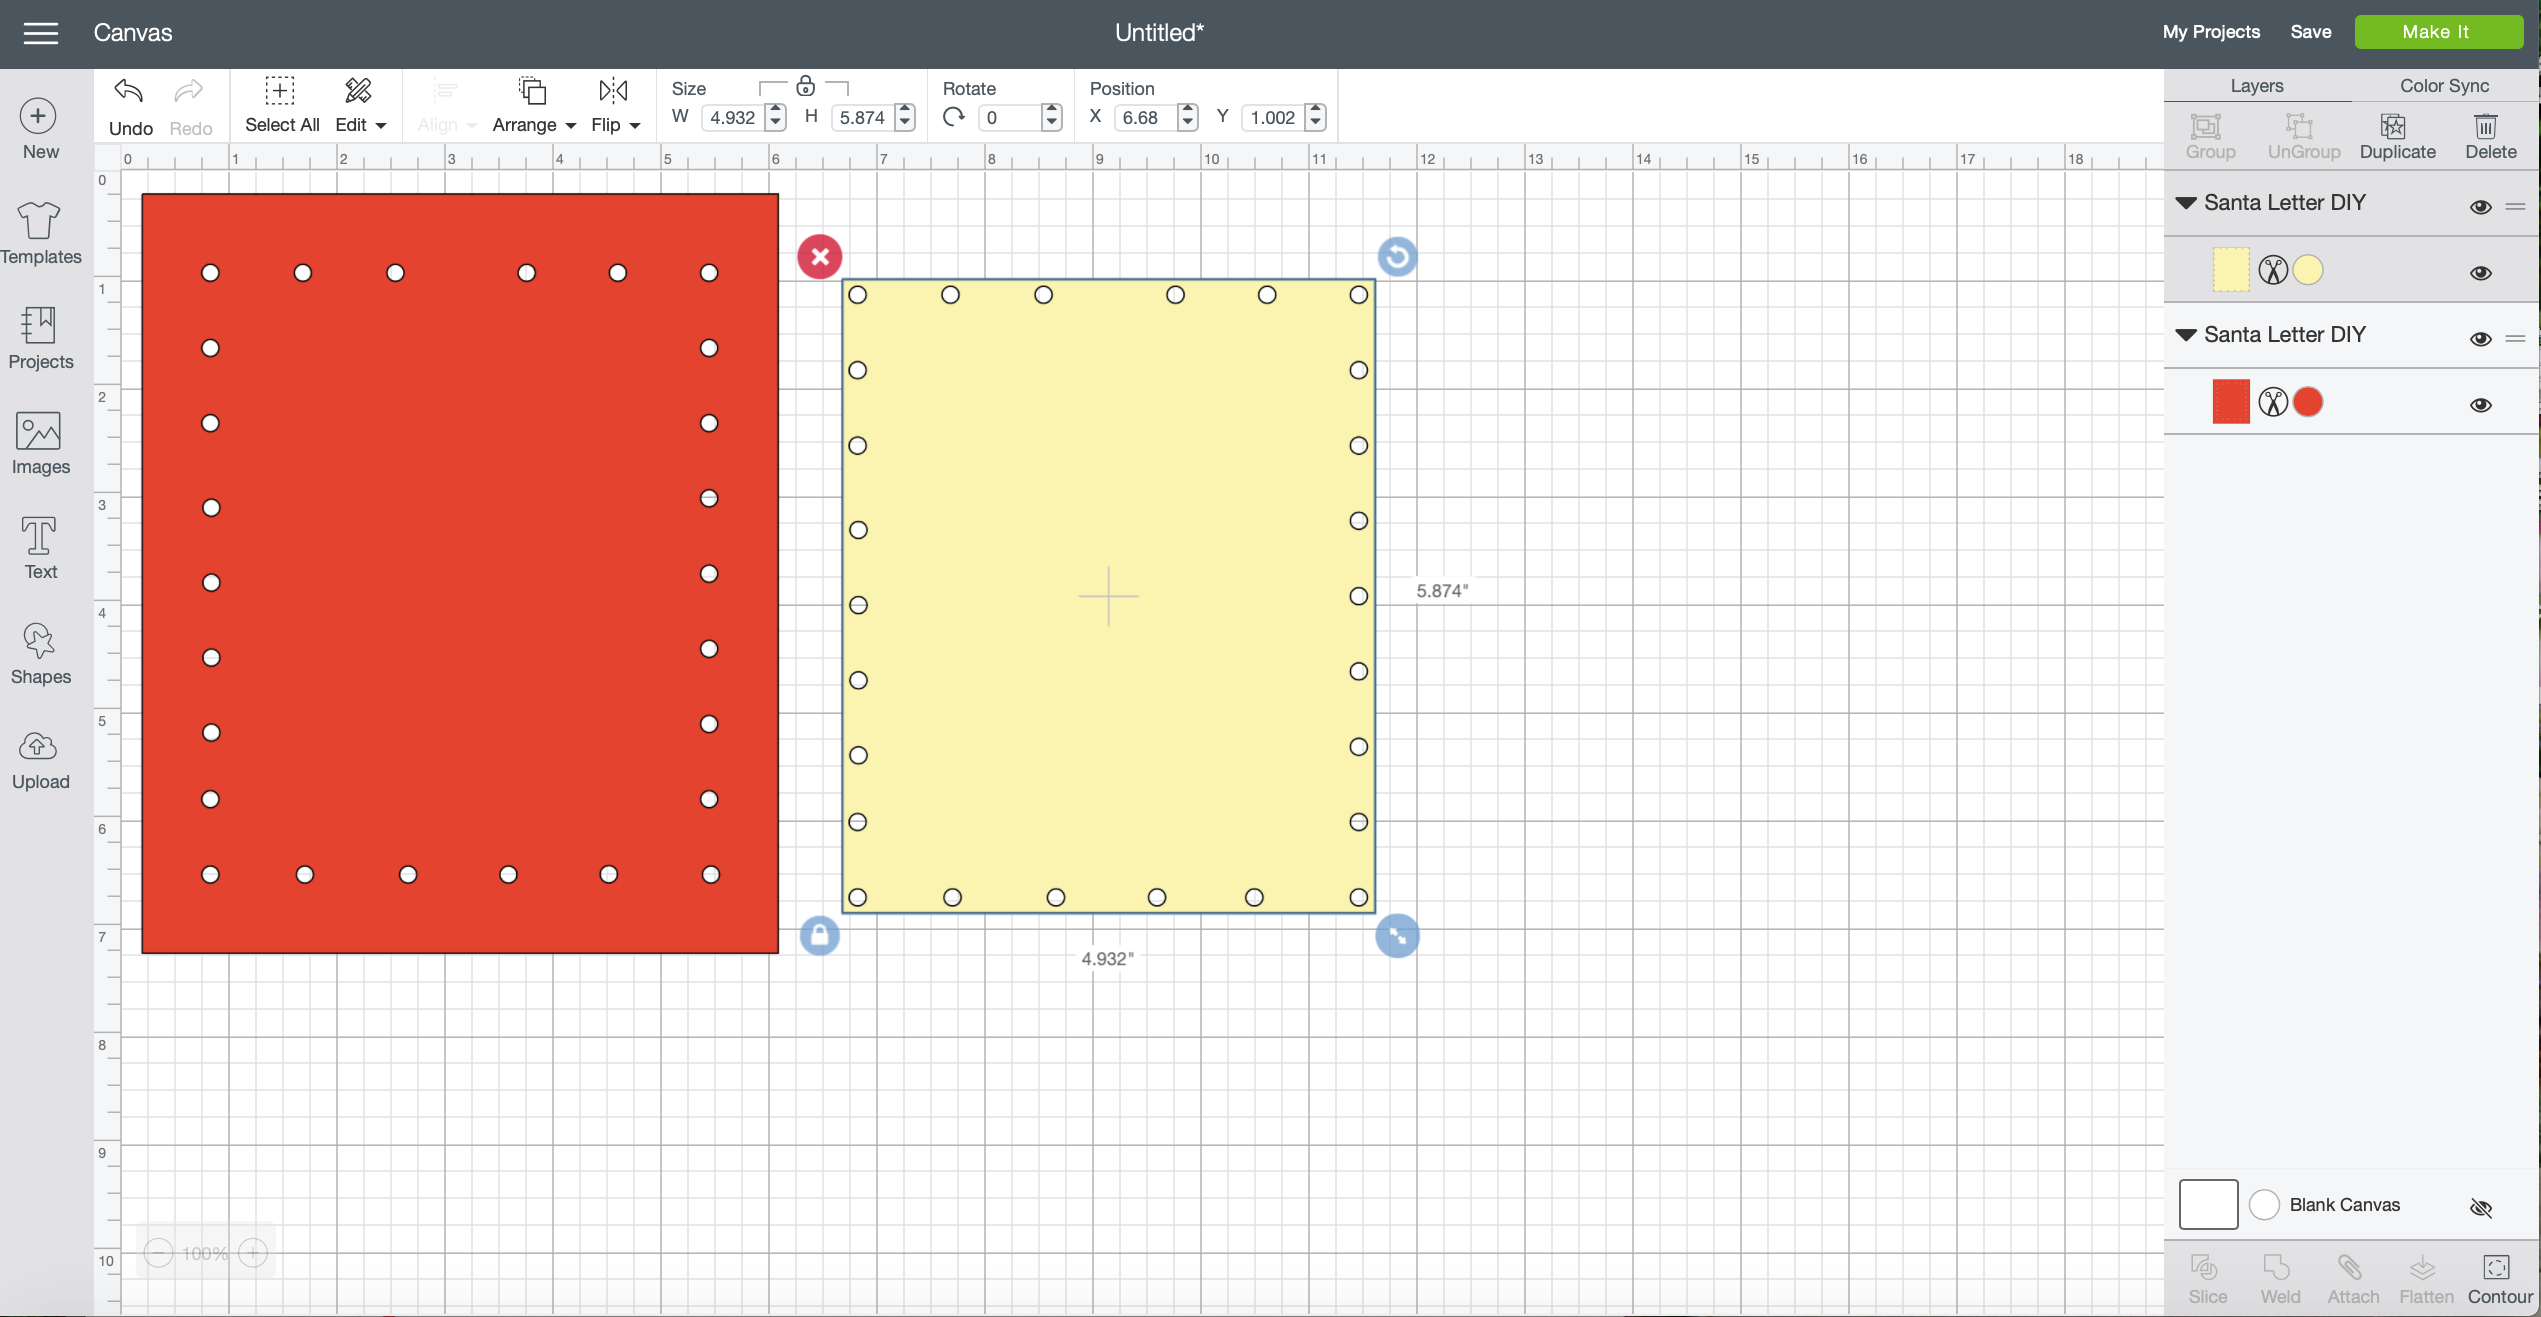
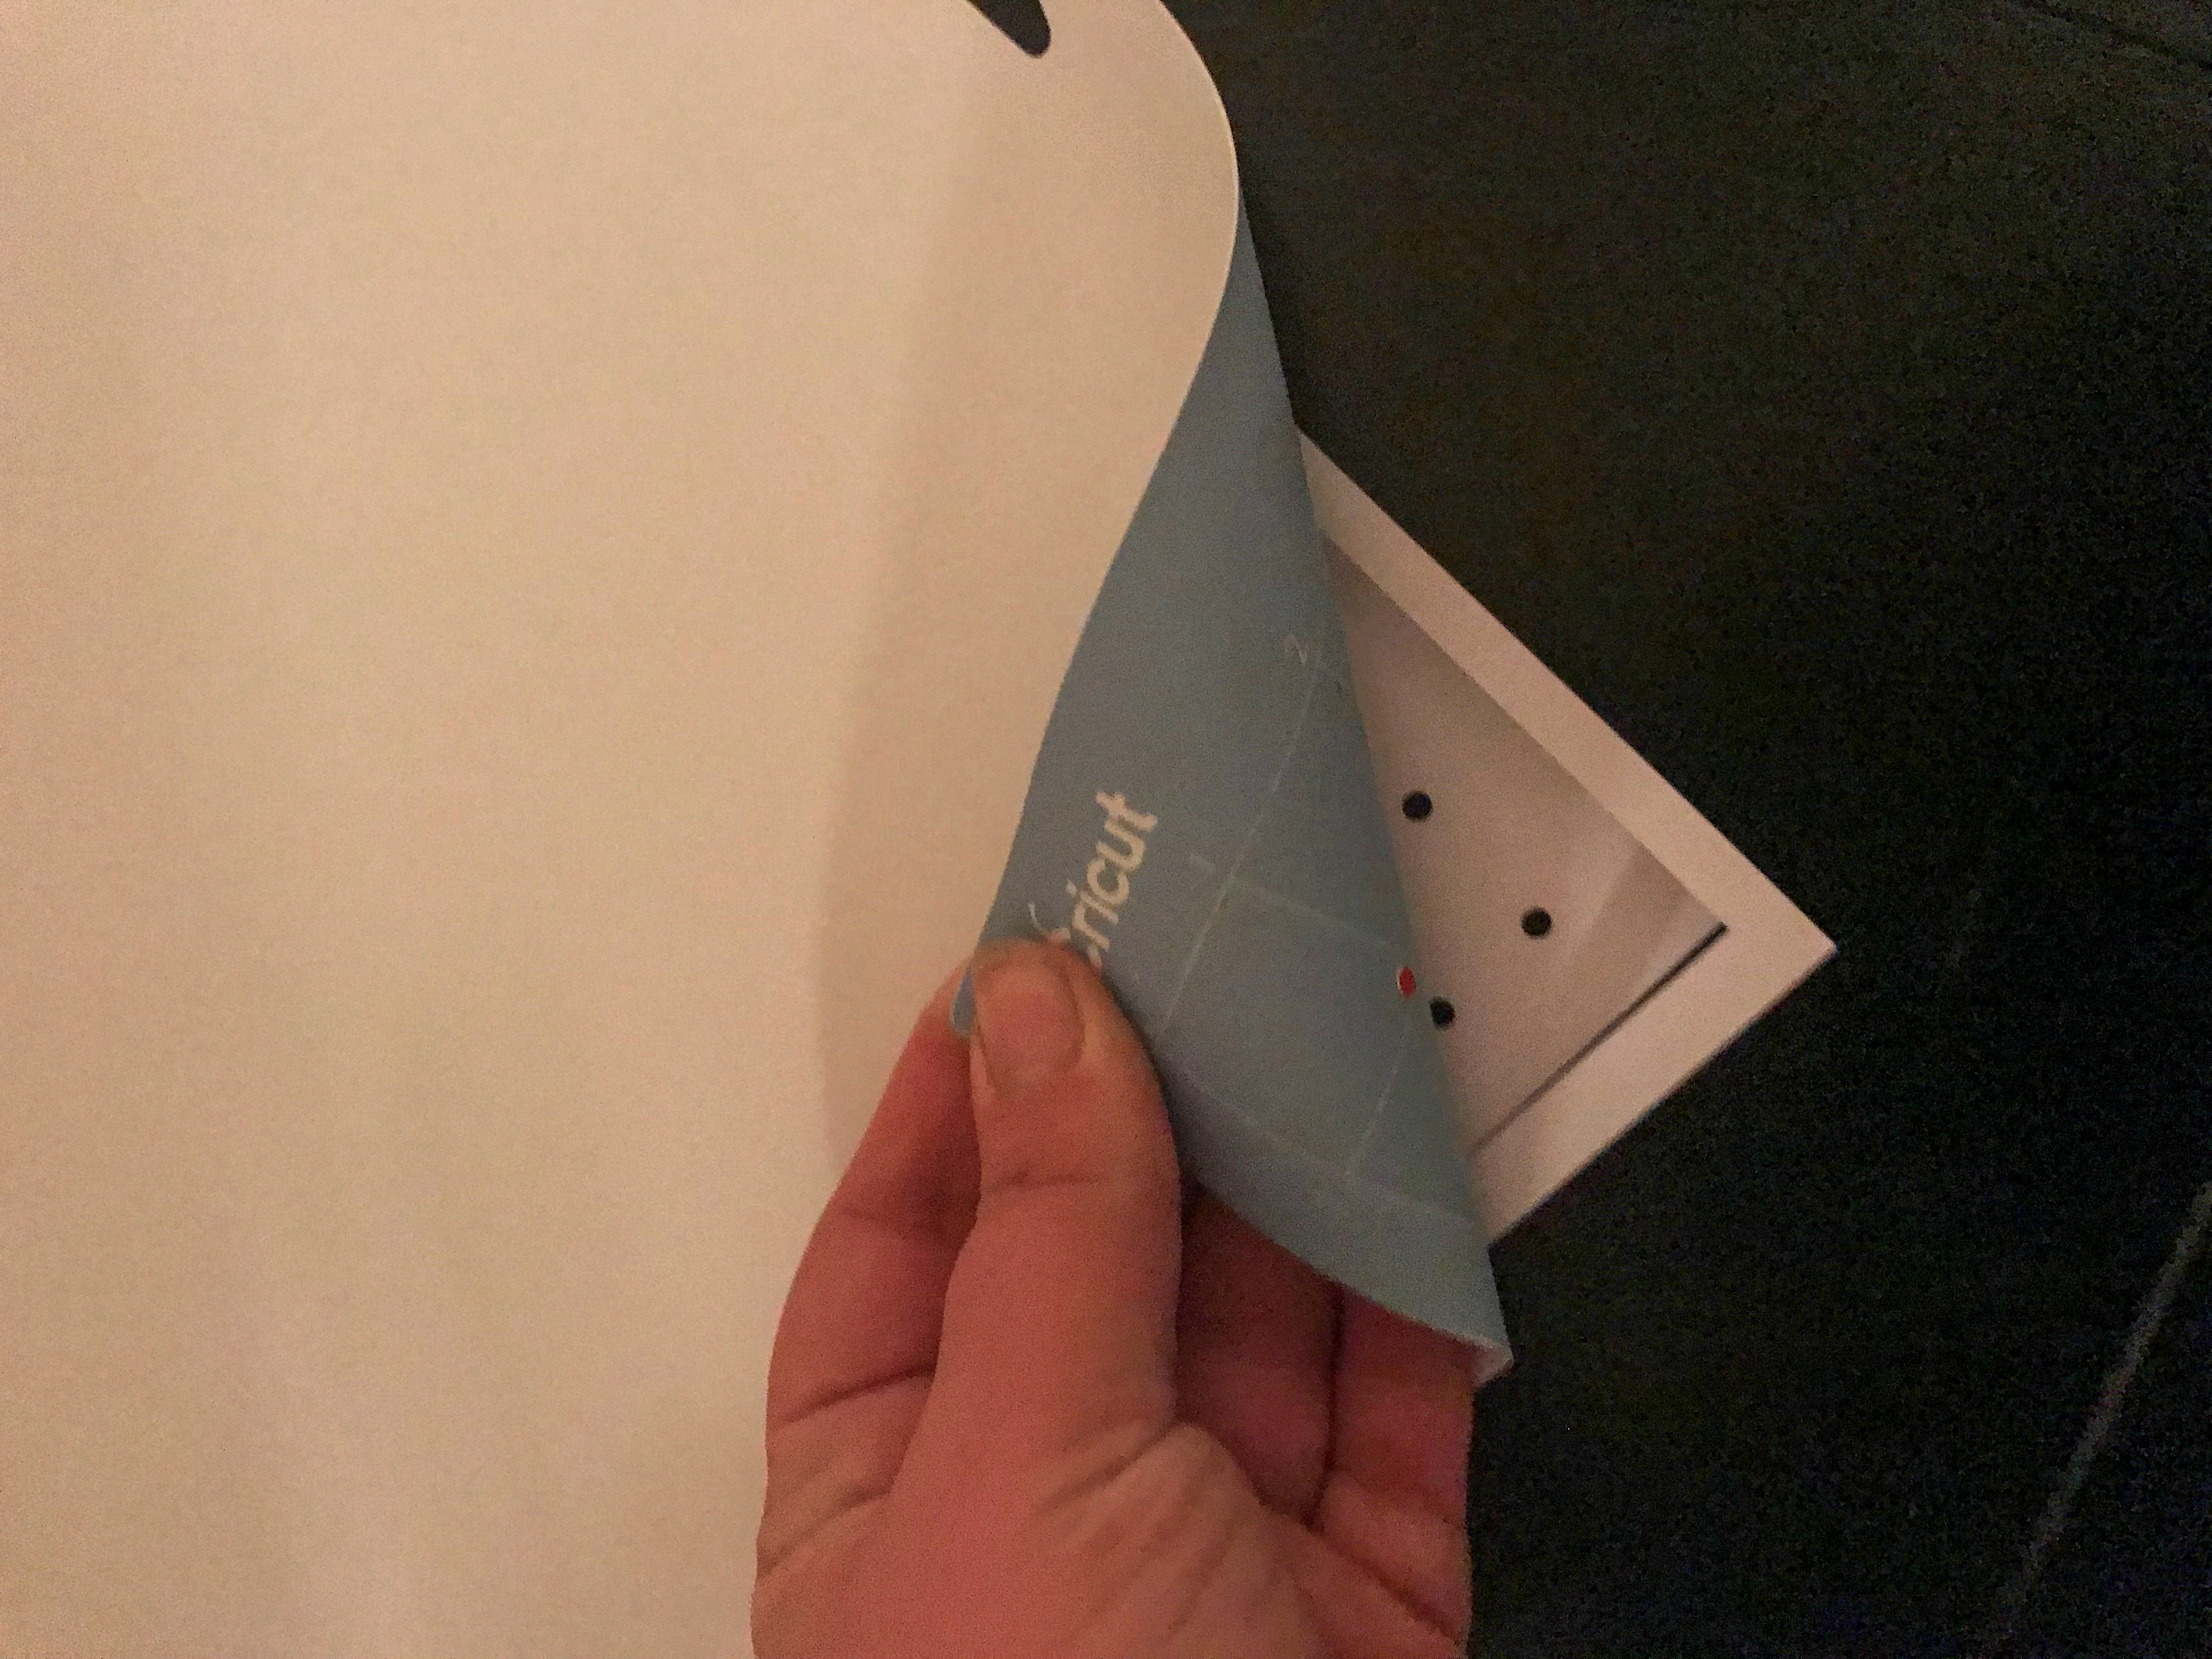
Ungroup the images
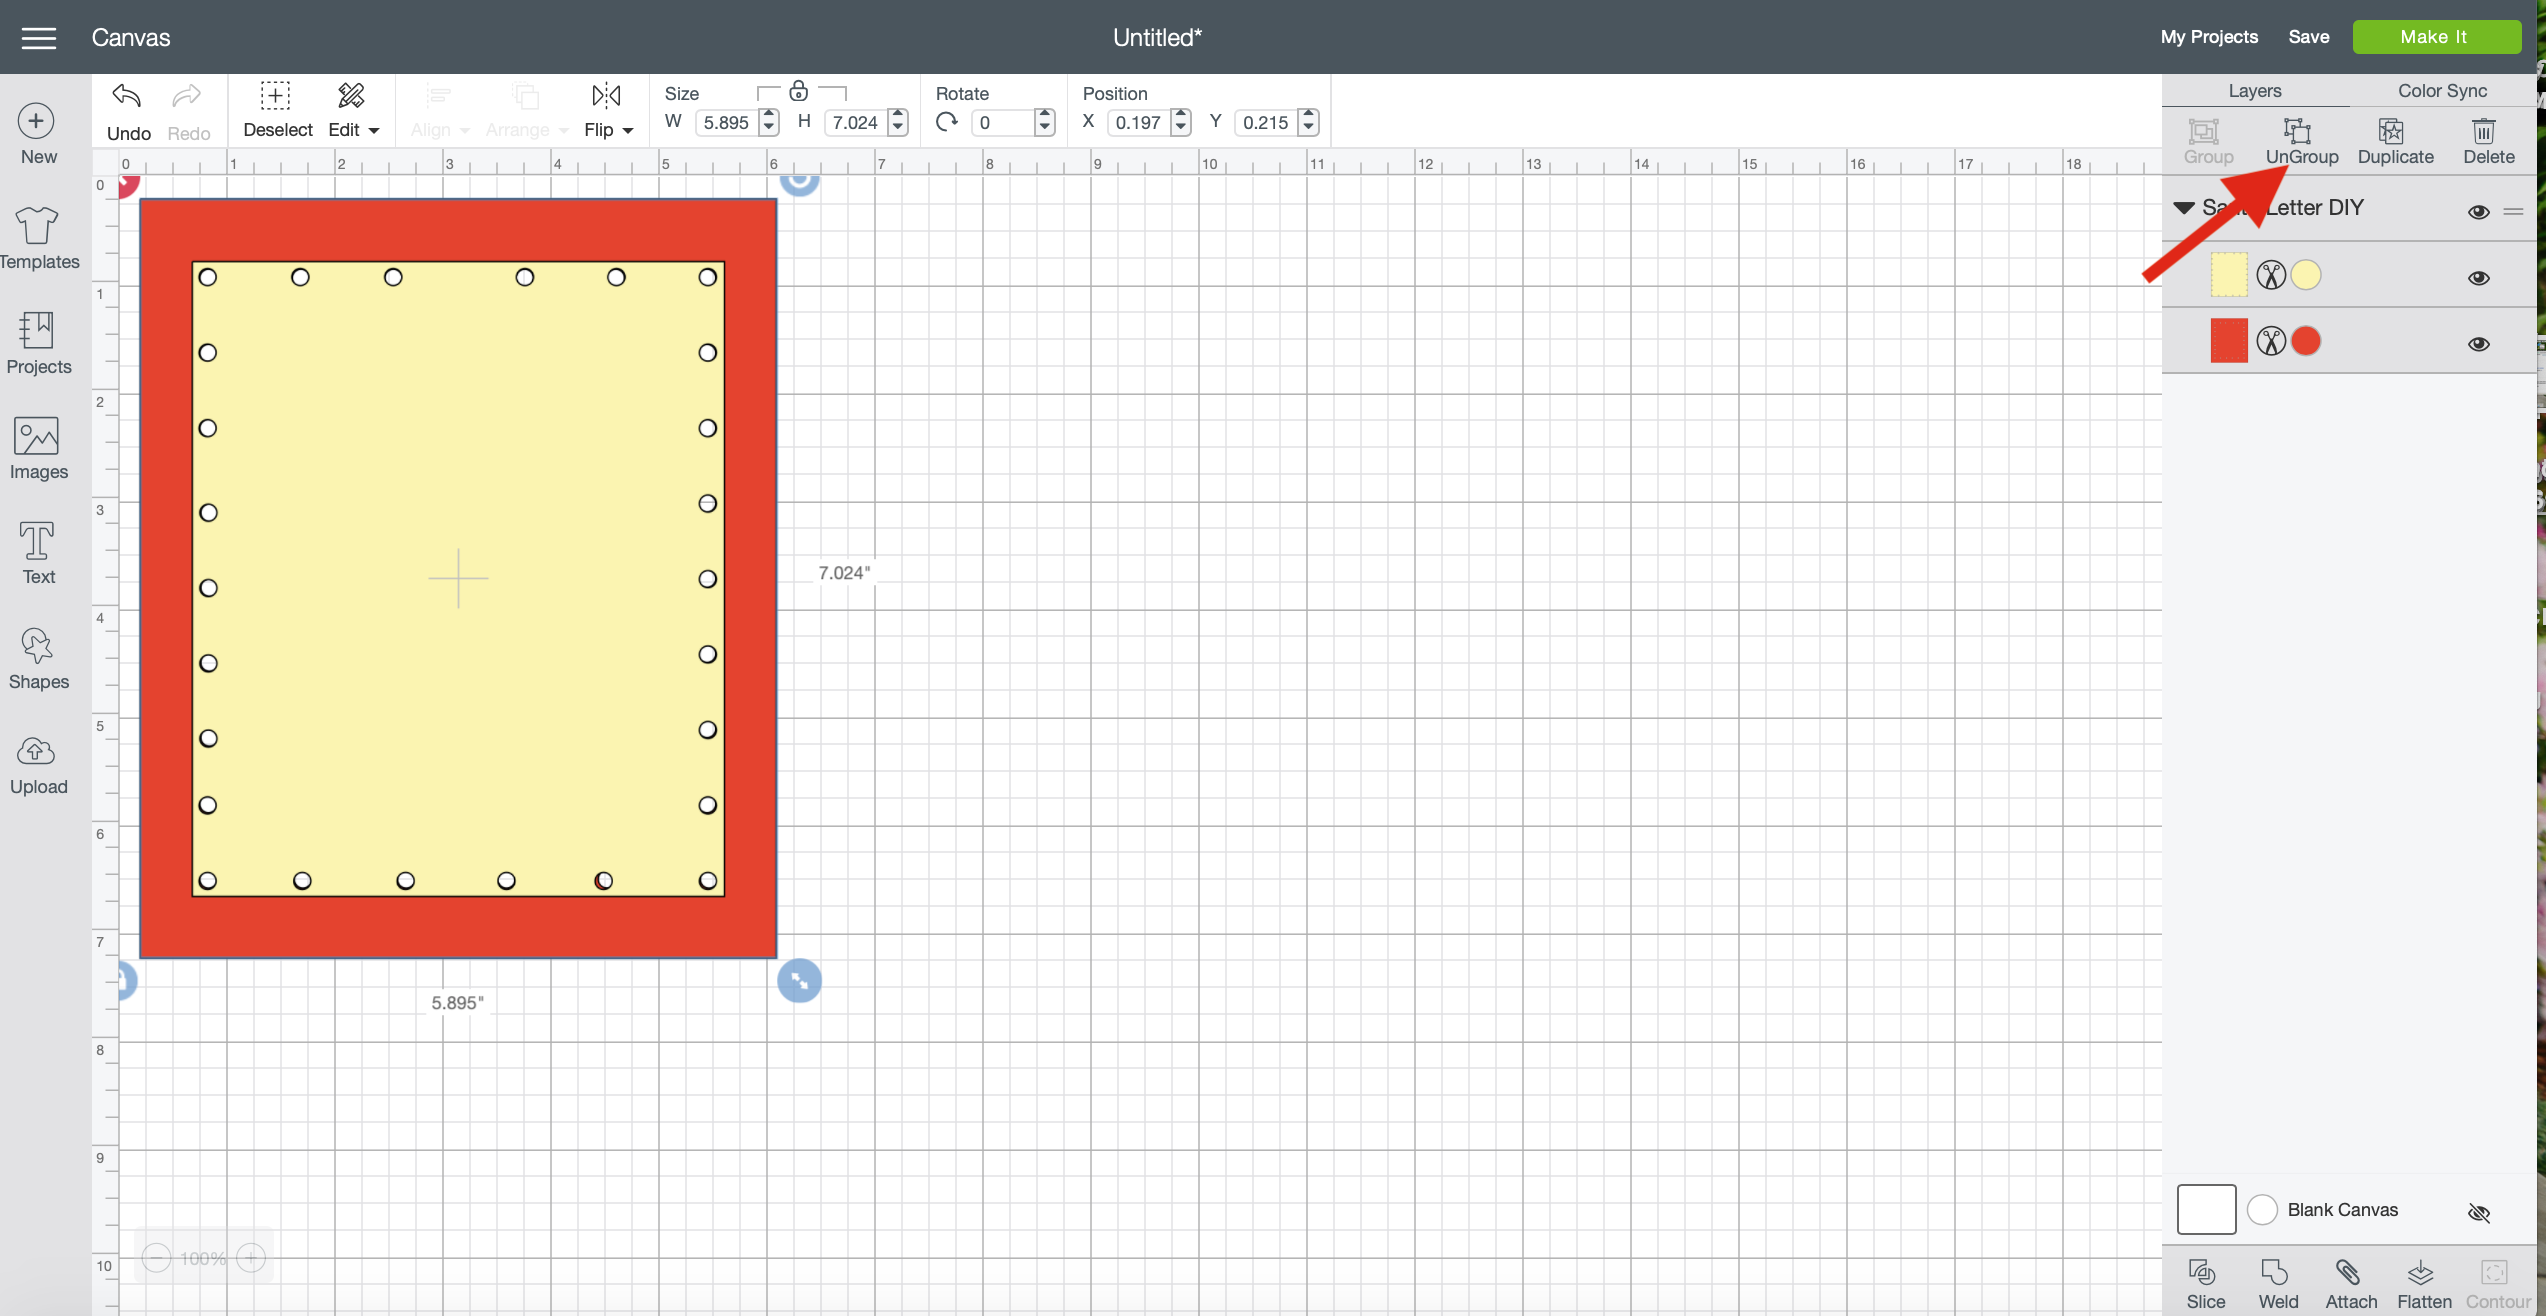
Pull the cream colored layer to the side.
Next we are going to add the text.
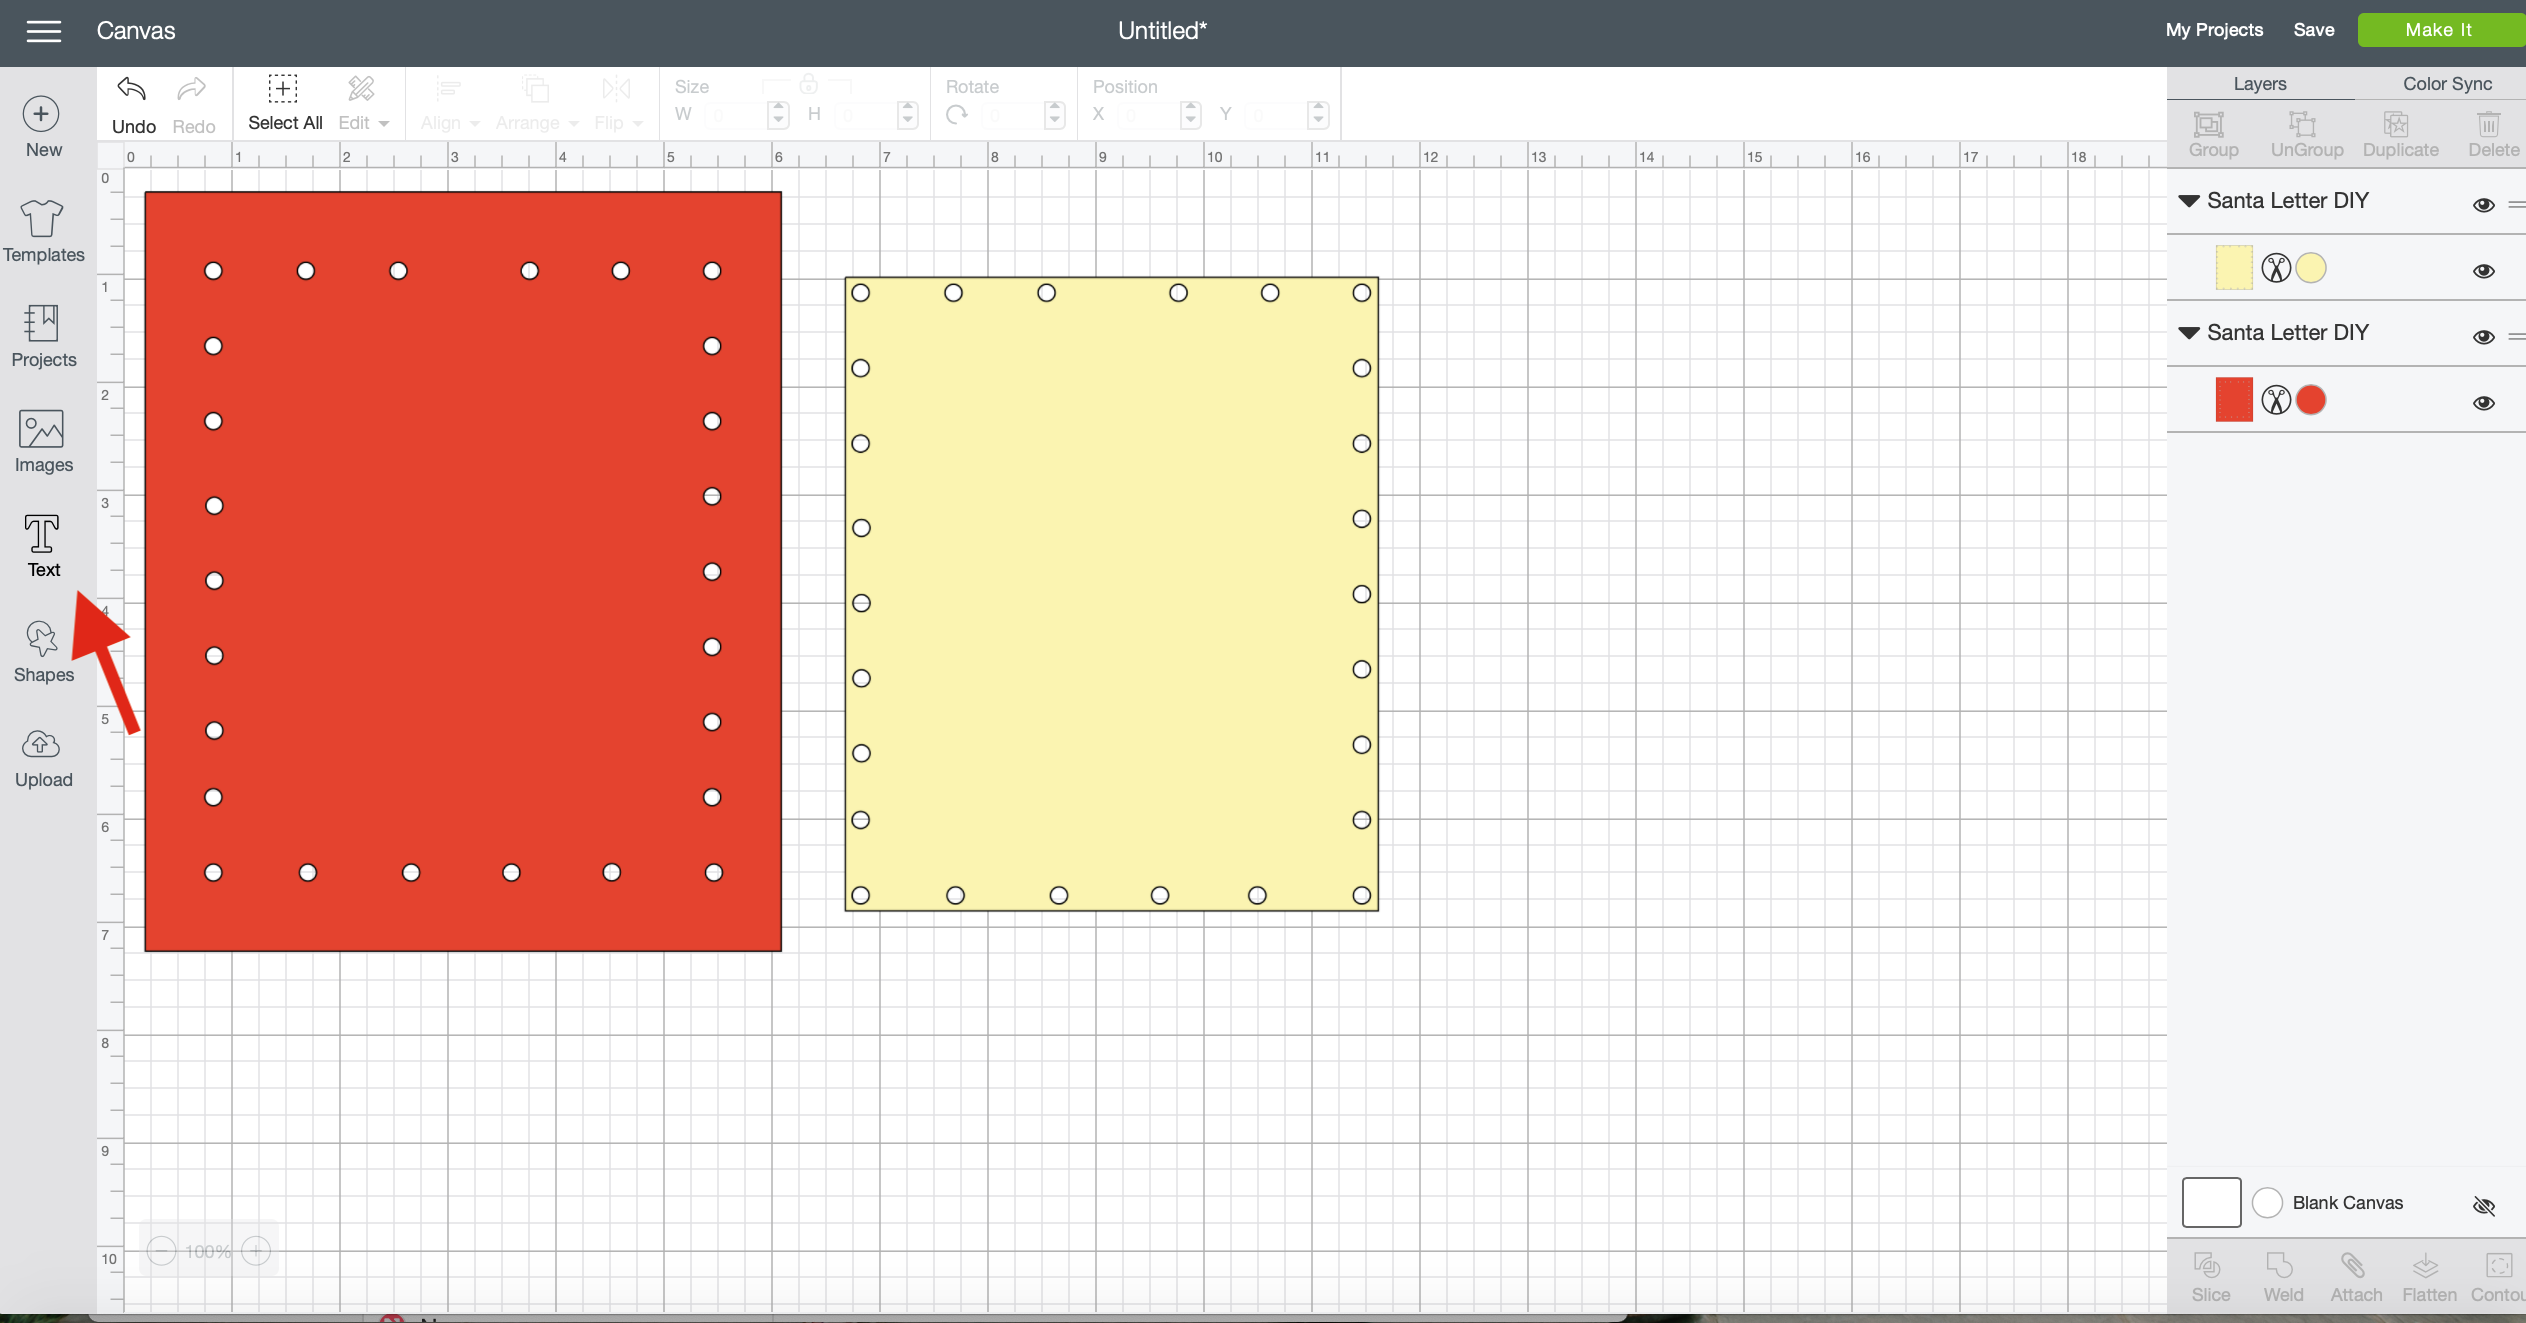
Write the letter to your child. I used separate text boxes for the intro because I wanted it slightly larger than the body. I used the A Child’s Year font set to writing but you can find other fonts by clicking on font, filter, writing.
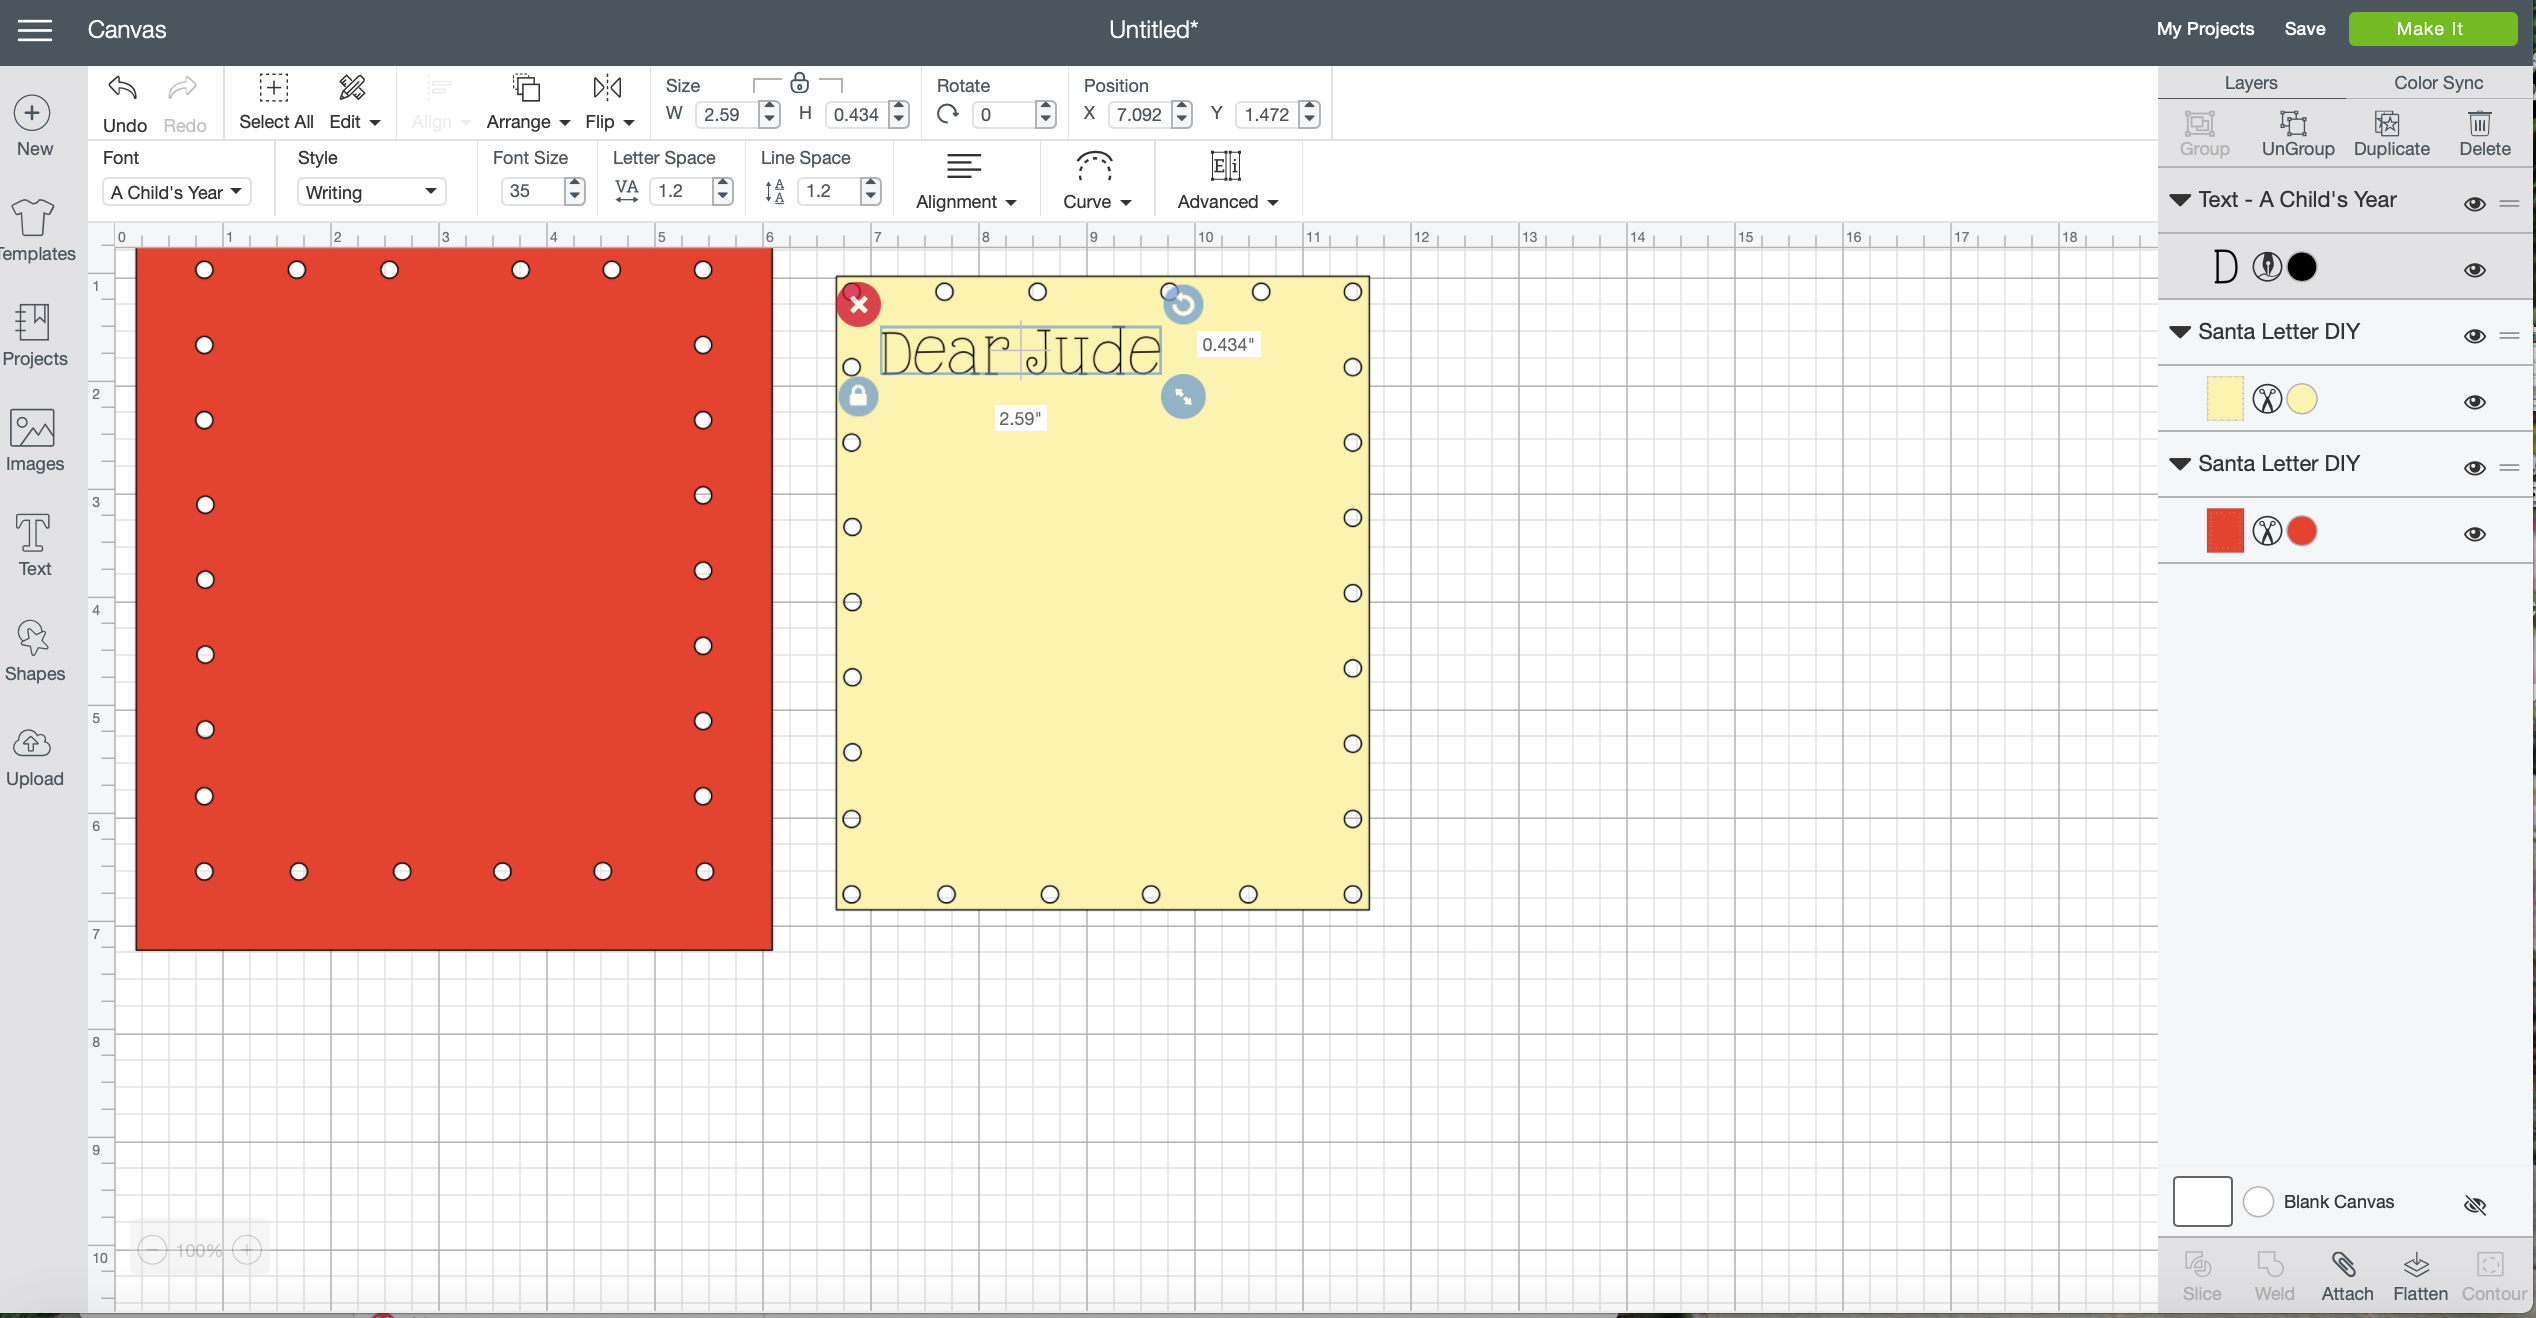
Add the Santa signature. I used the Be Mine font for this part.
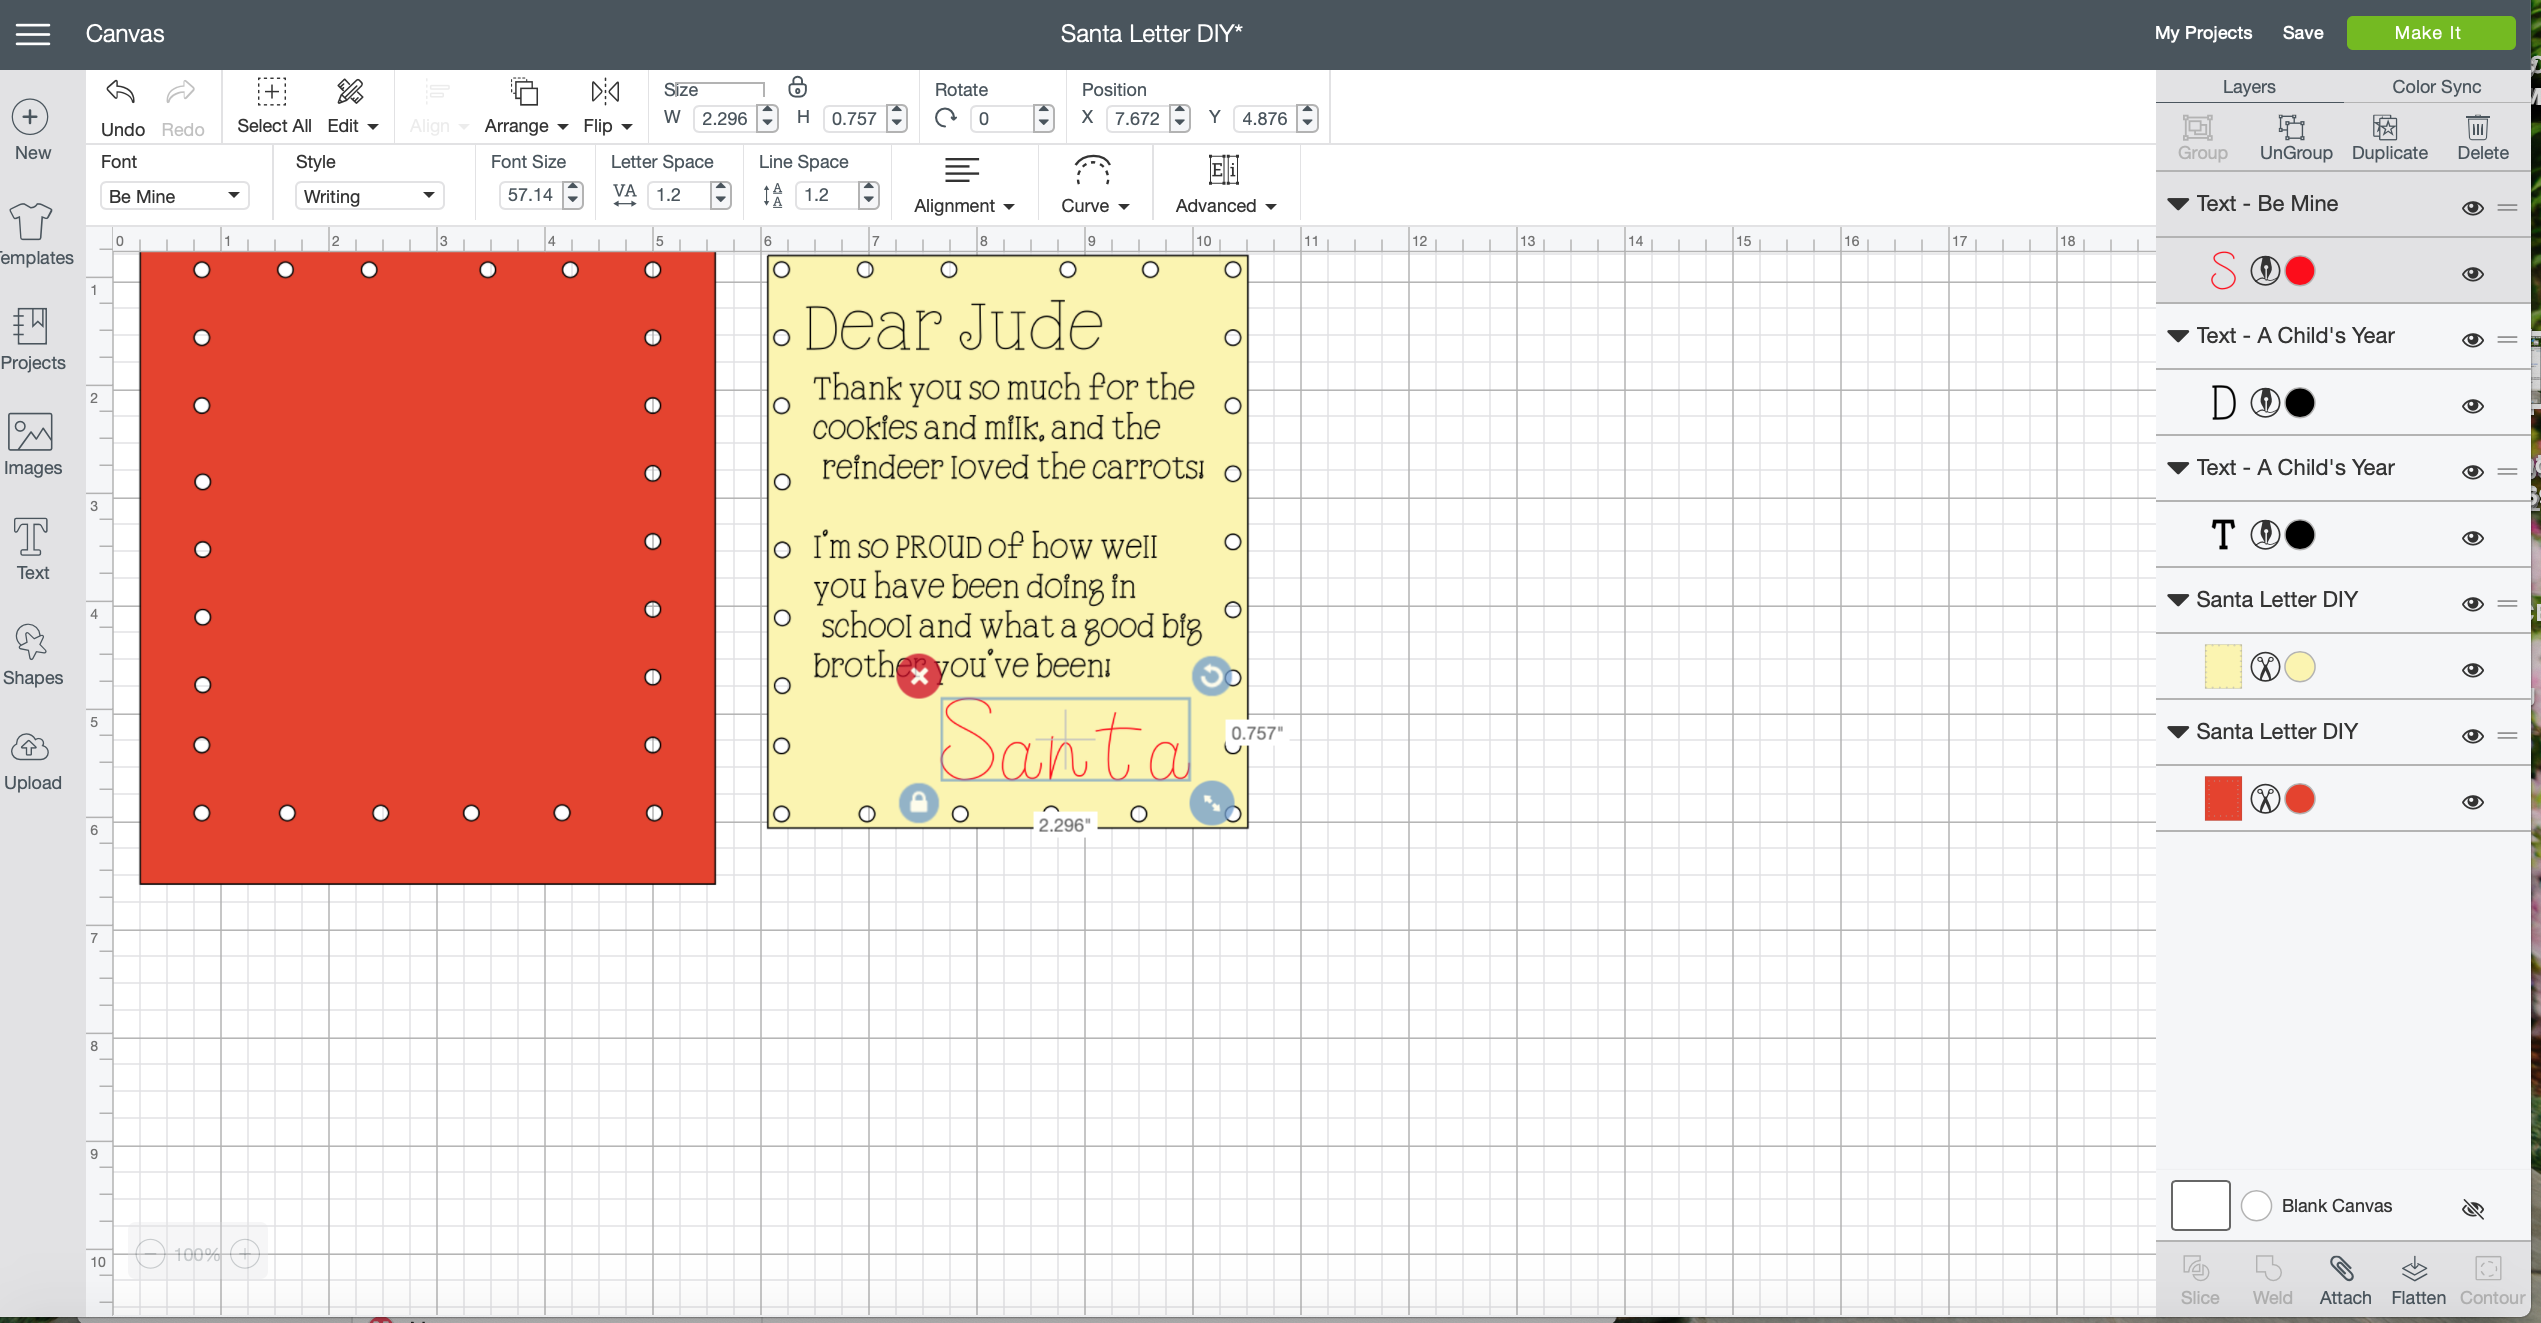
Next you are going to want to attach the font to the cream layer by selecting all of the text and cream layer and hitting attach.
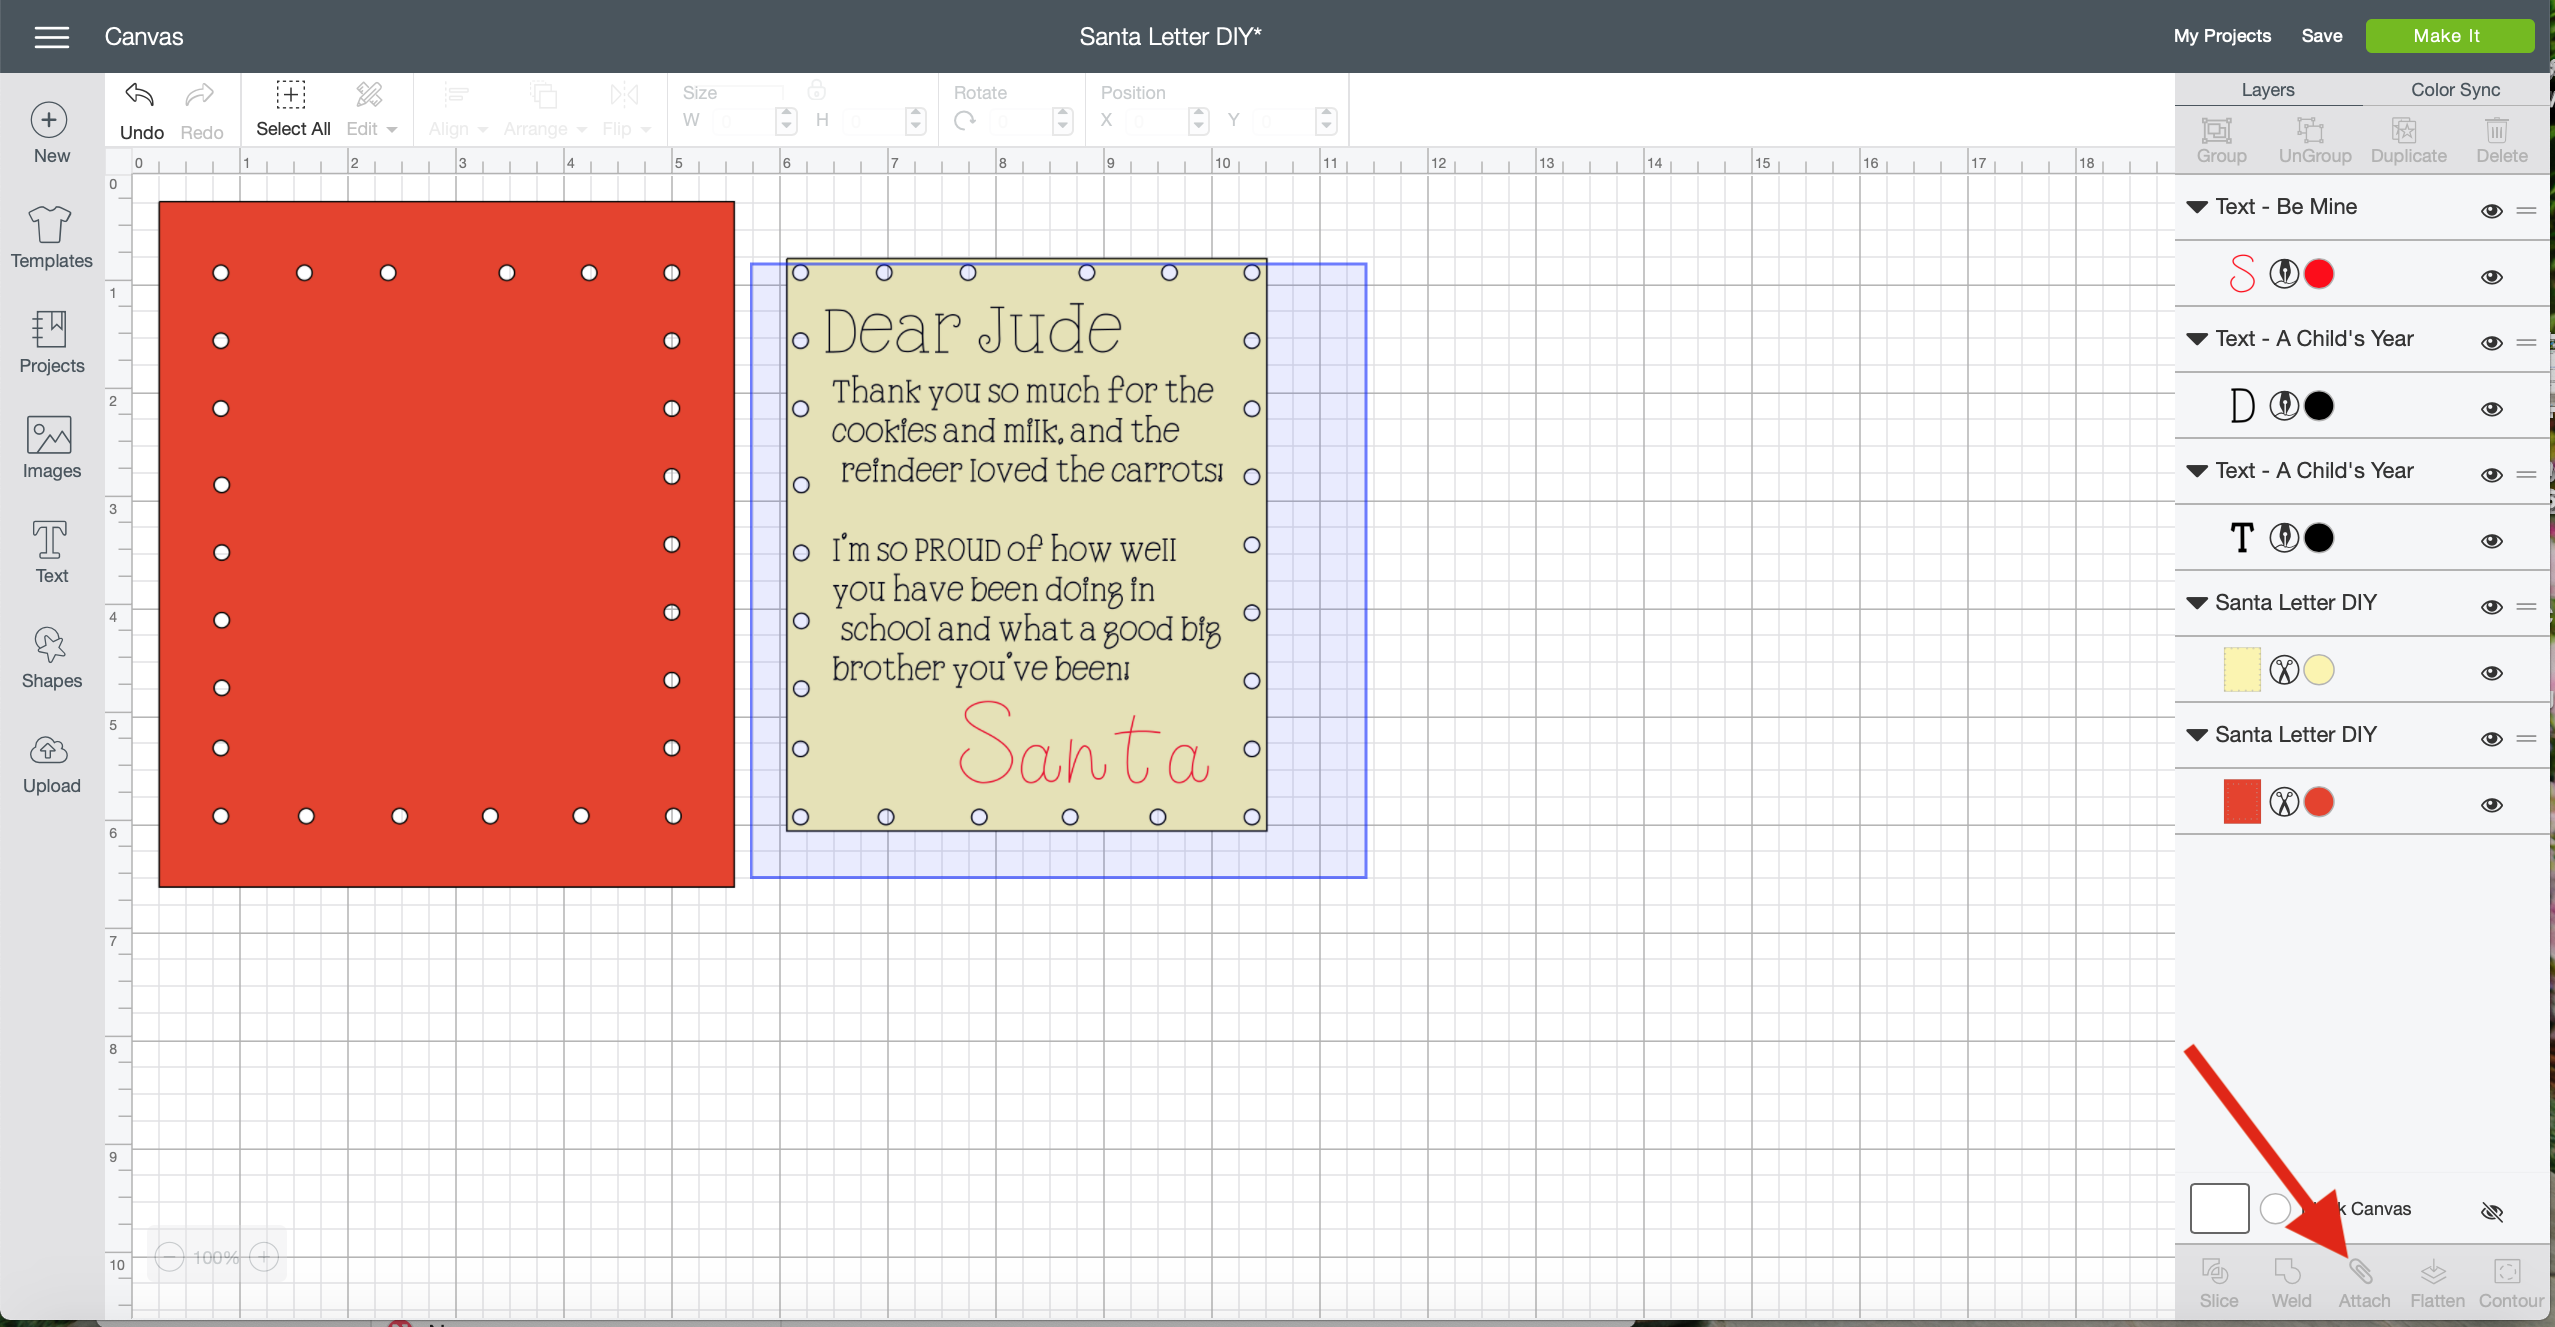
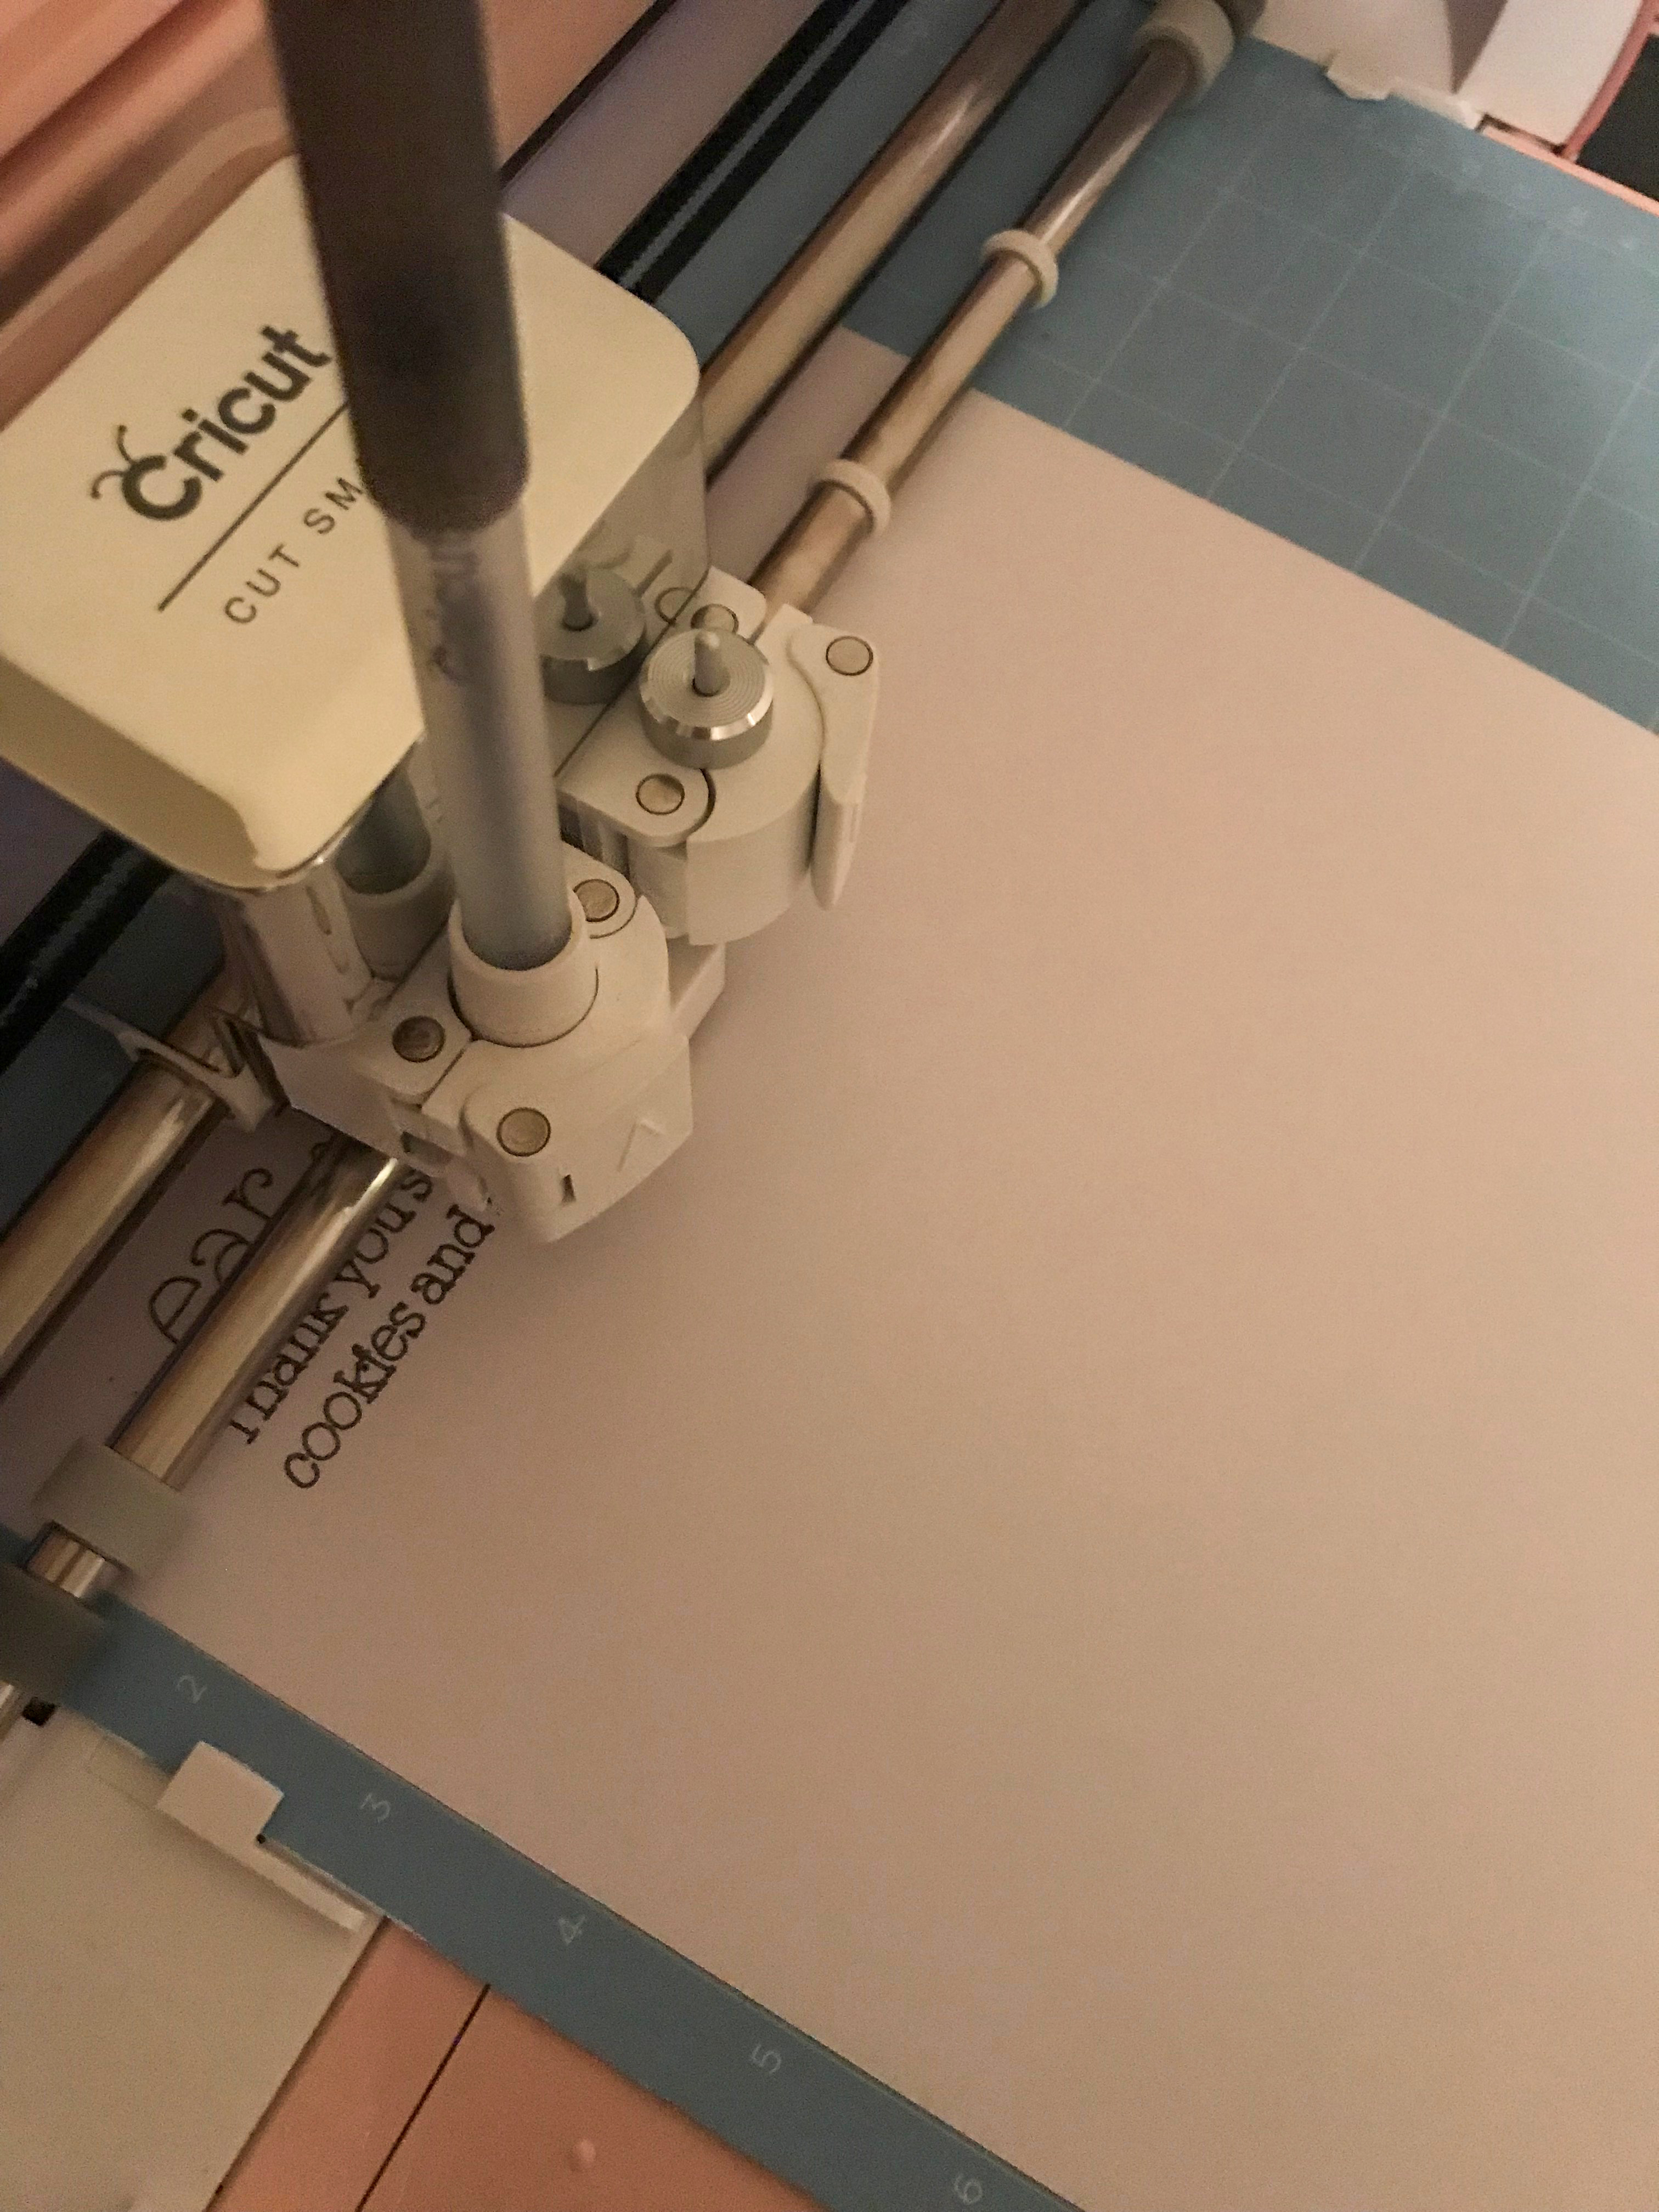
Save your project and hit make it. Then load your first mat with the background scrapbook paper you want to use.Load the mat into the machine and hit the Cricut symbol.
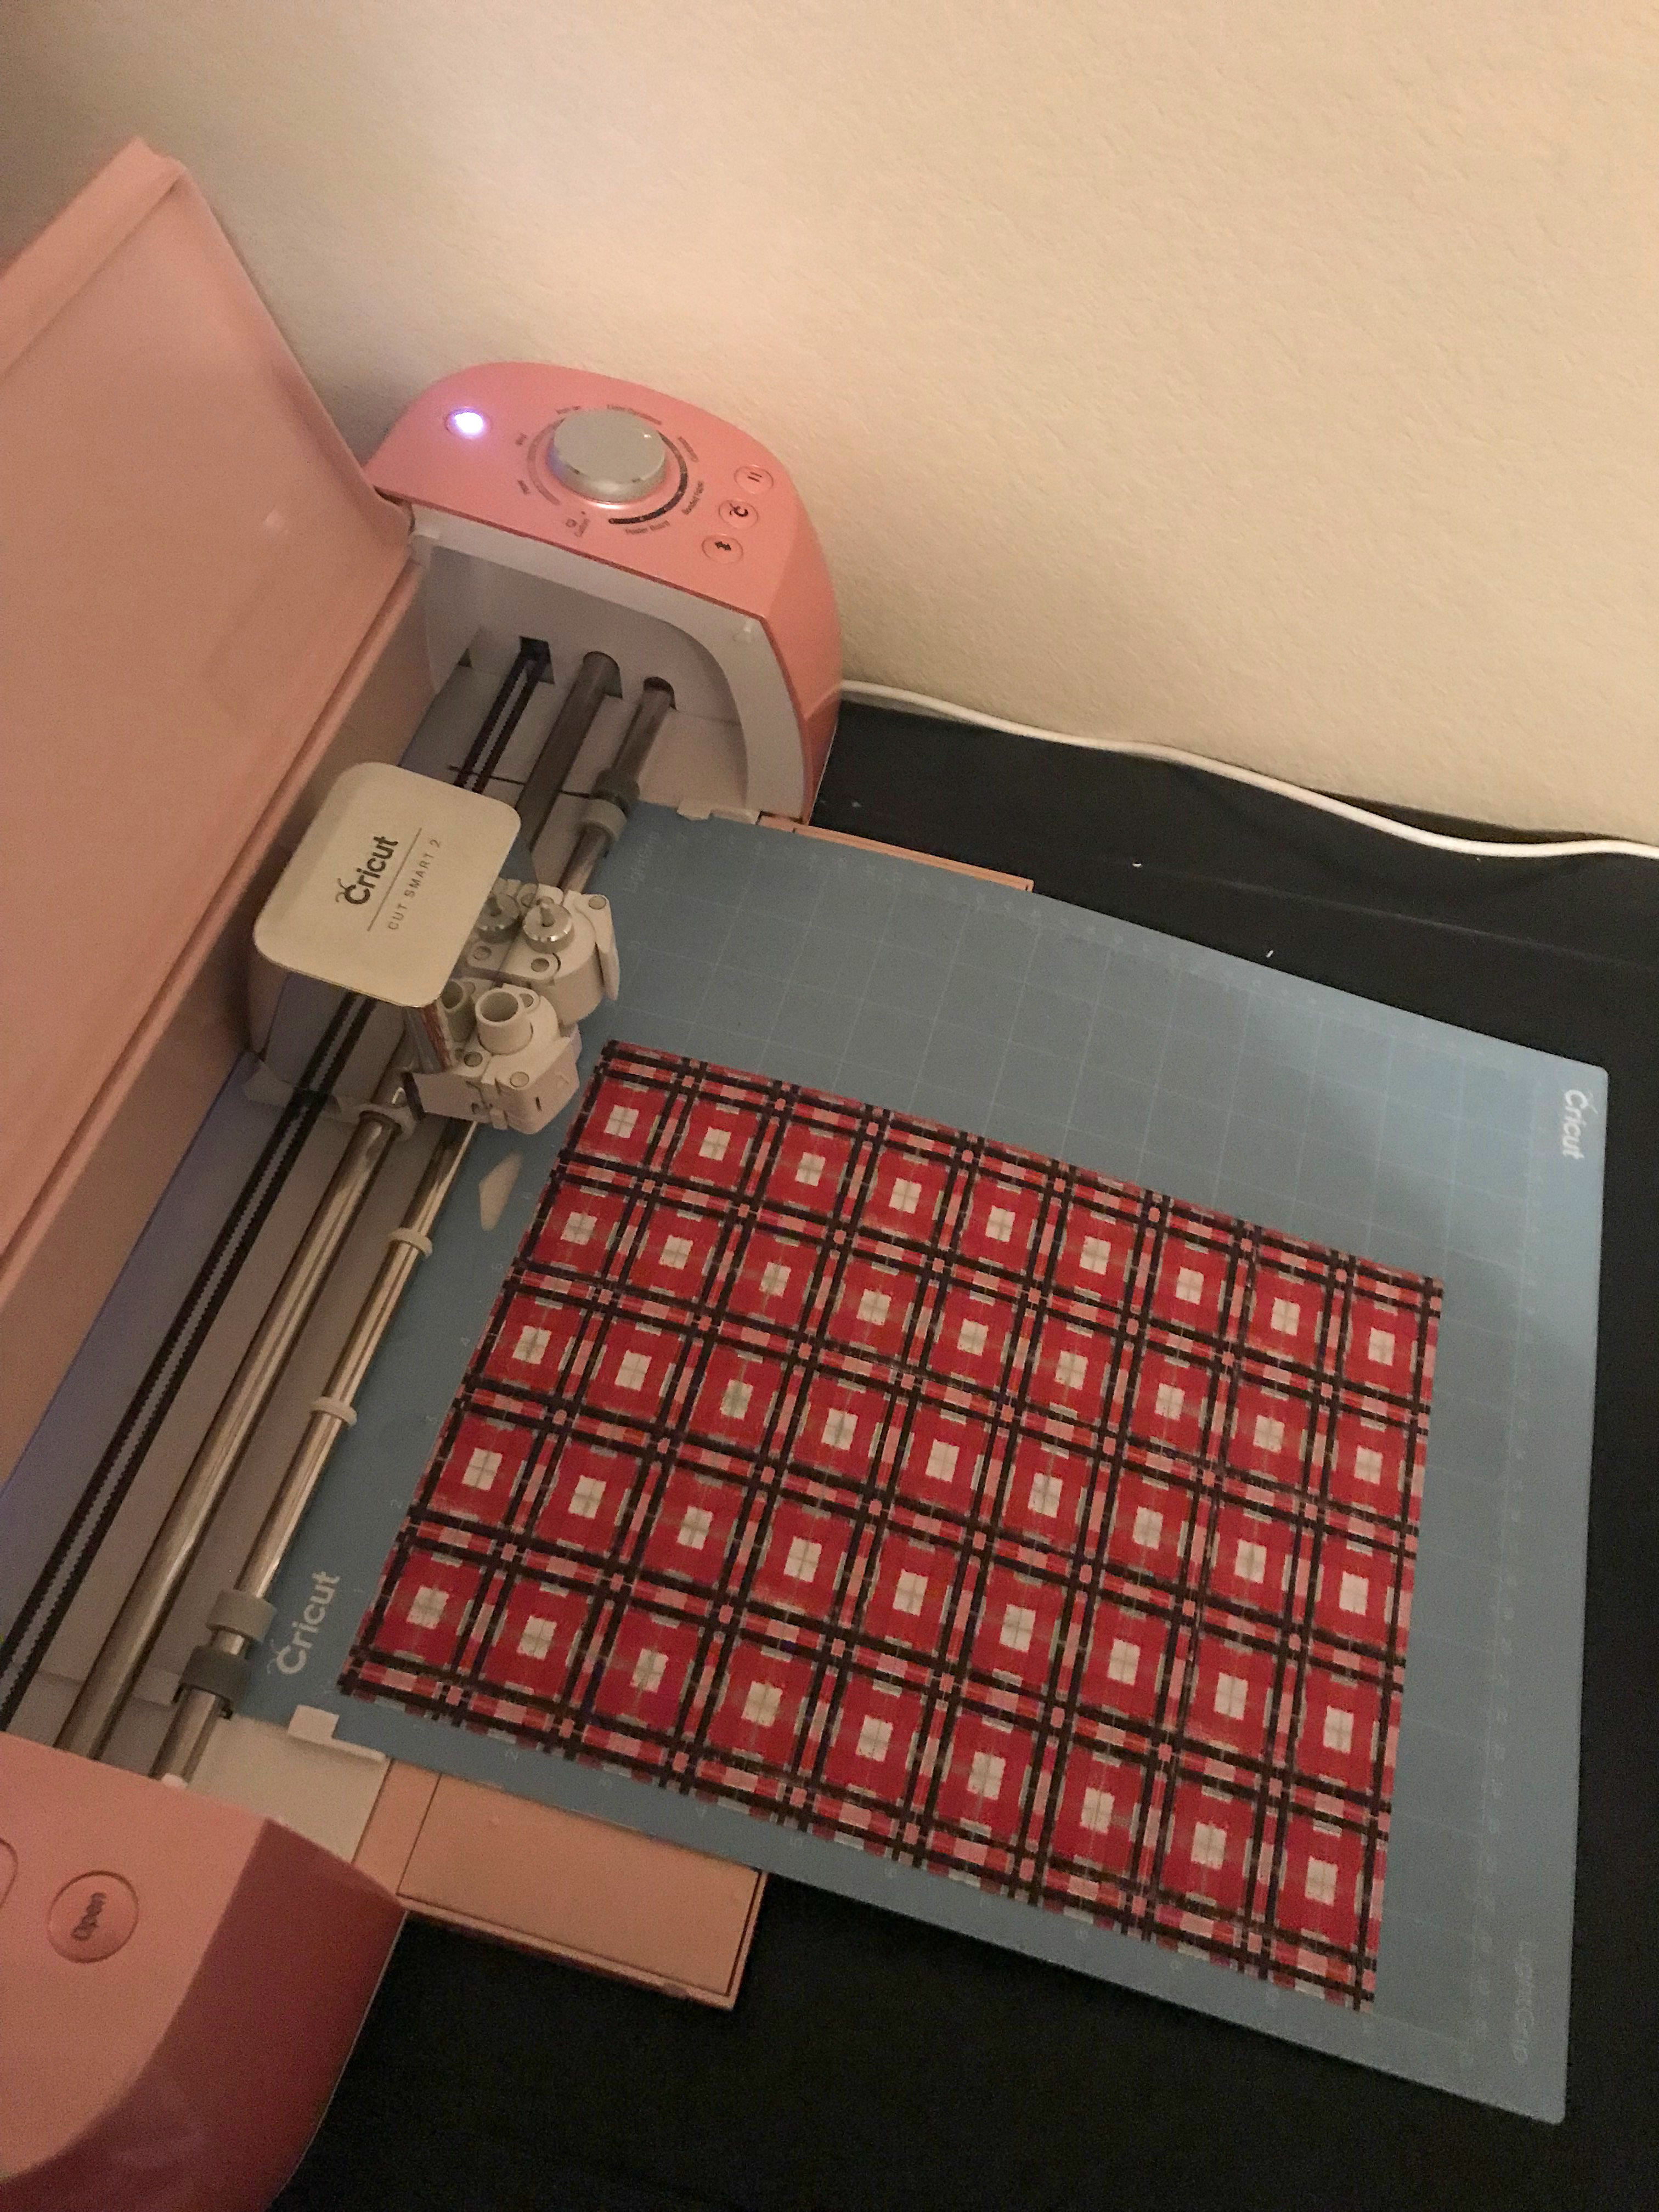
Let it cut, then unload the mat and remove the paper by flipping the mat upside down on your for surface and peeling the mat away from the paper (doing it this way keeps the paper from being rolled).
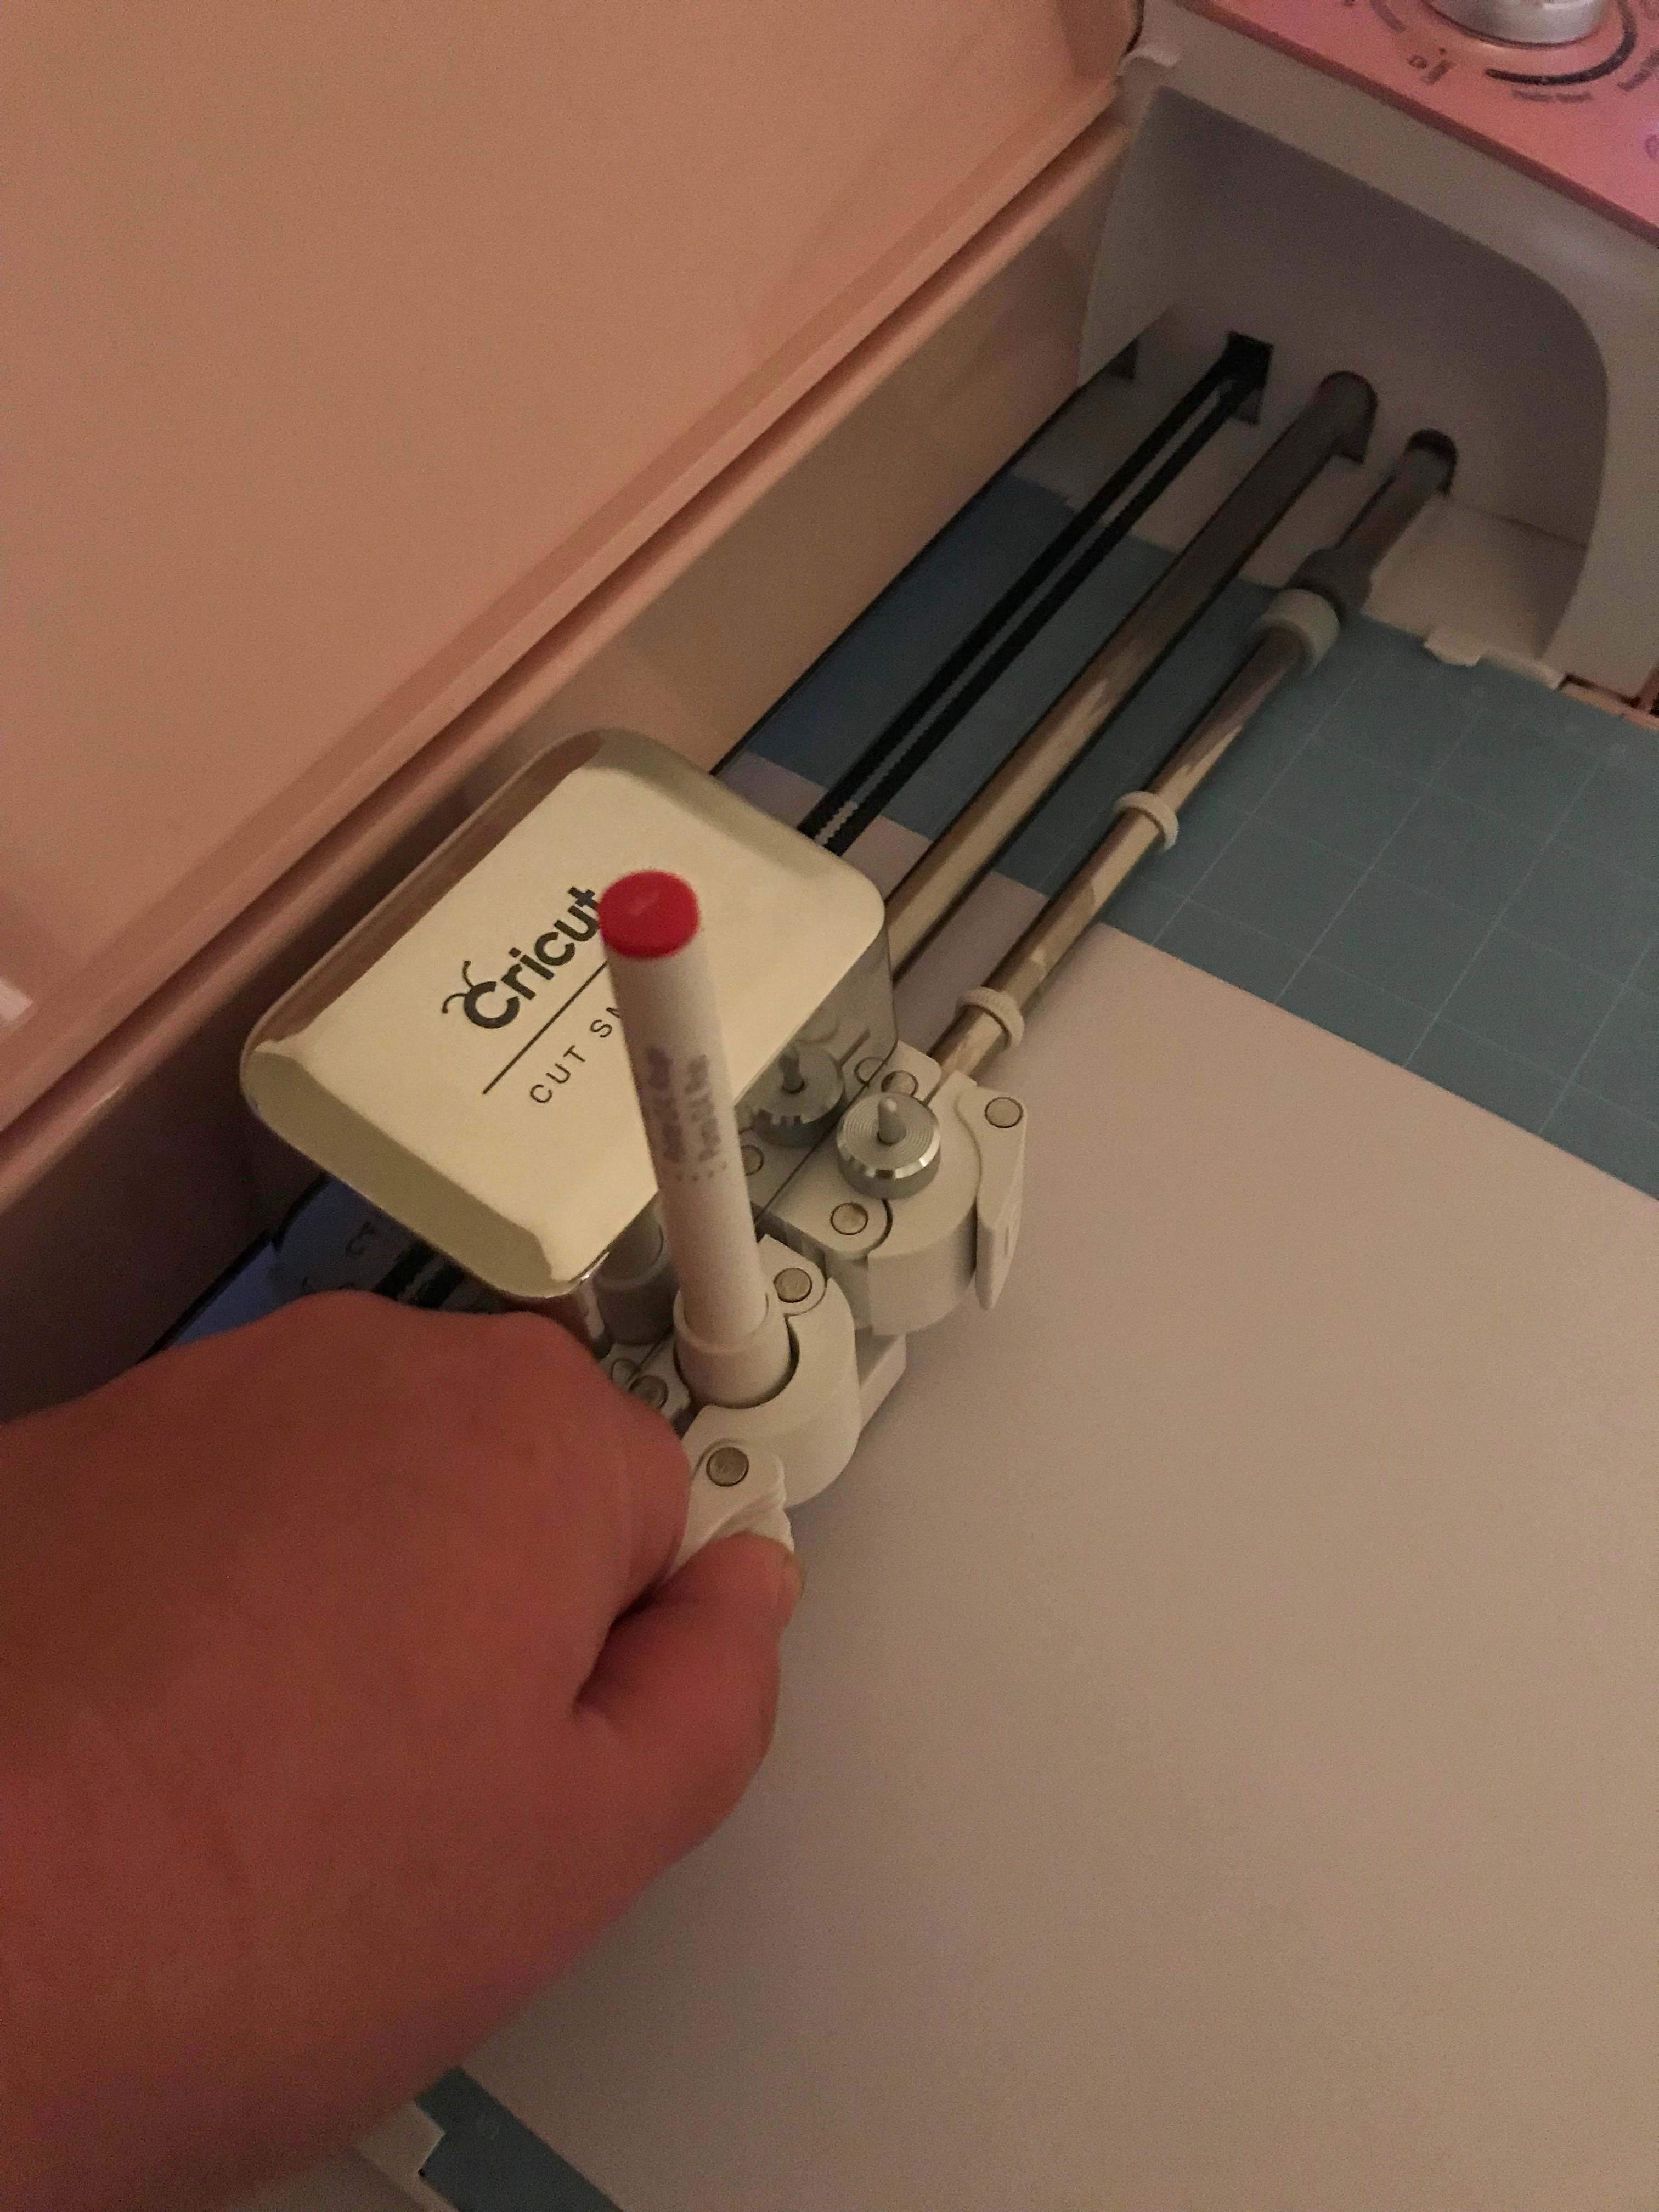
Clean the mat with your scraper tool and add your white cardstock to the mat. Add your black Cricut Glitter pen to the slot (don’t forget to hold up on the slot apparatus while inserting your pen, otherwise it makes a horrid noise as you press down). Load the mat and let your Cricut do it’s thing.
Let it write and switch out the pen to red when it prompts you to (once again HOLD up the slot apparatus as you insert the pen).
Remove the paper the same way as before, mat facing down against a flat surface.
Line up the holes on the two layers and prepare your ribbon by rolling the end and taping it (so it looks kind of like a shoelace).
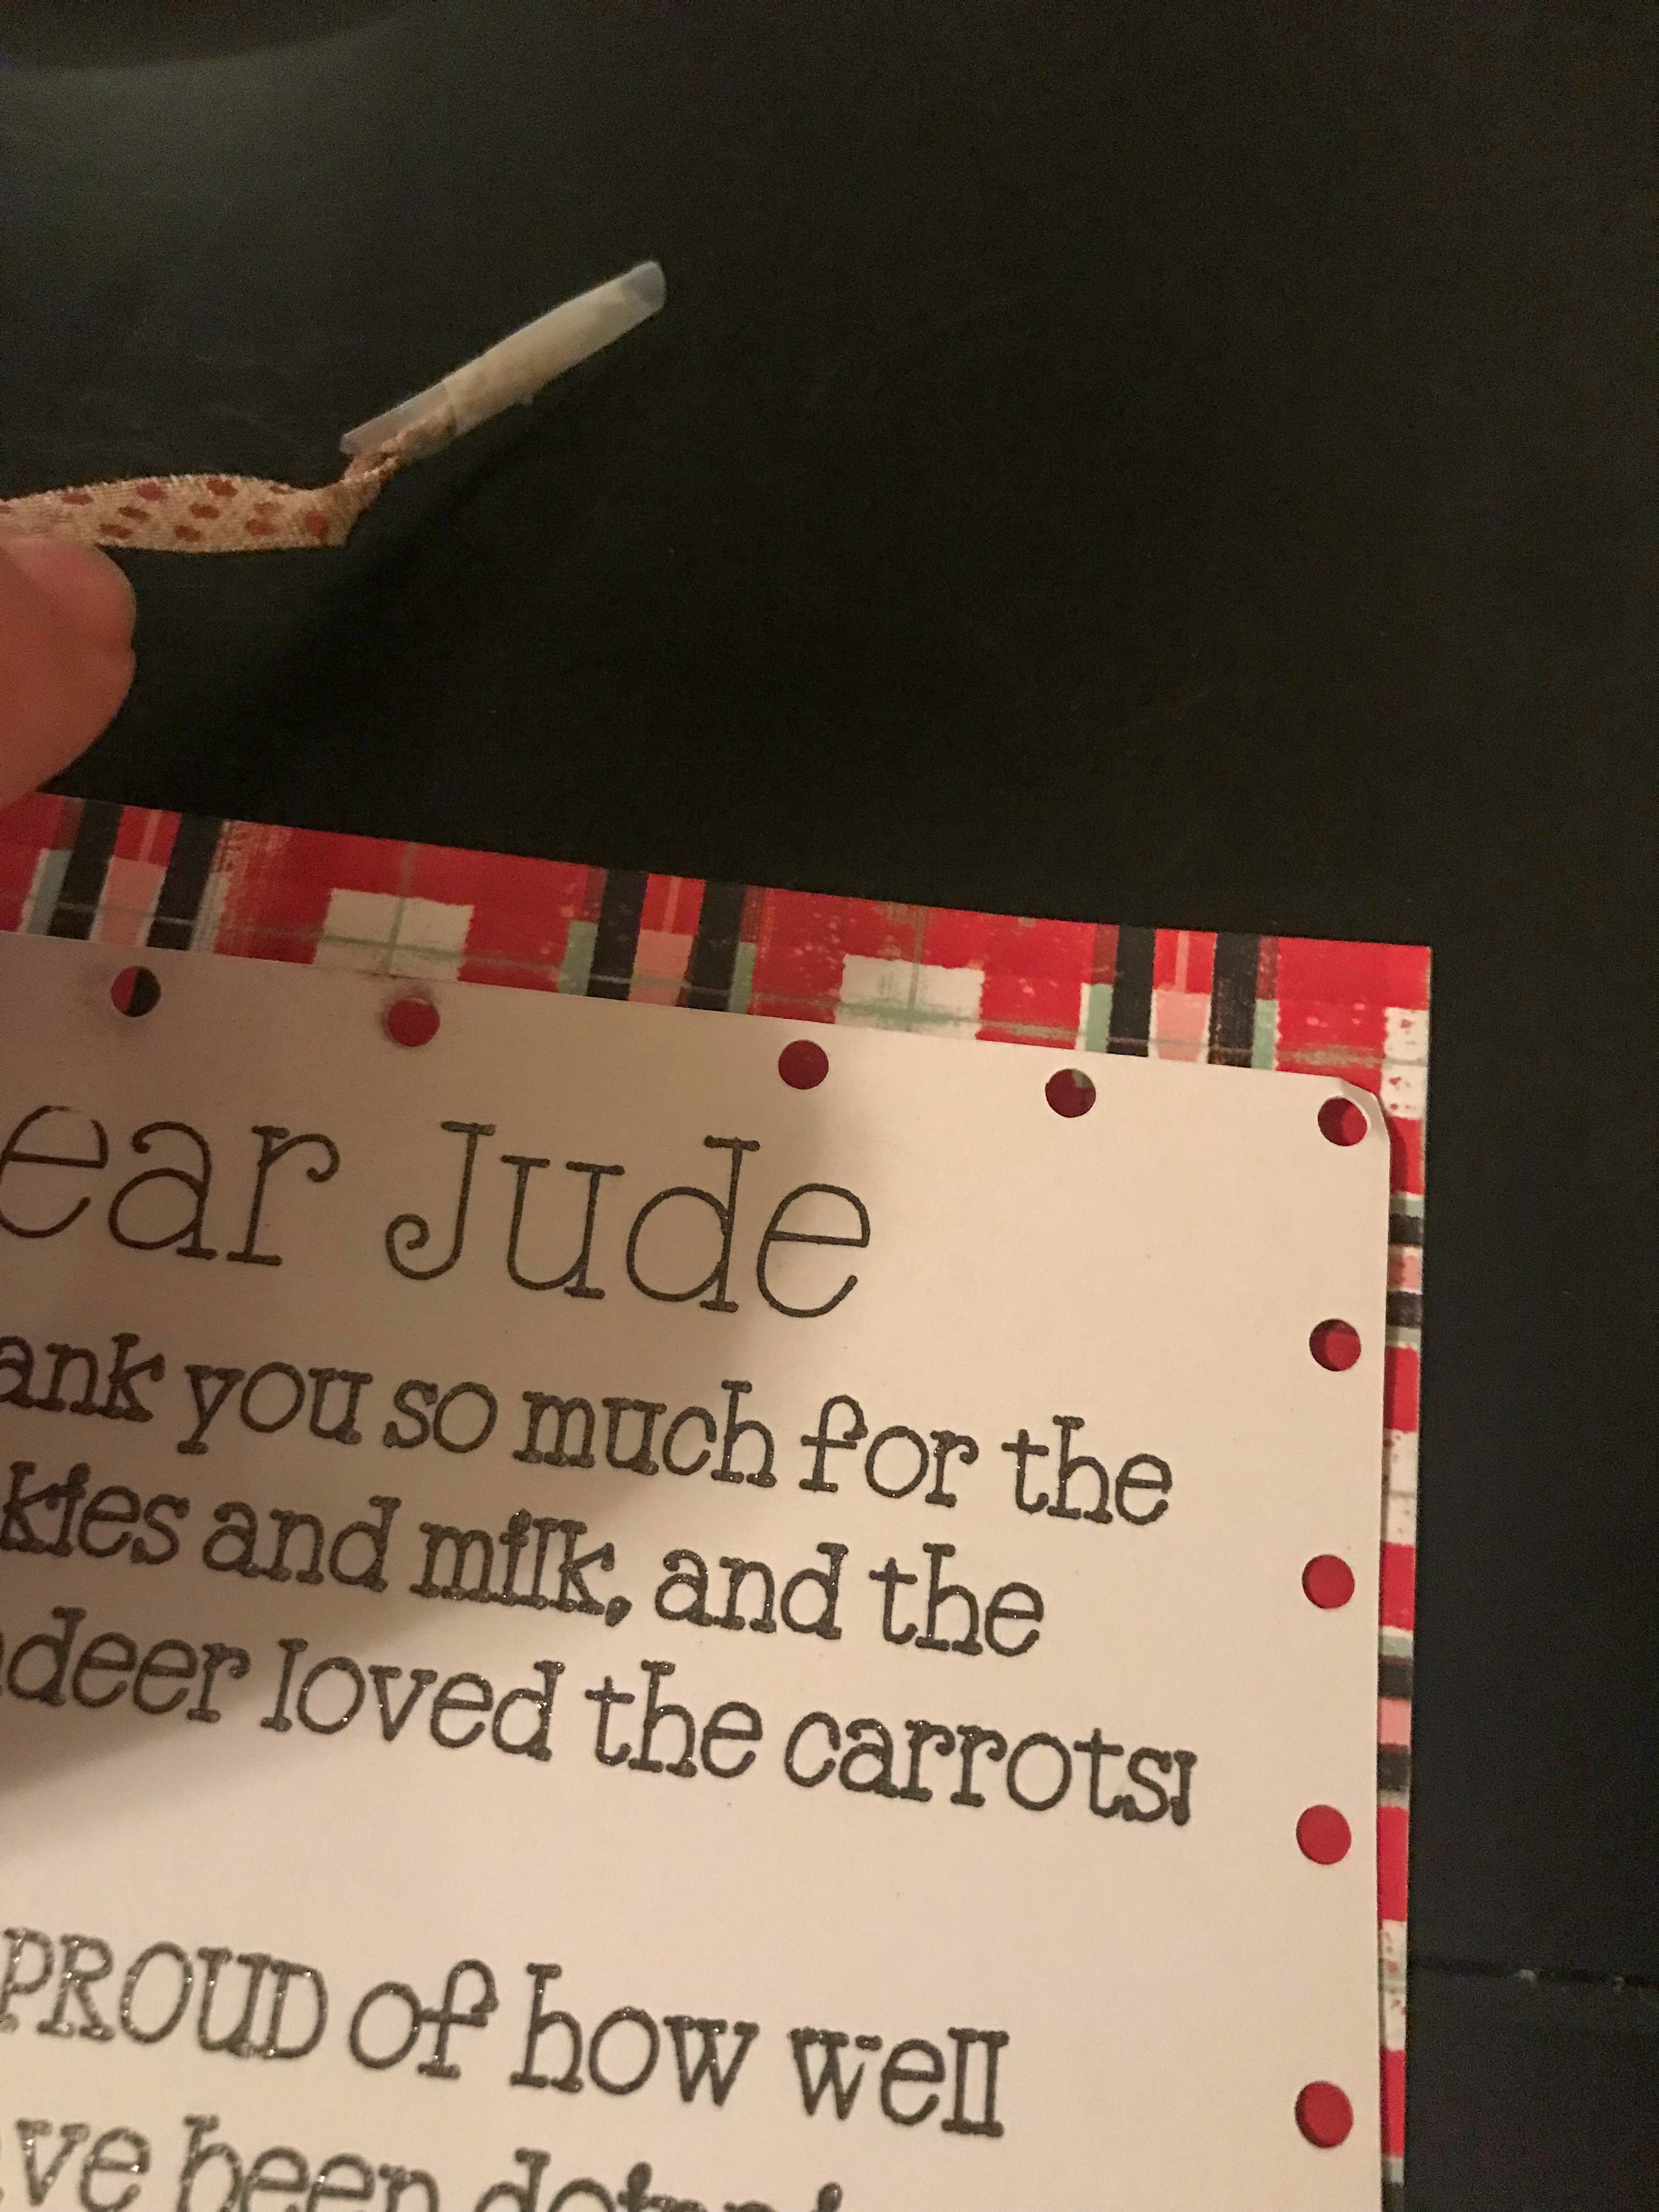
Start on one of the upper middle holes and thread AWAY from you, leaving the tail facing out, be sure to leave enough length for a bow.
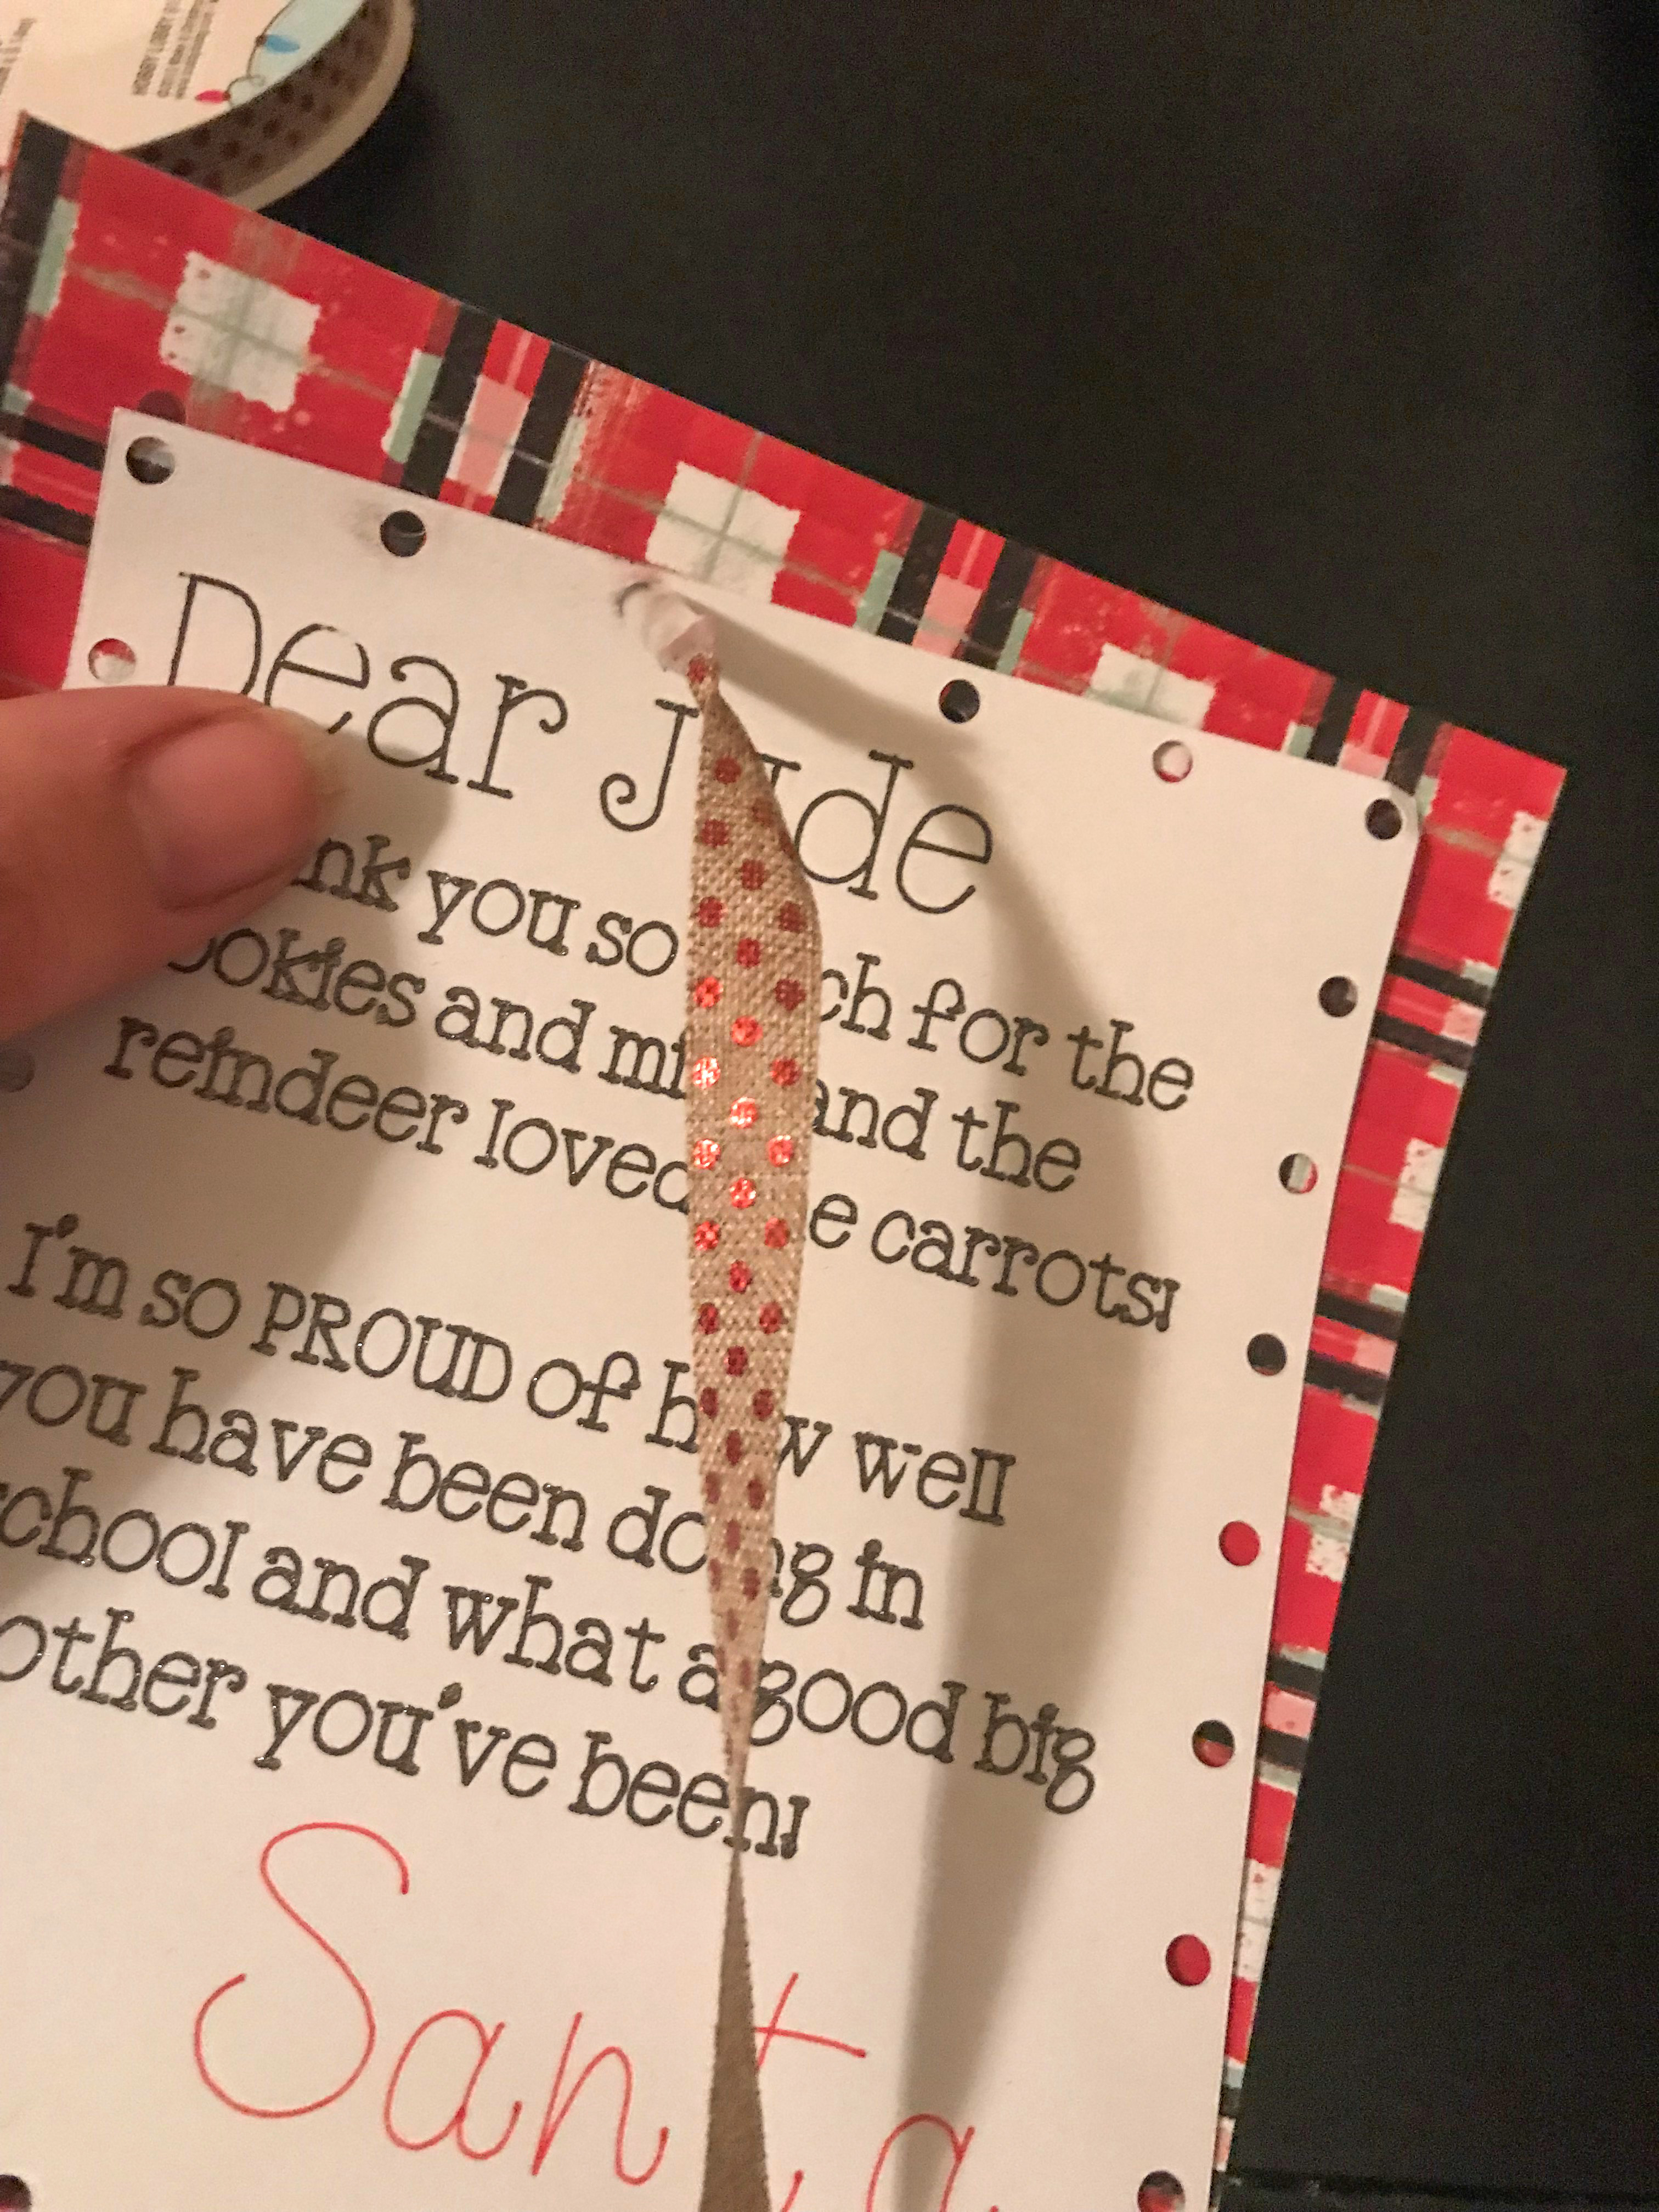
Thread all the way around the edges, tie your bow, and now you have a picture perfect Santa letter created with your Cricut!
