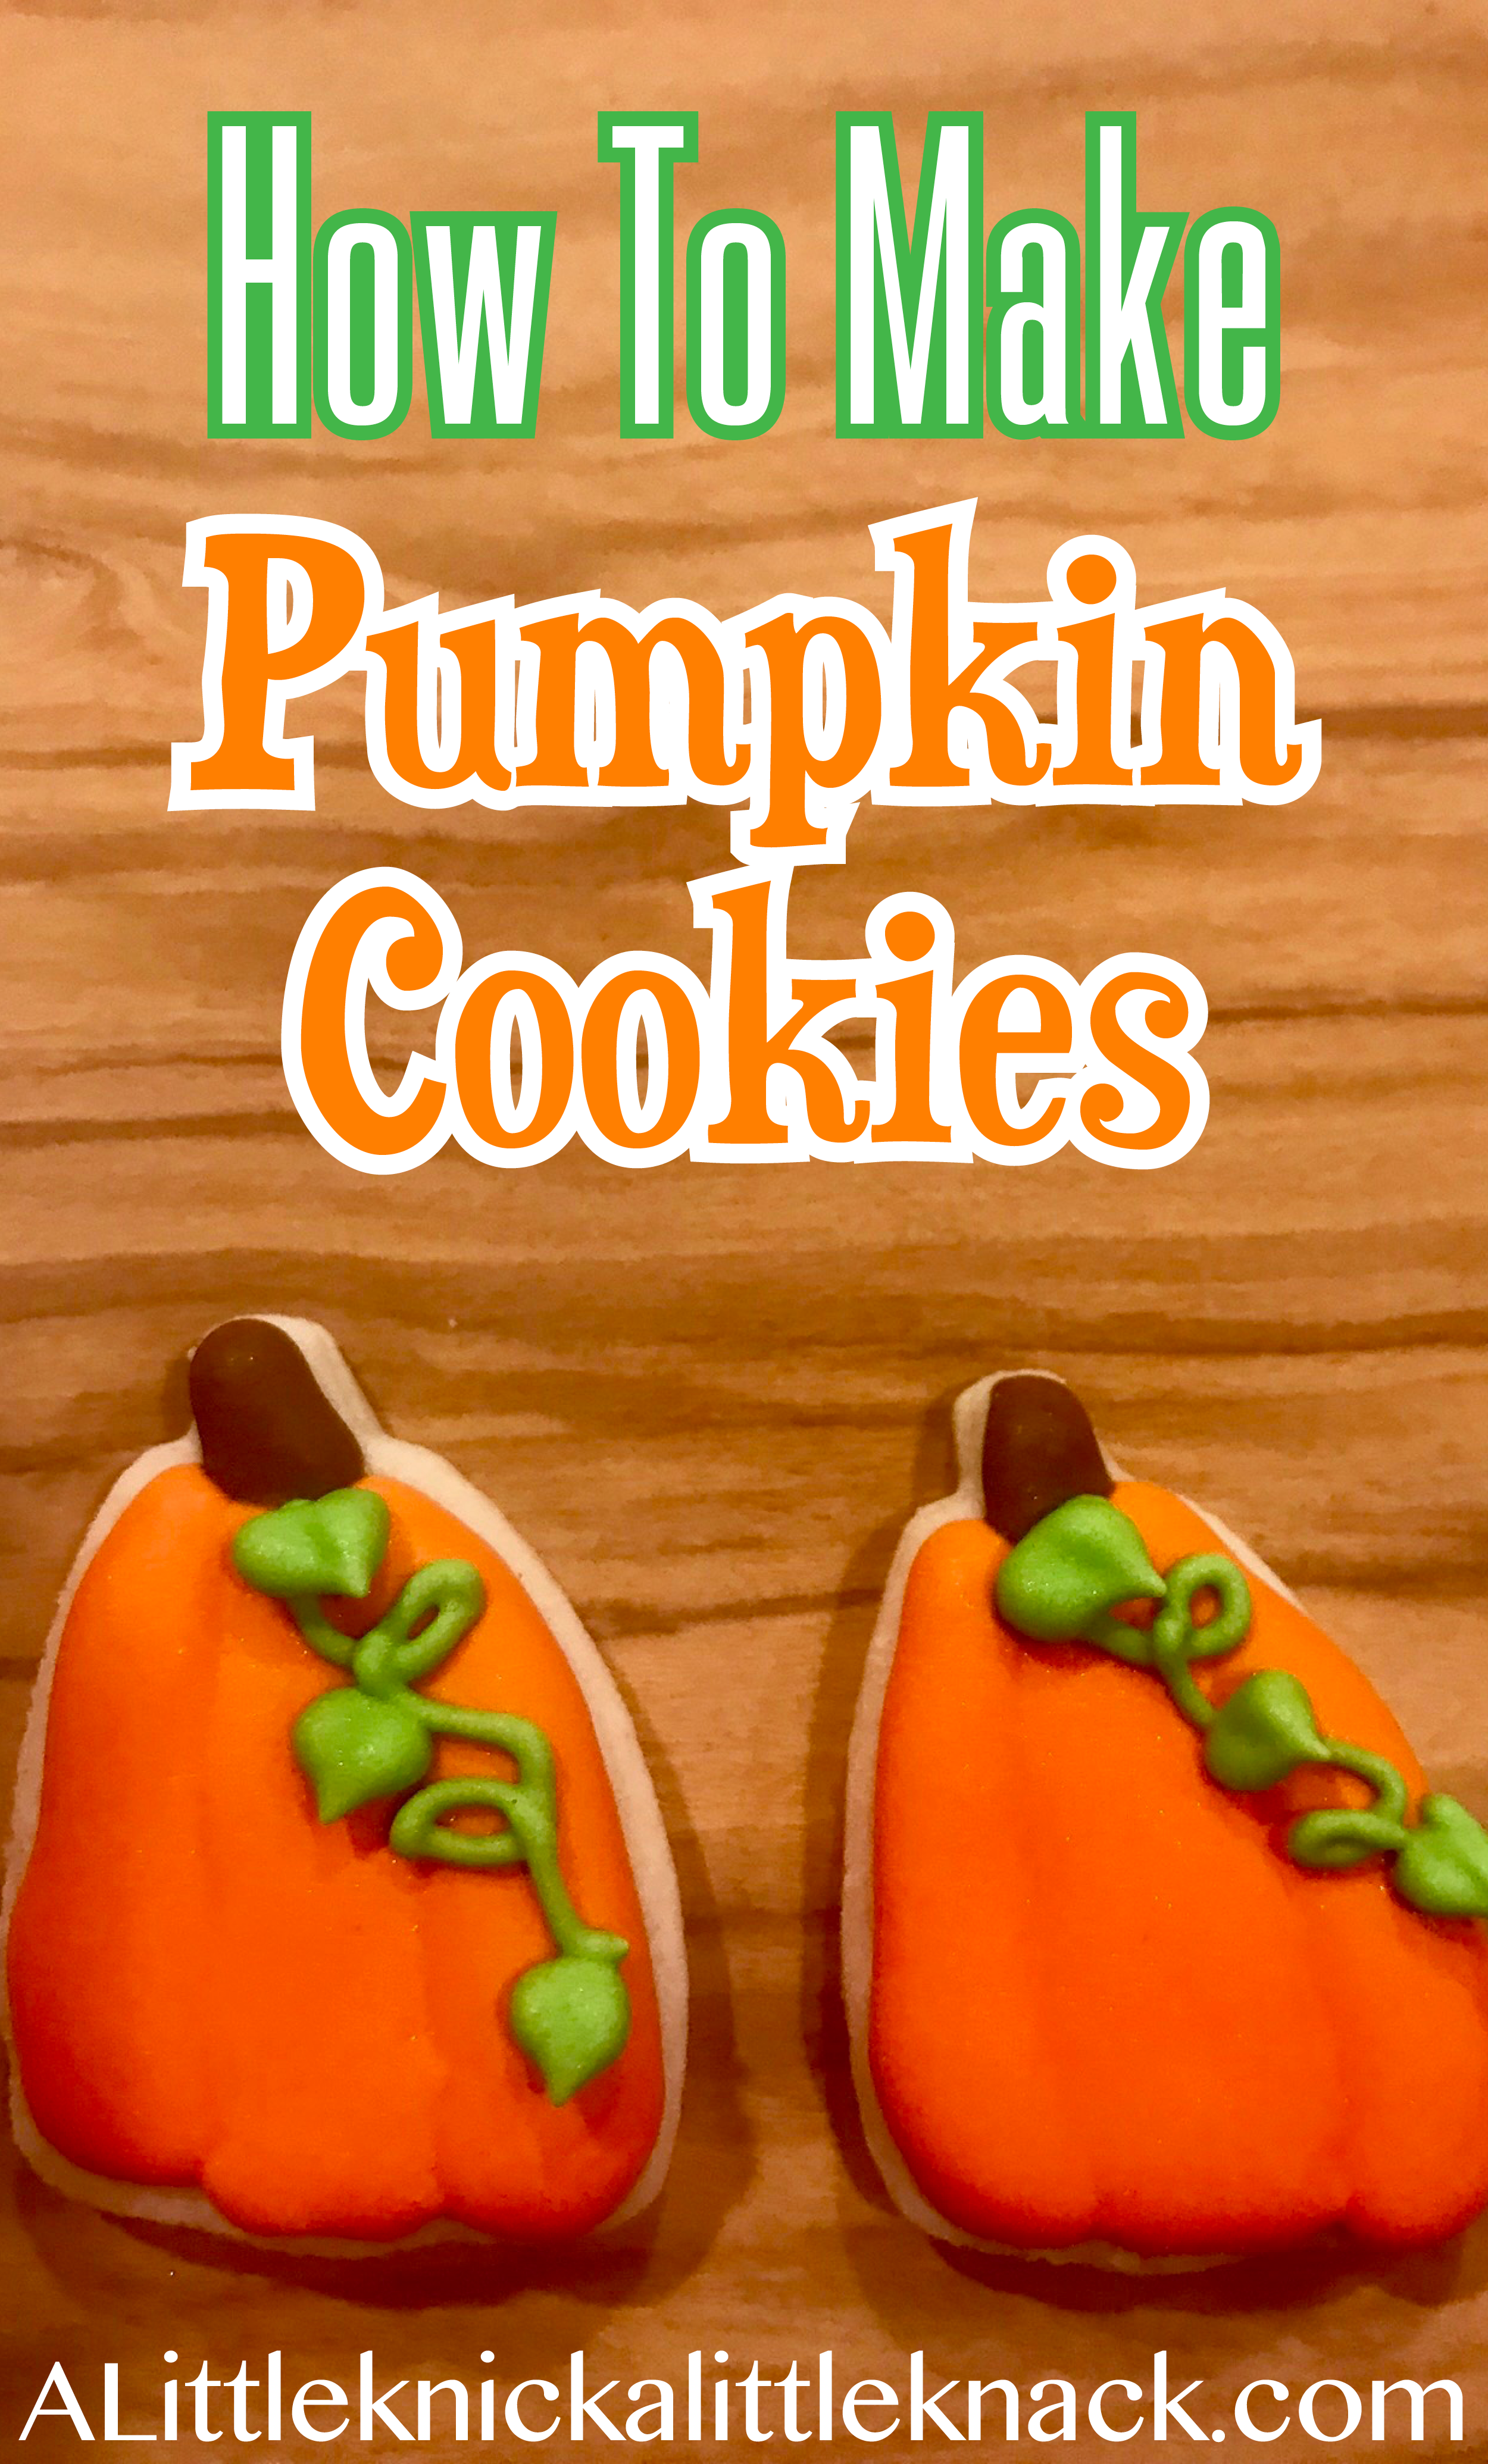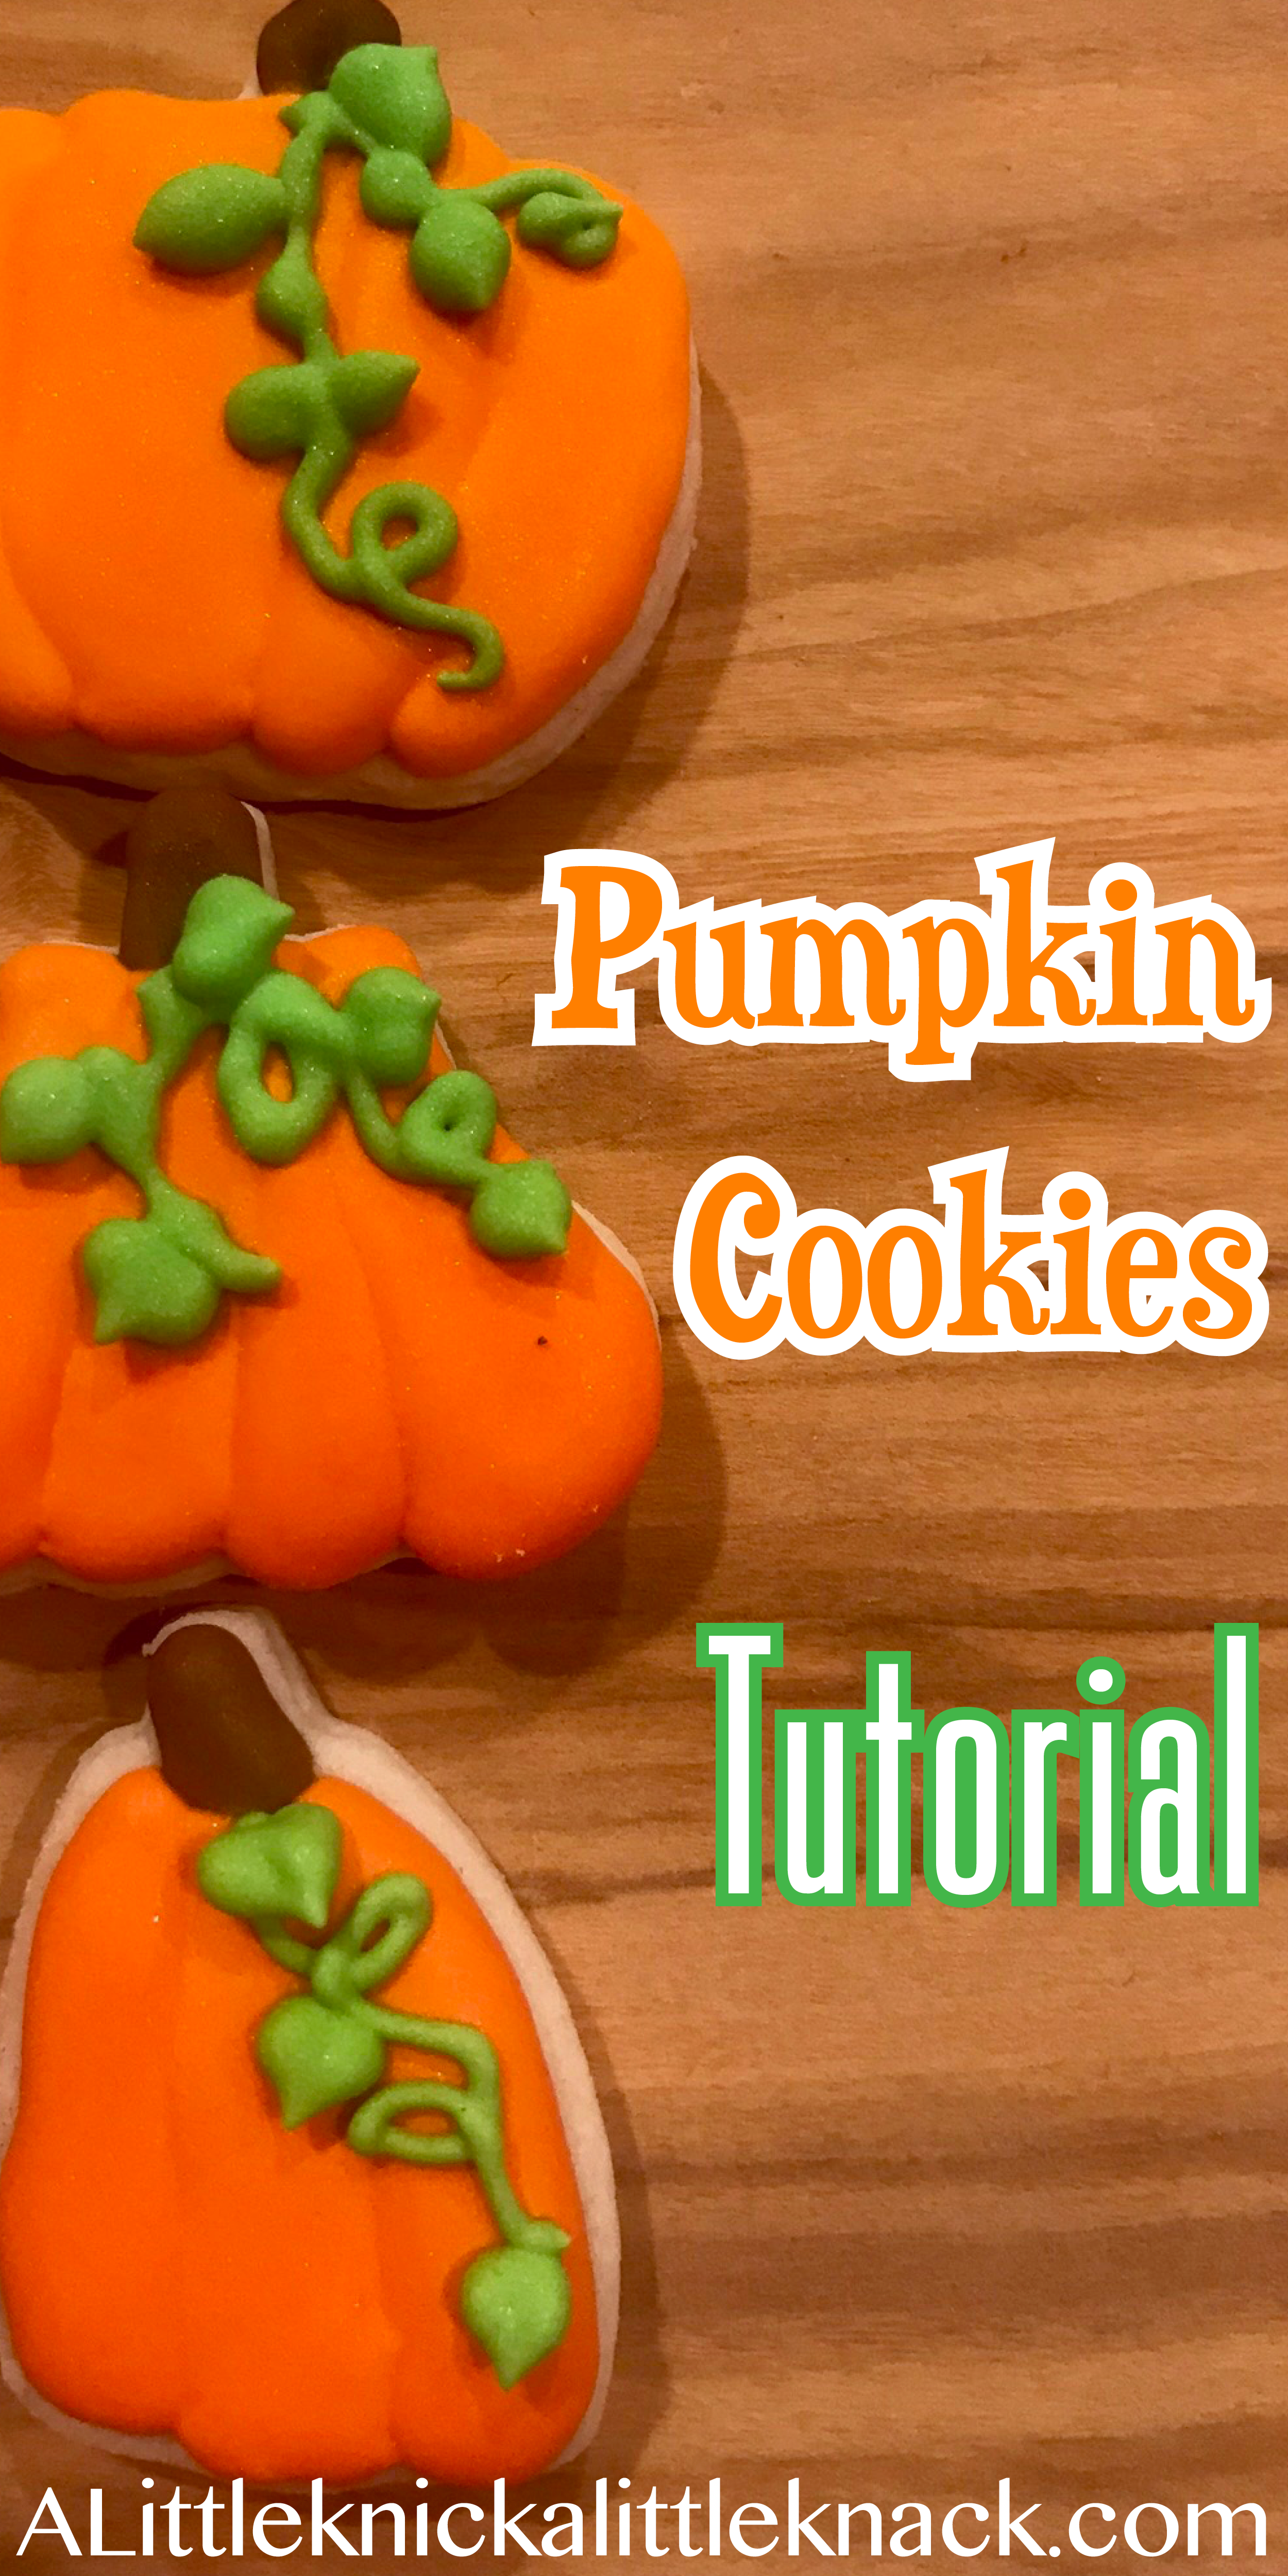
Nothing says fall like Pumpkins!
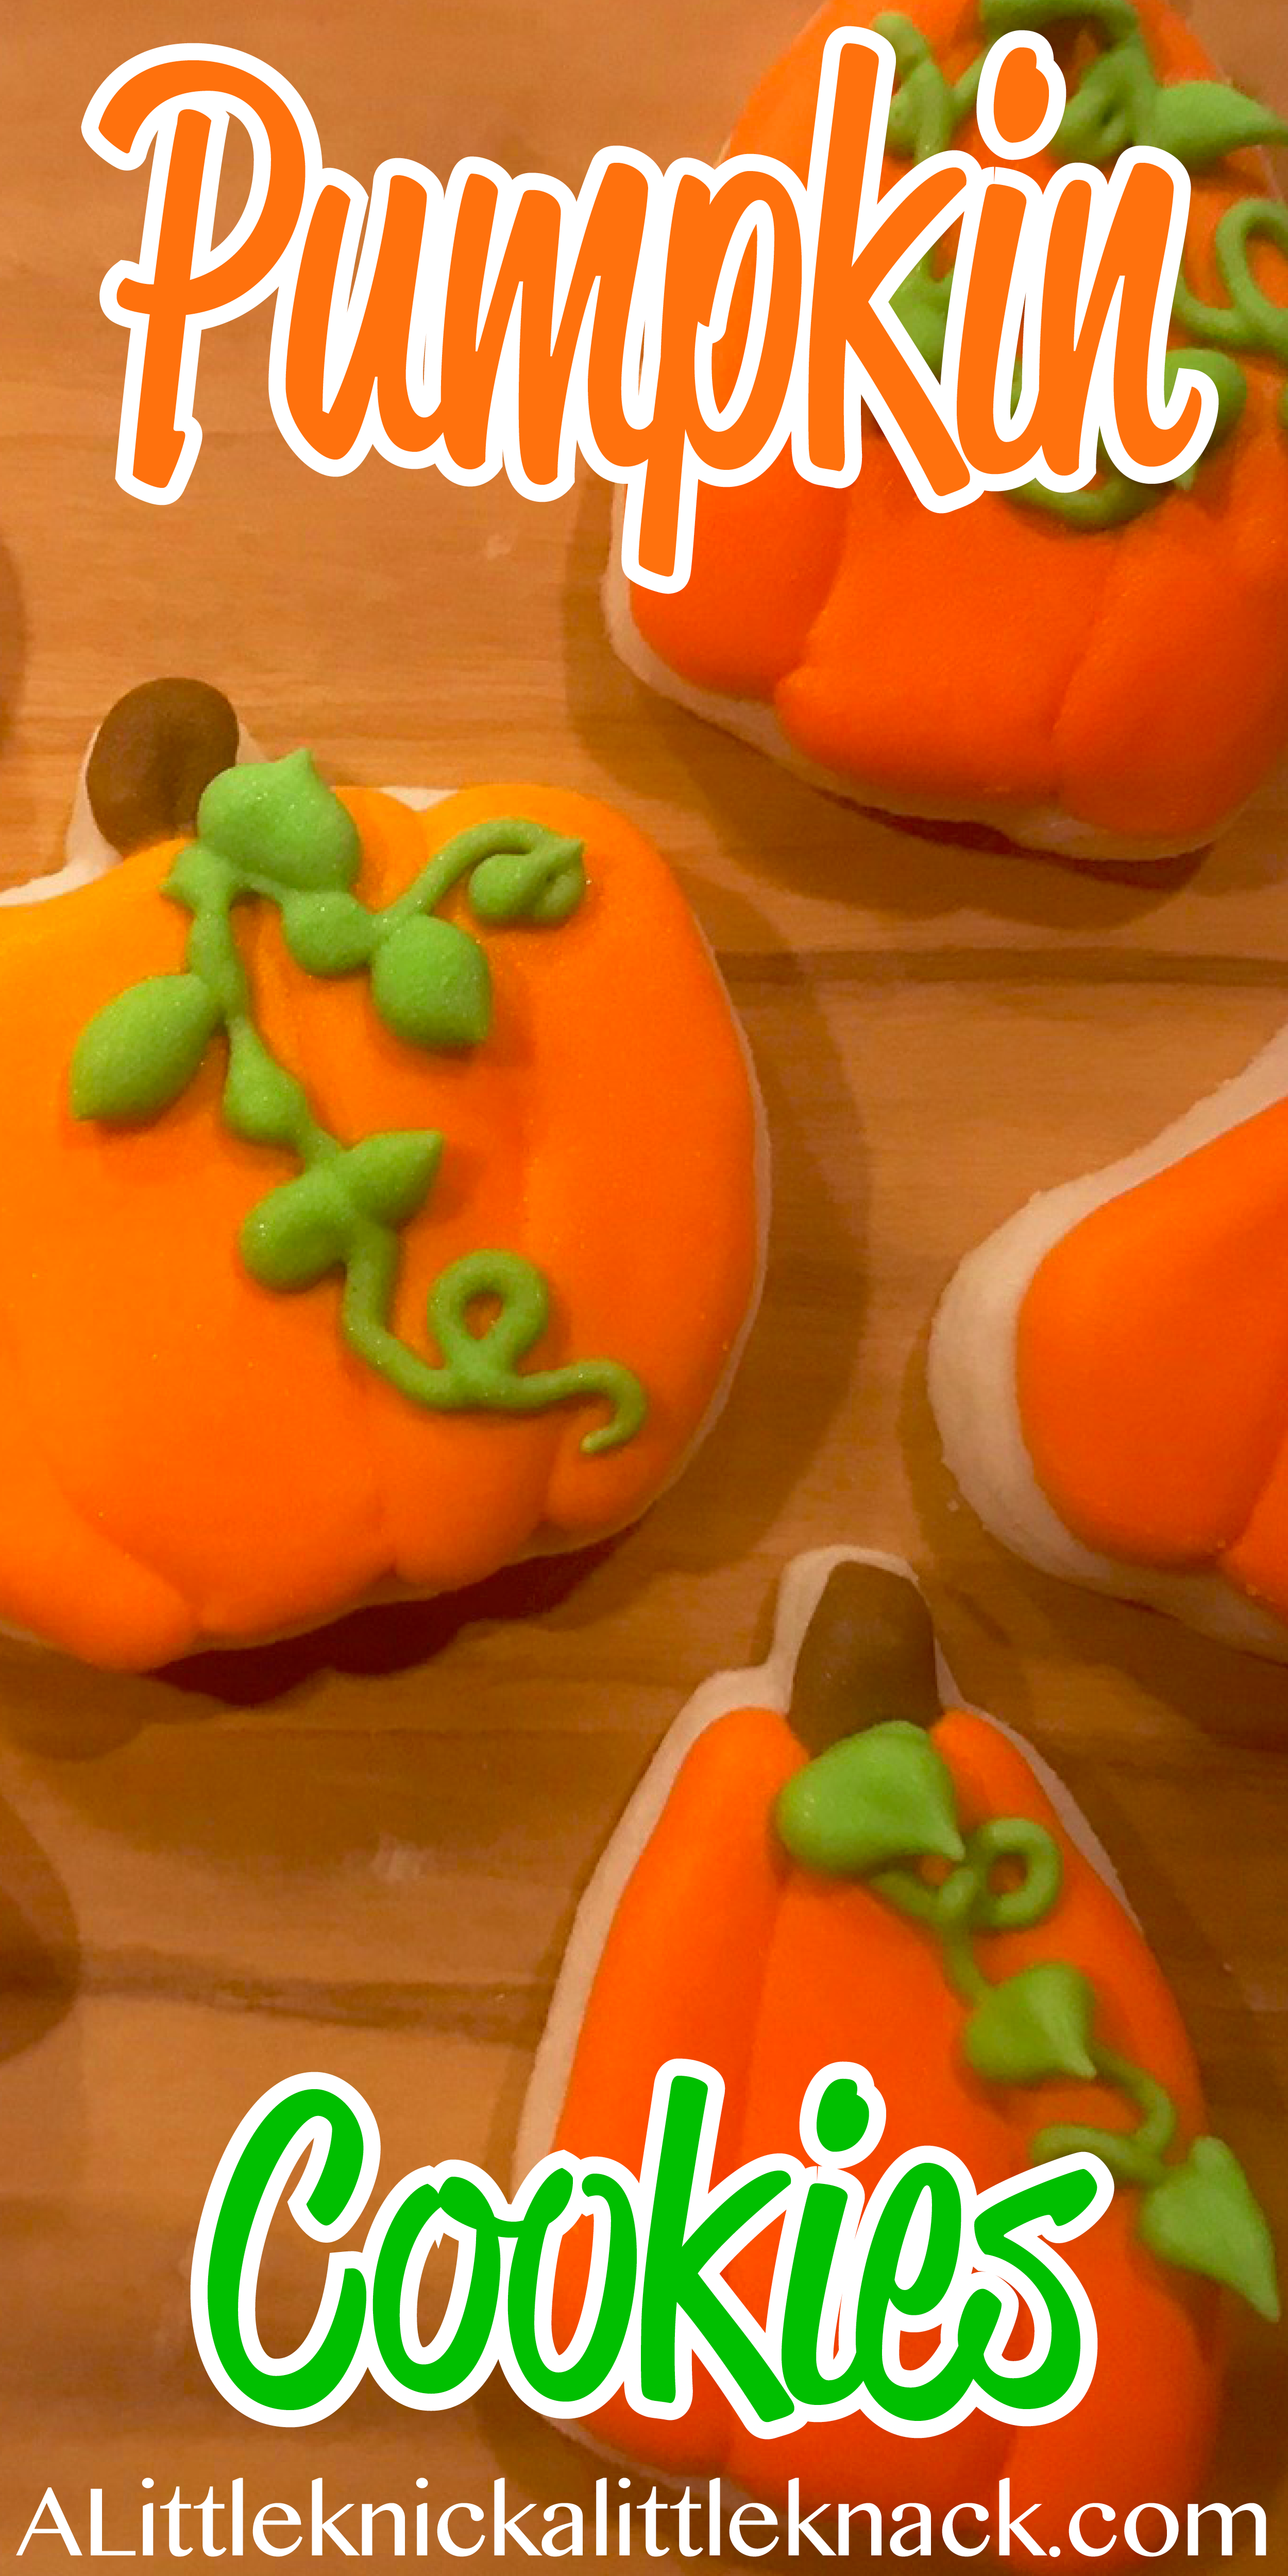
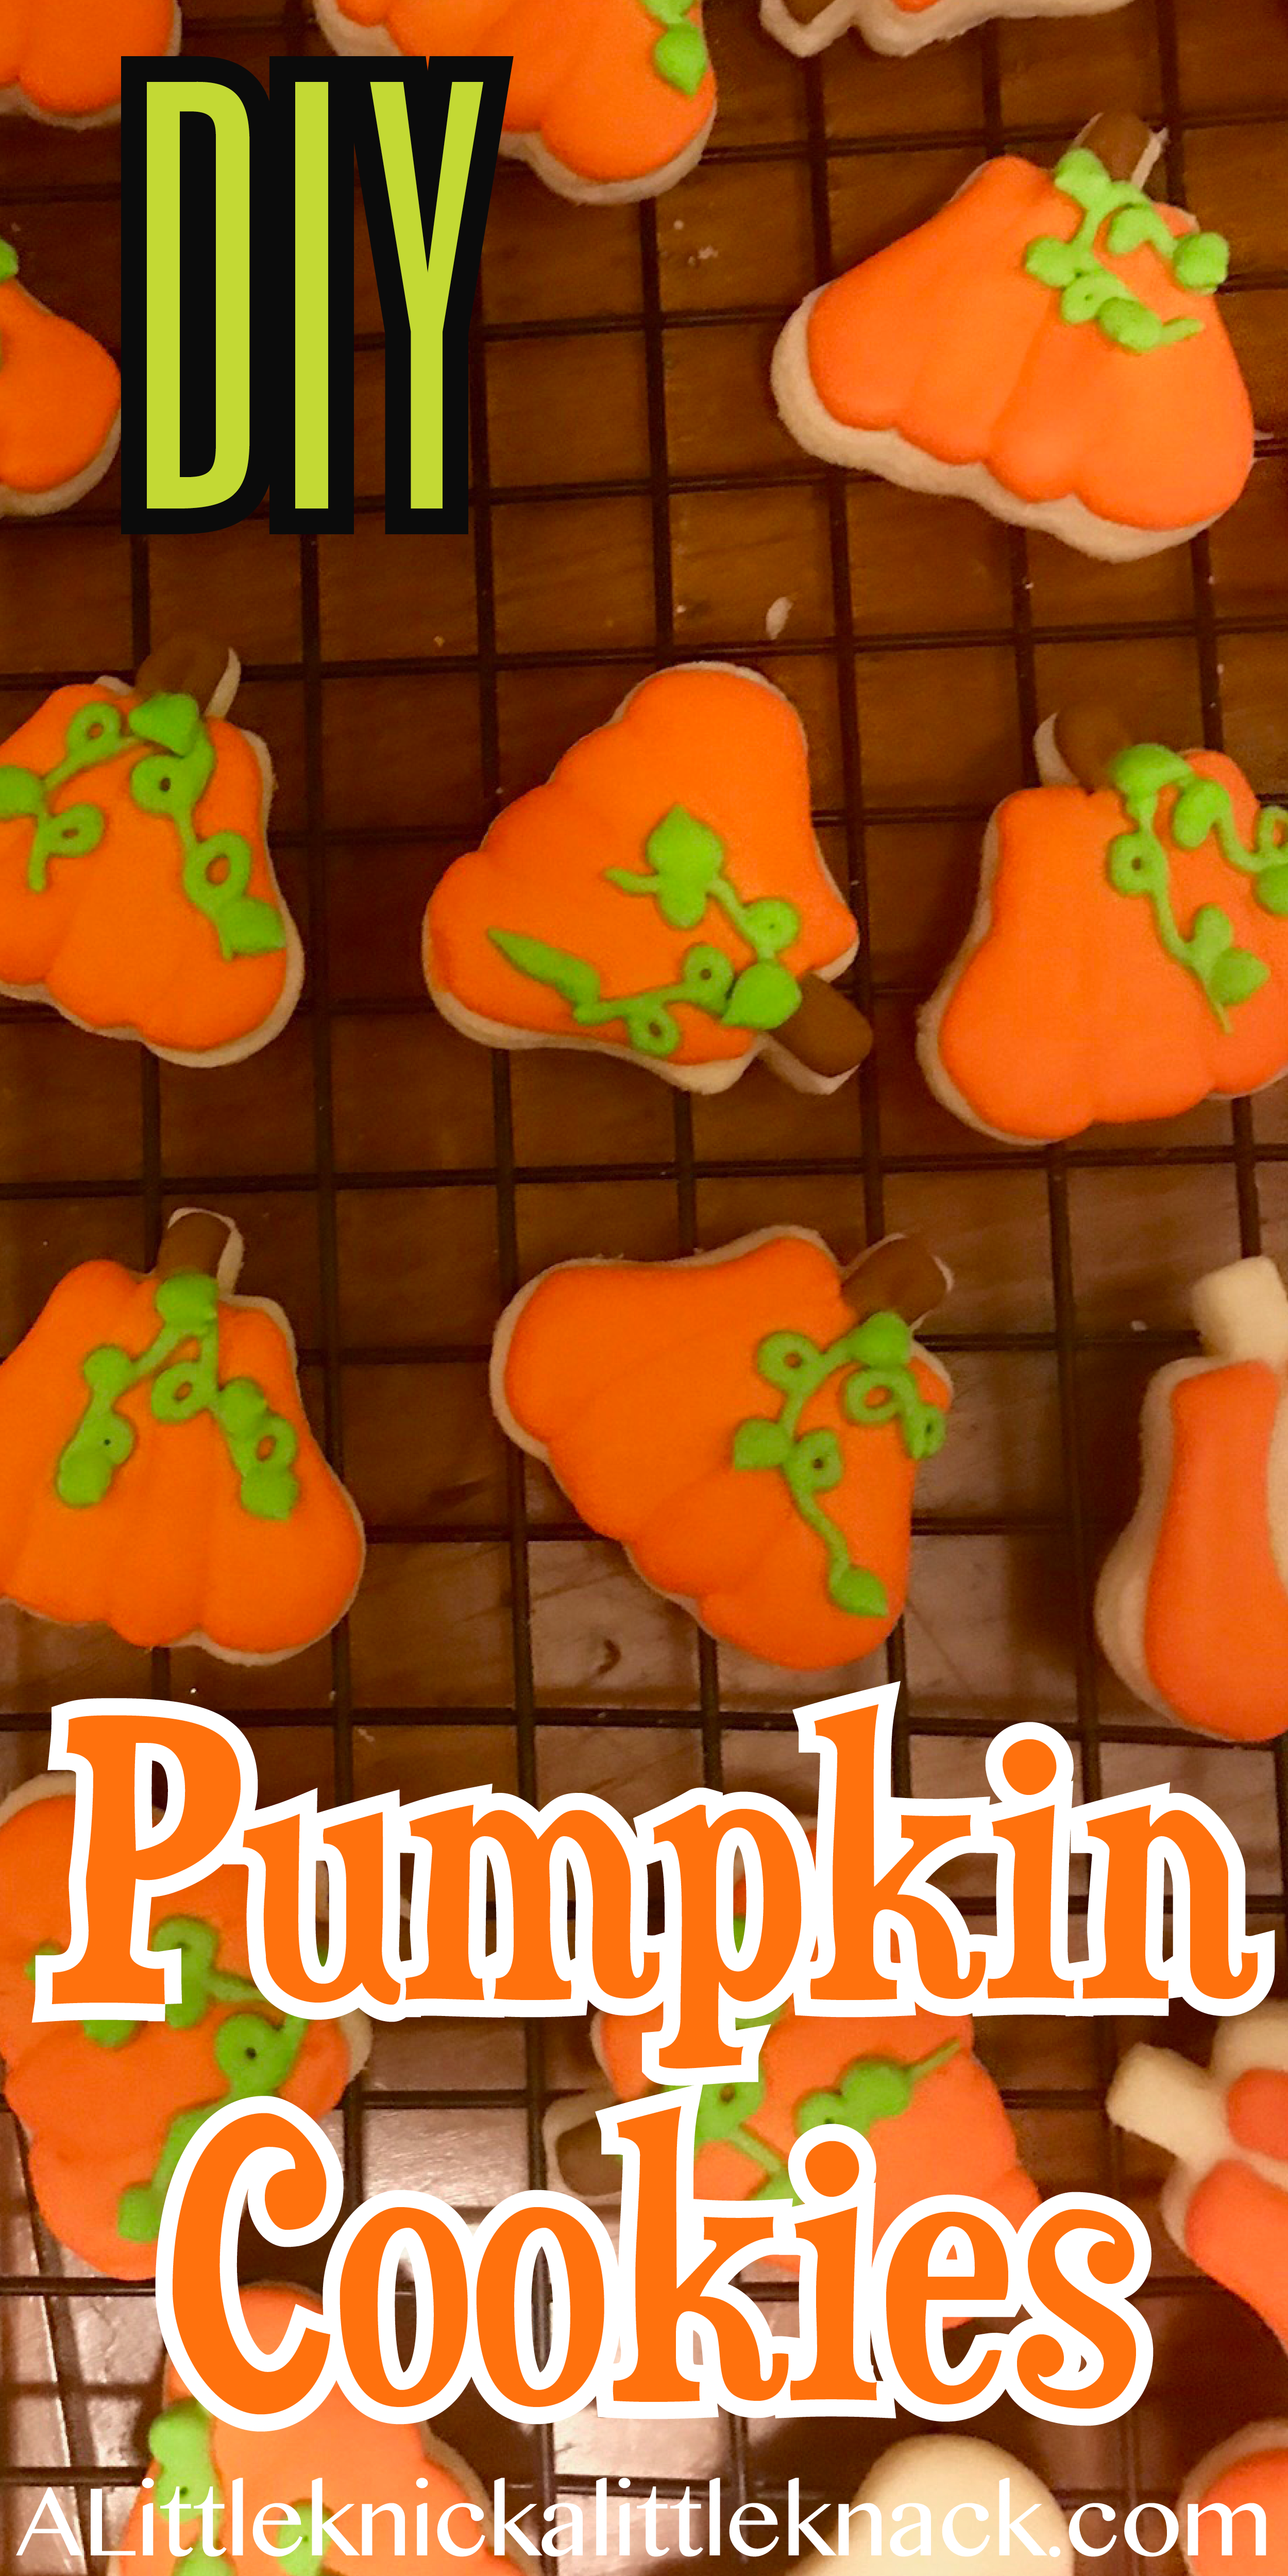
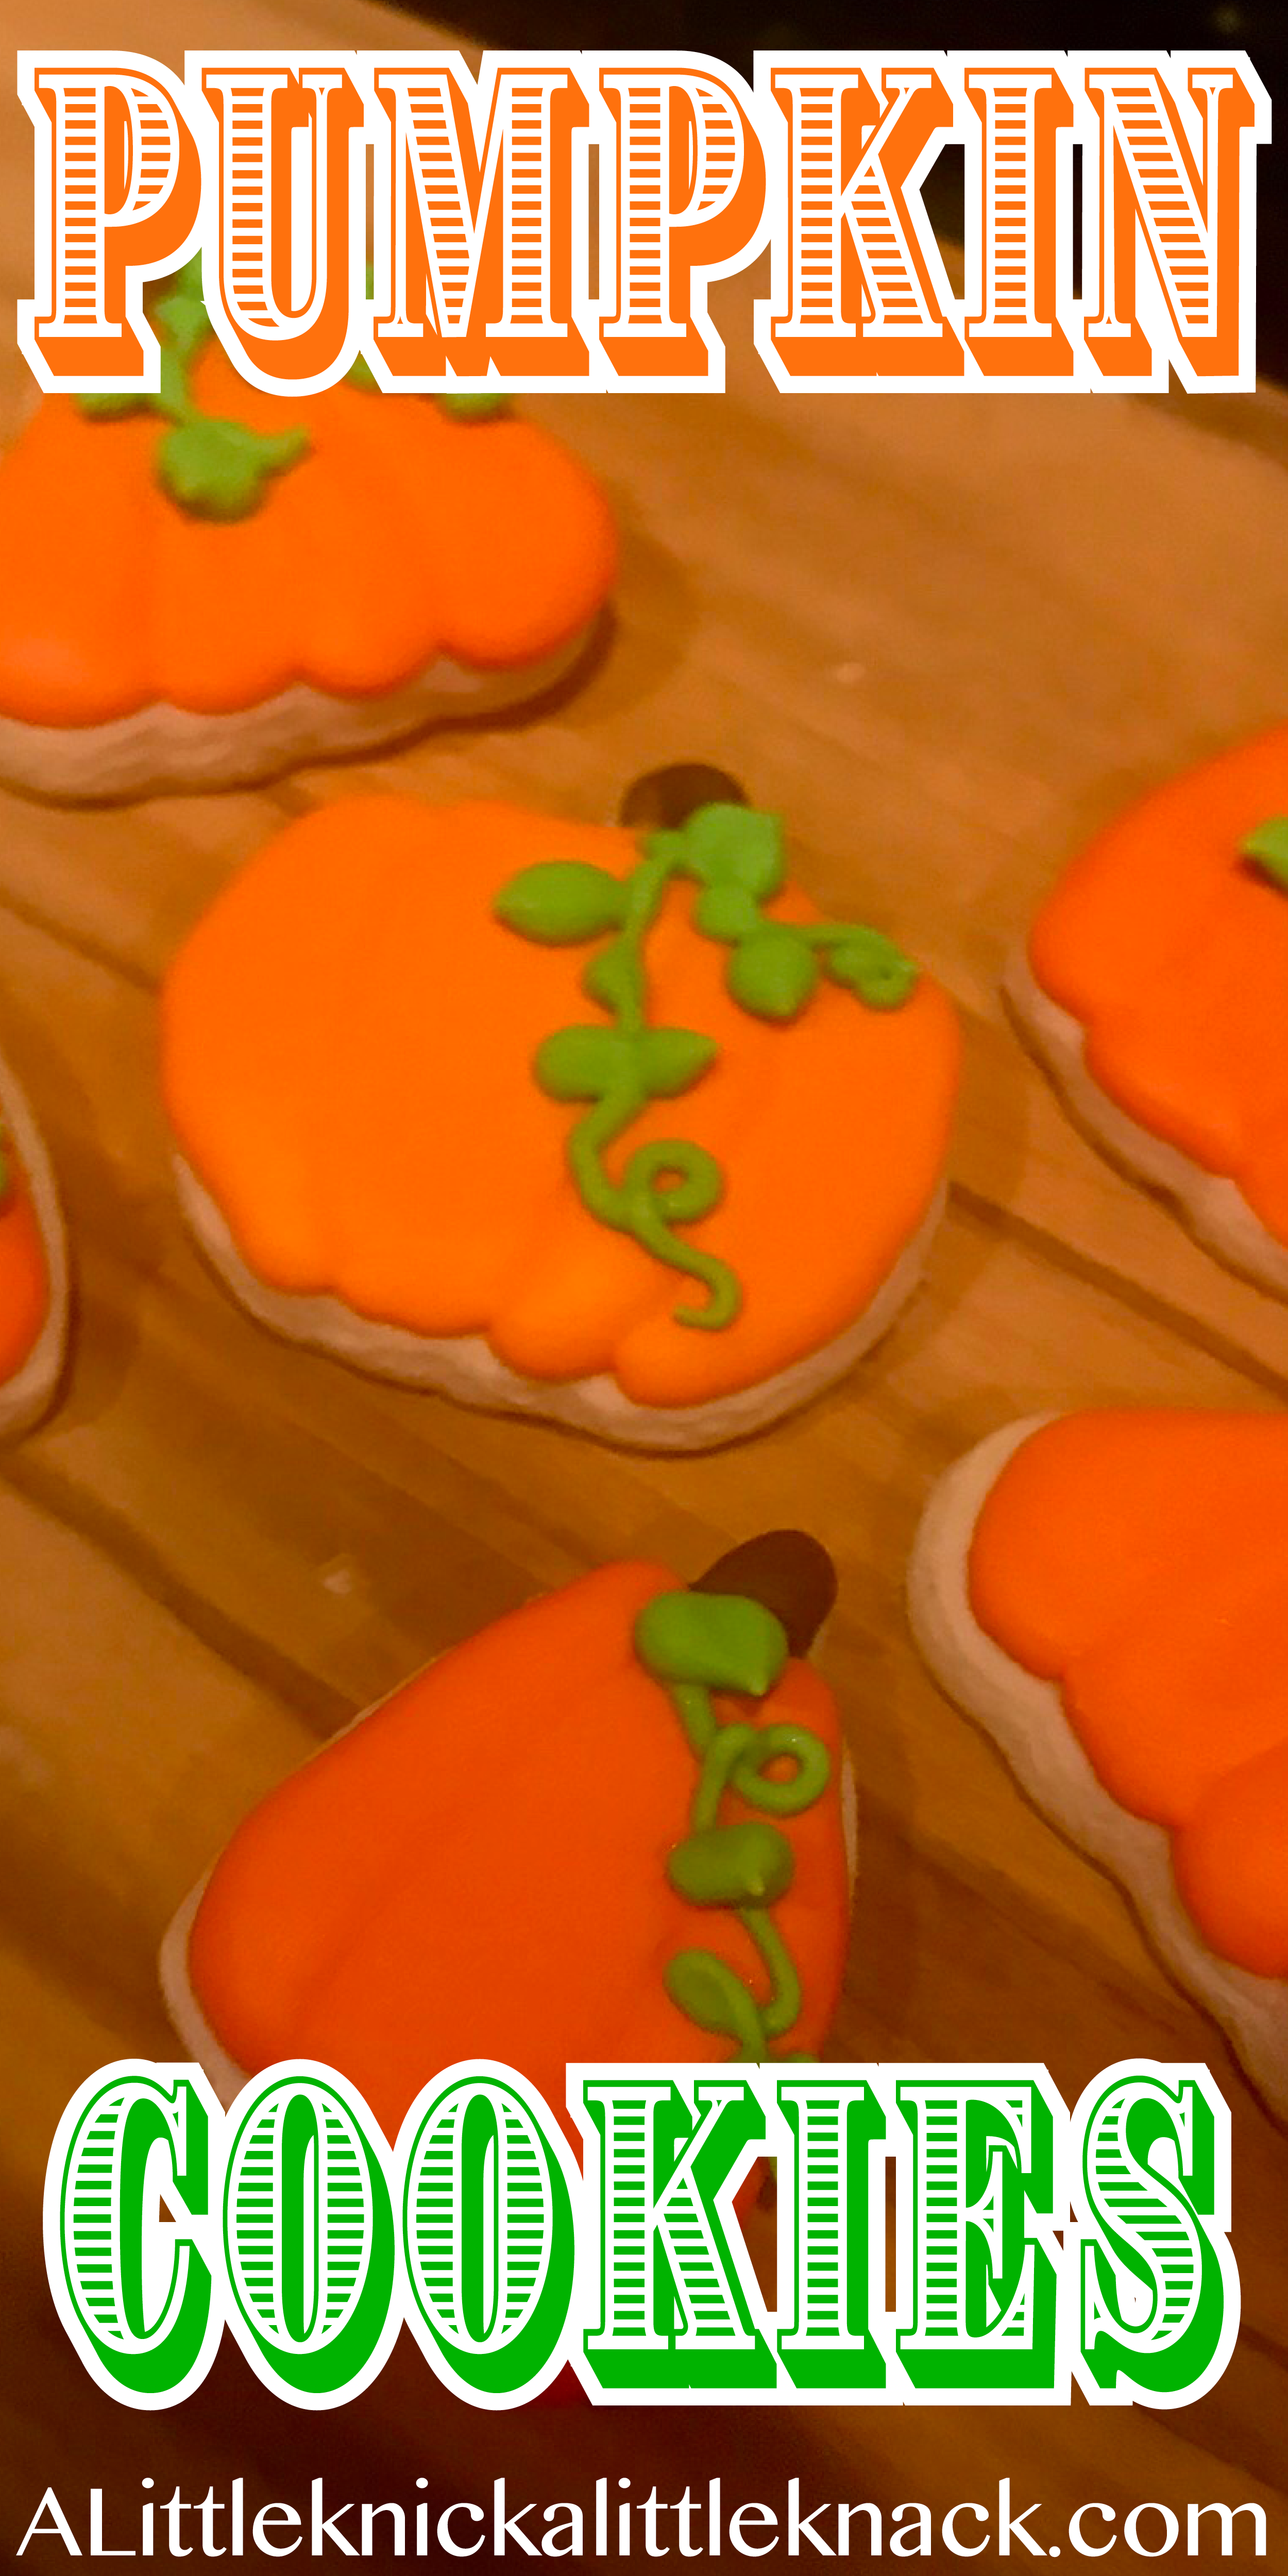
Pumpkin spice, carving pumpkins, pumpkin patch outings, fall means there are gorgeous orange gourds everywhere! So when we decided to throw a fall fox birthday party for our youngest son, I knew pumpkins had to be involved! Being the “Nutty Cookie Lady” (my husband’s loving nickname), I knew picture perfect pumpkin cookies would be the tastiest way to incorporate pumpkins into the festivities!
So if you are looking to make your own picture perfect pumpkin cookies this fall, I have made this step by step tutorial to make it easy! I used the same method on all of my variously shaped pumpkins and can confidently say this tutorial will work with any size or shape pumpkin cookie cutter.
*This post may contain affiliate links which may allow us to receive a small commission (at no additional cost to you) for purchases you make after clicking on product links on our posts , to view our full affiliate disclosure click here.
But rest assured we fully believe in every product we endorse.
Materials
- Perfect Edge Sugar Cookie Dough
- Fool Proof Royal Icing
- Food Coloring: red, yellow, green, brown
- Scriber Needle or Offset Cookie Spatula
- Piping Bags
- Squeeze Bottles
- Couplers
- Icing Bag Ties
- Wilton #1 Piping Tip
- 2 Wilton #2 Piping Tips
- Wilton #349 Piping Tip
- Pumpkin Cookie Cutters
First whip up a batch of perfect edge sugar cookie dough then make some fool proof royal icing .
hint: I normally bake the cookies on day one and mix my icing / start decorating on day 2 to avoid cookie burnout!
You will then need to prepare 3 different colors in varying consistencies. If you need help figuring out how to create the different consistencies and what they should look like be sure to check out my preparing royal icing for cookie decorating post.
- Orange- Outline & Flood (I used 4 drops of yellow food coloring to 1 drop red)
- Brown- Outline
- Green- Decorative (I used 4 drops of yellow food coloring to 2 drops green)
Now you are ready to decorate those pumpkins!
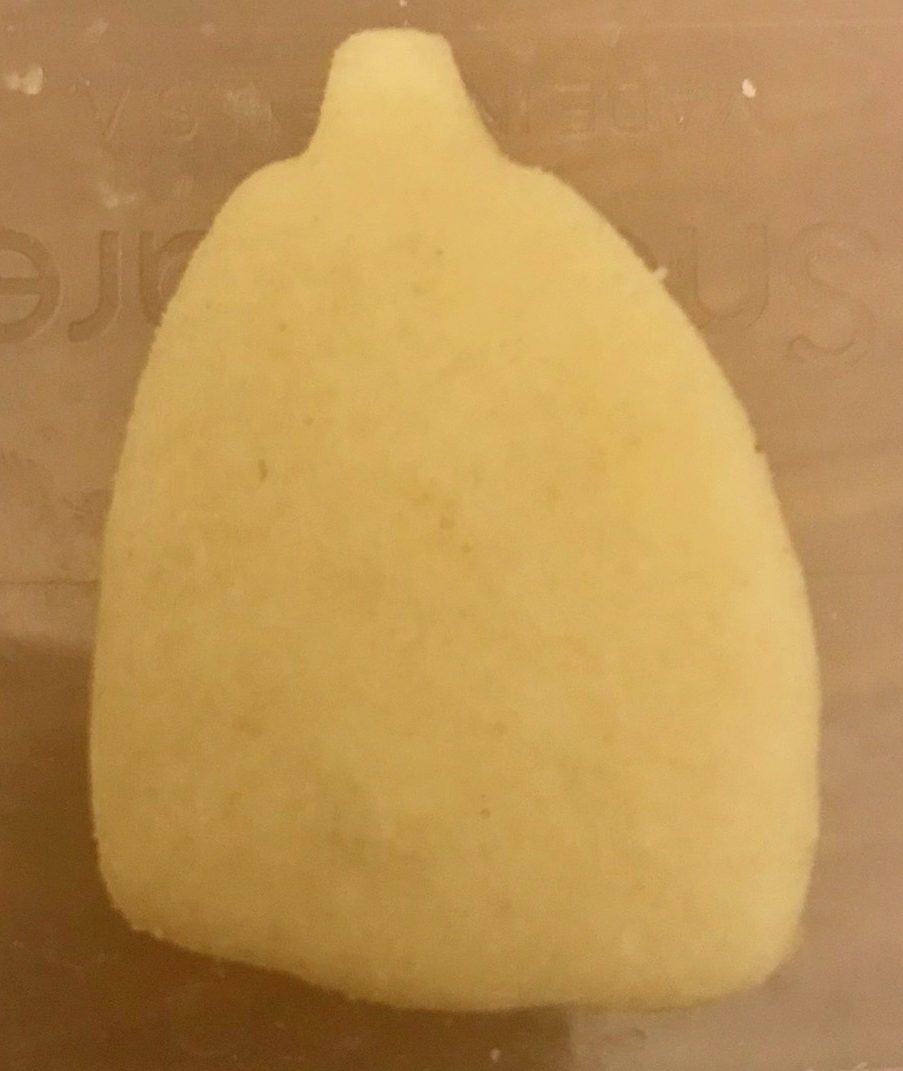
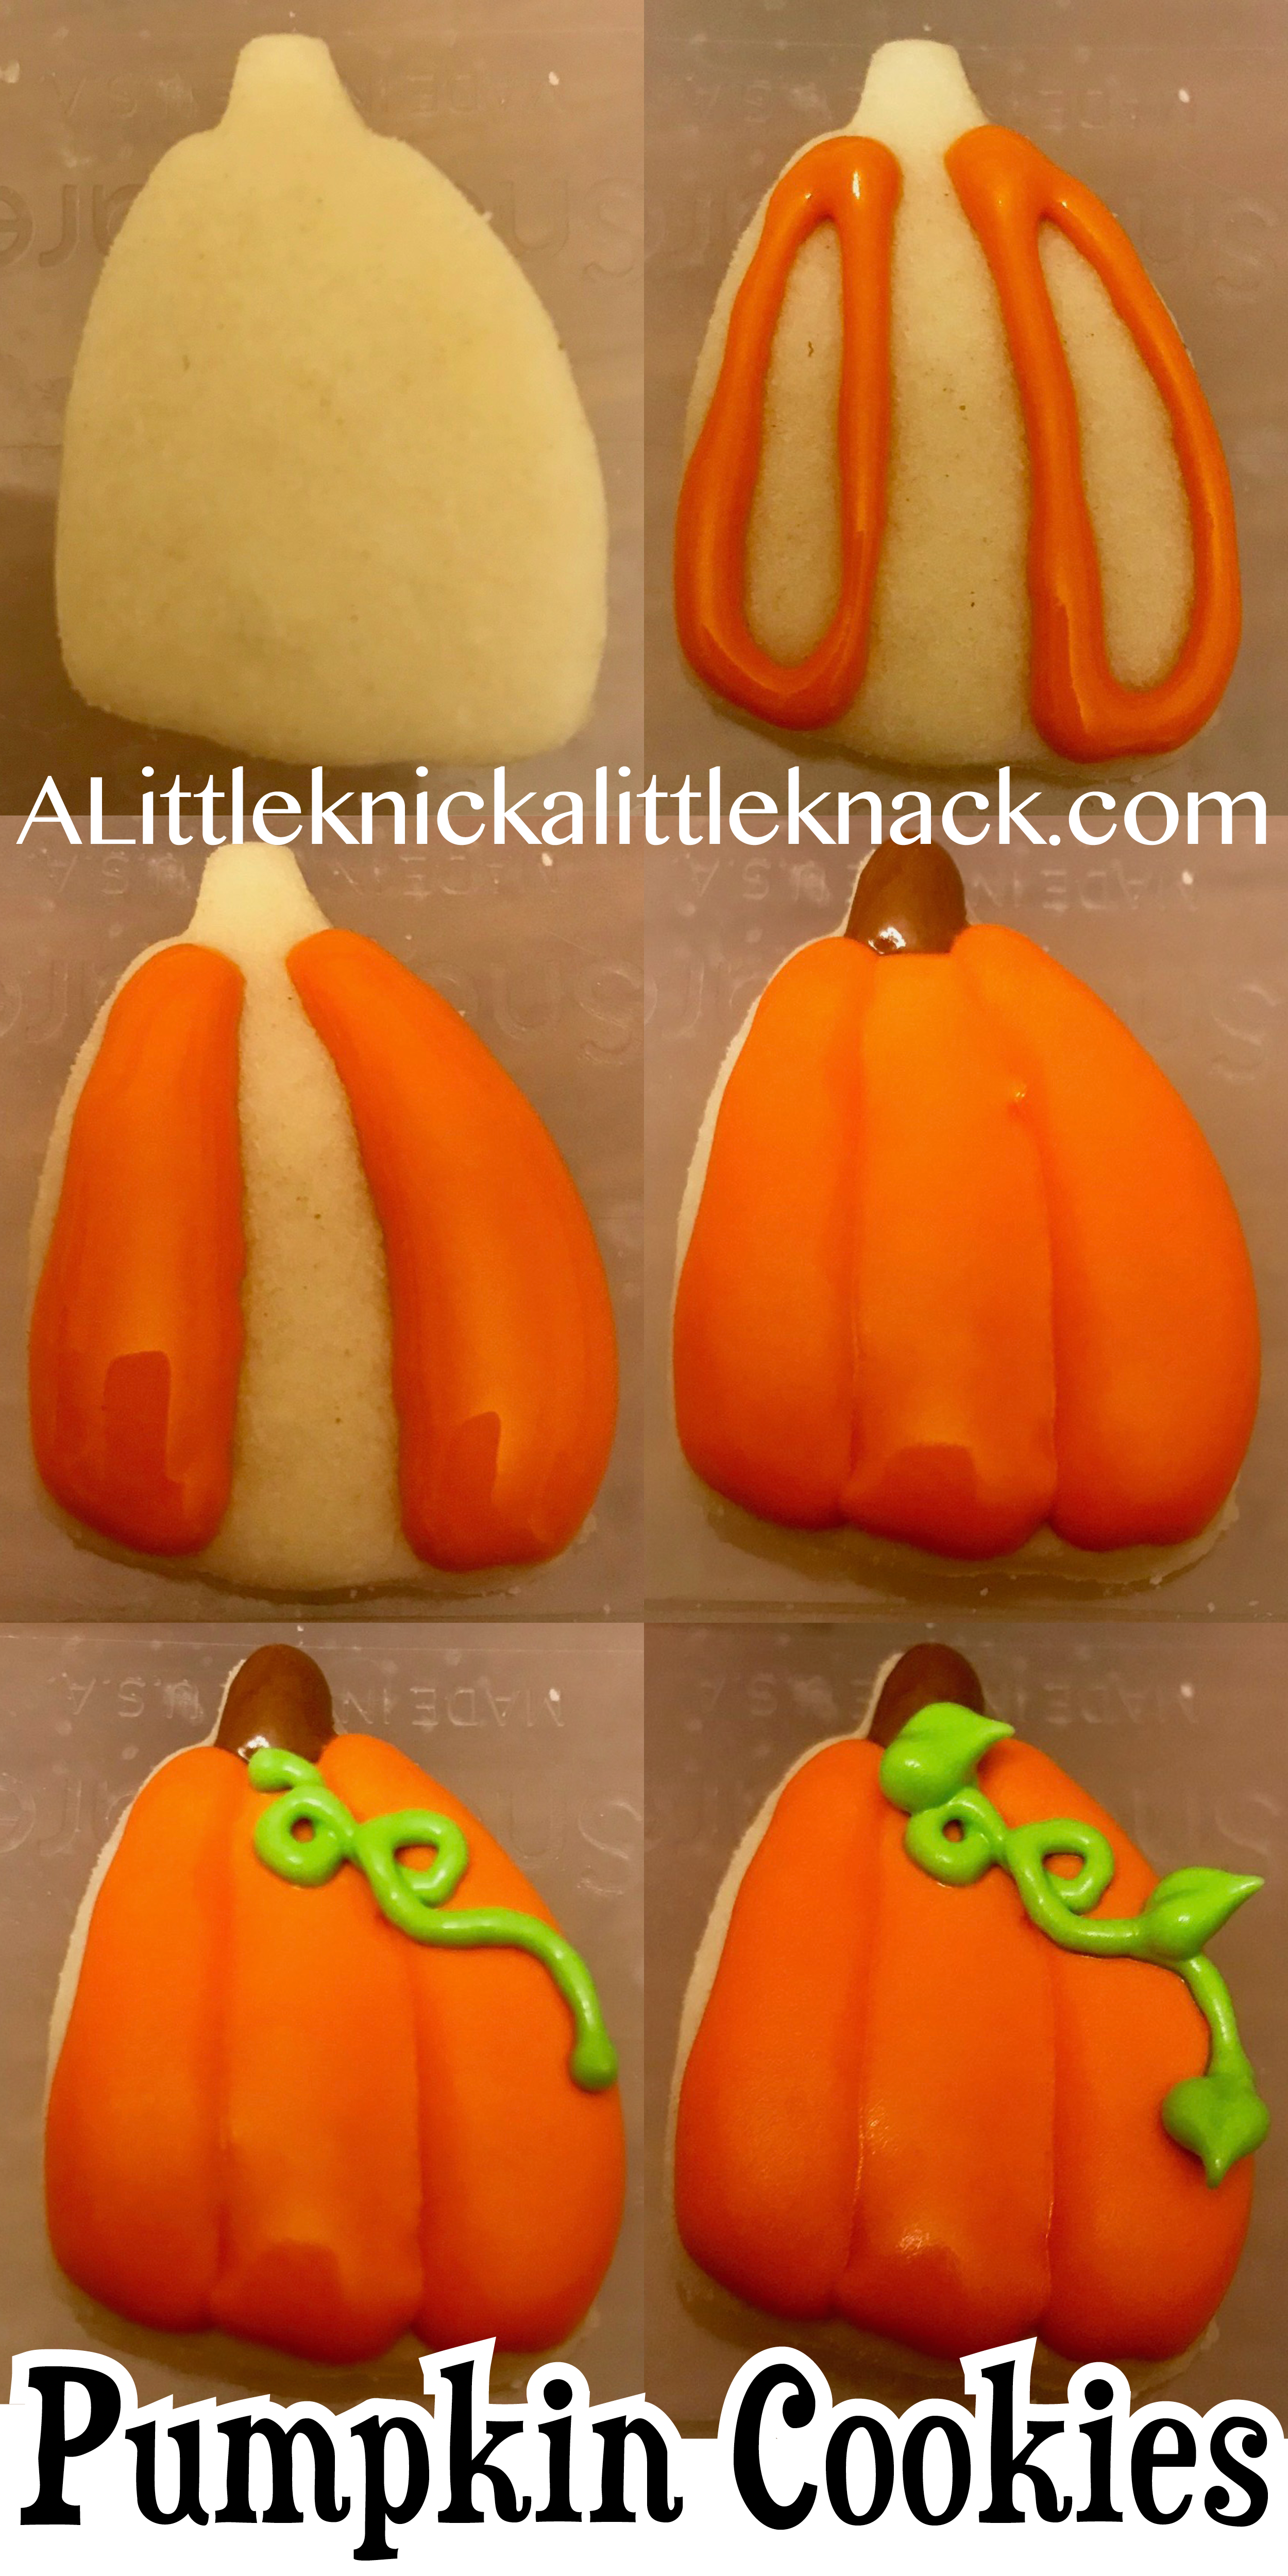
First outline every other section of the pumpkin with orange outline icing (#2 tip).
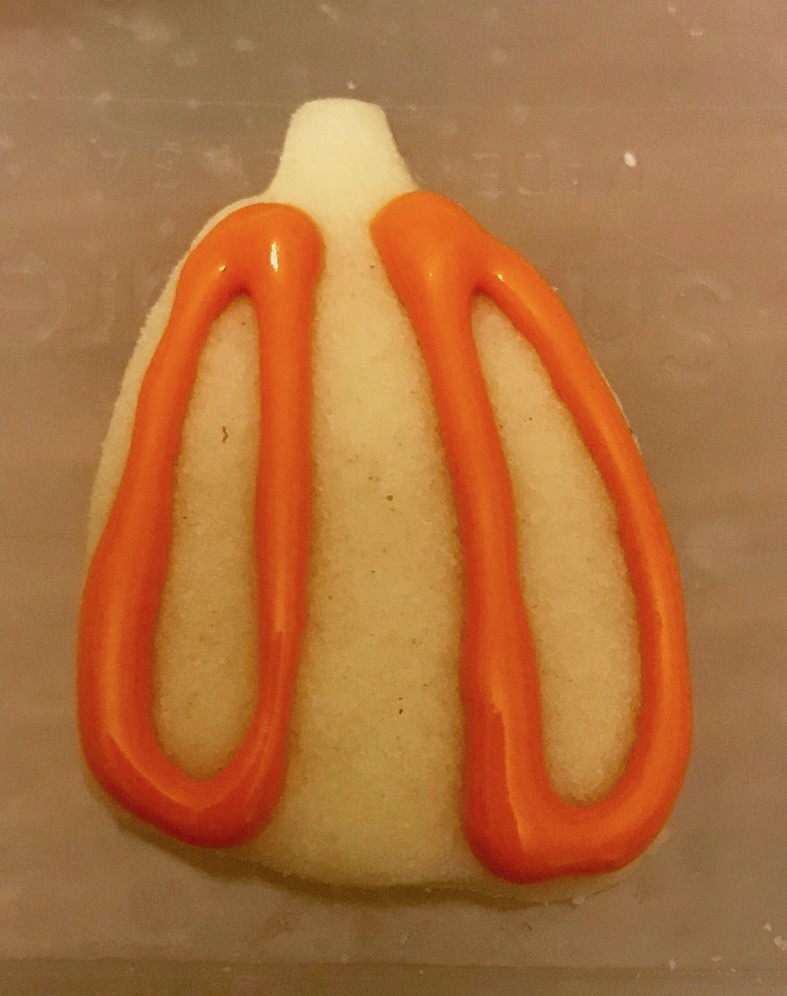
Fill that area with a few dots of orange flood icing and spread using a cookie spatula or cookie stick.
hint: When you aren’t using a piping bag keep the tip down in a container holding a damp paper towel to keep it from drying out!
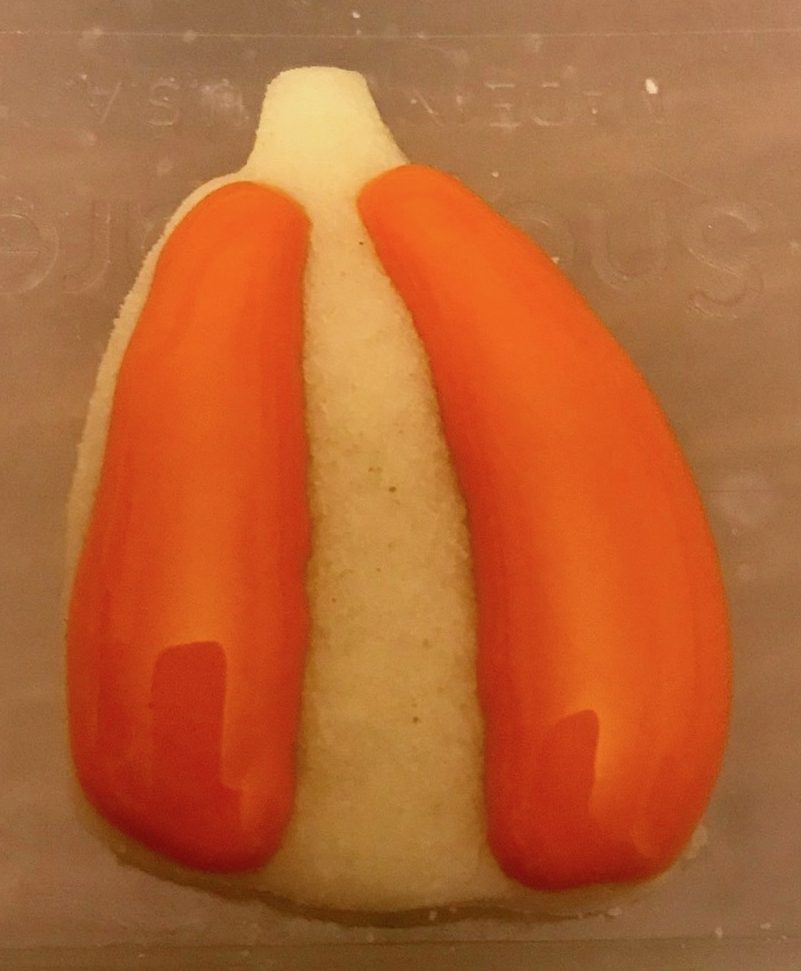
Let dry for 10-15 minutes. Allowing this section to partially dry first is what creates the illusion of the pumpkin “bumps.”
hint: I normally work on batches of 20 or so cookies at a time so by the time I finish this step on all the cookies, I am ready to start on the next step on the first cookie I iced.
Outline the remaining sections of the pumpkin with the orange outline consistency.
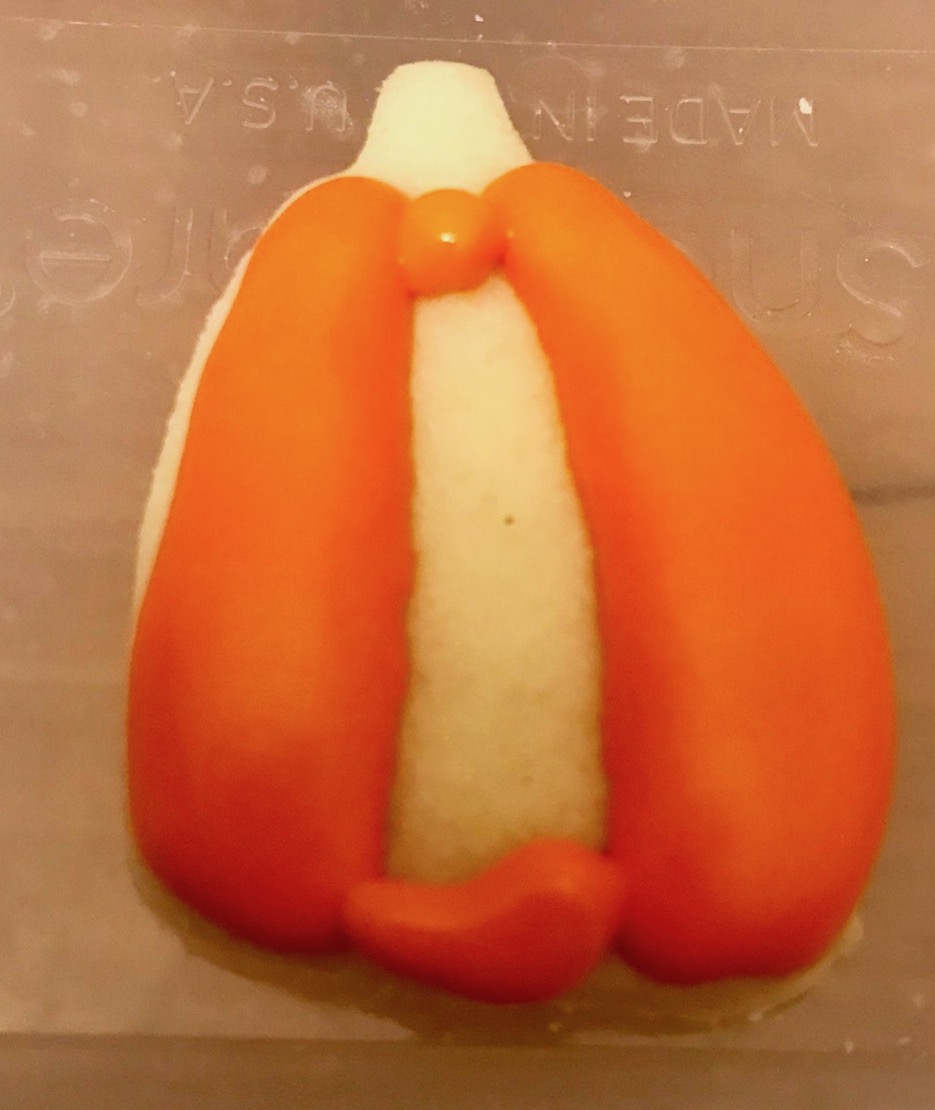
Fill with orange flood icing and Spread.
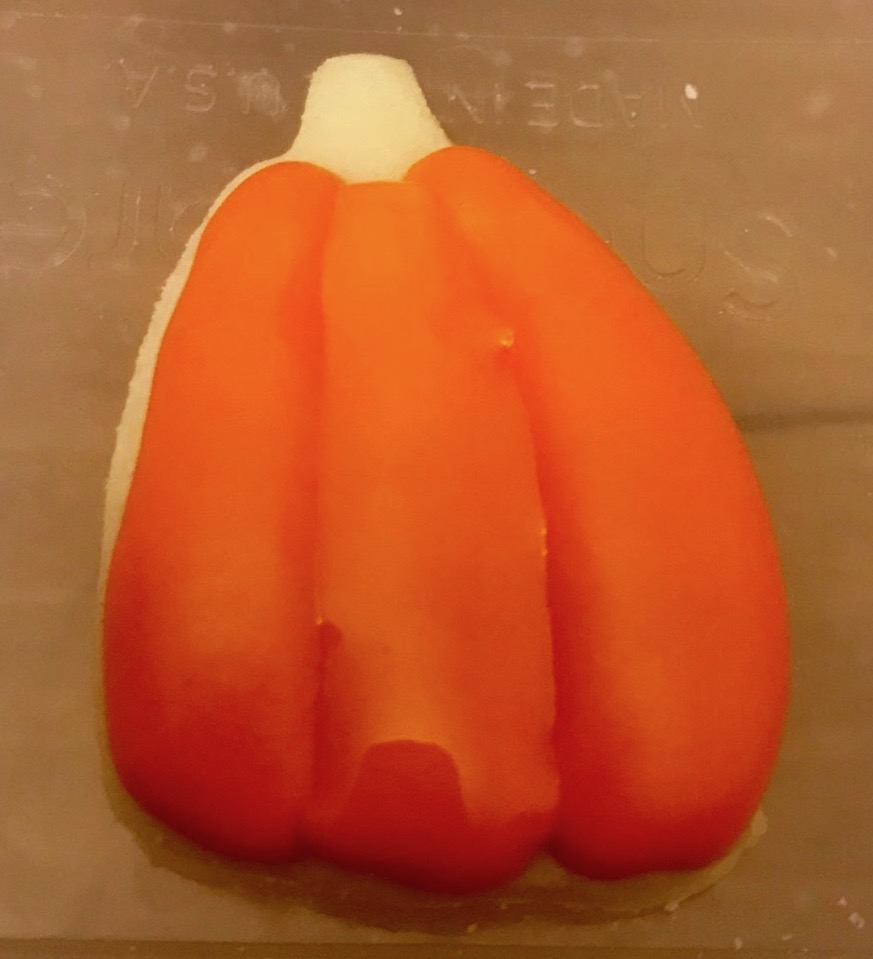
Allow to dry 10-15 minutes.
Use the brown outline consistency and #2 piping tip to create stems on the cookie .
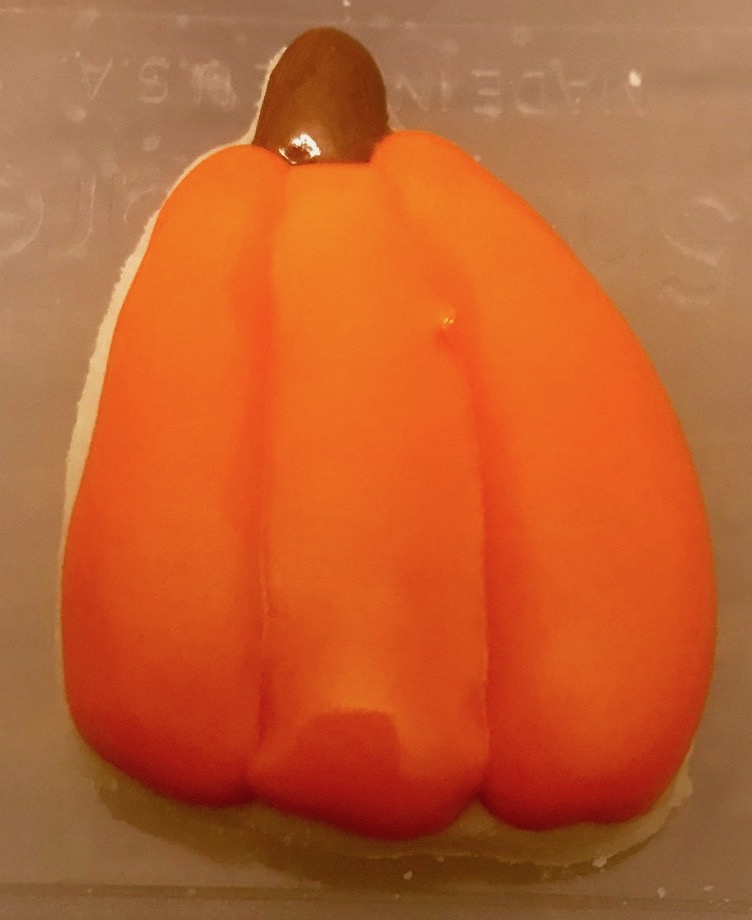
Allow to dry while you add the stems to the rest of the cookies in the batch.
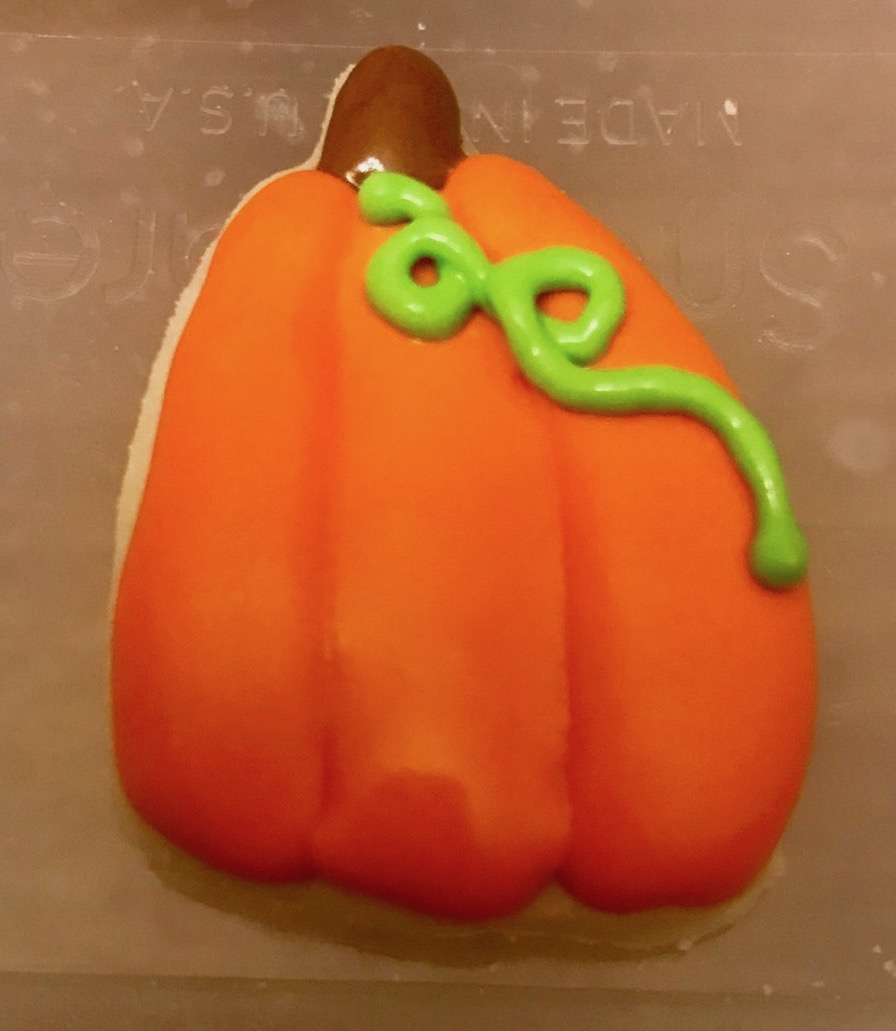
Using the green decorative icing and a #1 tip create pumpkin vine swirls on the pumpkin.
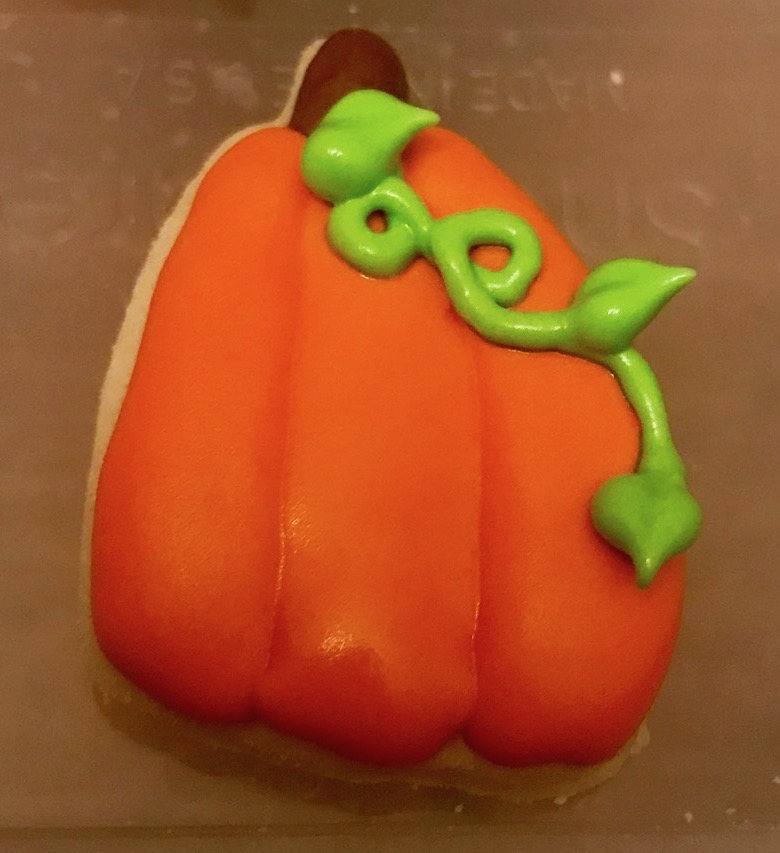
Using the # tip and the green decorative icing to create small leaves coming off of the vine.
Allow to dry for as long as possible (preferably overnight) before packaging to avoid the icing smearing or denting.
hint: I use a cookie spatula to transfer the cookies to a drying rack and then place an aluminum turkey pan over the rack while they dry overnight.
Now you have gorgeous picture perfect pumpkin cookies guaranteed to impress your neighbors and friends!
