Now that you’ve made a big ole batch of royal icing using my delicious fool-proof royal icing recipe, you are probably looking at it wondering what next?
So I created this step by step guide to creating the perfect consistencies for your cookie decorating endeavors. Honestly the first few times you try to make royally iced cookies are the hardest but before you know it you will know exactly the consistency you need just by how hard it is stir, and hopefully the visuals in this guide will help speed along the process!
*This post may contain affiliate links which may allow us to receive a small commission (at no additional cost to you) for purchases you make after clicking on product links on our posts , to view our full affiliate disclosure click here.
But rest assured we fully believe in every product we endorse.
In order to transform your super thick royal icing to perfect cookie decorating icing you will need a few things
- A Few Small Containers (I use my Pyrex storage containers so I can easily store it on my multi day-cookie baking excursions)
- Food Coloring ( Preferably squeeze bottles as opposed to tubs, believe me it makes life SO much easier).
- A Spray Bottle filled with water
- Forks/Spoons
- Squeeze Bottles
- Paper Towels
- Saran Wrap
- Piping bags
- Piping Tips
- Couplers
- Icing Bag Ties
First figure out how many colors you are going to need to make your design and pull out that many containers.
hint: If you know you are going to need a lot of one color use a larger container for that one and use smaller containers for ones you will only be decorating with.
Separate some of the icing into one of the containers and add a few drops of food coloring. Mix using a fork (be prepared this is an arm workout). Keep adding food coloring until you have reached the color you want.
hint: Keep any open containers of icing covered with a damp paper towel as you work to keep them from drying out!
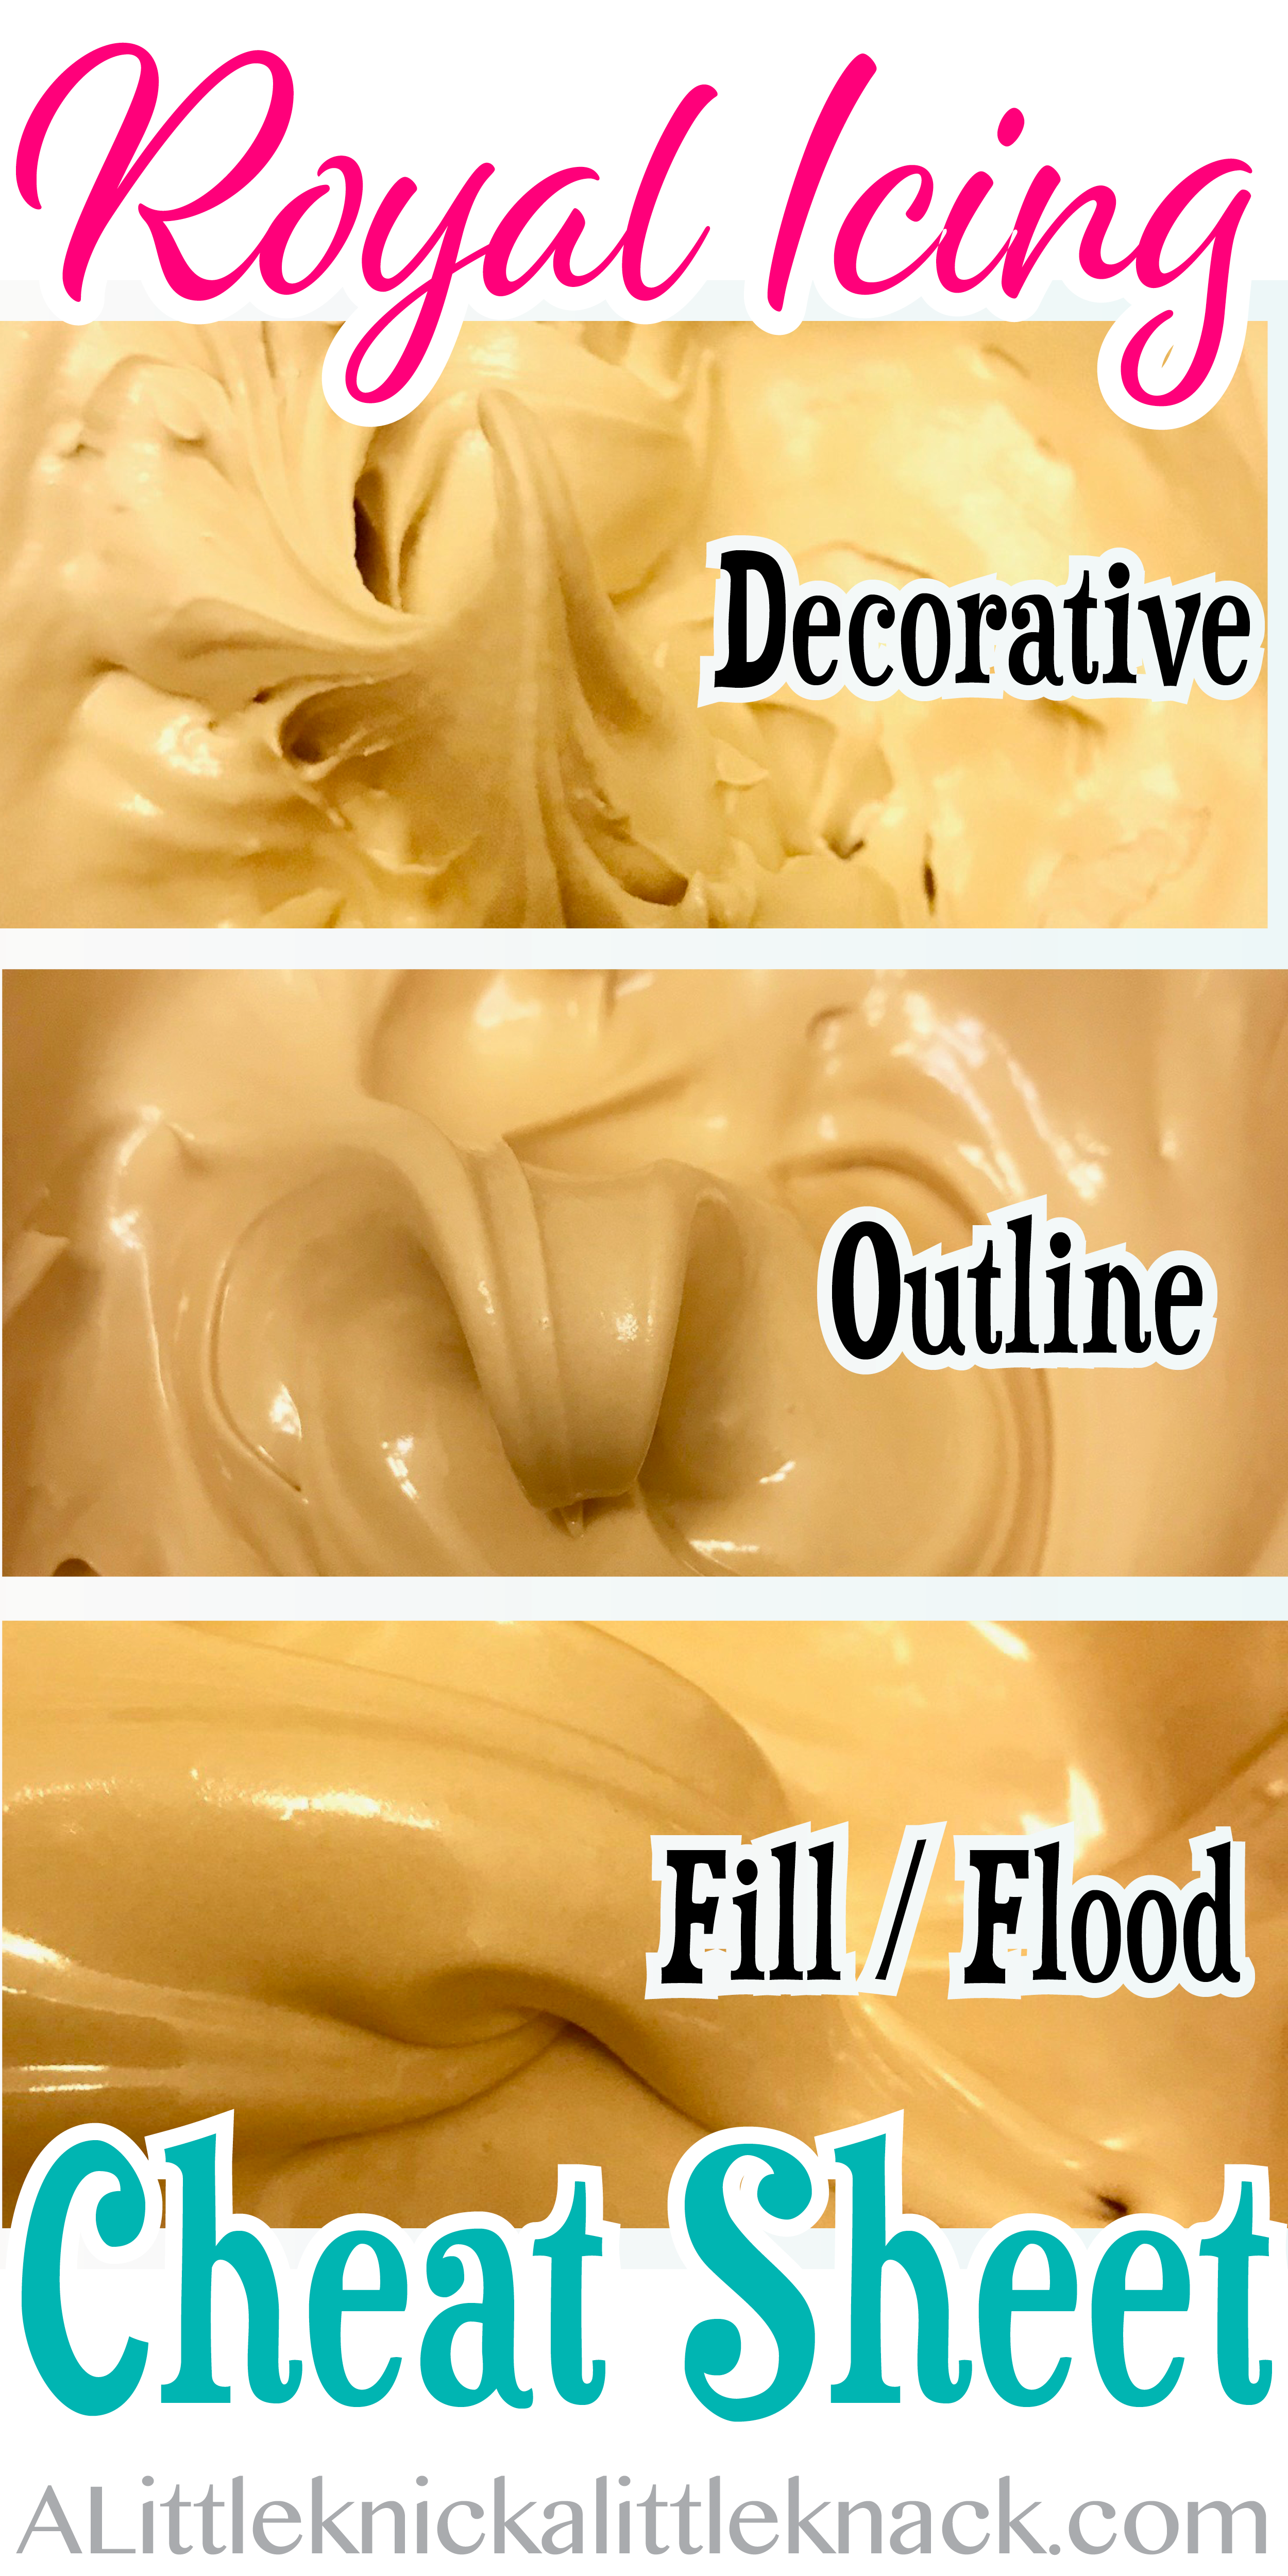
Now we are going to create the different consistencies you will need all in matching colors!
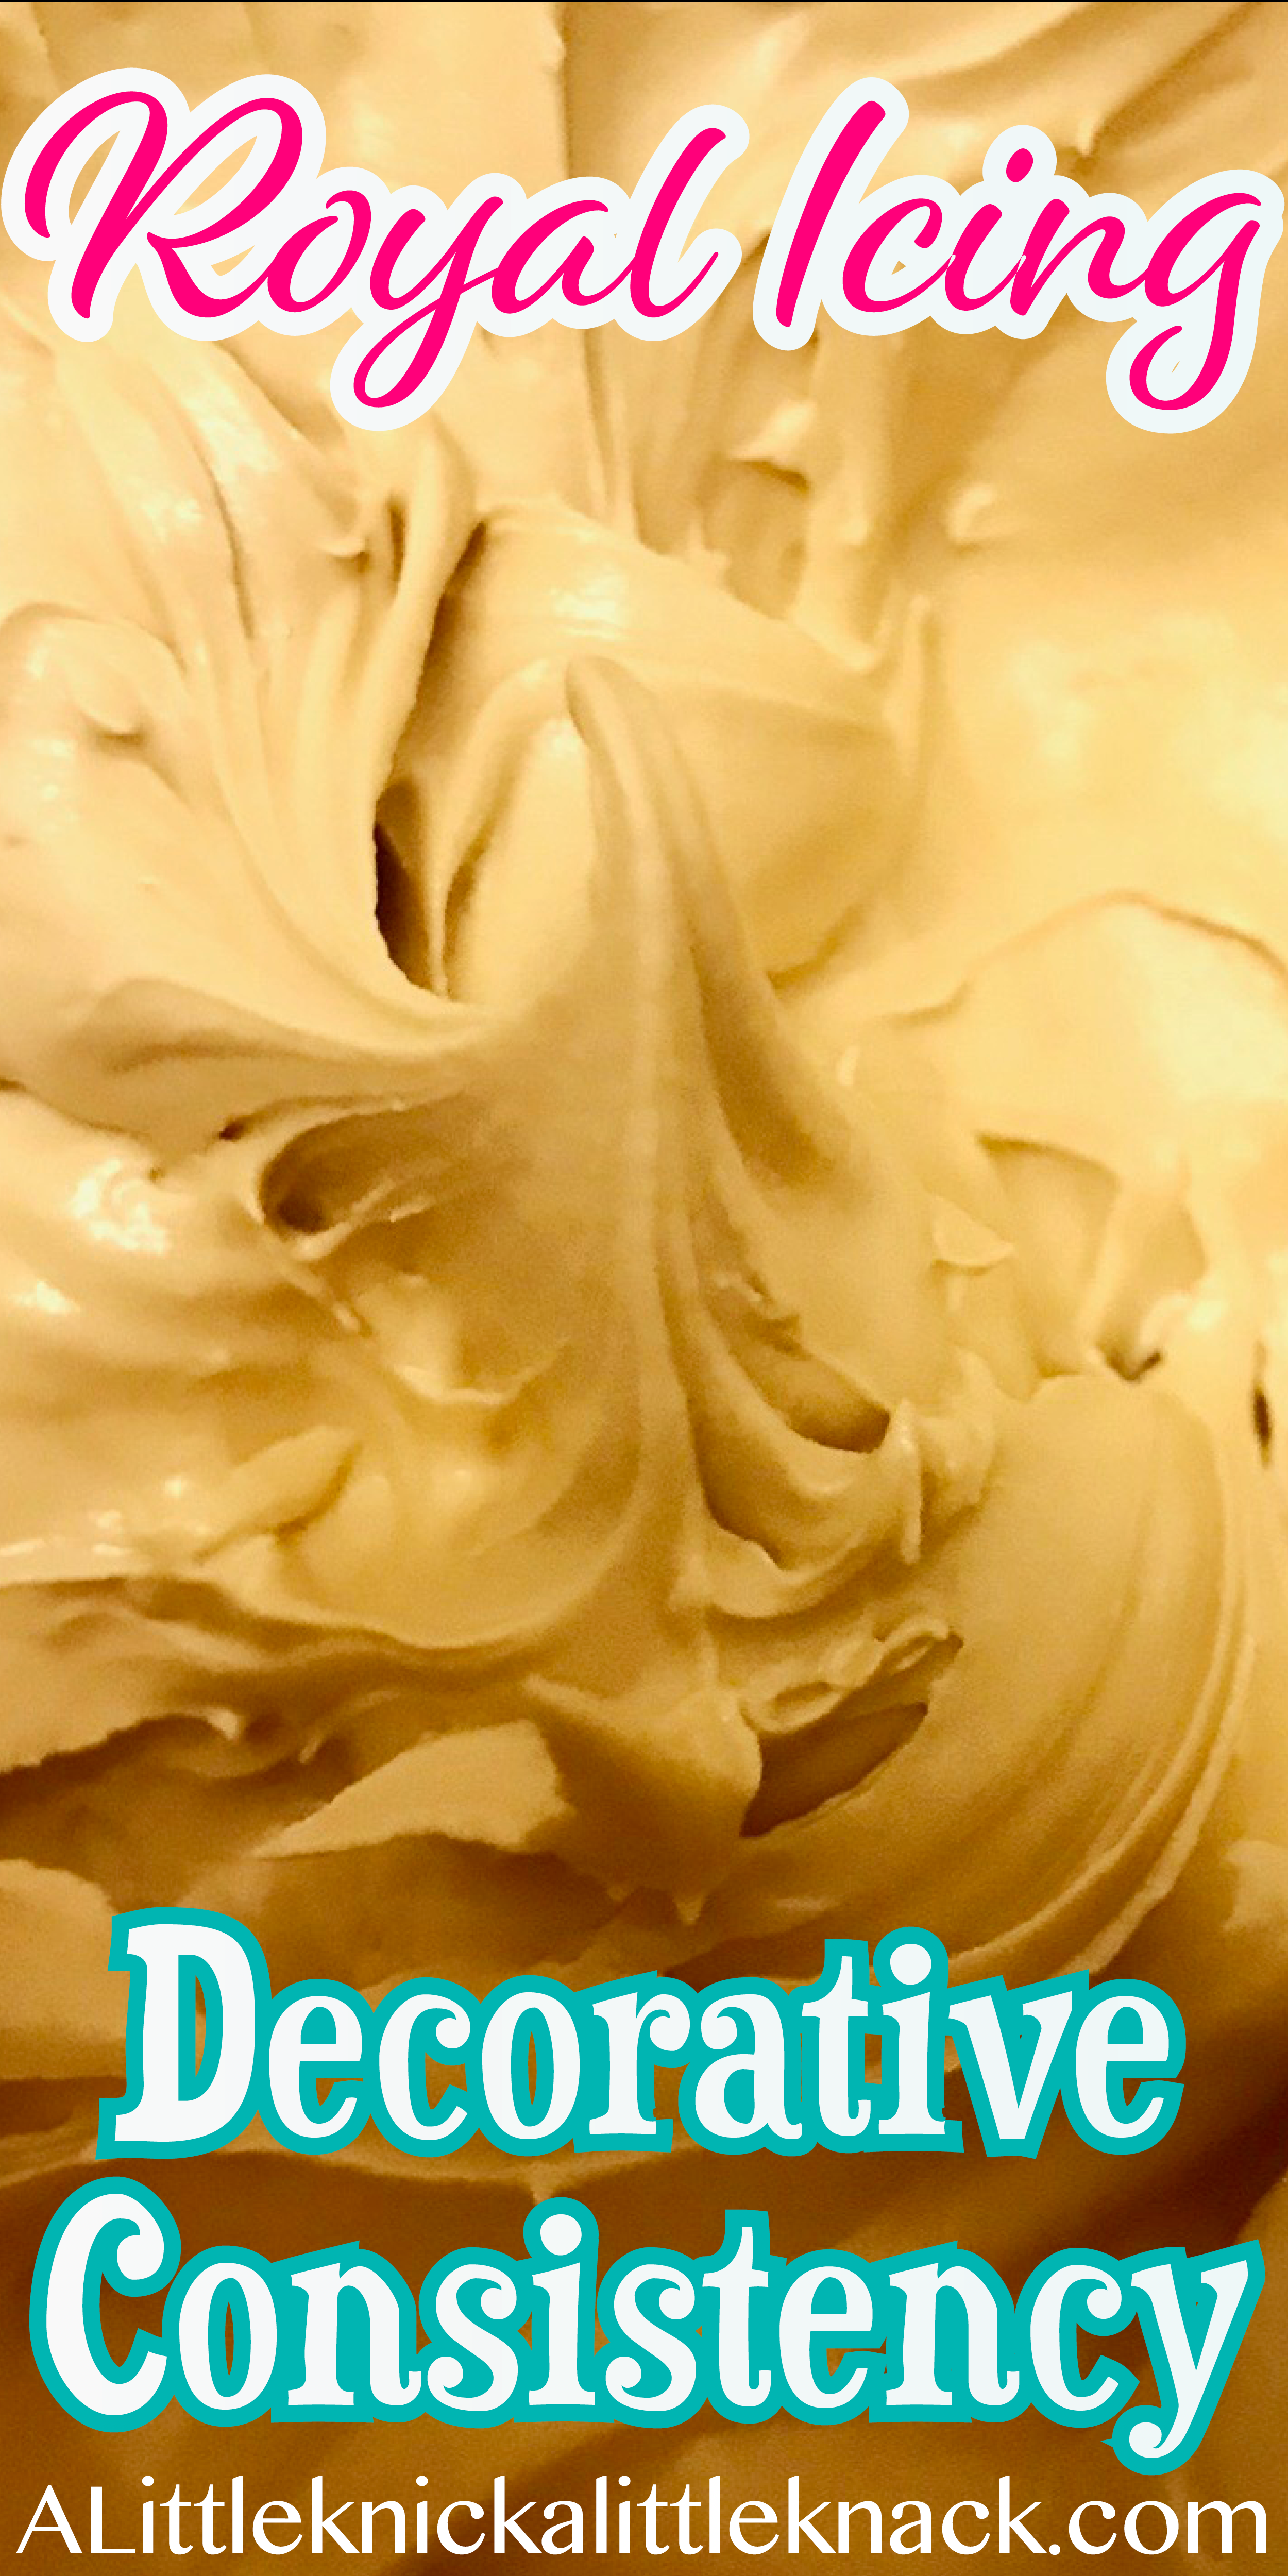
Decorative Consistency
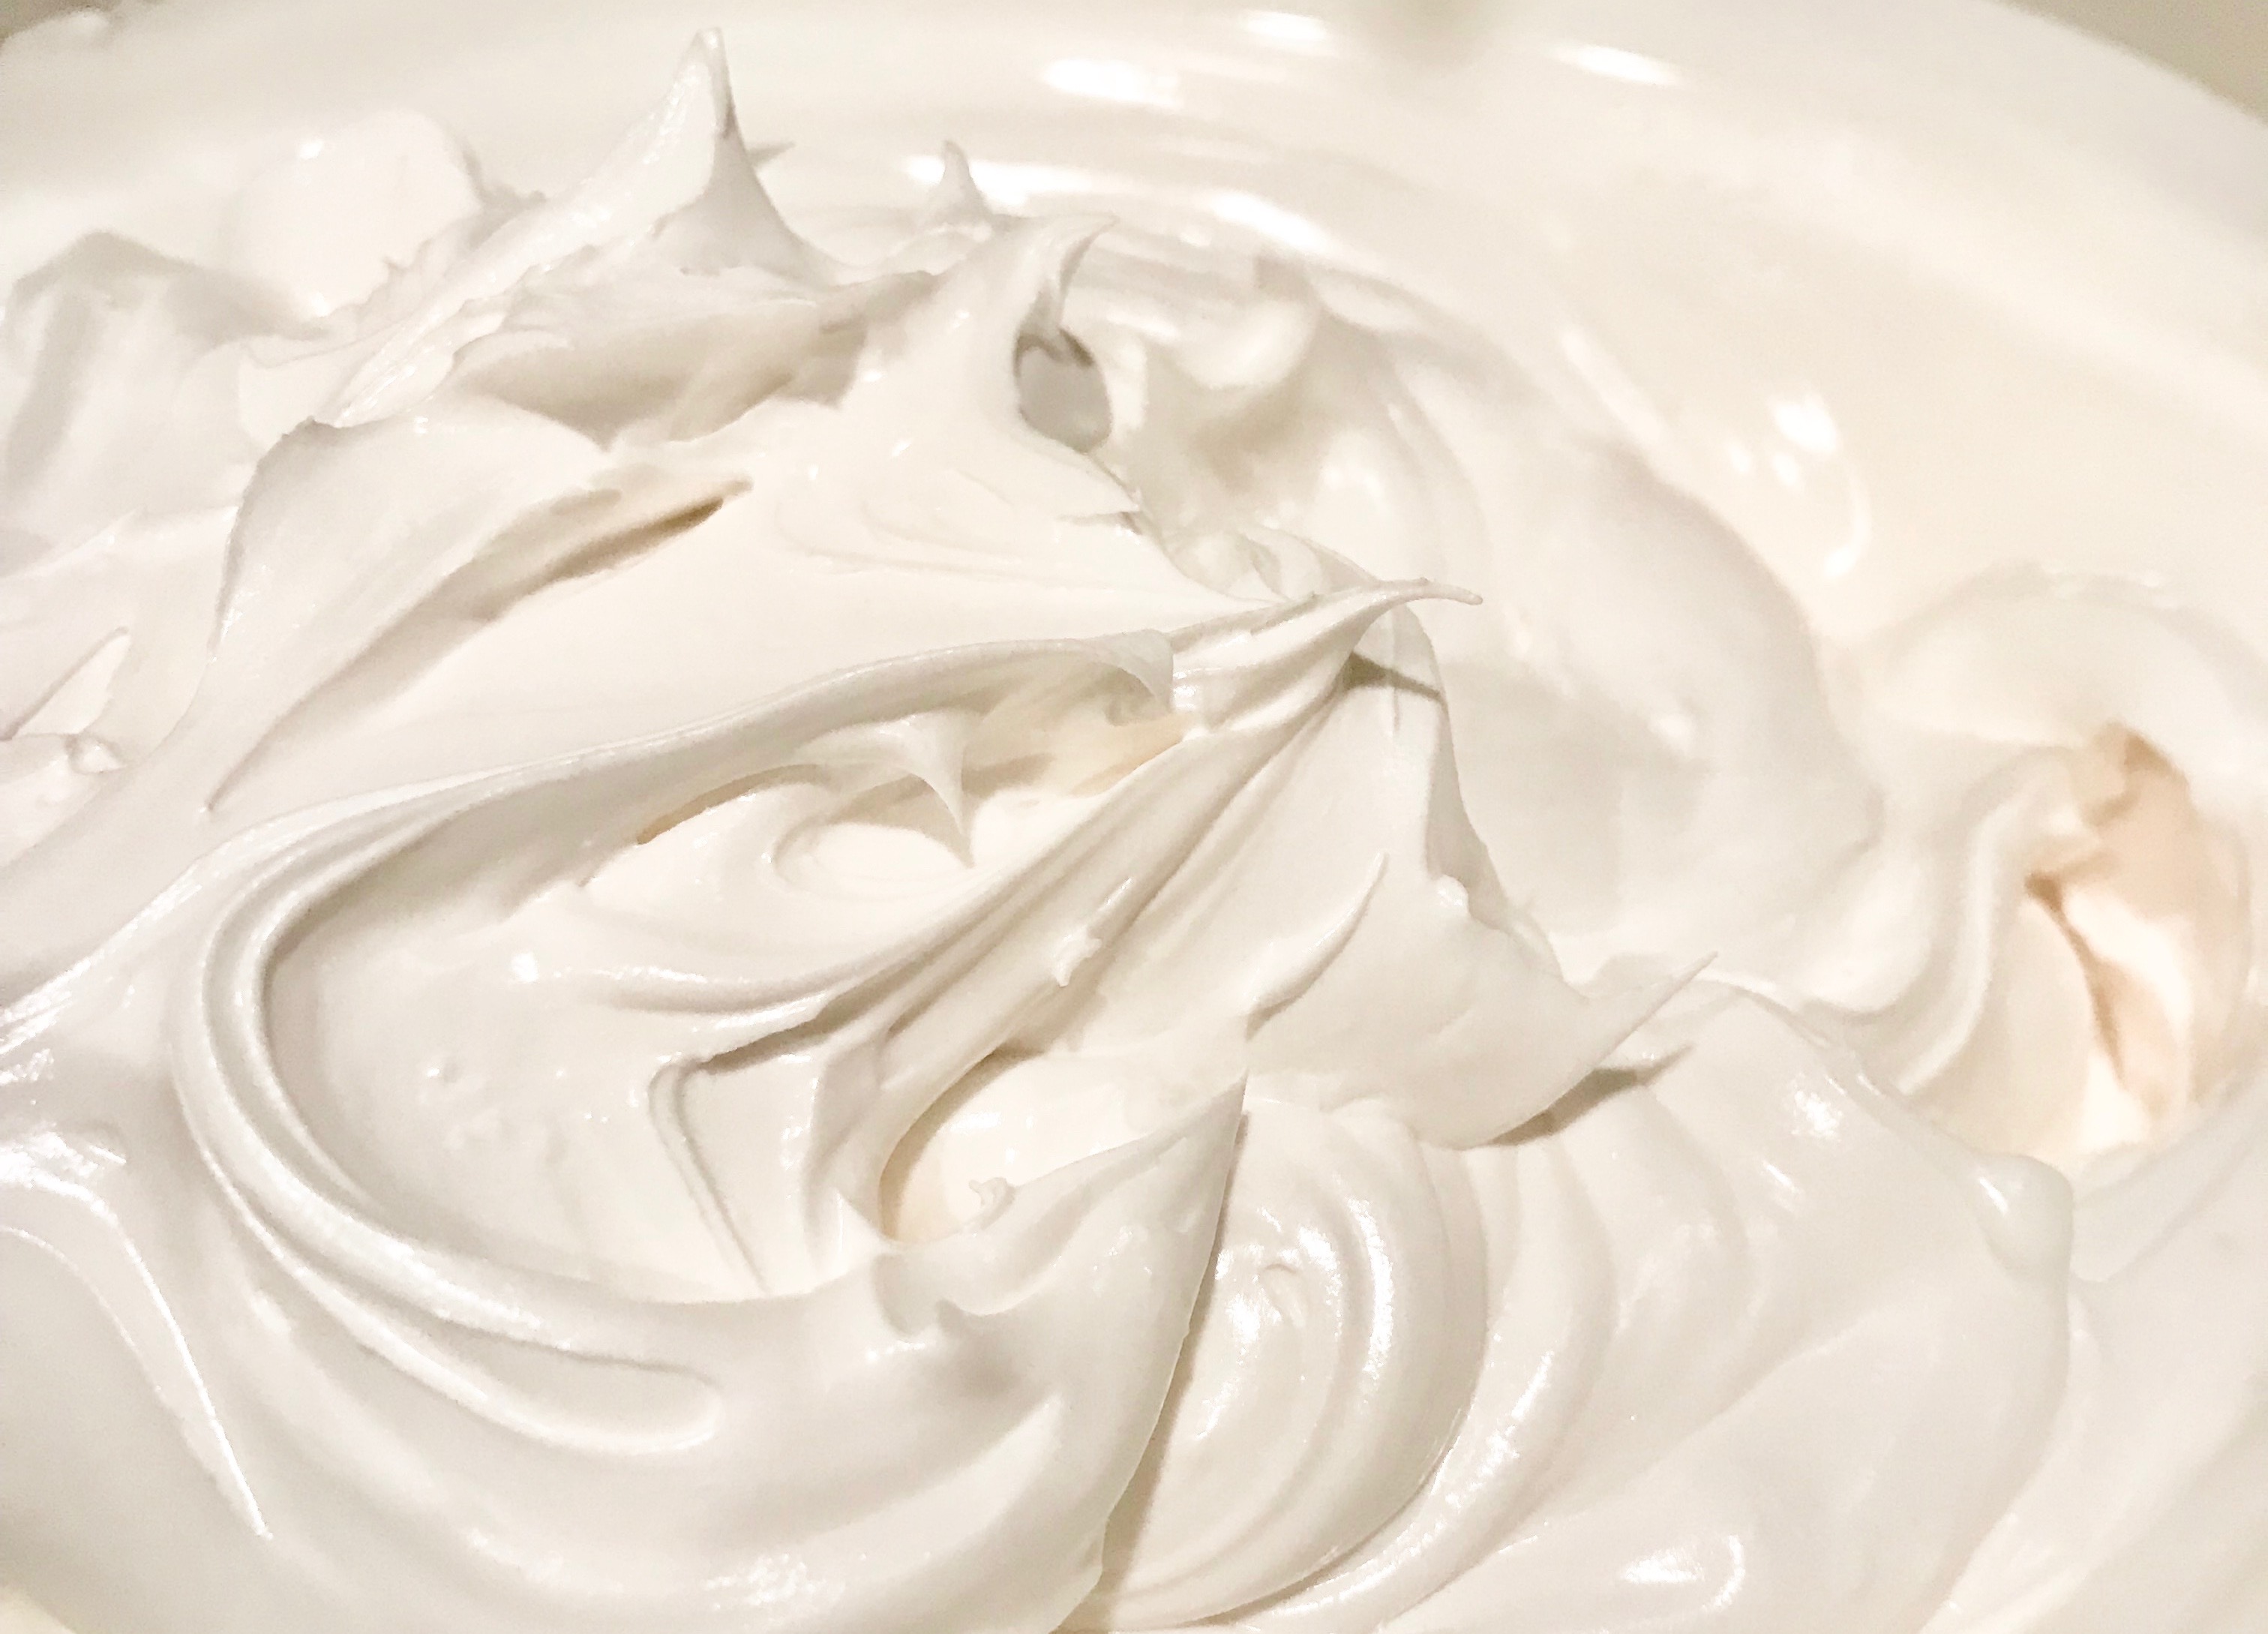
This one is used for adding 3d details (like leaves or lines). You want this one to hold its shape so it will be the thickest icing you create. You want this icing to be able to hold perfect peaks when stirring.
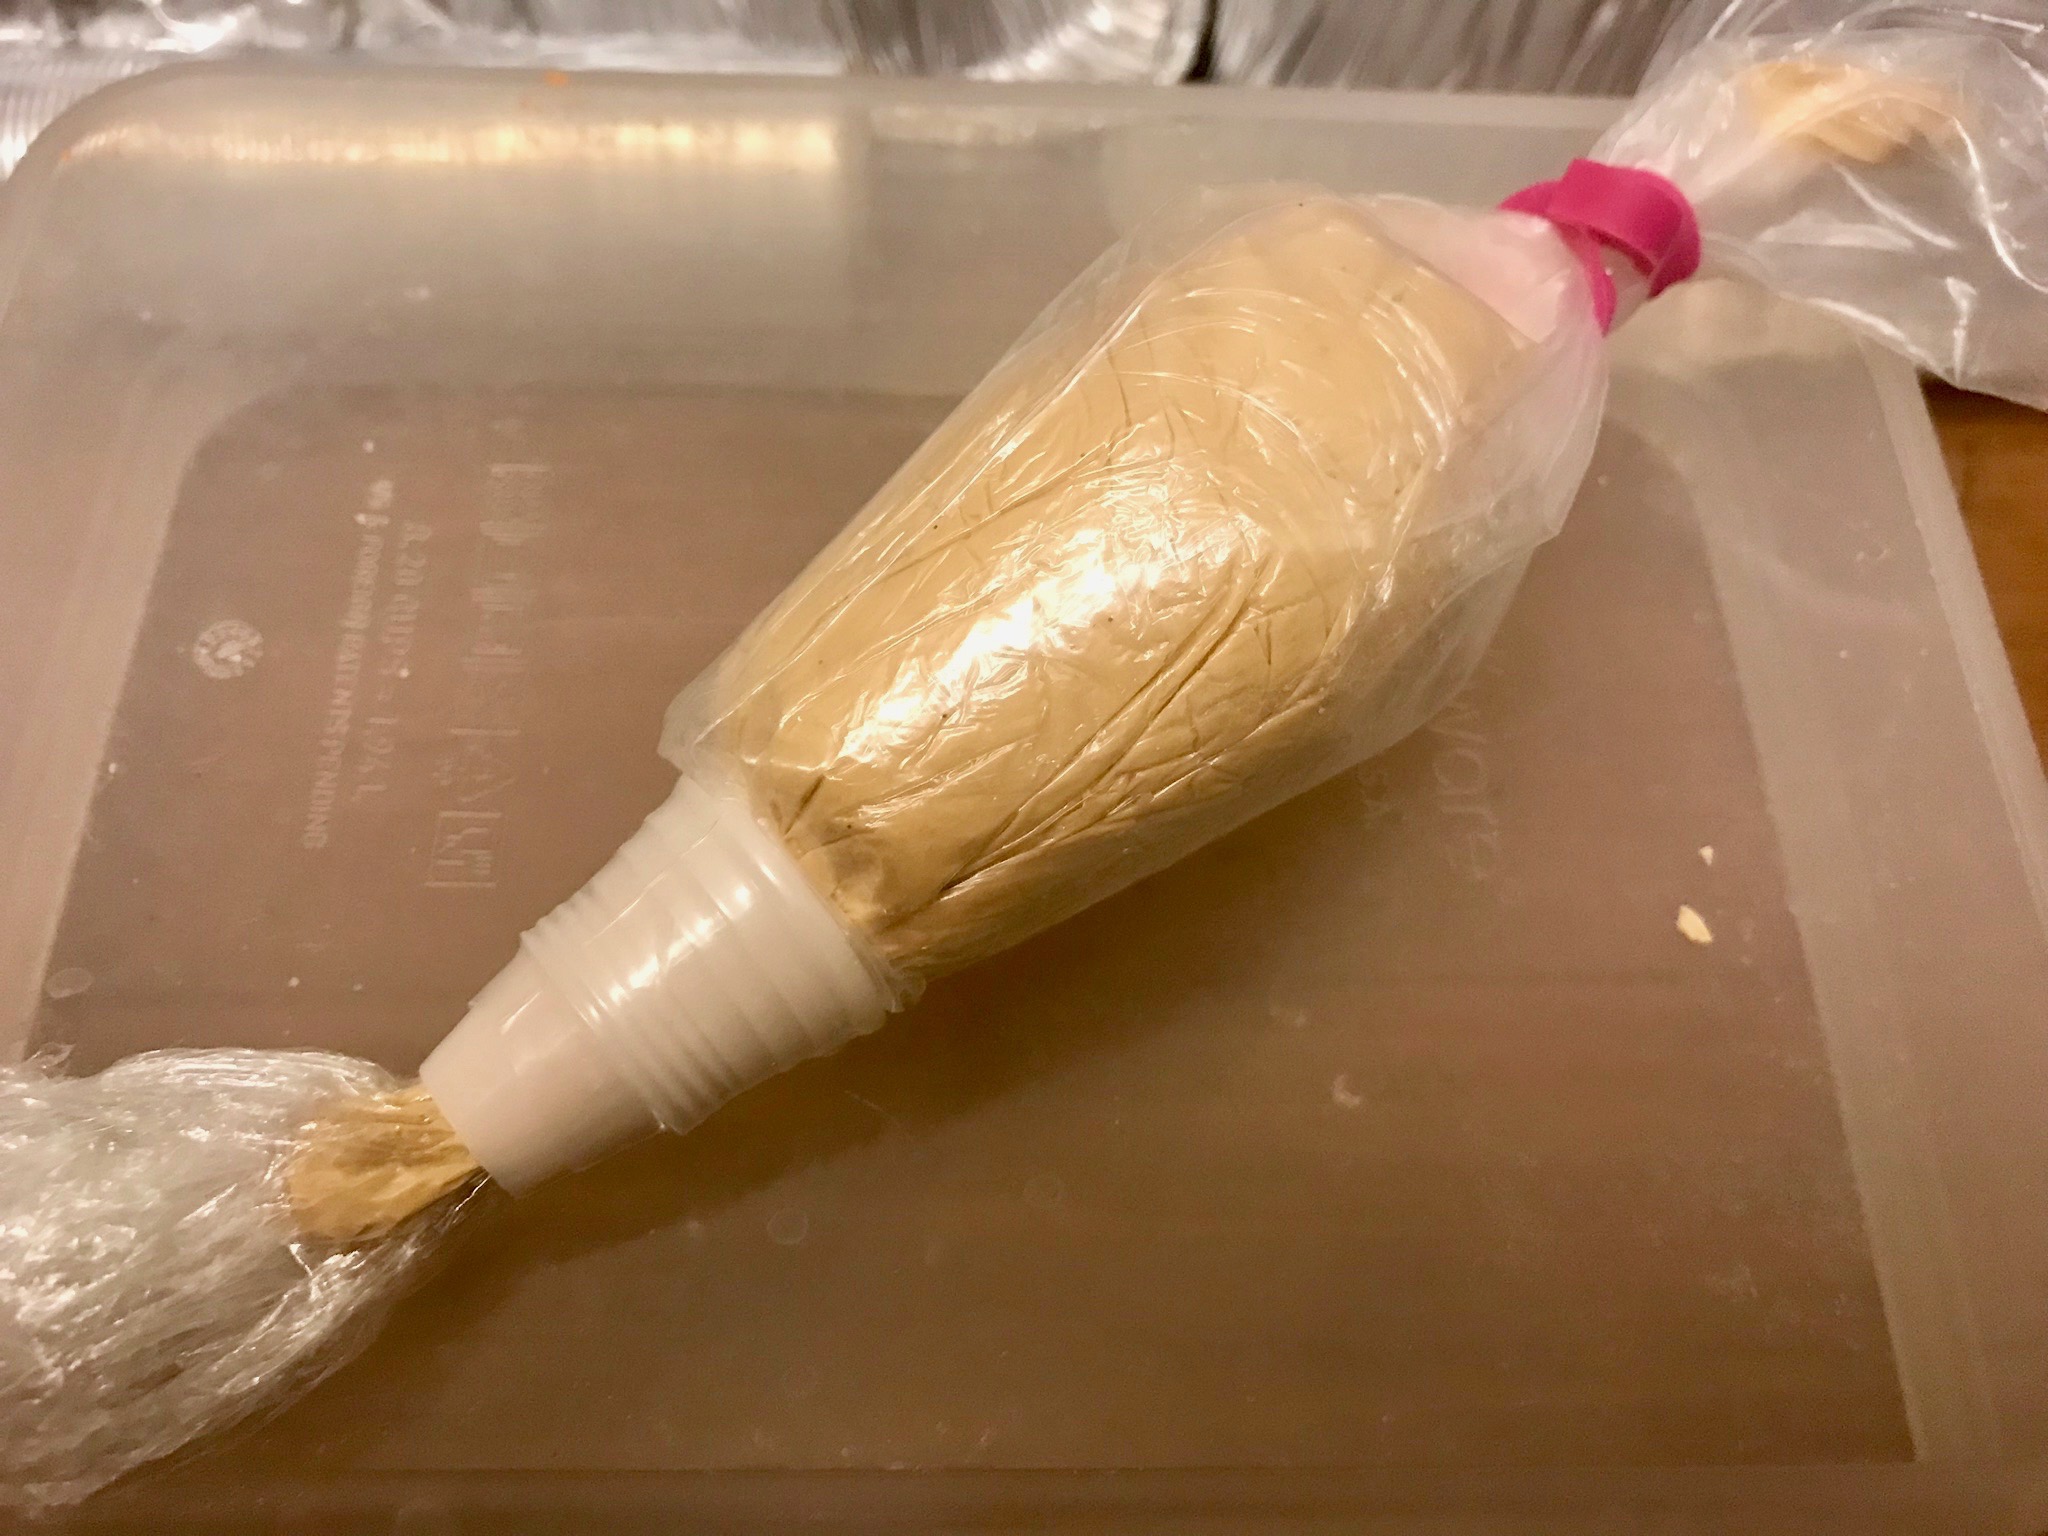
Your current royal icing should be the perfect consistency for this purpose, so put a few spoonfuls onto a rectangle of saran wrap and twist the ends. Leave plenty in the container to create your outline and flood consistency.
hint: Wrapping your icing in saran wrap will allow you to make your piping bags multi-use with NO clean up time because the icing never touches the bag!
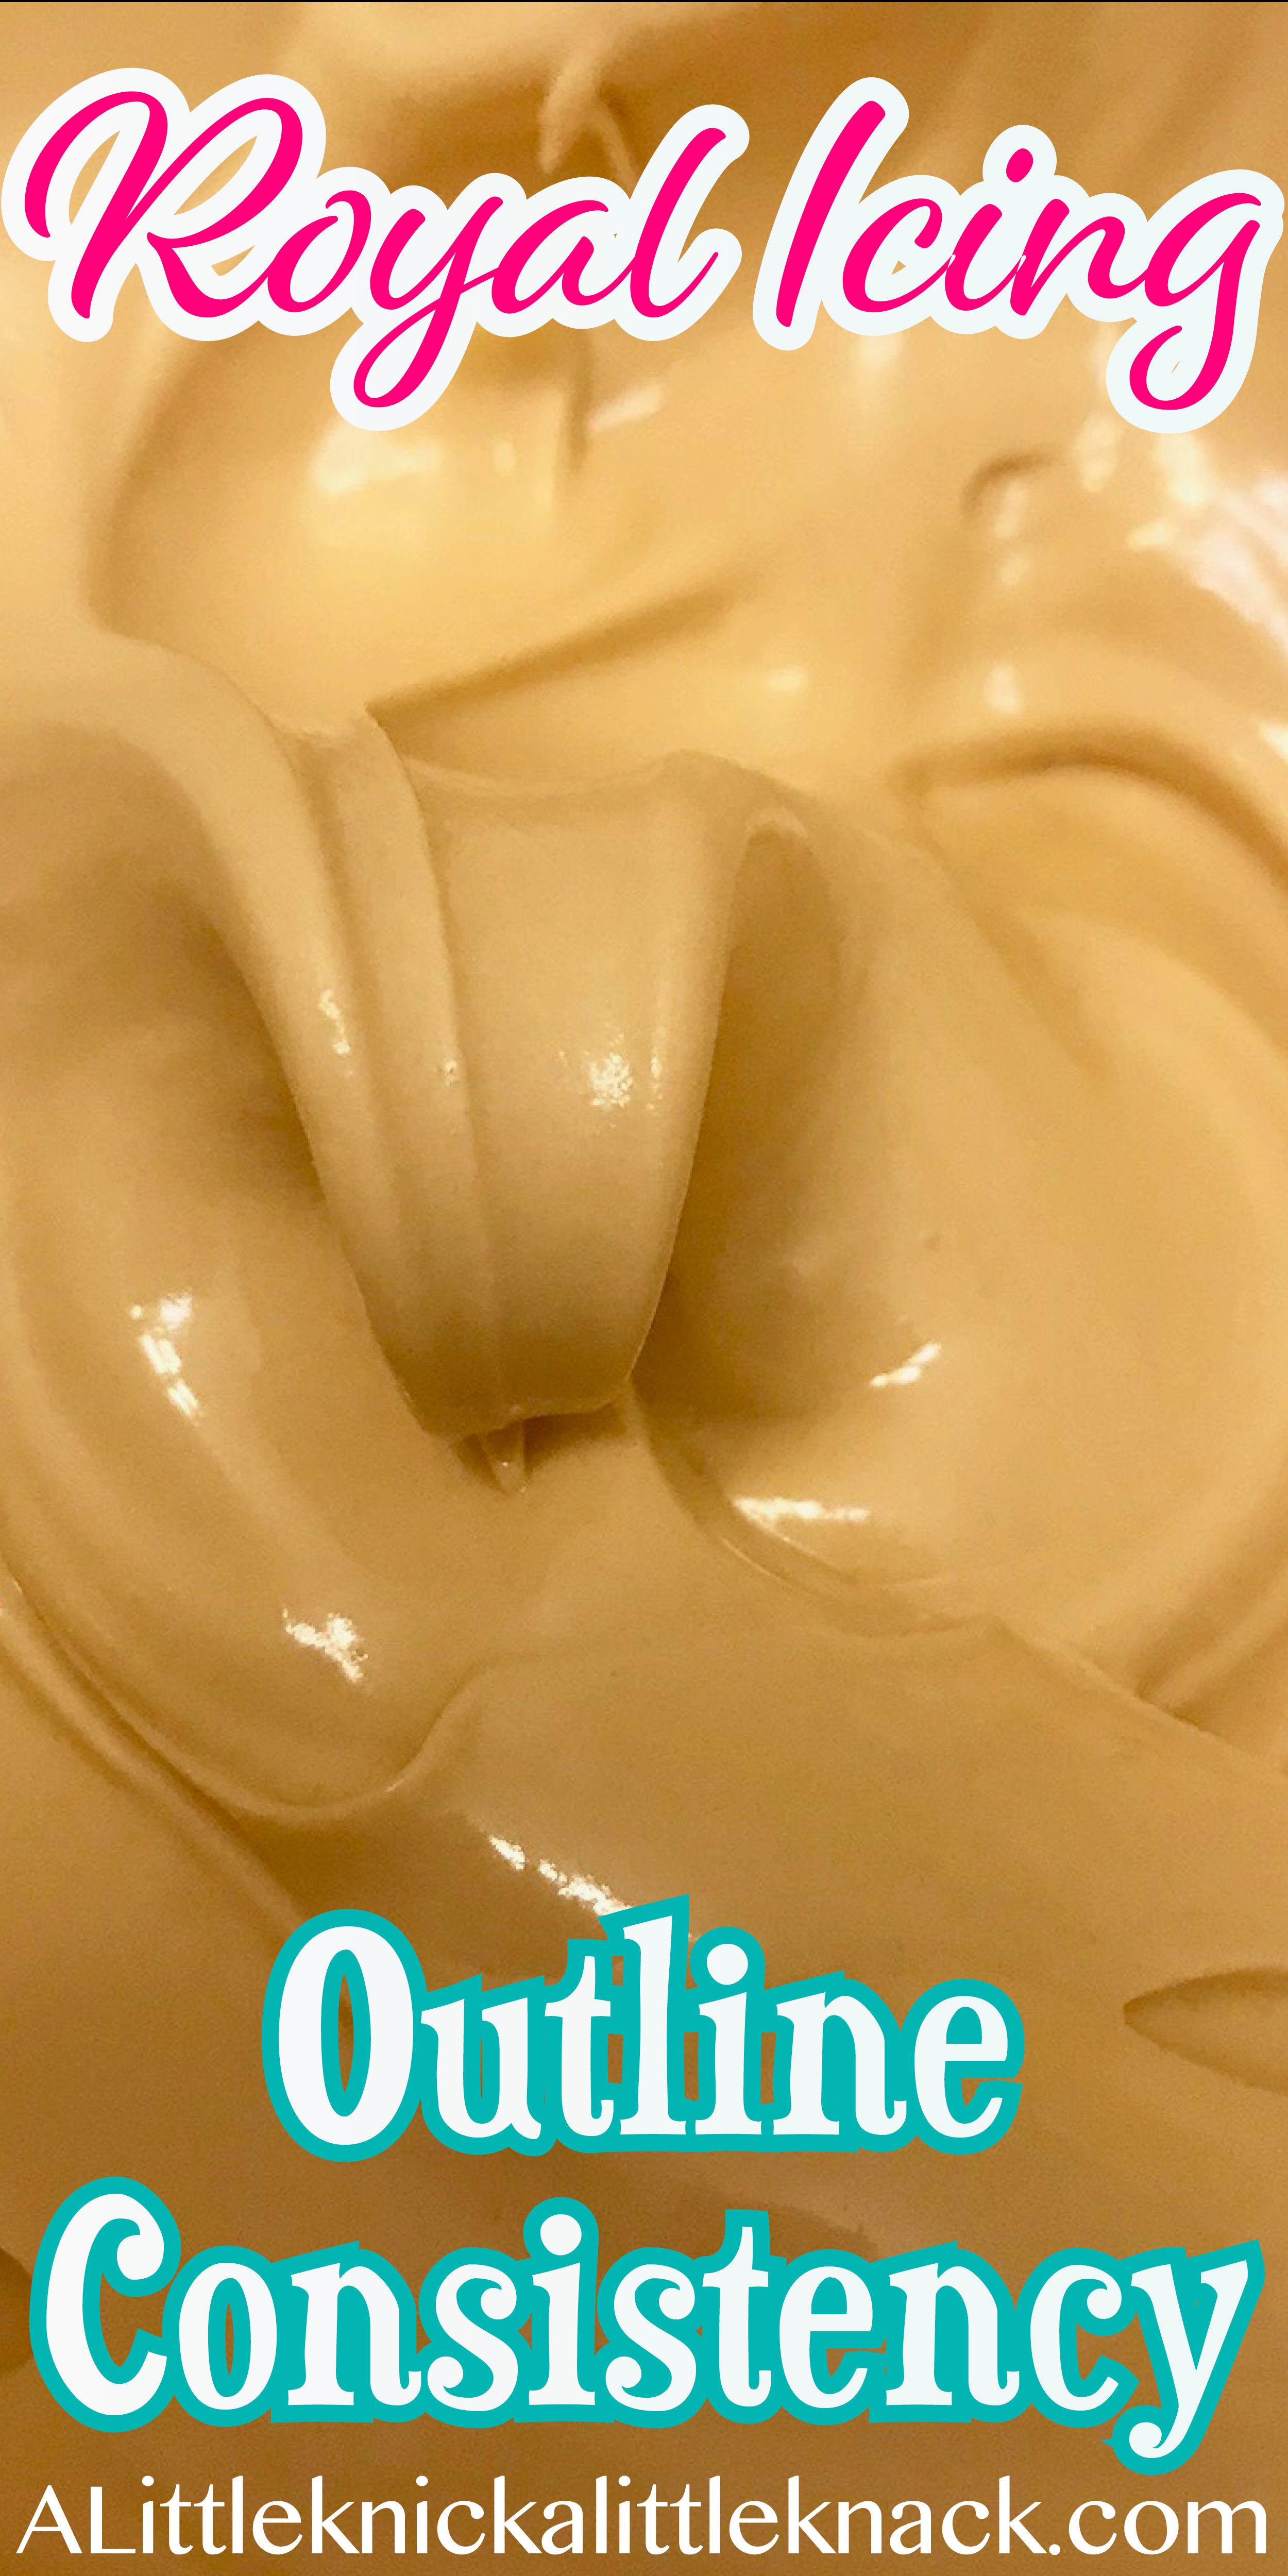
Outline Consistency
This is what you are going to outline your cookies in before you flood them. The whole purpose of this consistency is that it won’t spread or move, but you also want it to be wet enough where it will combine with your flood icing so a line doesn’t form.
To create this consistency add water with the spray bottle a spray at a time to your container and then mix using a fork. Watch the peaks that form and how they fall, you want them to be visibly separate and (mostly) combine to the rest of the icing within about 30 seconds. Think of this consistency like toothpaste or a really thick milkshake.
Once you reach this consistency glop some onto saran wrap and twist the ends and place in a separate pile from your decorative icing. Leave enough in the container to be able to create your flood consistency.
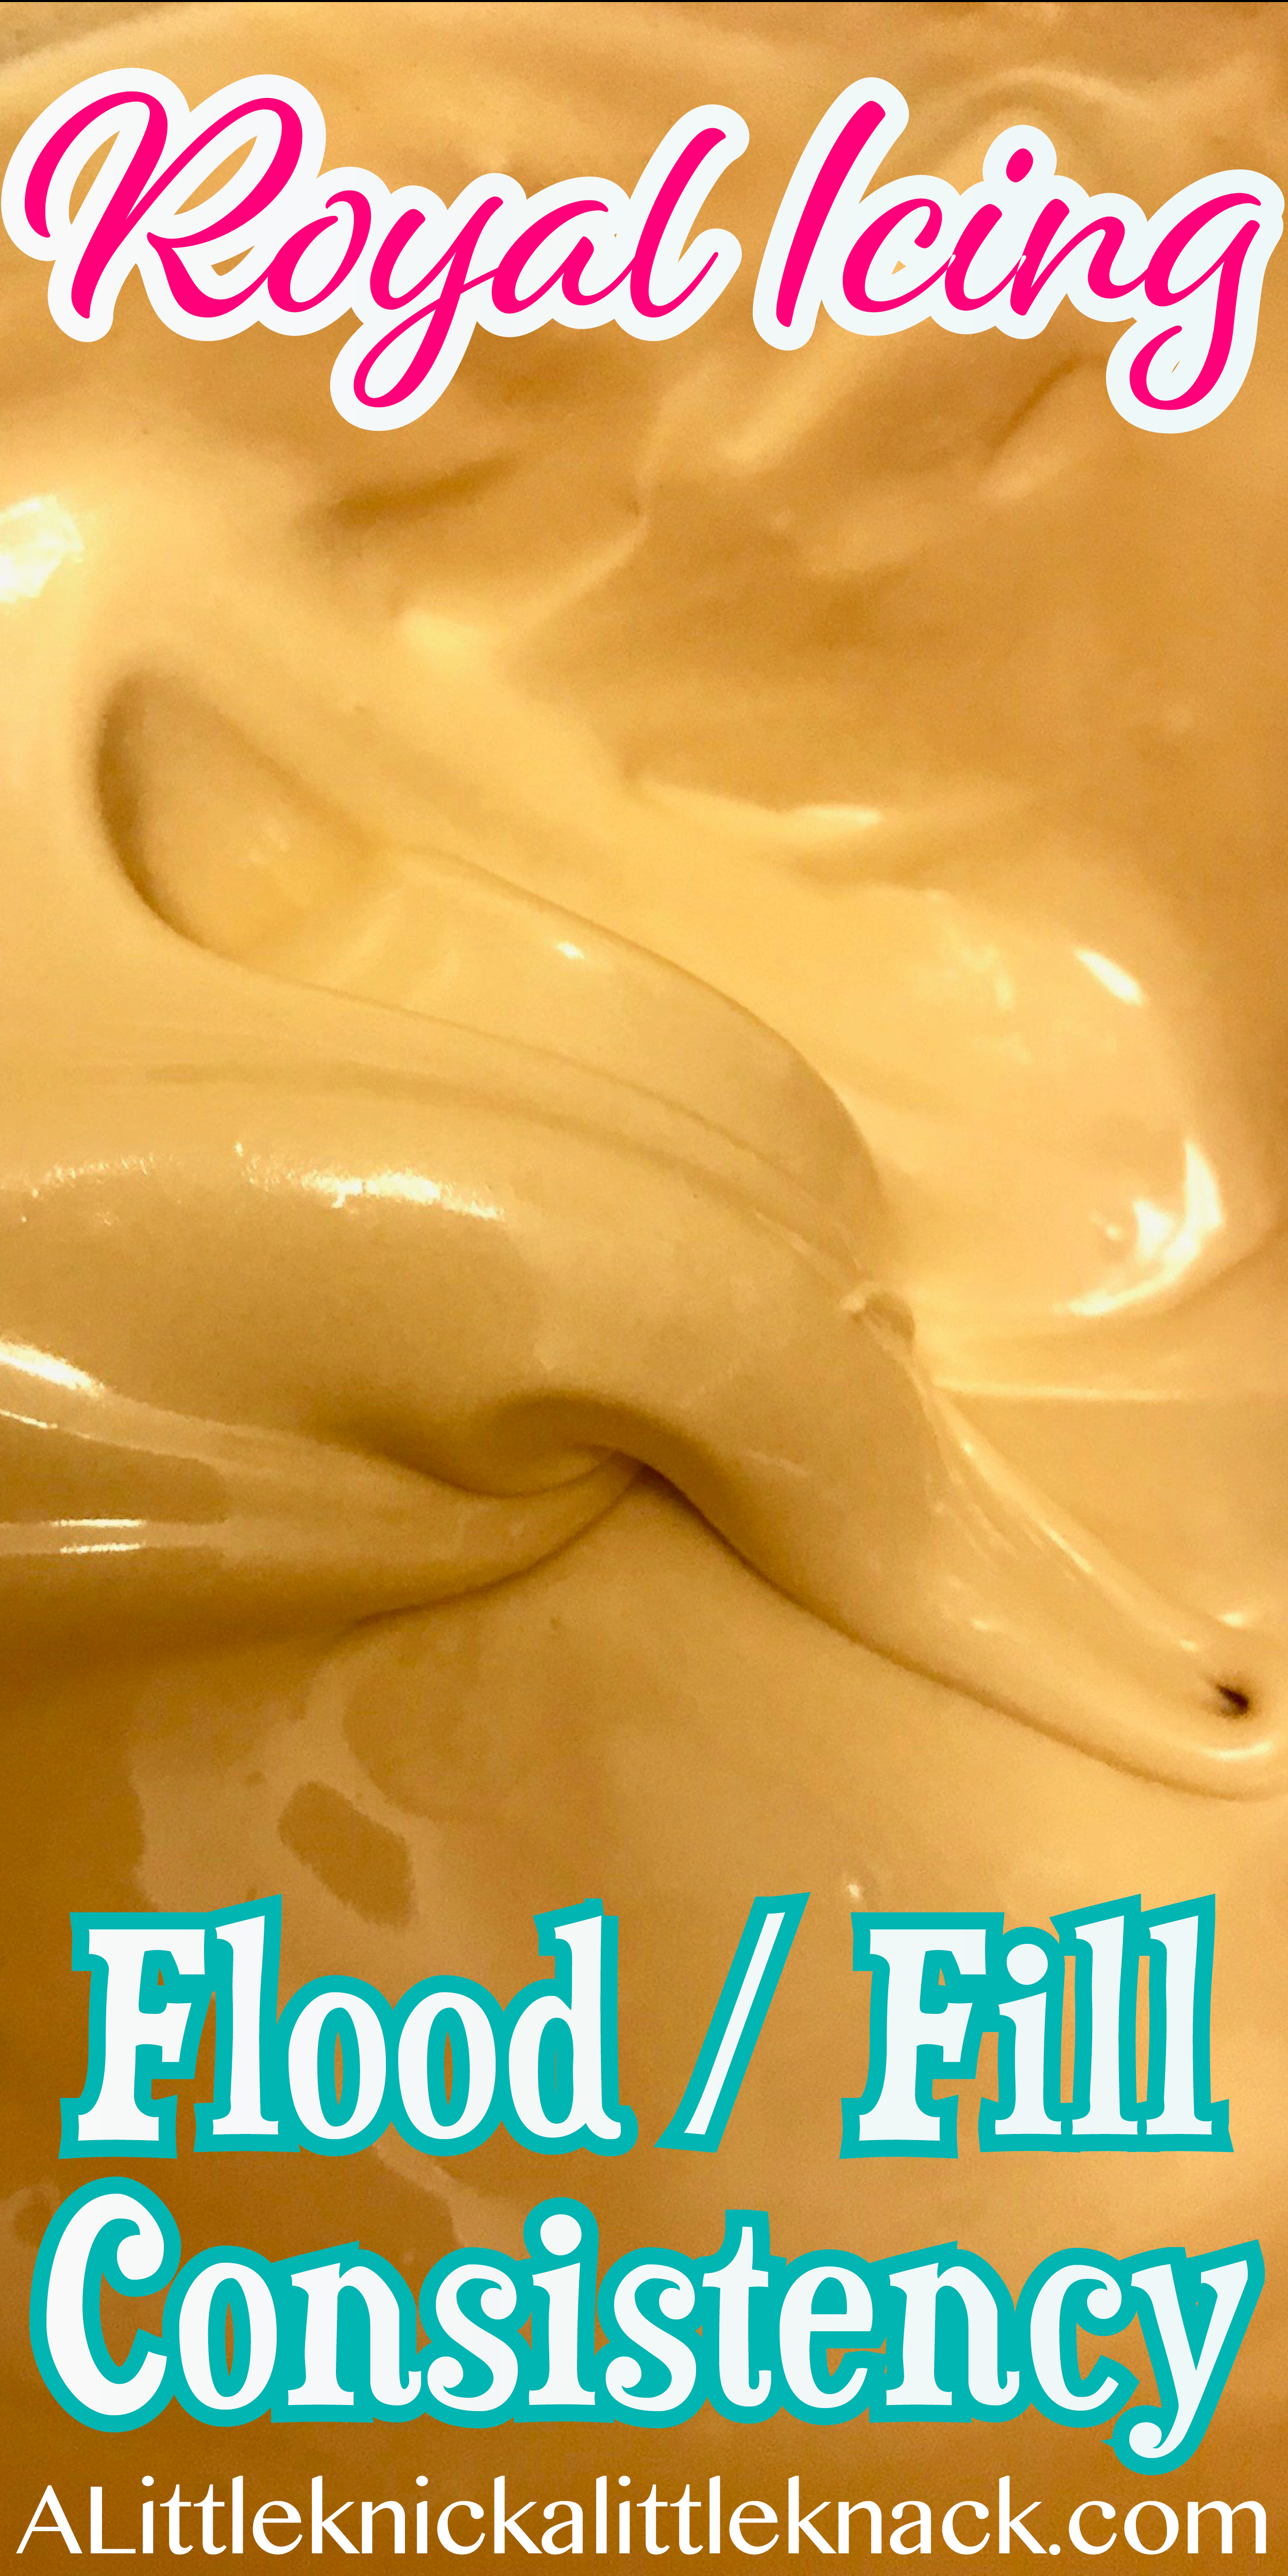
Fill/ Flood consistency
This is what you are going to use to flood your cookie, or in other words to color inside of the outline you will create around the border. You want this icing to be thick enough where it doesn’t go everywhere and run off the cookie but also liquid enough where it will spread evenly on it’s own.
To create this consistency add water with a spray bottle, a spray at a time, and then mix. Watch for the peaks to fold in on themselves and disappear within a few seconds. Think of this consistency like honey or shampoo.
Once you’ve reached the right consistency use a spoon to fill up a squeeze bottle.
Preparing the Piping Bags
To prepare your piping bags to use the decorative and outline consistencies, first snip off the end of the bag about an inch up.
Then take off the round piece of the connector and push it thru the hole (It should stretch the bag to create a tight seal).
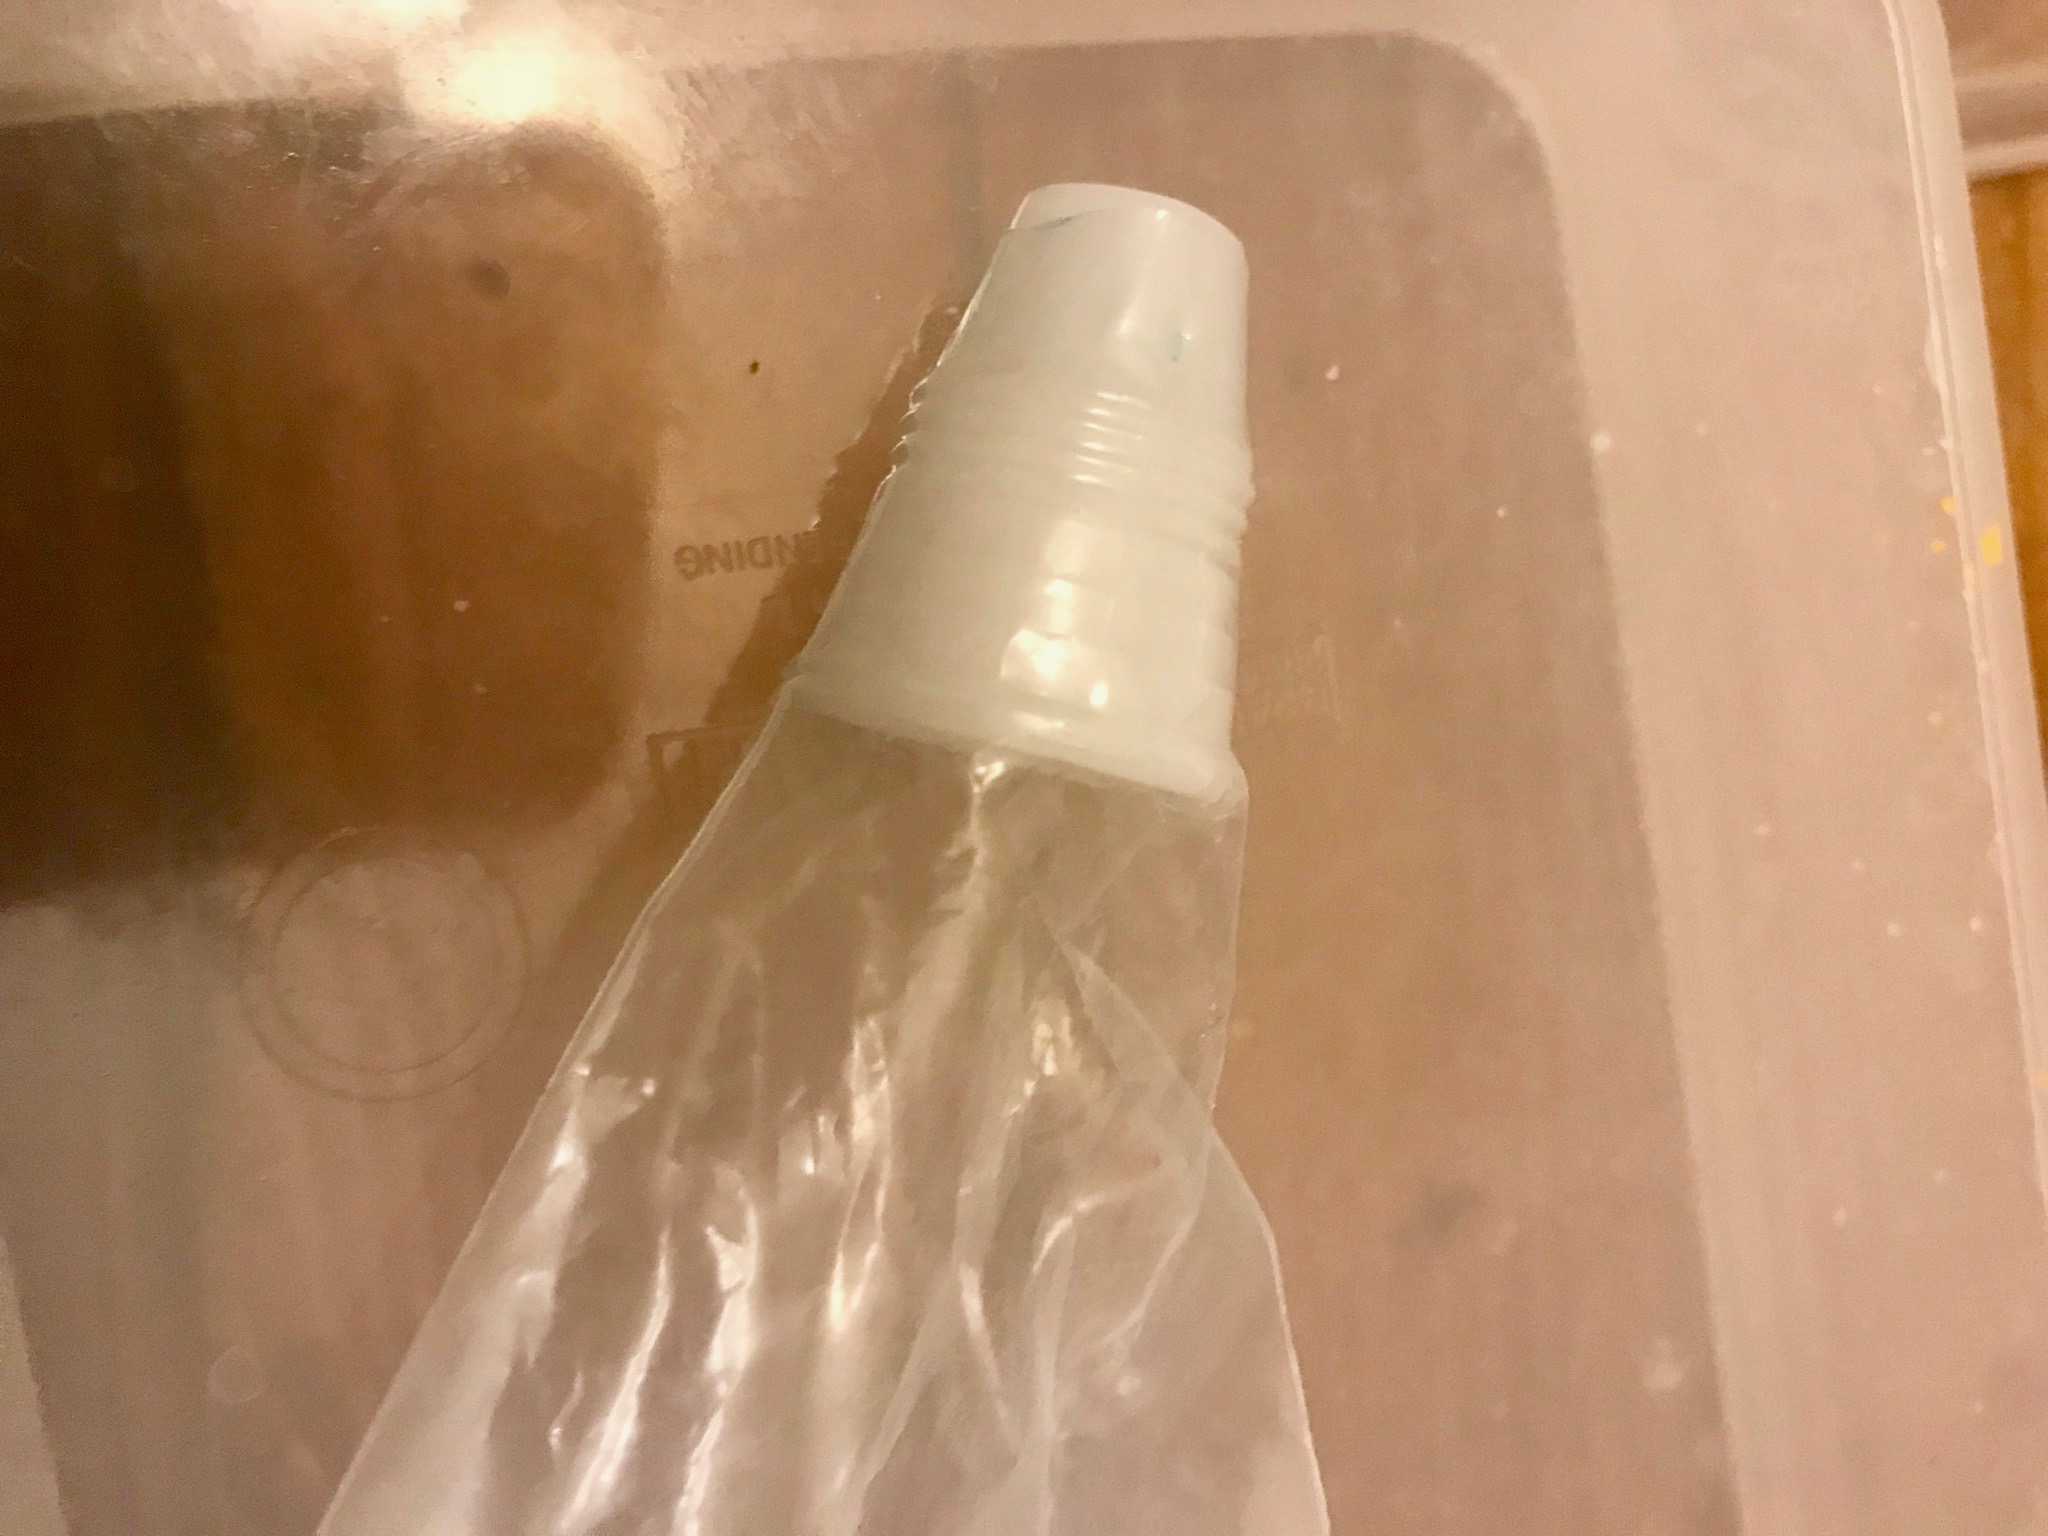
Thread the saran wrap through the hole and use a icing bag tie to secure the end of the bag.
hint: Adding the icing bag tie at this stage will keep the mess to a minimum.
Cut off the end of the saran wrap.
Add your piping tip and secure it using the round piece of the connecter.
hint: As you work keep the piping bags in a container with a damp paper towel in the bottom to keep the piping tips from drying out.
Related Posts

Do you have a frosting recipe
My favorite royal icing recipe is at https://alittleknickalittleknack.com/fool-proof-royal-icing-recipe/ I use it every time and love it! It makes A LOT so depending on how many cookies you are making you may want to scale it down to half
This is the best and easiest royal icing ever! Thanks for the simple, and humorous, instructions. Cookies turned out gorgeous on the first try!
So glad you found the instructions helpful and LOVE to hear that your cookies turned out beautifully!
Omg thank you for the helpful tips on the consistency of the icing. You made it very easy to understand.
Thank you so much for letting me know it was helpful! You wouldn’t believe how long it took me to master royal icing, so EVERY person I can help make it easy for is a huge win for me!
Beth, I made icing and have lots leftover. How long can I keep it in the refrigerator before having to throw it out? Also, how long should I let it sit out before trying to reuse?
Thank you!
Hi Hannah,
Typically the maximum I will keep UNCOLORED icing is around 2 weeks. When I’m ready to use it I let it sit out for 30 minutes, and then I fluff it back up in the mixer before use.
For pre-colored icing I prefer to use the icing ASAP (and definitely under a week). After 2-3 days you will start to see separation in the icing so mix it back together with a spoon or a mixer before use.
This is the most helpful guide I have found! Thank you for taking the time to share!
Which consistency do you use for writing words? Mine is always too thin and runs.
For writing you are going to want to use the decorative consistency because you are going to want it to hold it’s shape and dry quickly. One other tip is to make sure that the royal icing underneath where you will be writing is completely dry (or pretty close) so the writing doesn’t bleed.
Hi this is my first try and I am making dinosaur cookies ant suggestions on what tips to use for outline and flooding
Hi Ann,
Great question! Typically I use a #2 wilton tip for outlining and then just use a squeeze bottle to flood the cookies.
Great ideas I just started with granddaughter making cookies and decorating and are looking for help, this is great help.
Hi Beth
I have been decorating cookies for about a year and absolutely love it. But I struggle with consistencies. Your instructions are so clear and the pictures help a lot. I’m looking forward to trying your recipe on my St Patrick’s day cookies tomorrow. You’ve given me confidence! Thank you. I’ll let you know how they turn out.