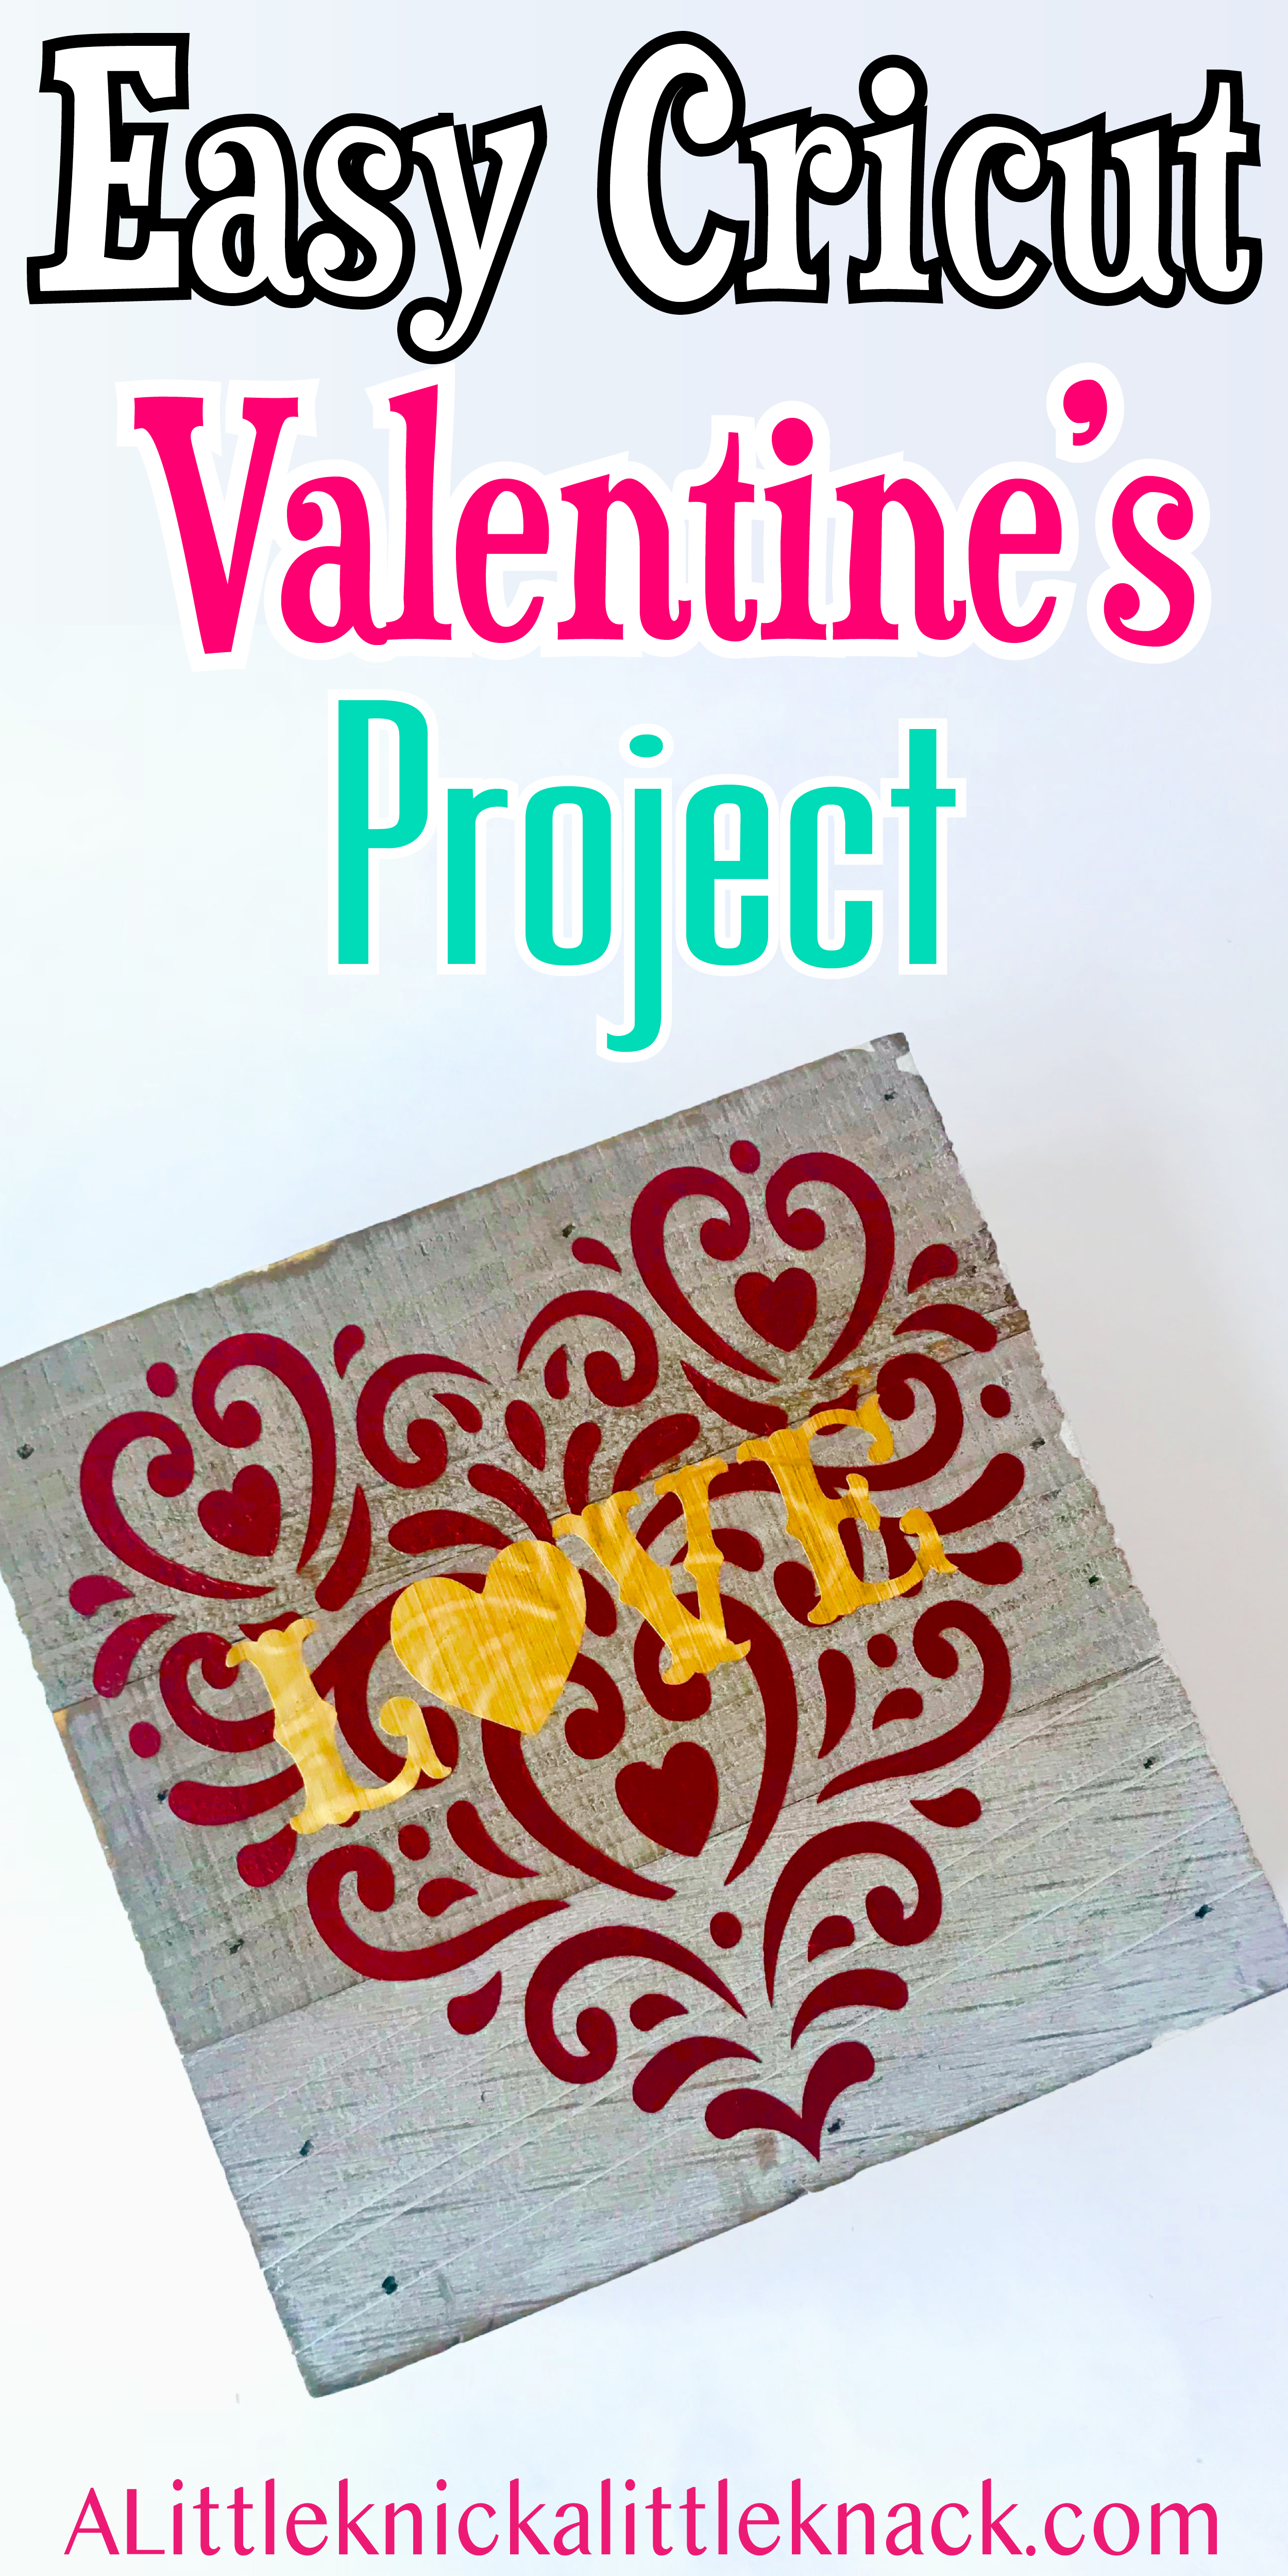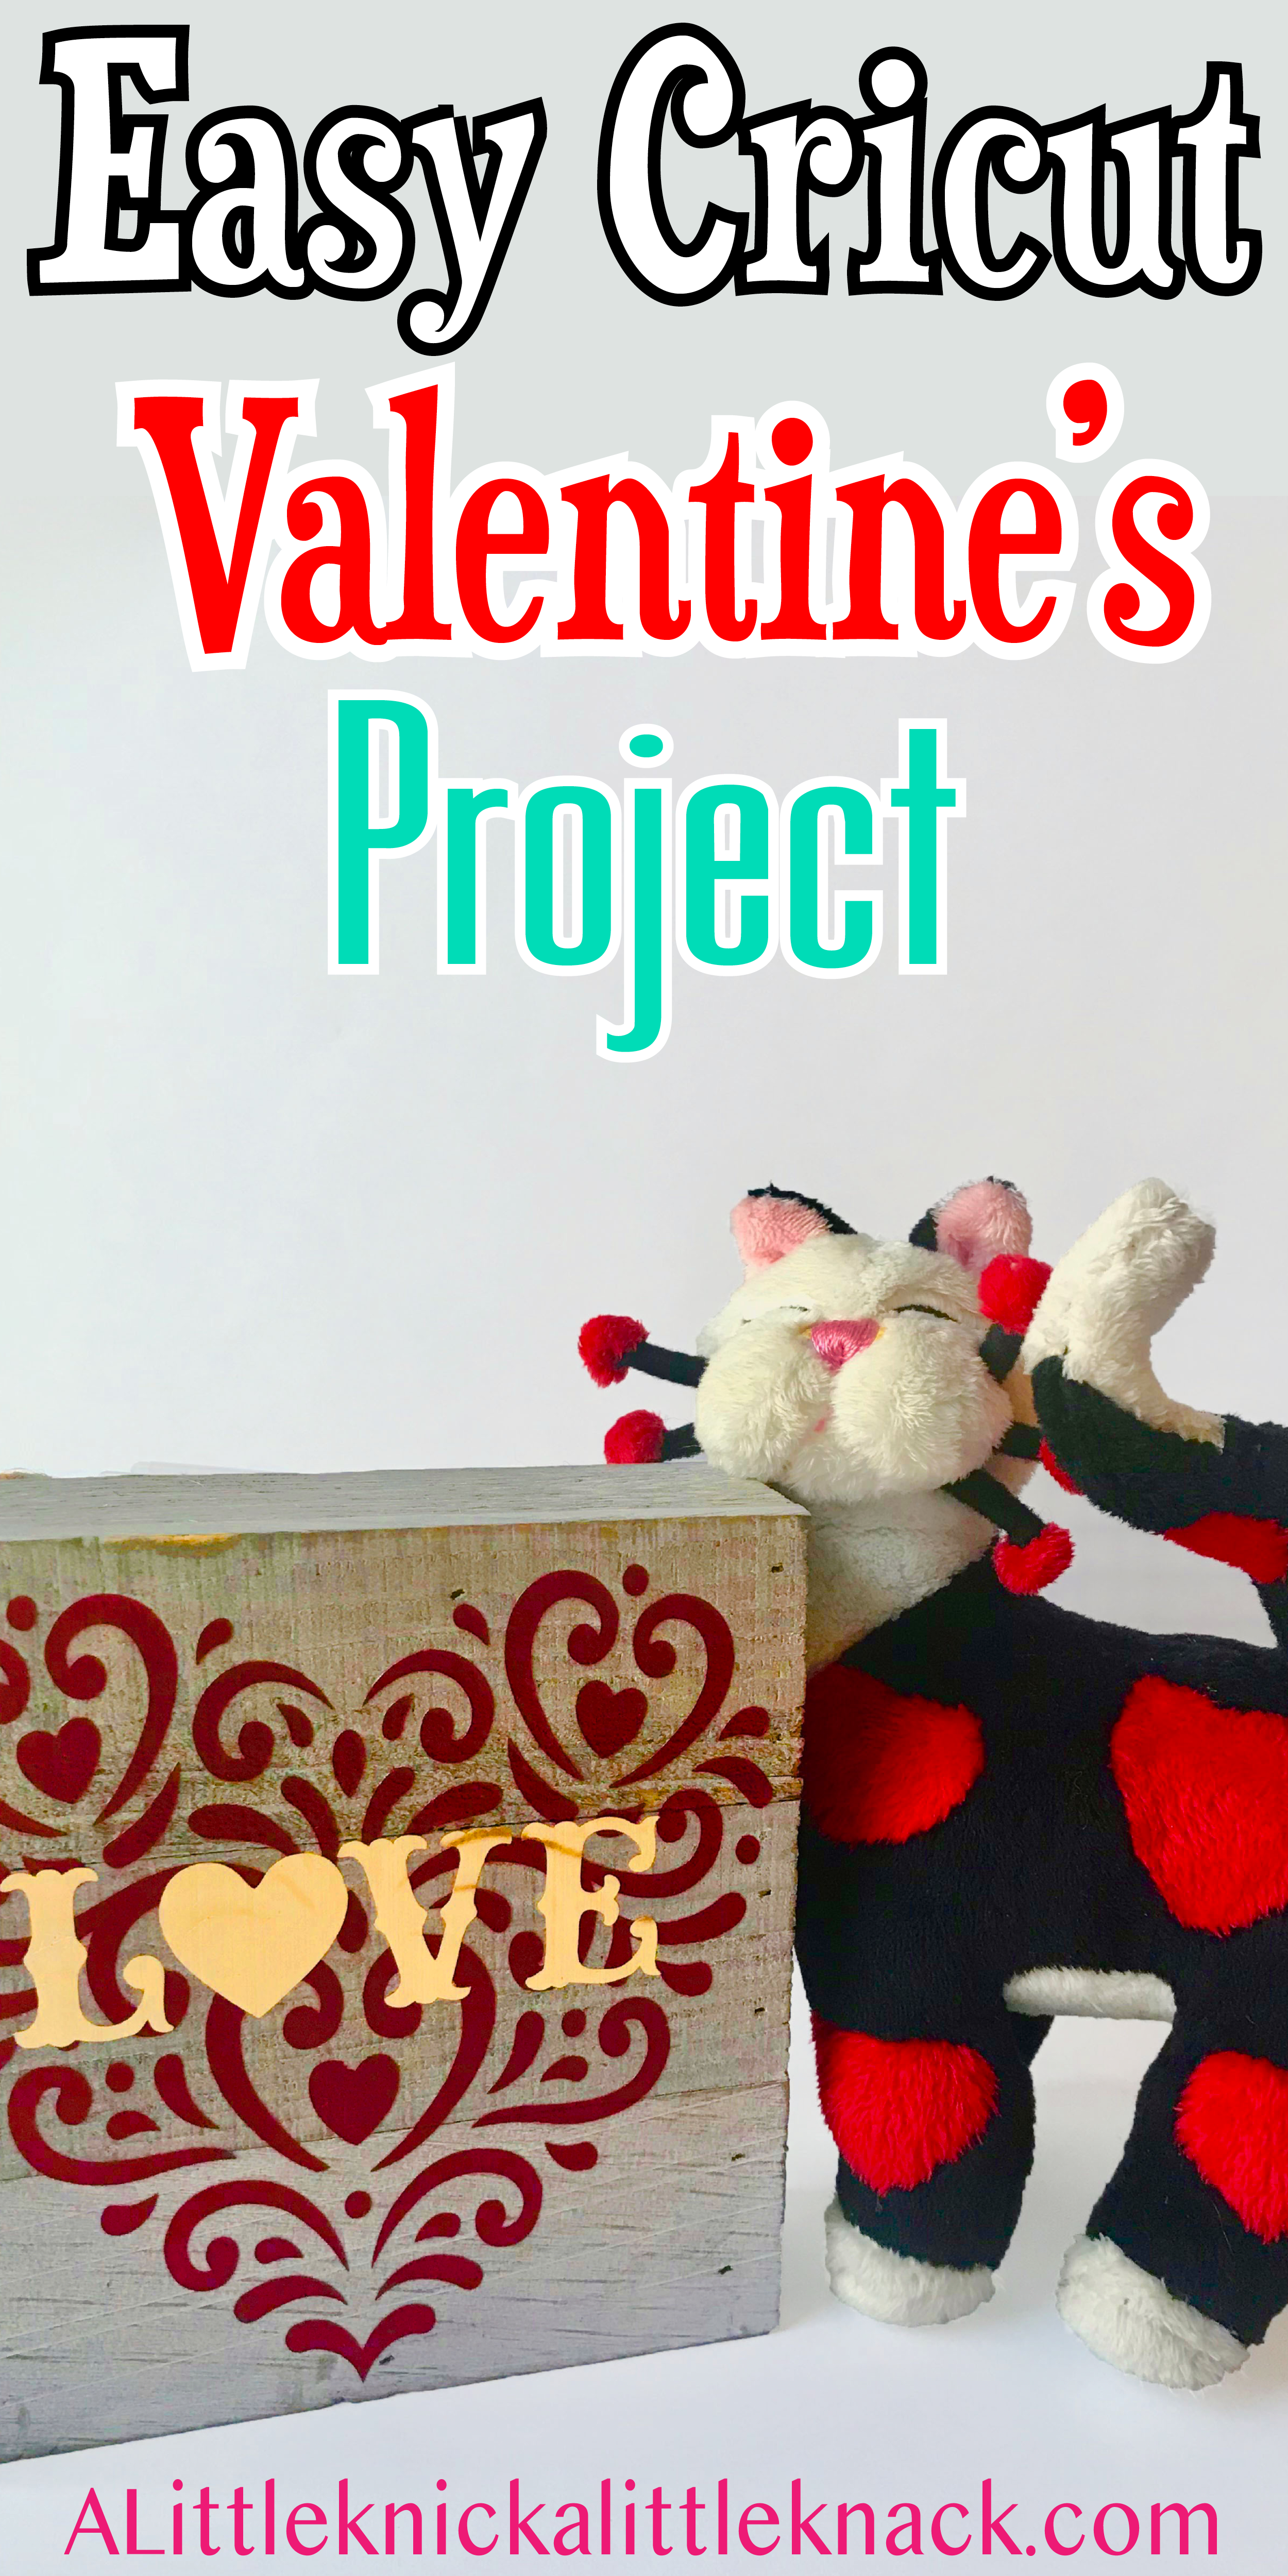
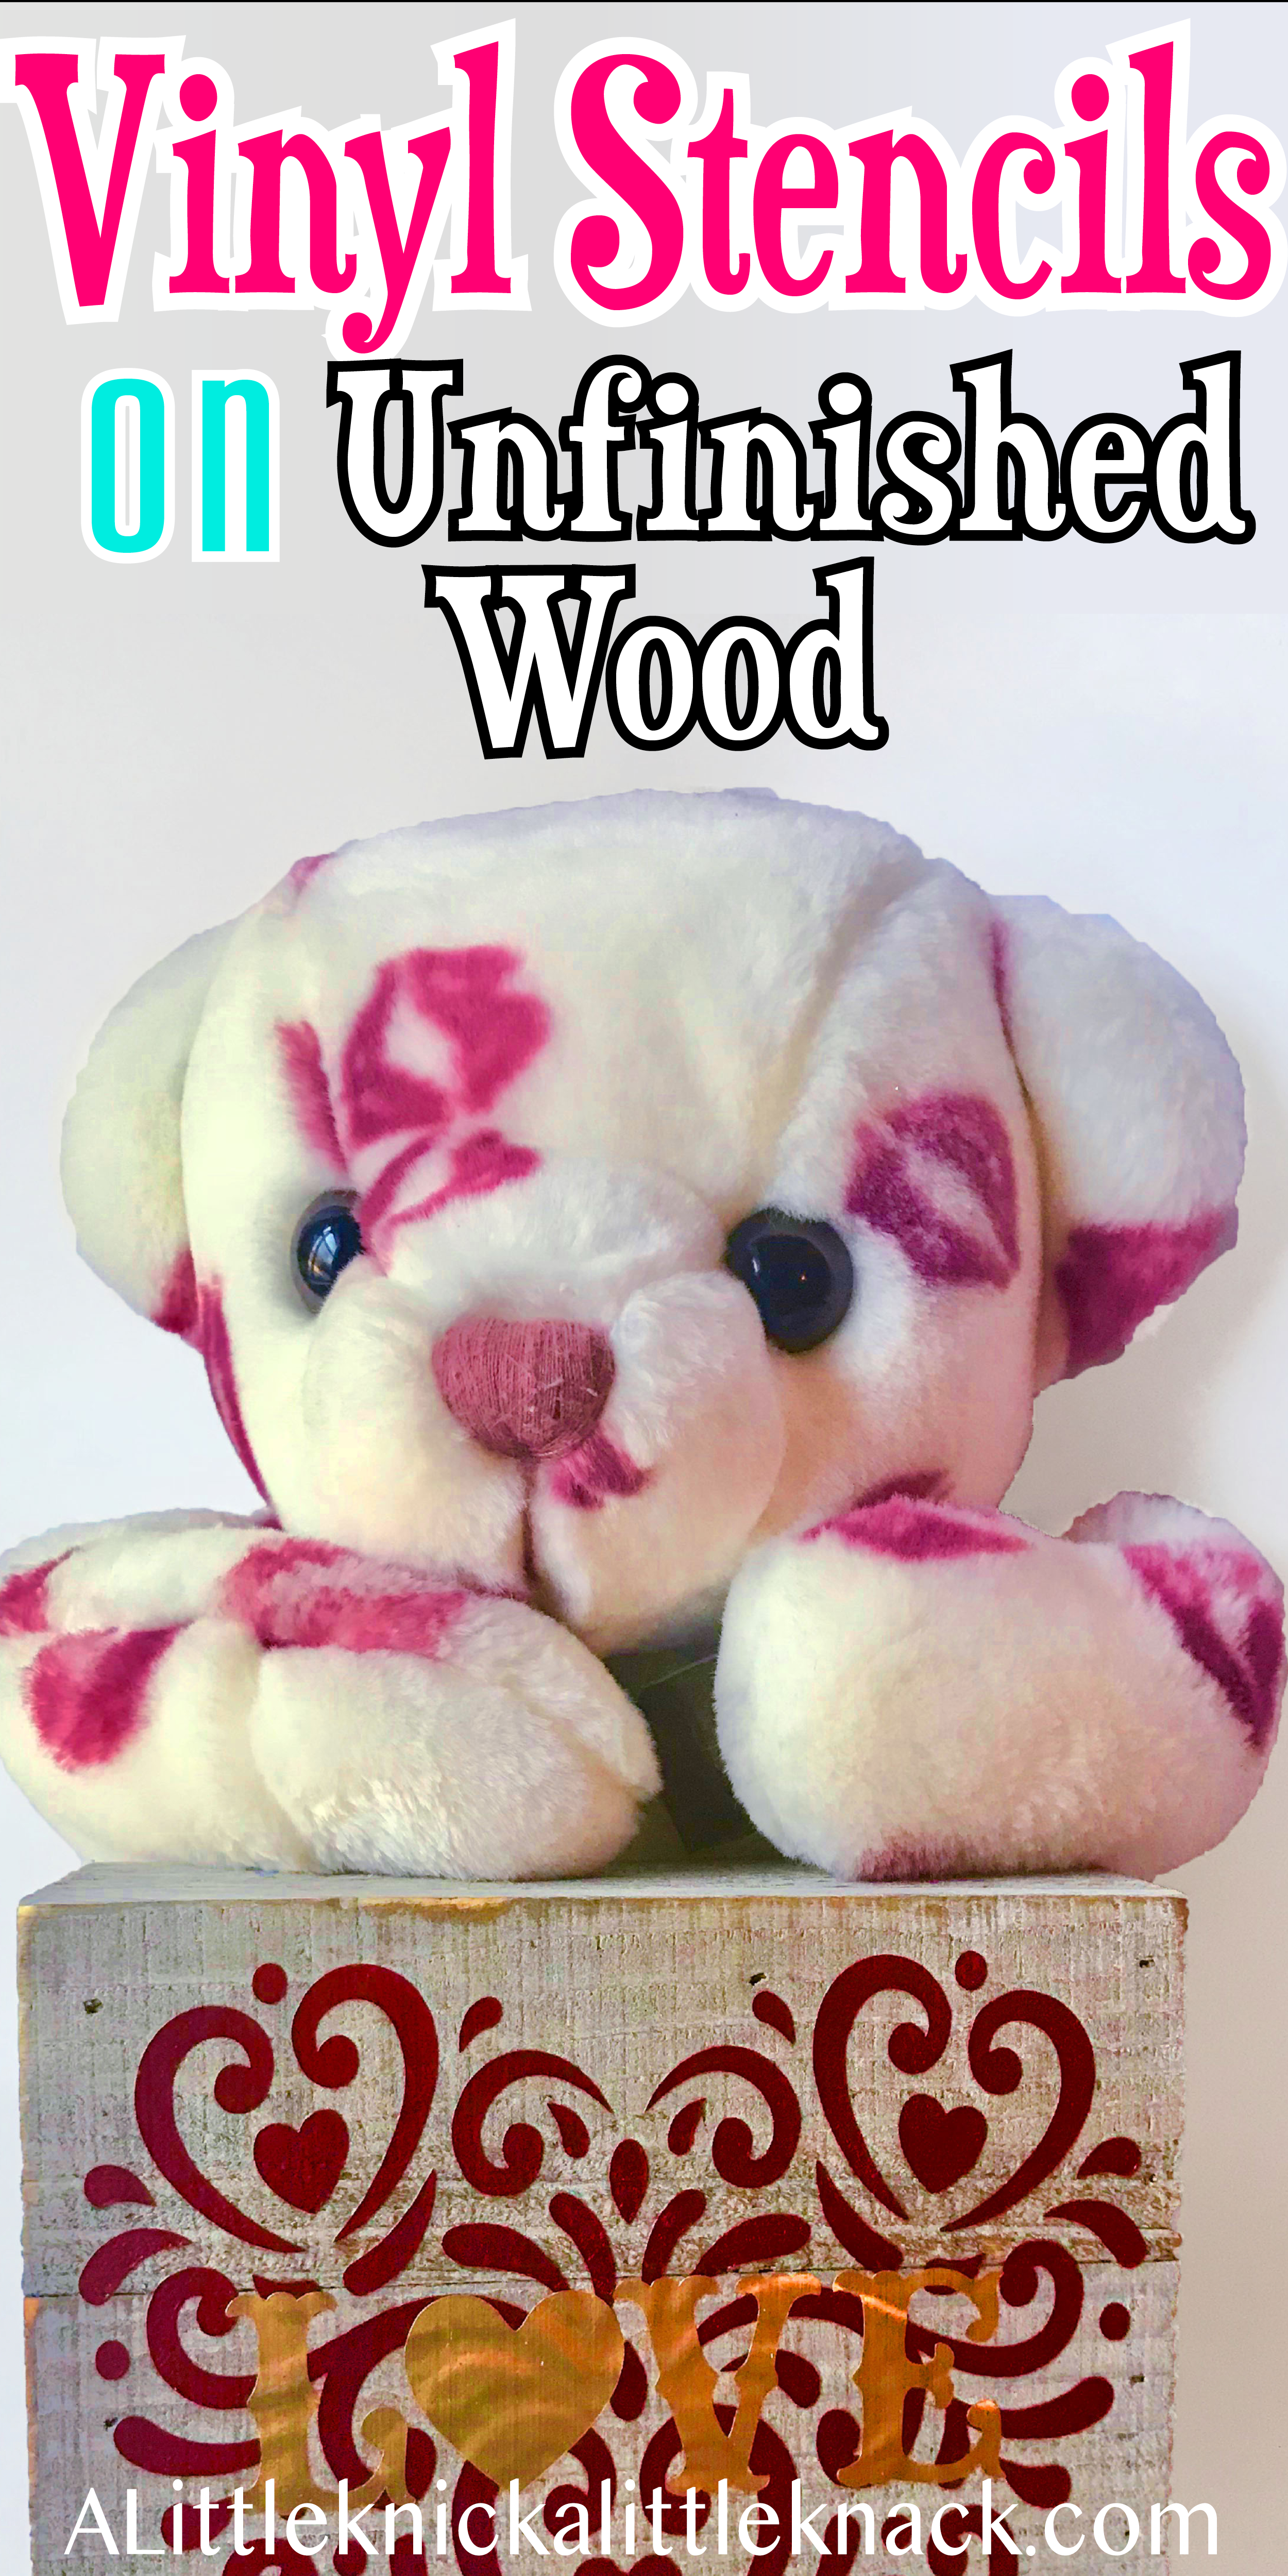
While my heart will always belong to my husband, I have to admit I have fallen completely head over heels for my Cricut Explore Air 2. It is so versatile that I’m always experimenting with new techniques (or maybe I’m just looking for new excuses to PLAY). So when I finally mastered using vinyl stencils on unfinished wood, I knew I had to get my craft on and make some Valentine’s decor for my home (and maybe a few extra for gifts!)
*This post may contain affiliate links which may allow us to receive a small commission (at no additional cost to you) for purchases you make after clicking on product links in our posts, to view our full affiliate disclosure click here.
But rest assured we fully believe in every product we endorse..
Time: 30 minutes
Materials:
- Cricut Access
- Cricut Explore Air™ 2 machine
- Cricut® 6×12 Cutting Mat
- Gold Adhesive Vinyl
- White Adhesive Vinyl
- Cricut® Vinyl Transfer Tape – Bulk
- White 6×6 inch plaque
- Red Acrylic Paint
- Matte Mod Podge
- Paintbrush
- Foam Stenciling Brush
- A Computer
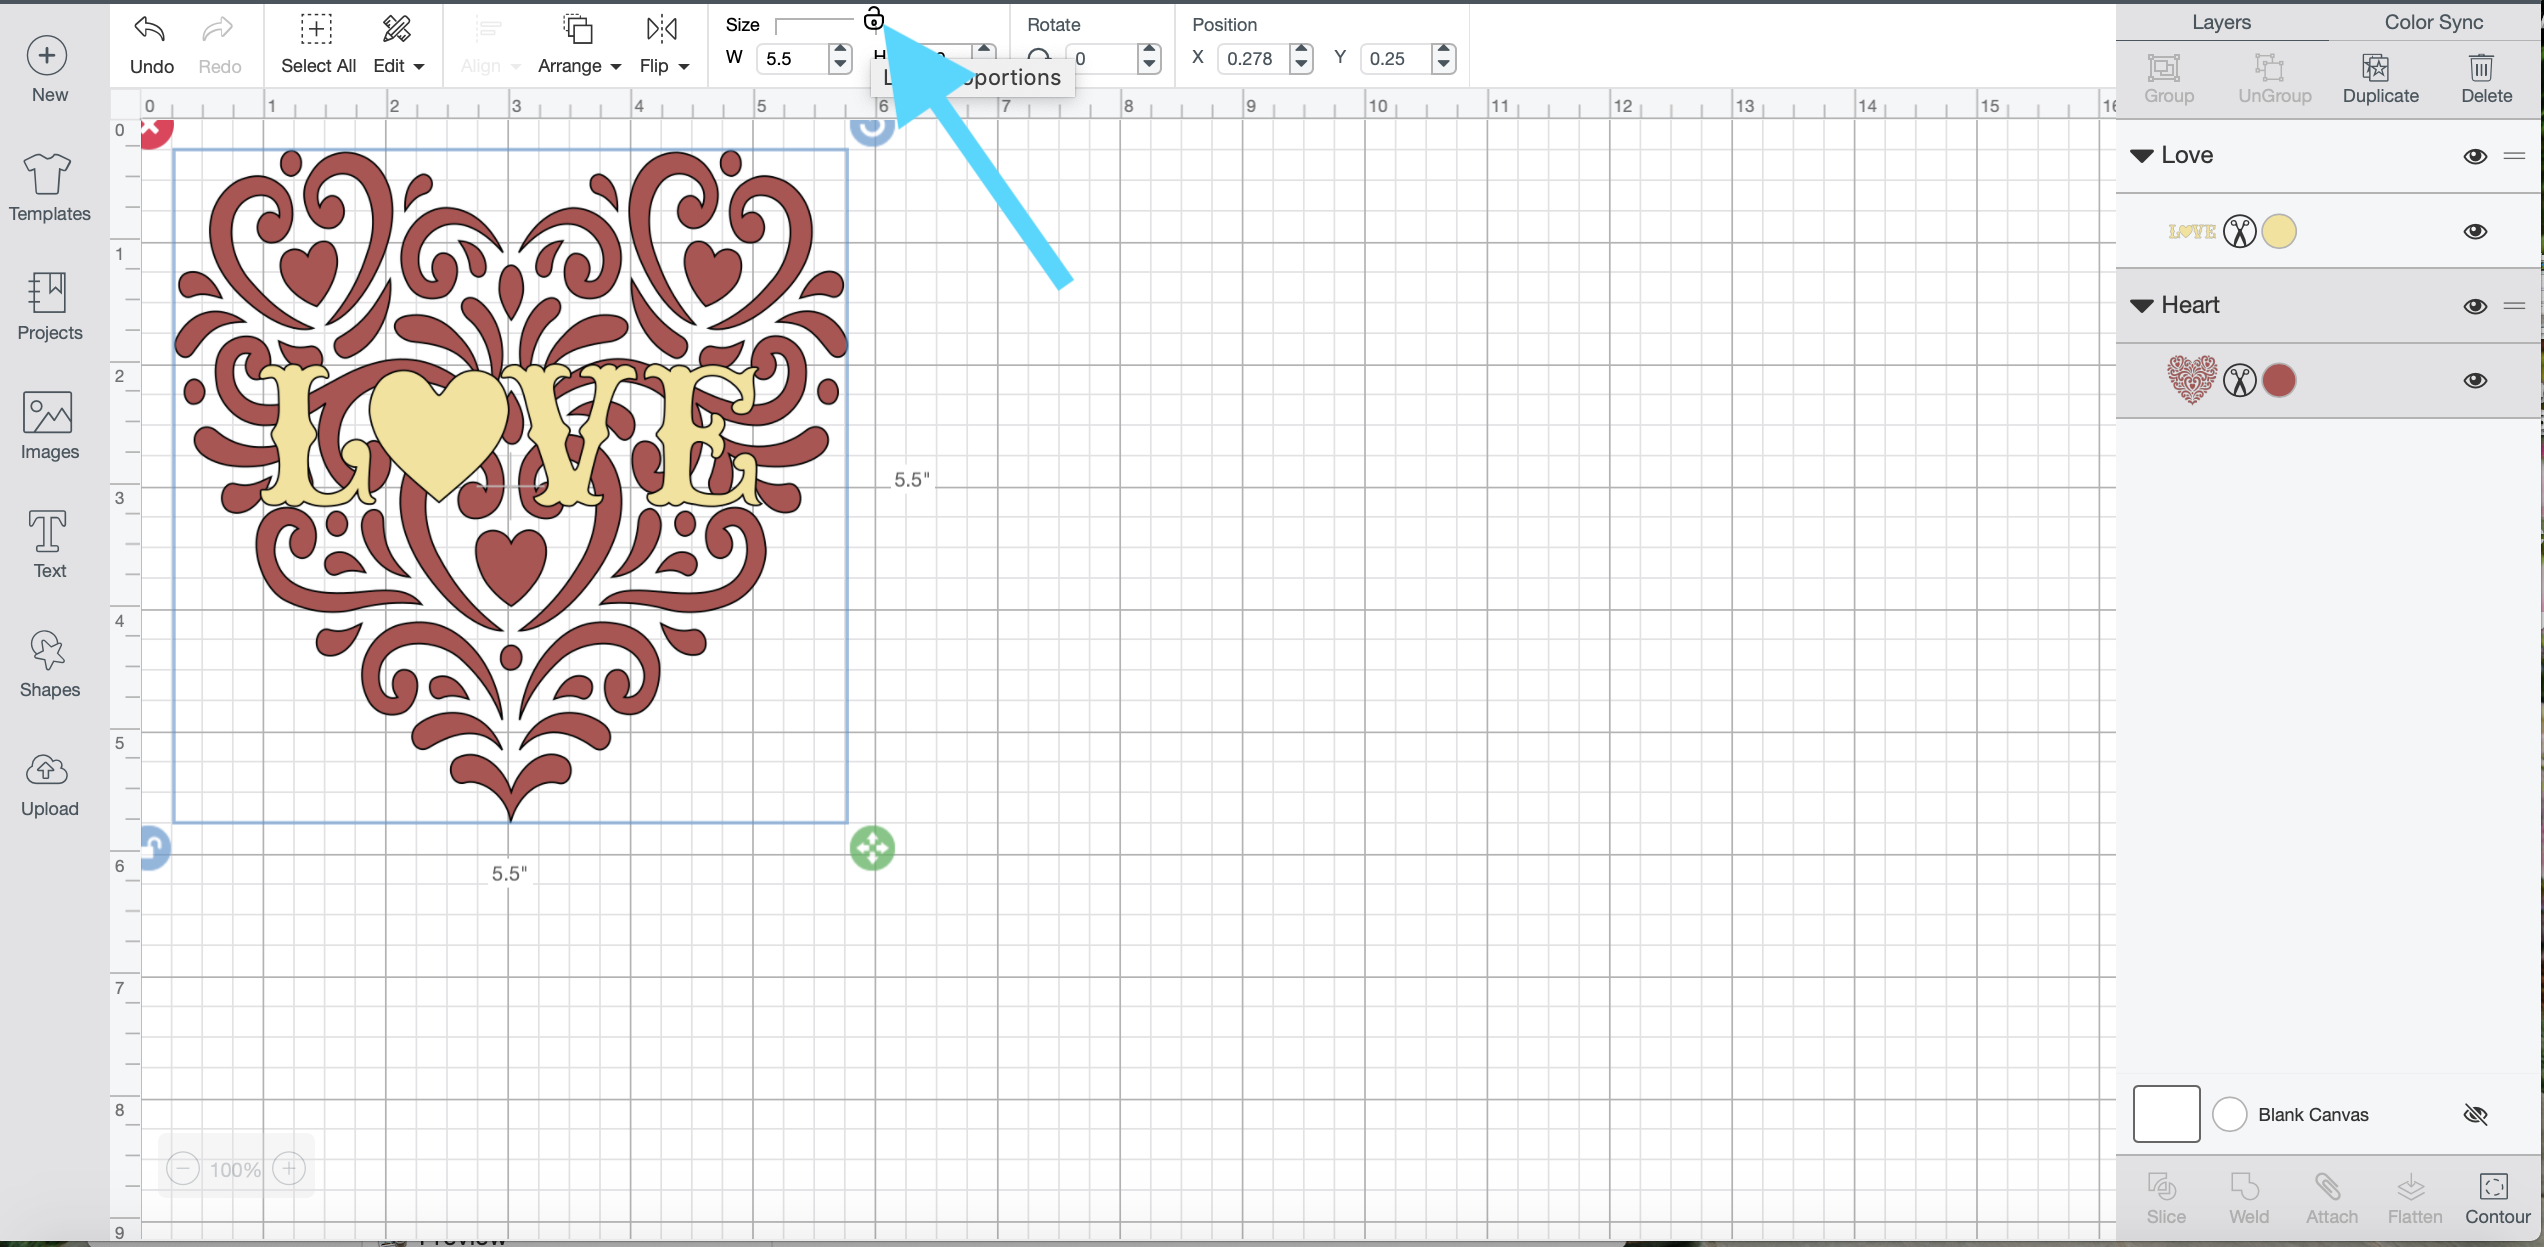
First create a new project in your Cricut Design Space then import images #M8203438 and #M9511CB0 (both of which are included in your Cricut Access Subscription).
hint: To import the images click on images on the left hand side of the Cricut Design Space window and then simply search for the first number above, hit “insert images” at the bottom left hand corner, and then repeat for the second image.
Next we need to size the images for the plaque by selecting the heart and unlocking the scaling lock (so that we can adjust the height and width independently), and entering 5.5 into both the height and width fields.
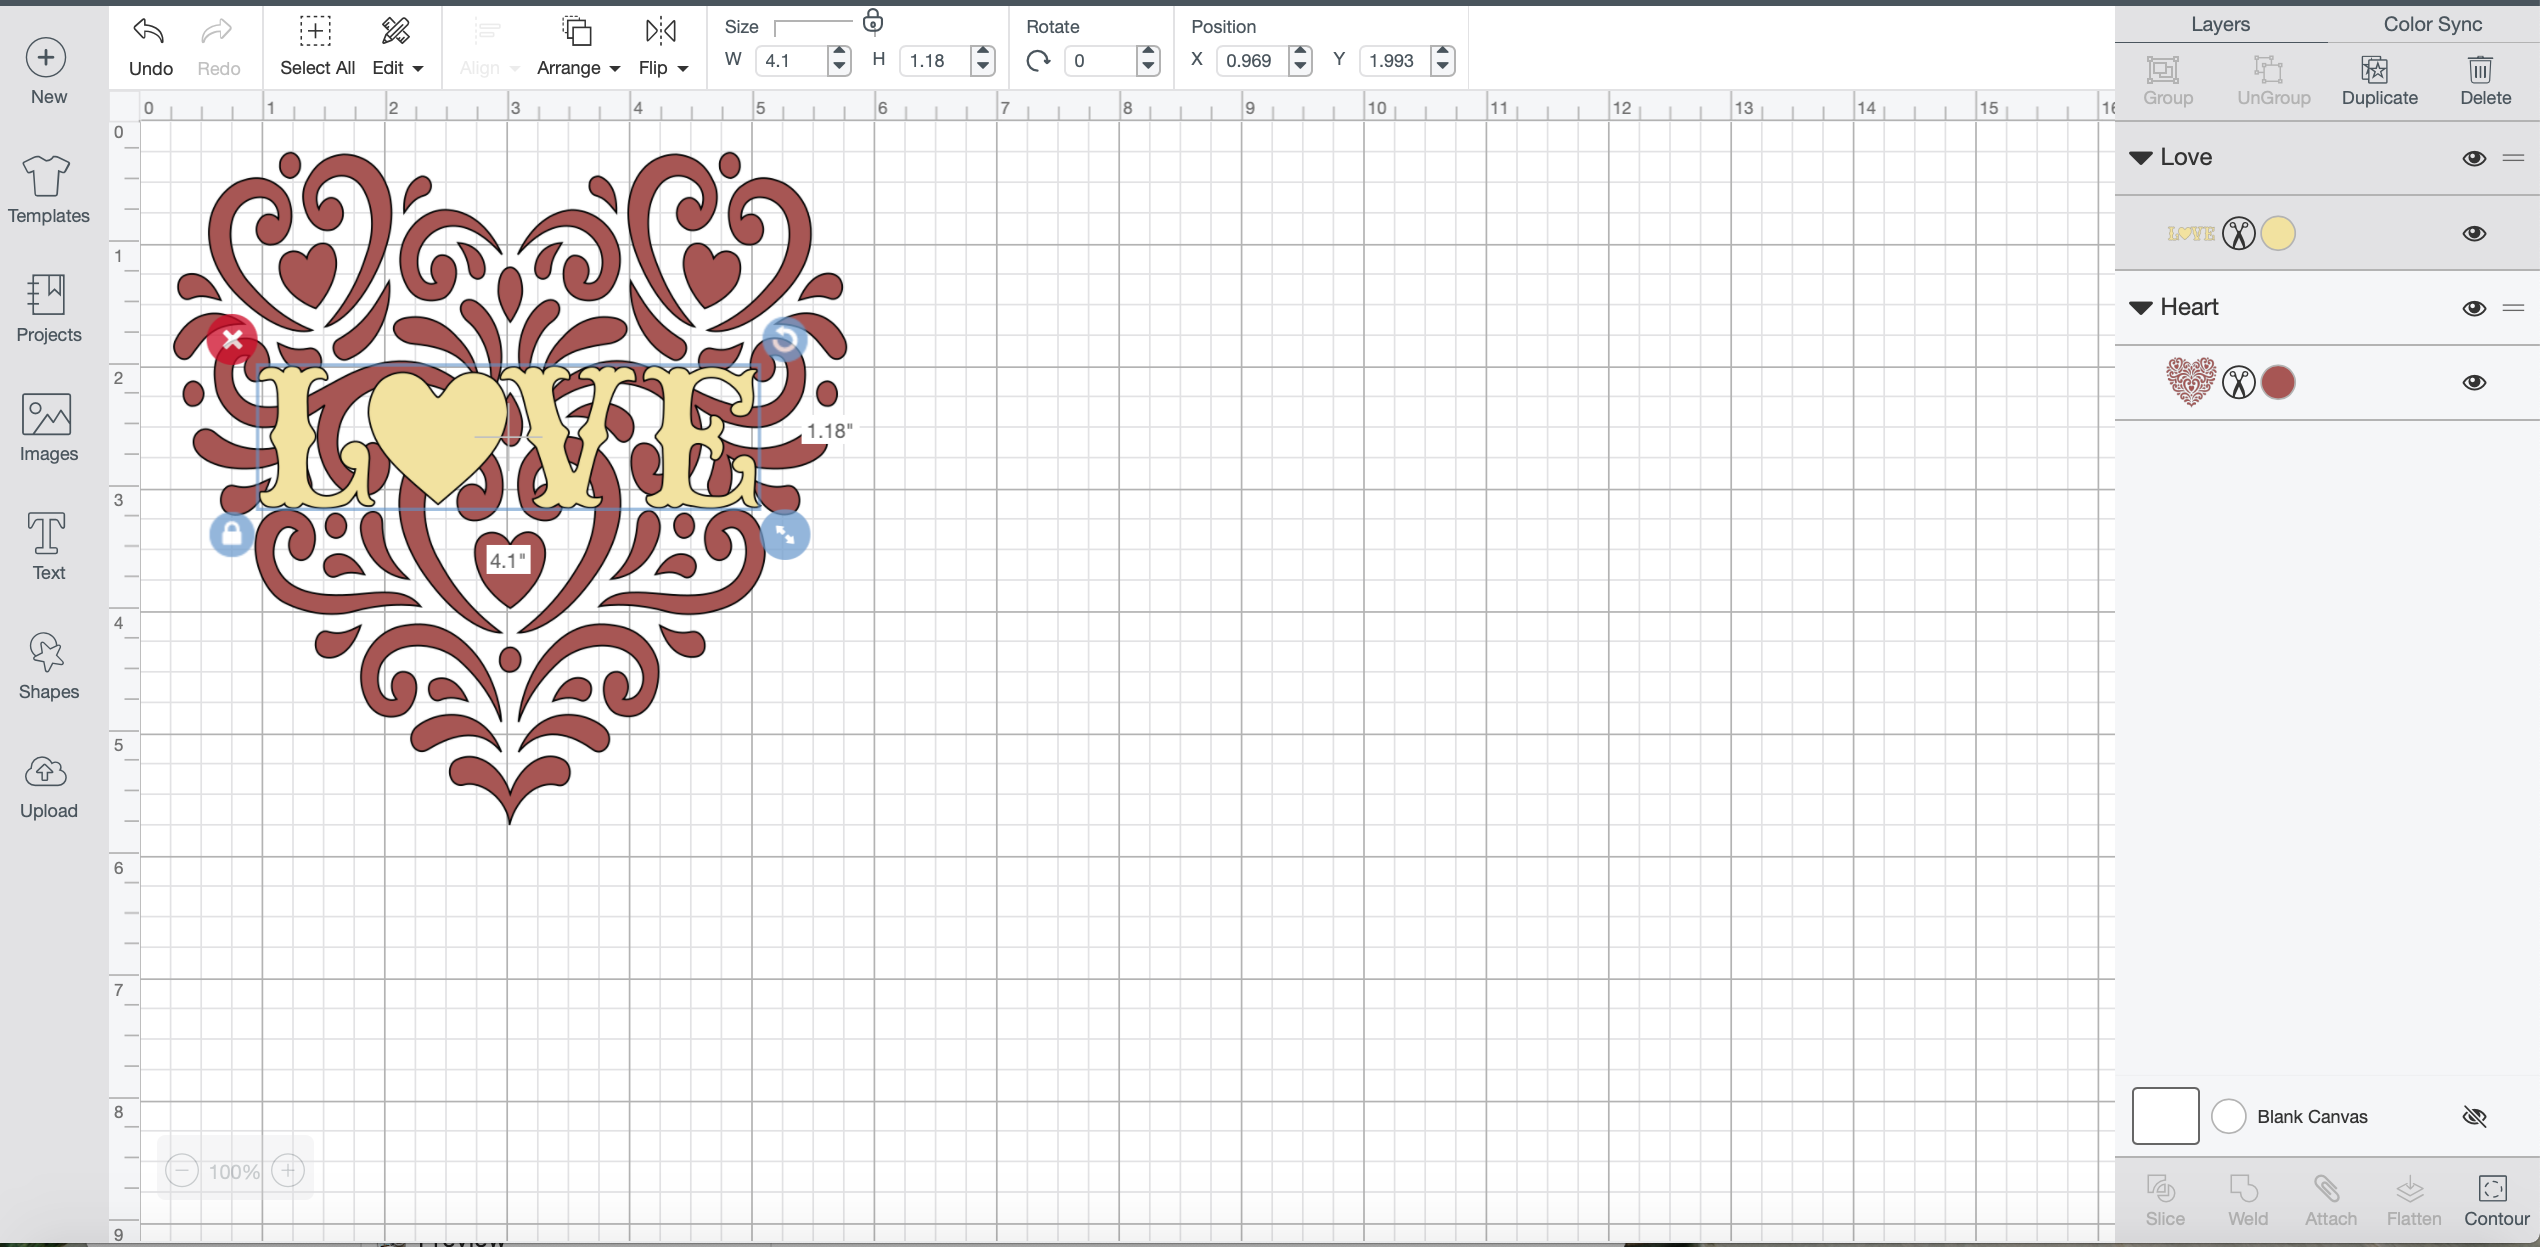
Leave the scaling lock in place for the “Love” image and enter 4.1 into the width field.
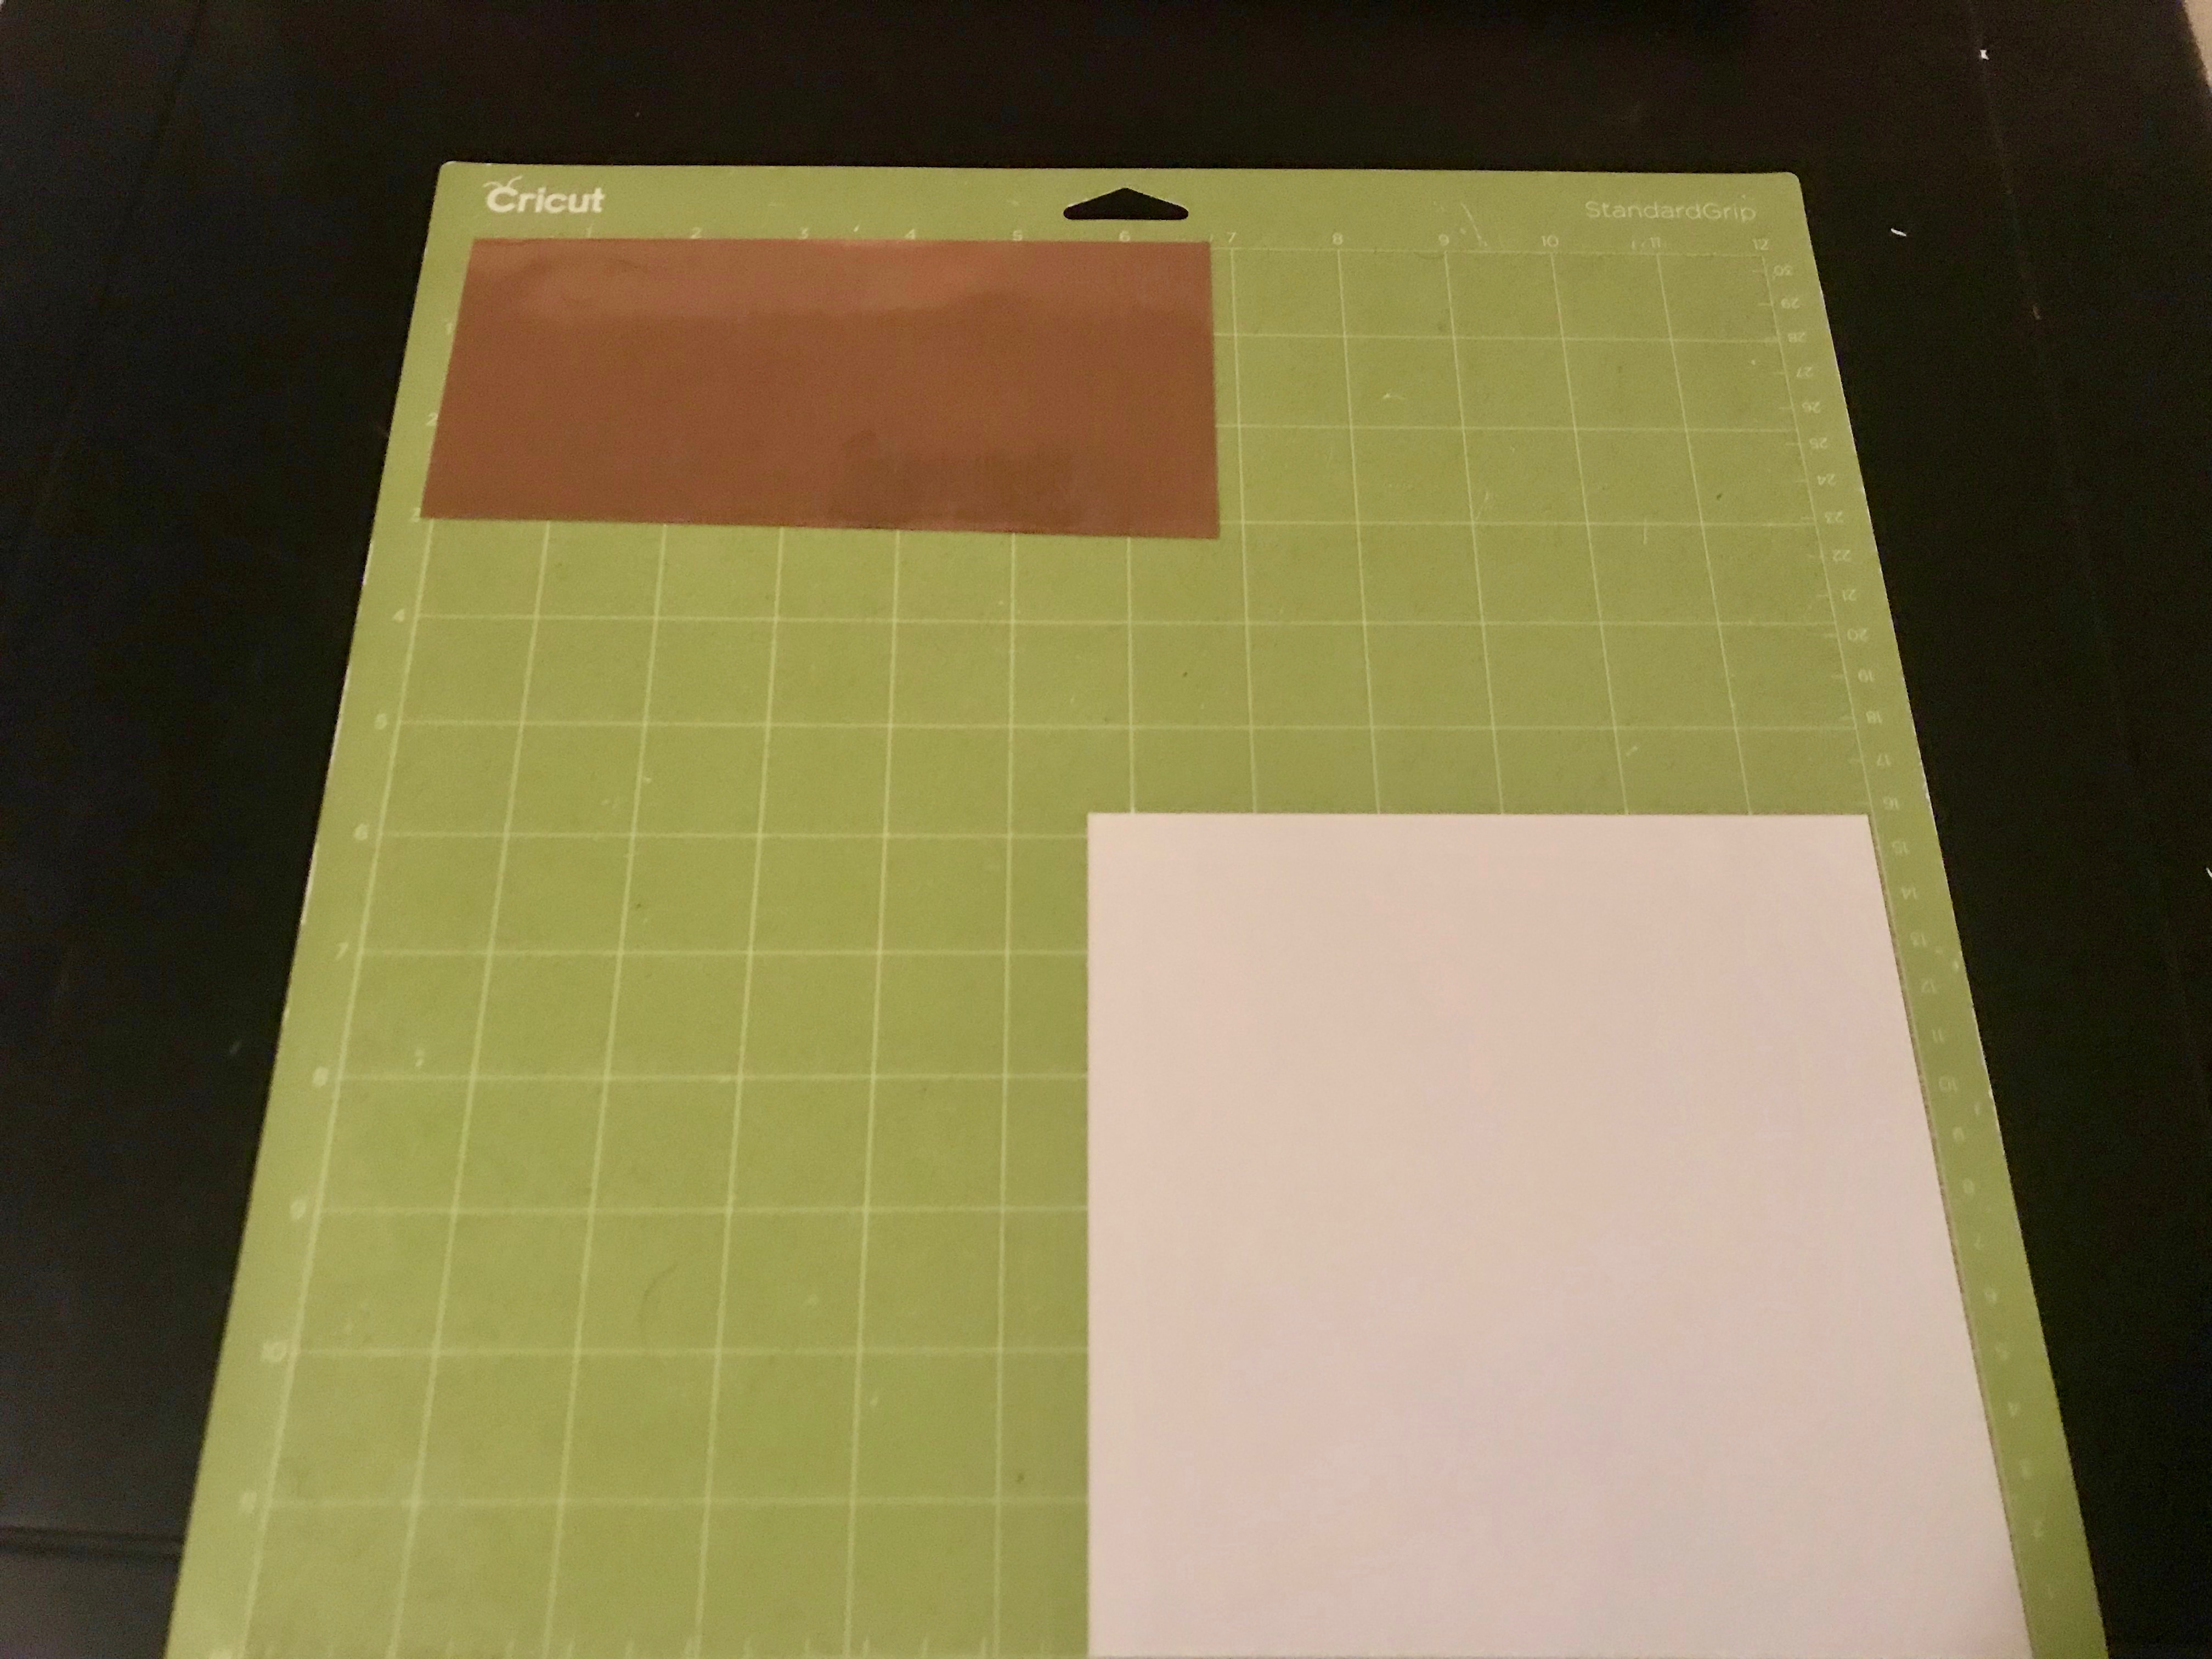
Now you are ready to cut your project using your Cricut! Cut the gold vinyl to size (approximately 5 inches by 2 inches) and the white vinyl to 6 inches by 6 inches and apply them to the standard grip mat.
hint: On smaller projects like this I always double load my mat with one piece aligned to the upper left corner of the mat and the other aligned to the bottom right. Then instead of “changing mats” I just flip it 180 degrees and feed it in that way.
Set your machine to vinyl, load the mat(s) and let it do it’s thing!
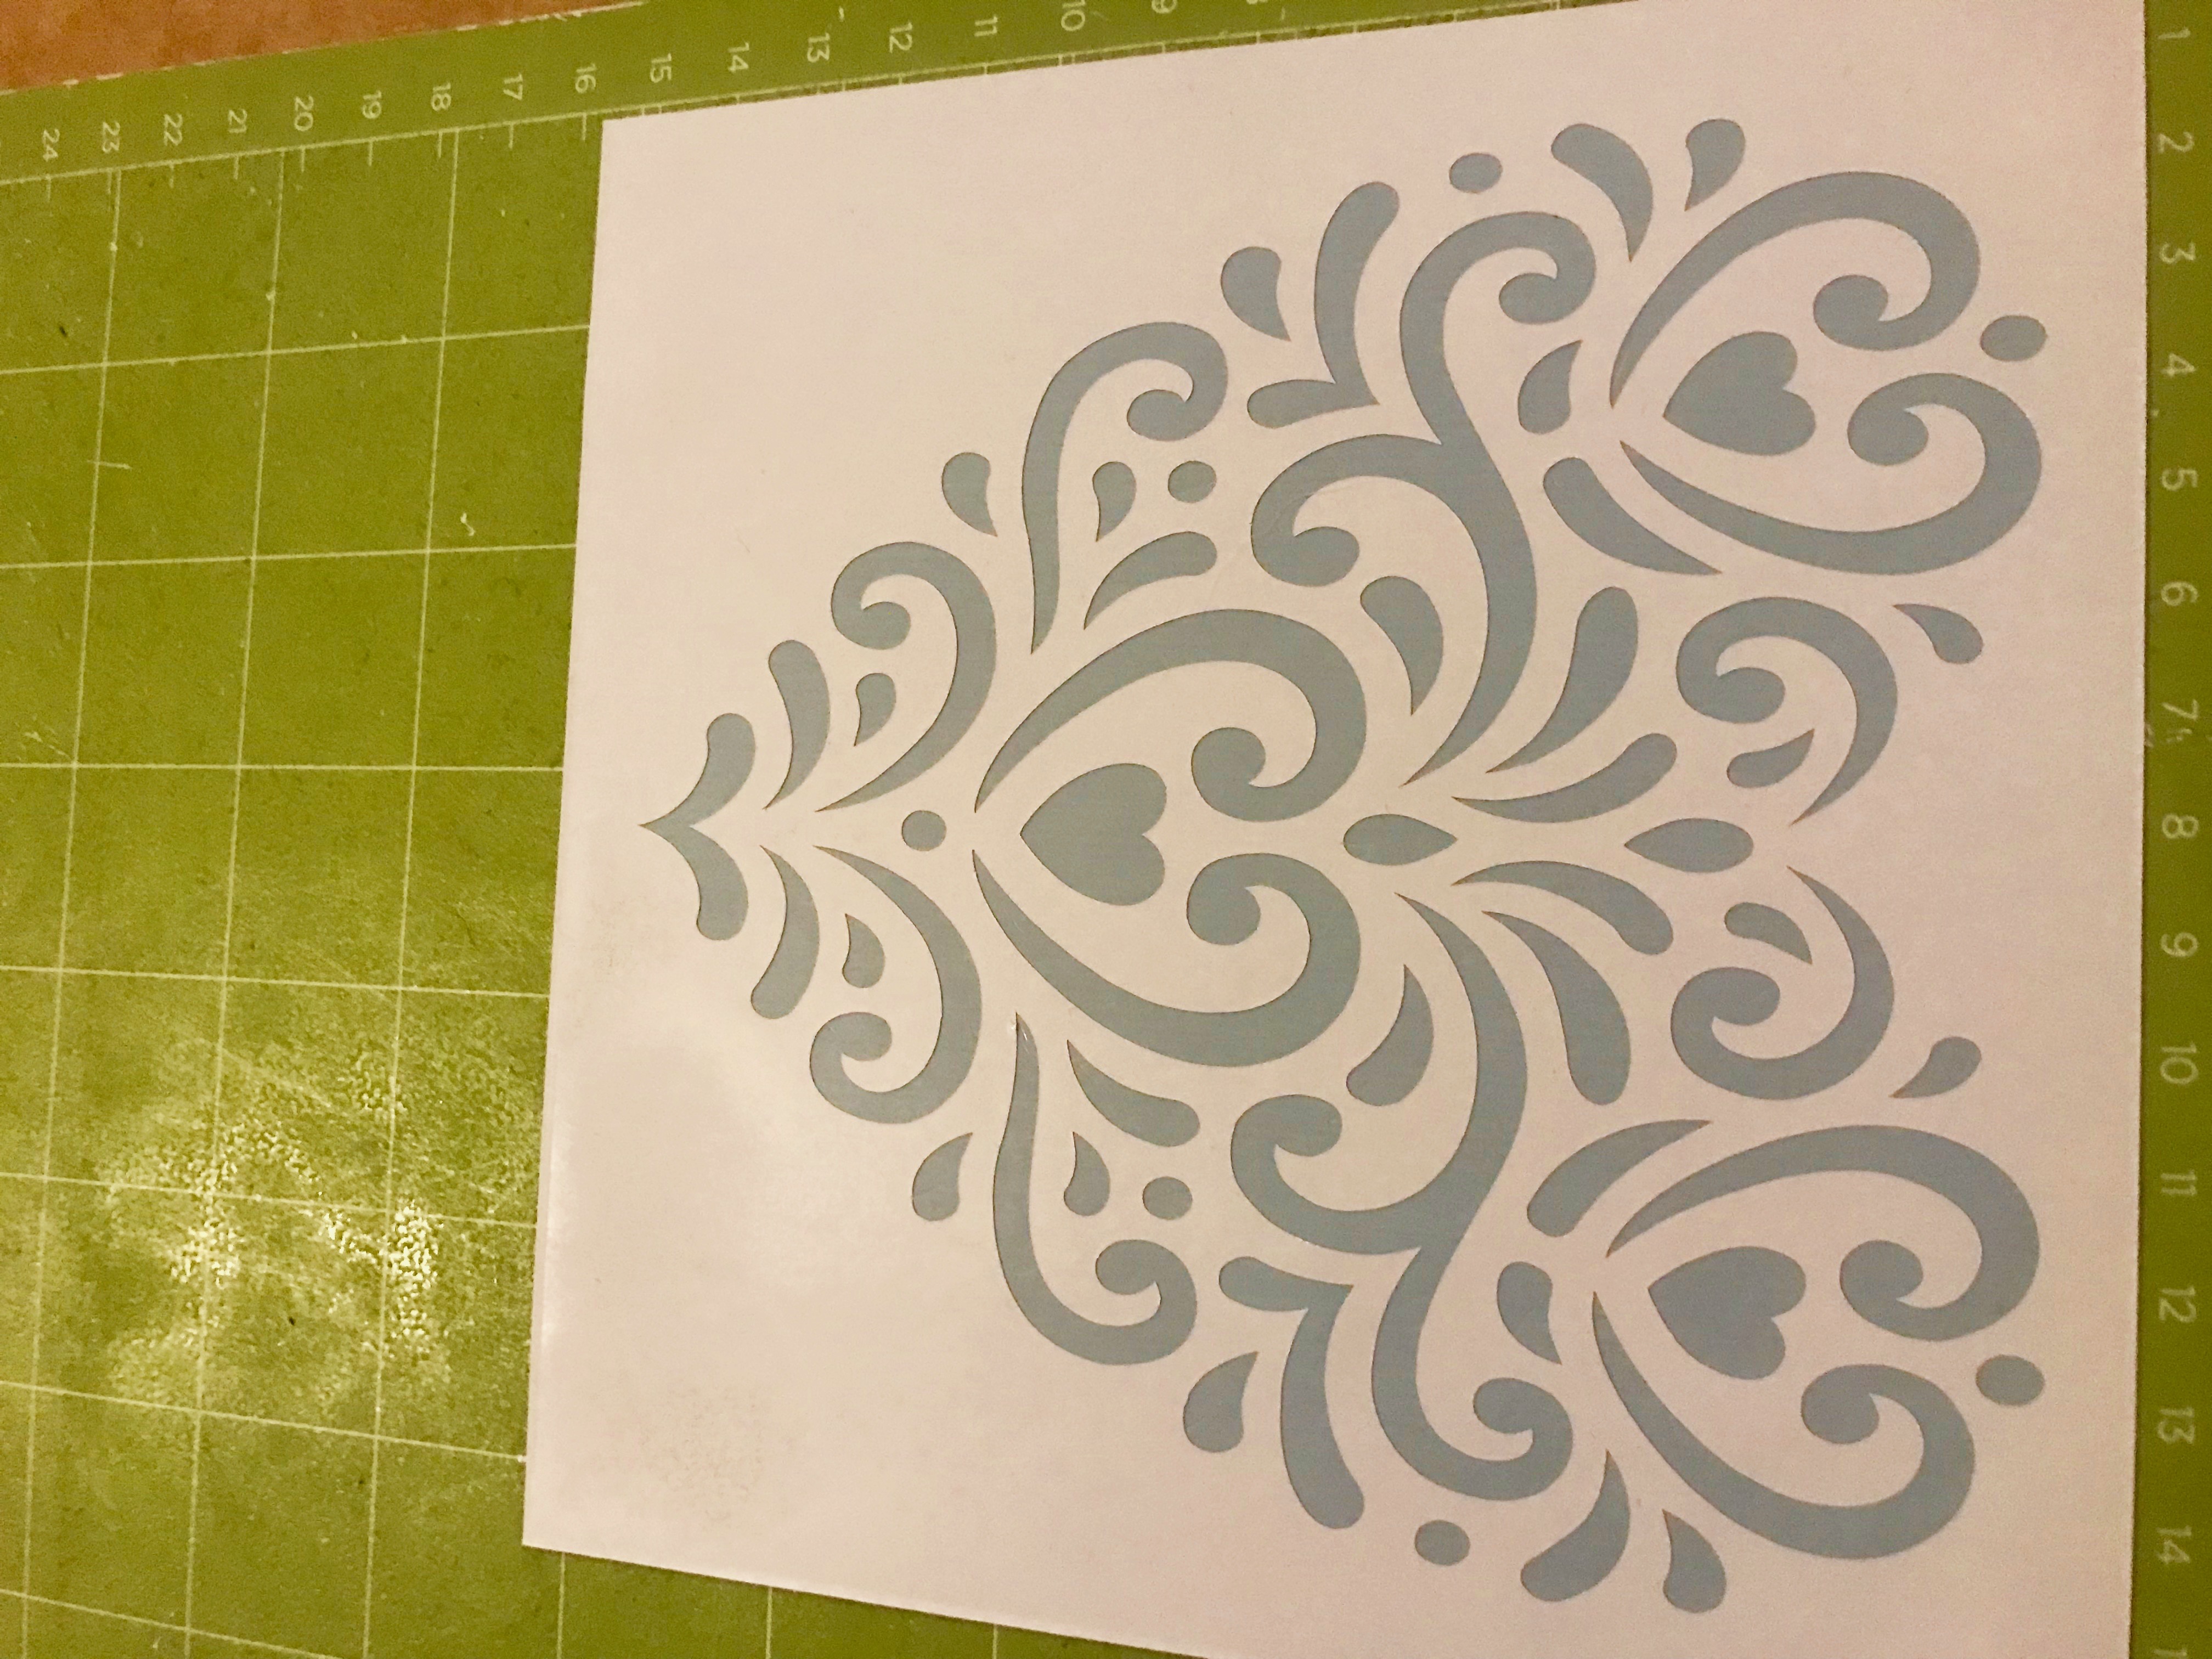
Reverse weed the white heart so the holes are left where the pieces of the heart were.
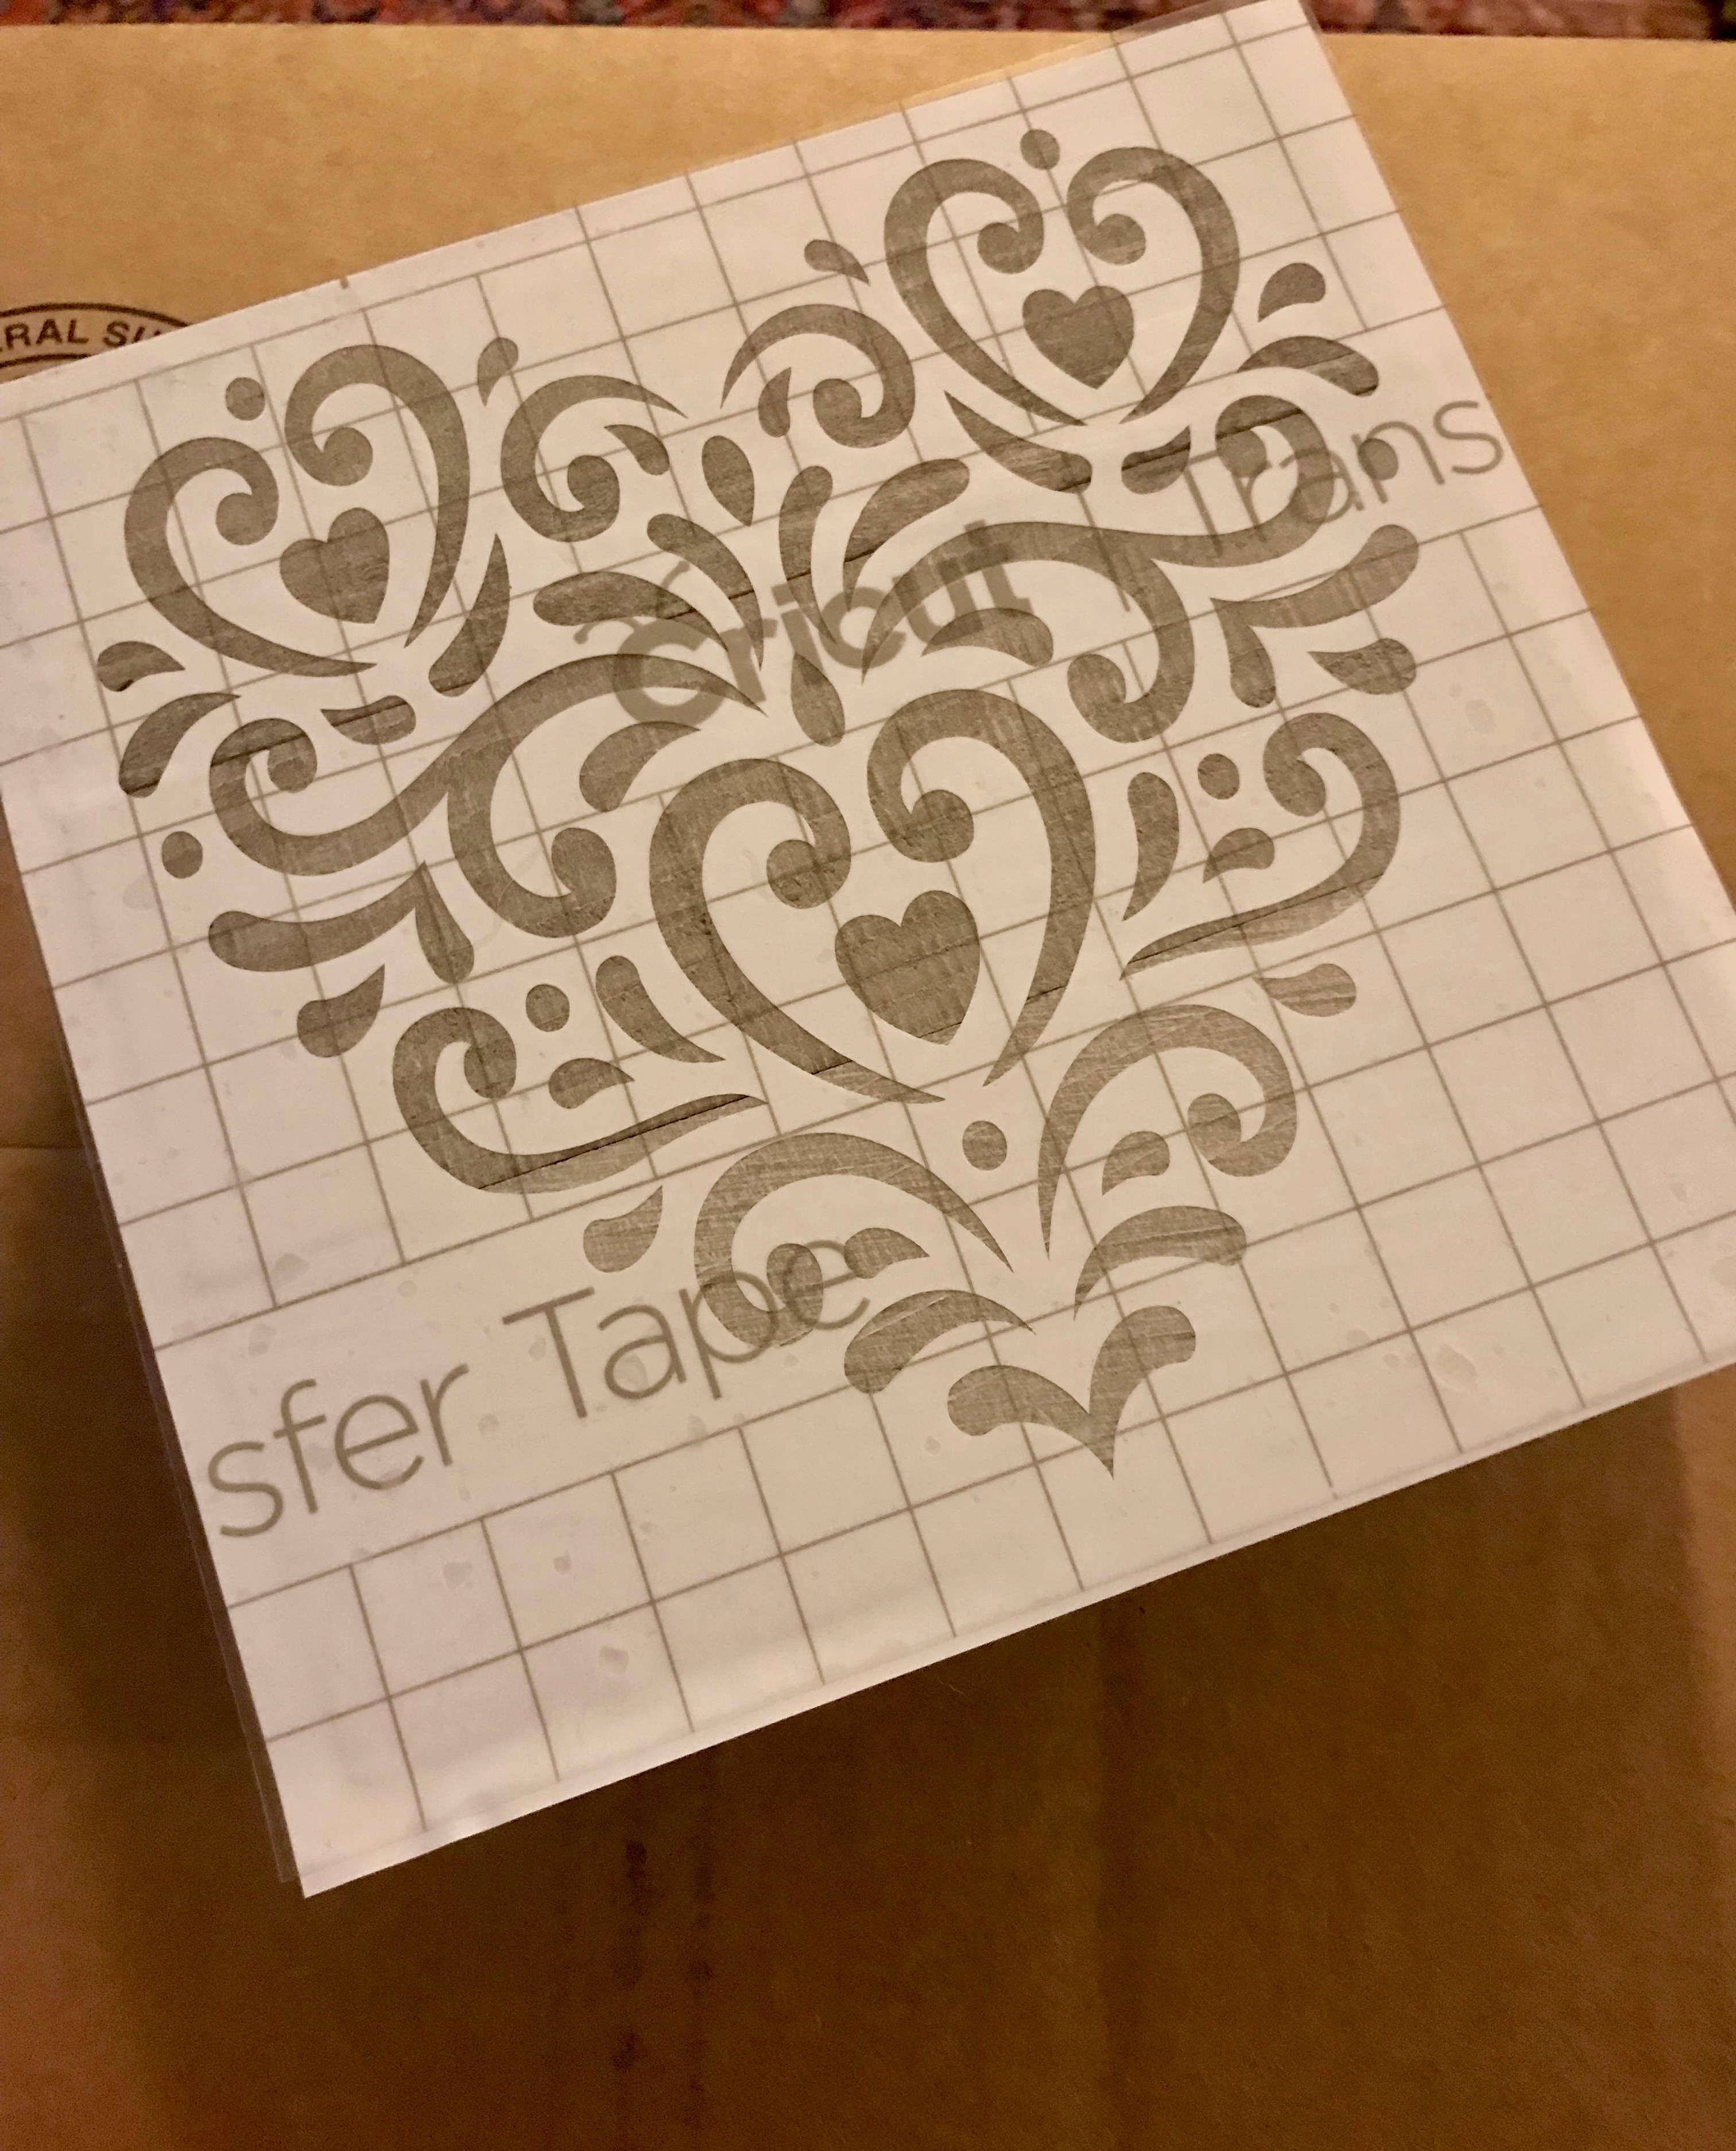
Using transfer tape, apply the white vinyl stencil to the unfinished wood plaque making sure it is straight and centered, then go over it firmly with the Cricut Scraper tool.
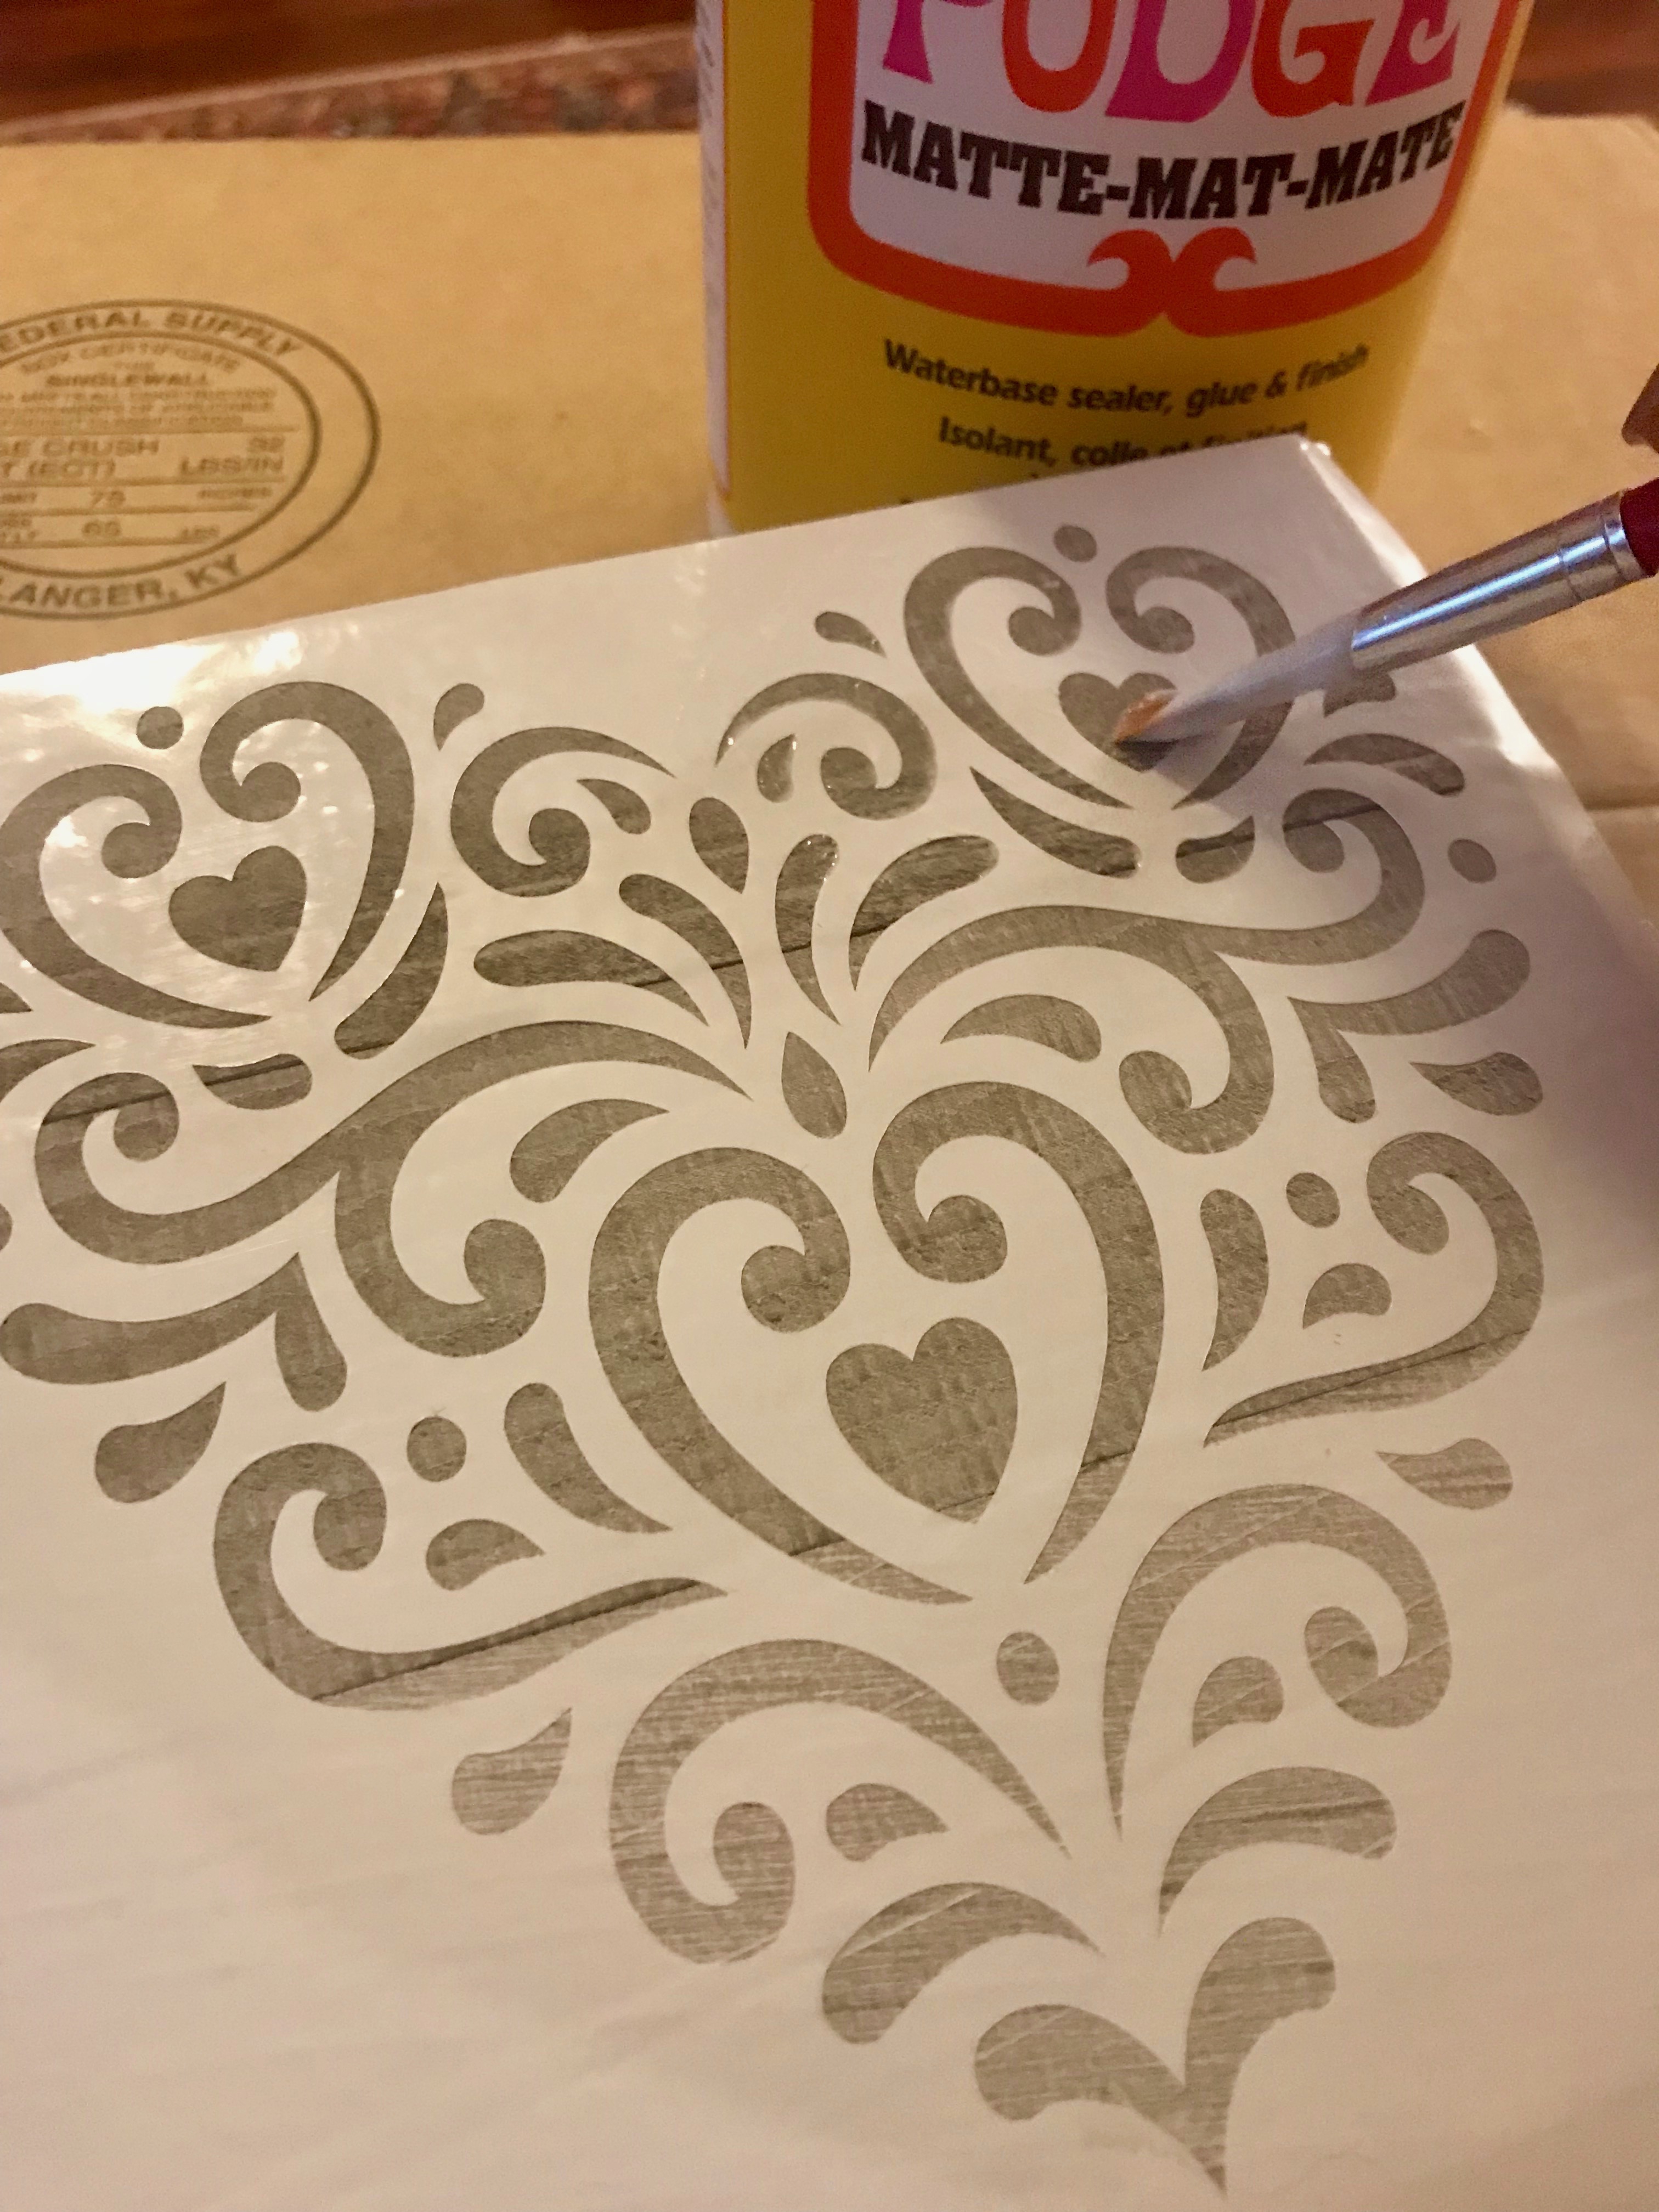
Next we are going to apply a layer of matte Mod Podge to the stencil area using a paintbrush . Let it dry (or use my Mod Podge drying time hack) then apply one more coat of Mod Podge. If you notice that there are any large crevices in your plaque like where the two pieces of wood meet you may want to go over those one more time to fill them in as much as possible.
hint: This step is EXTREMELY important. Otherwise your paint will bleed underneath the stencil causing it to look blotchy and uneven.
Once the Mod Podge is dry you are ready to apply your paint! I used Deep Burgundy but any color of acrylic paint your heart desires will work just as well. I used a small foam stenciling brush to dab on one layer of paint, let it dry, and applied a second coat.
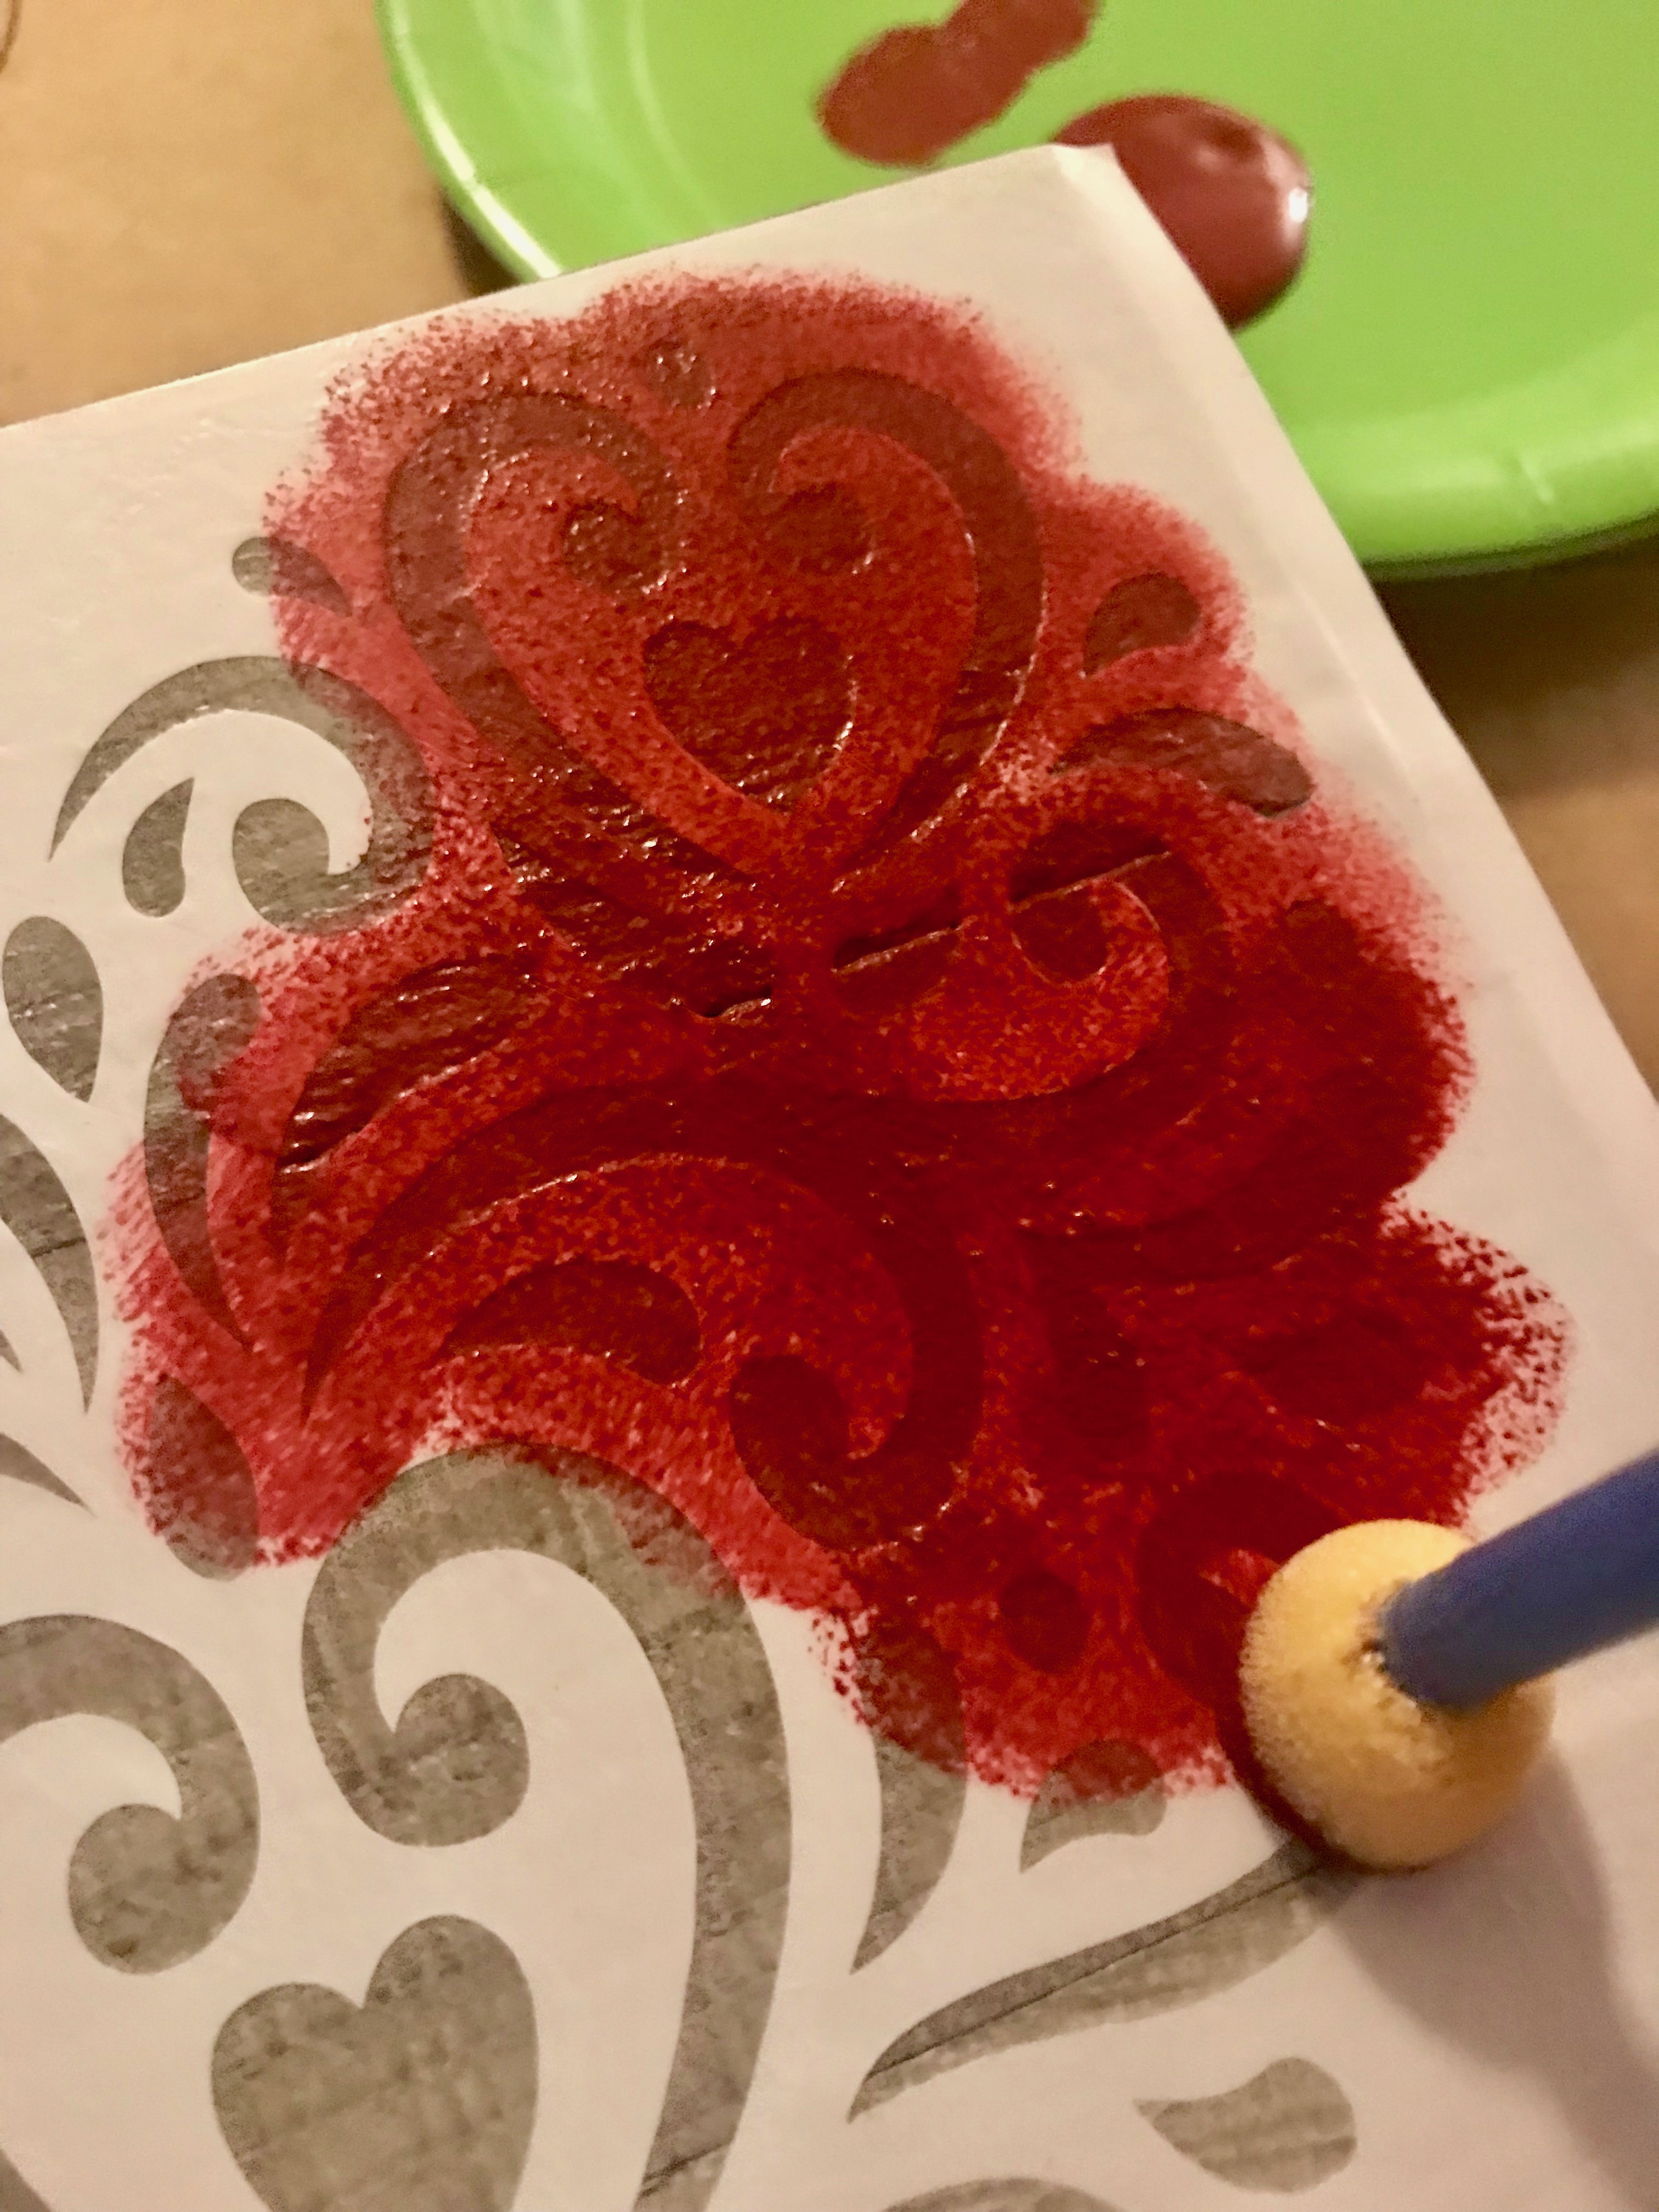
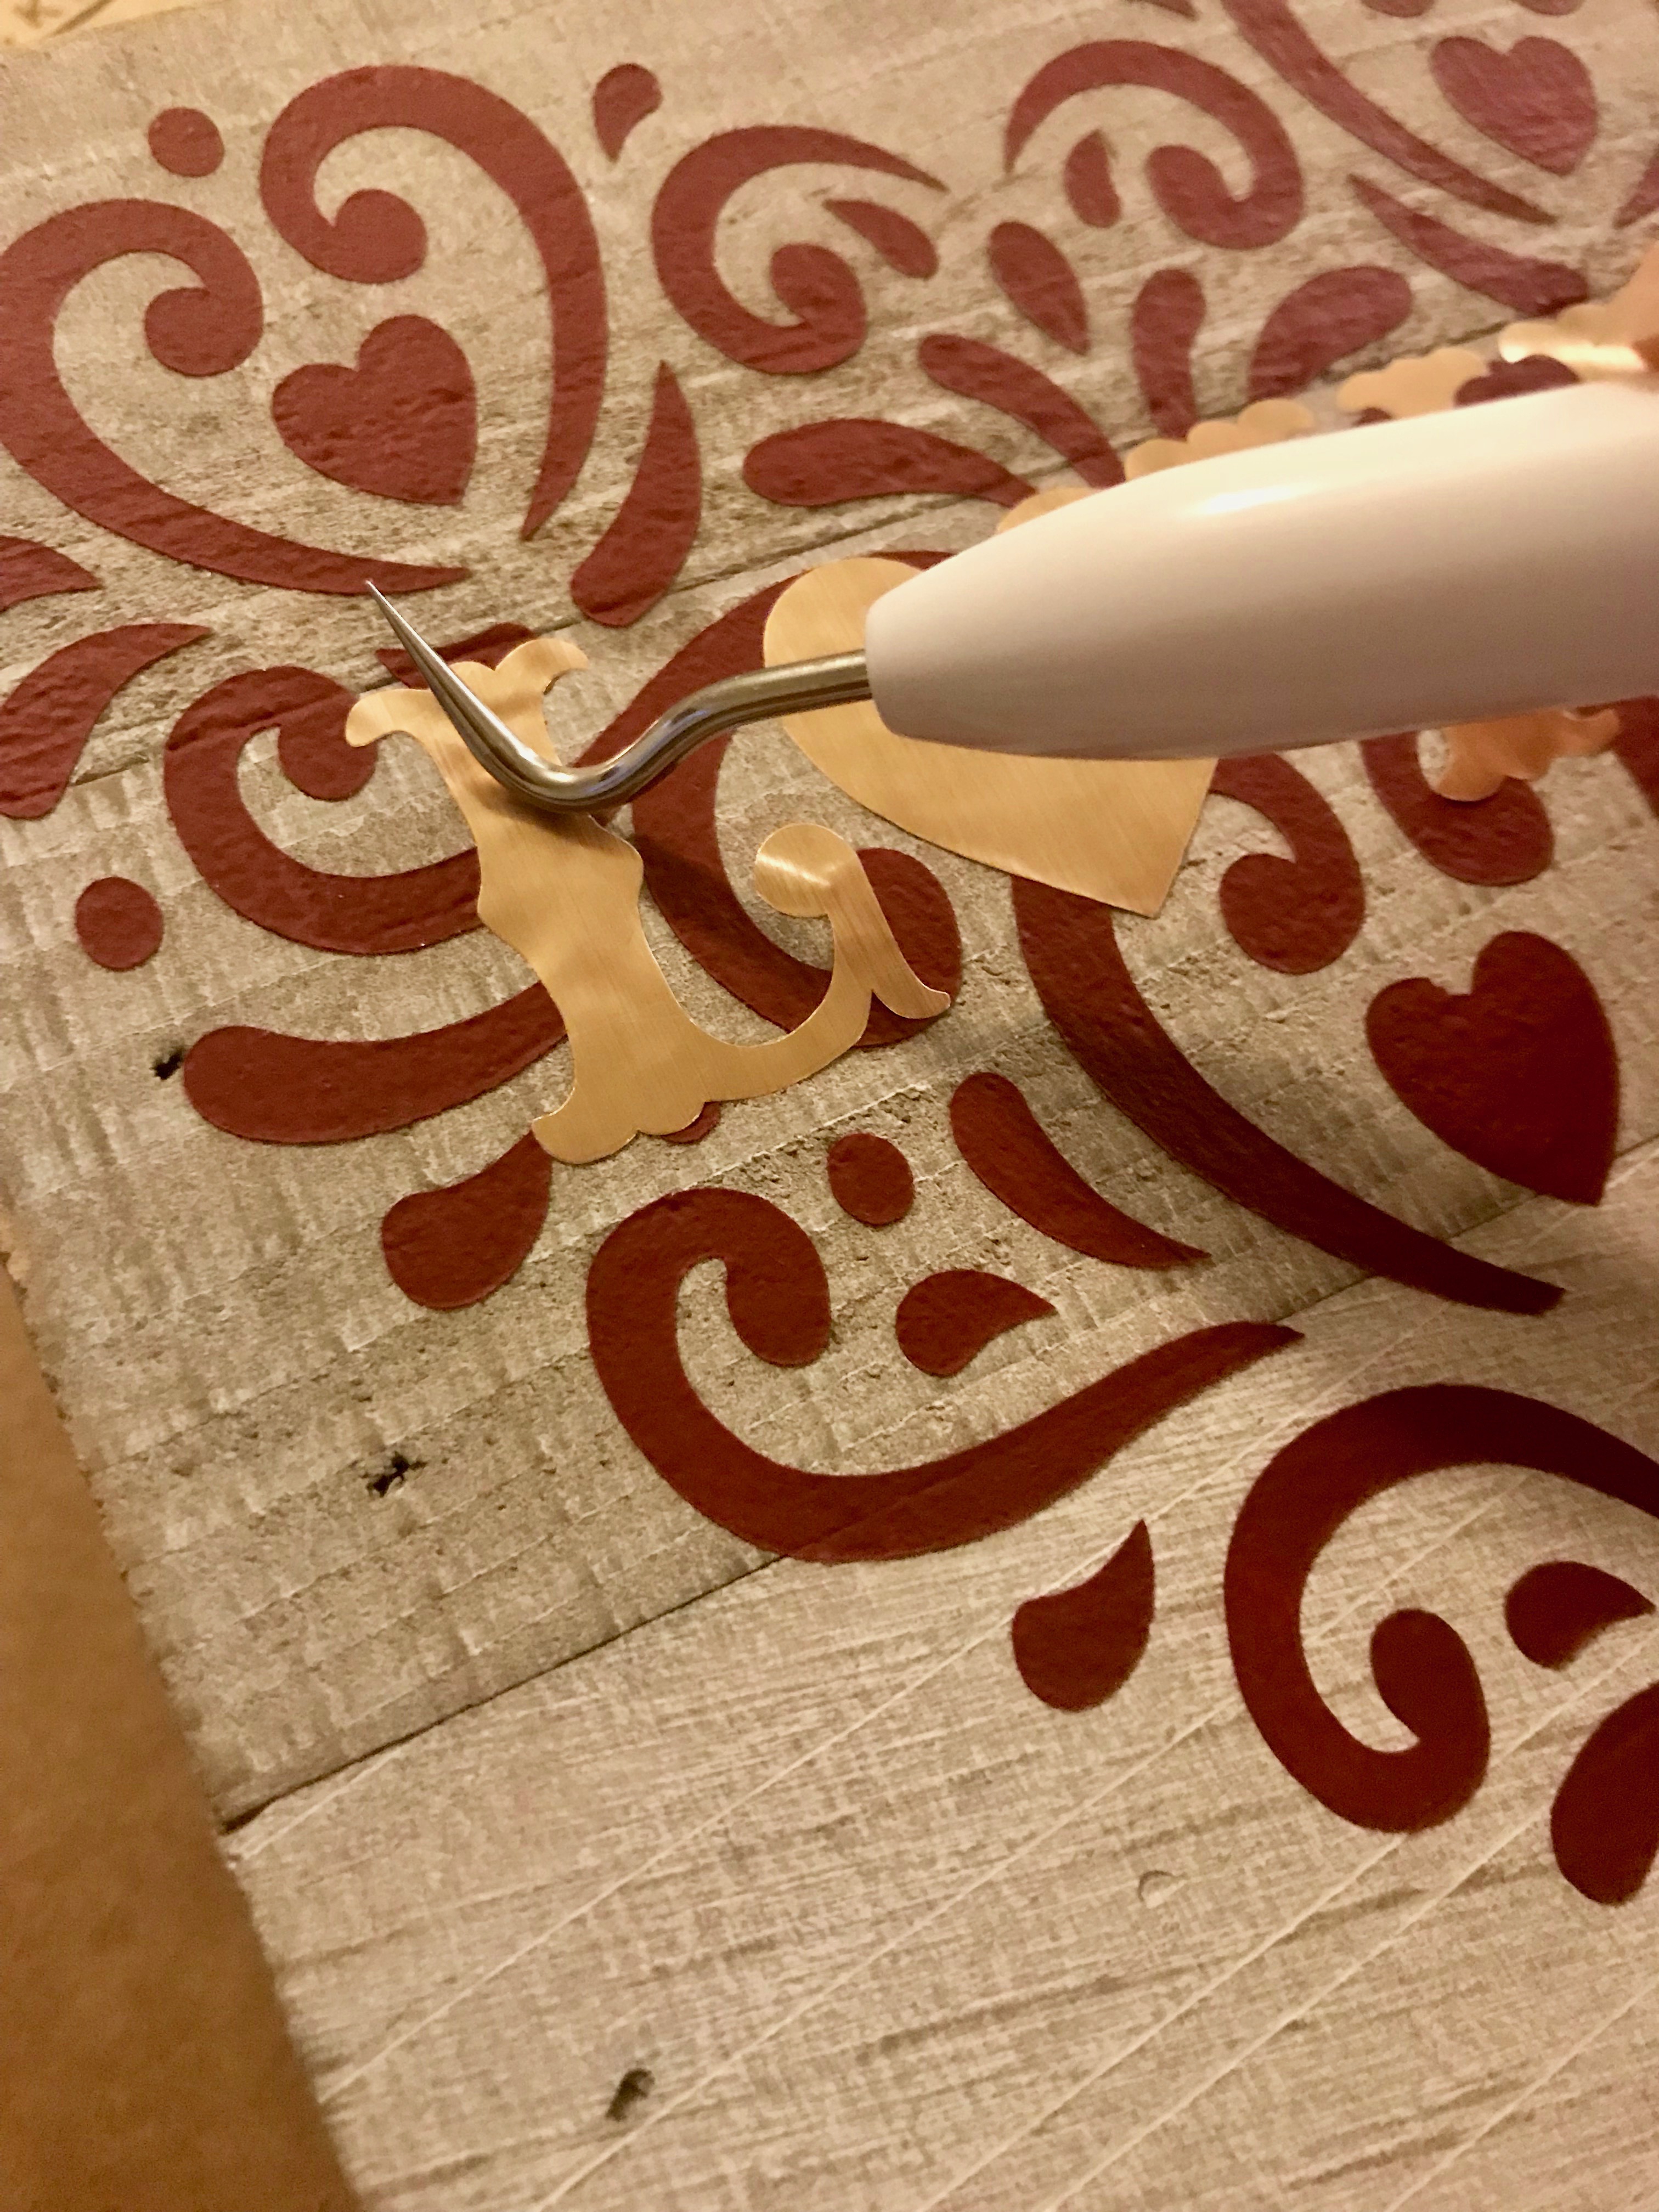
When the paint is fully dry (or mostly dry if you are impatient like I am) peel away the vinyl stencil in one smooth motion and a perfect heart design should be left on your plaque!
hint: If some of the small curly parts get stuck use the weeding tool to gently pull them away.

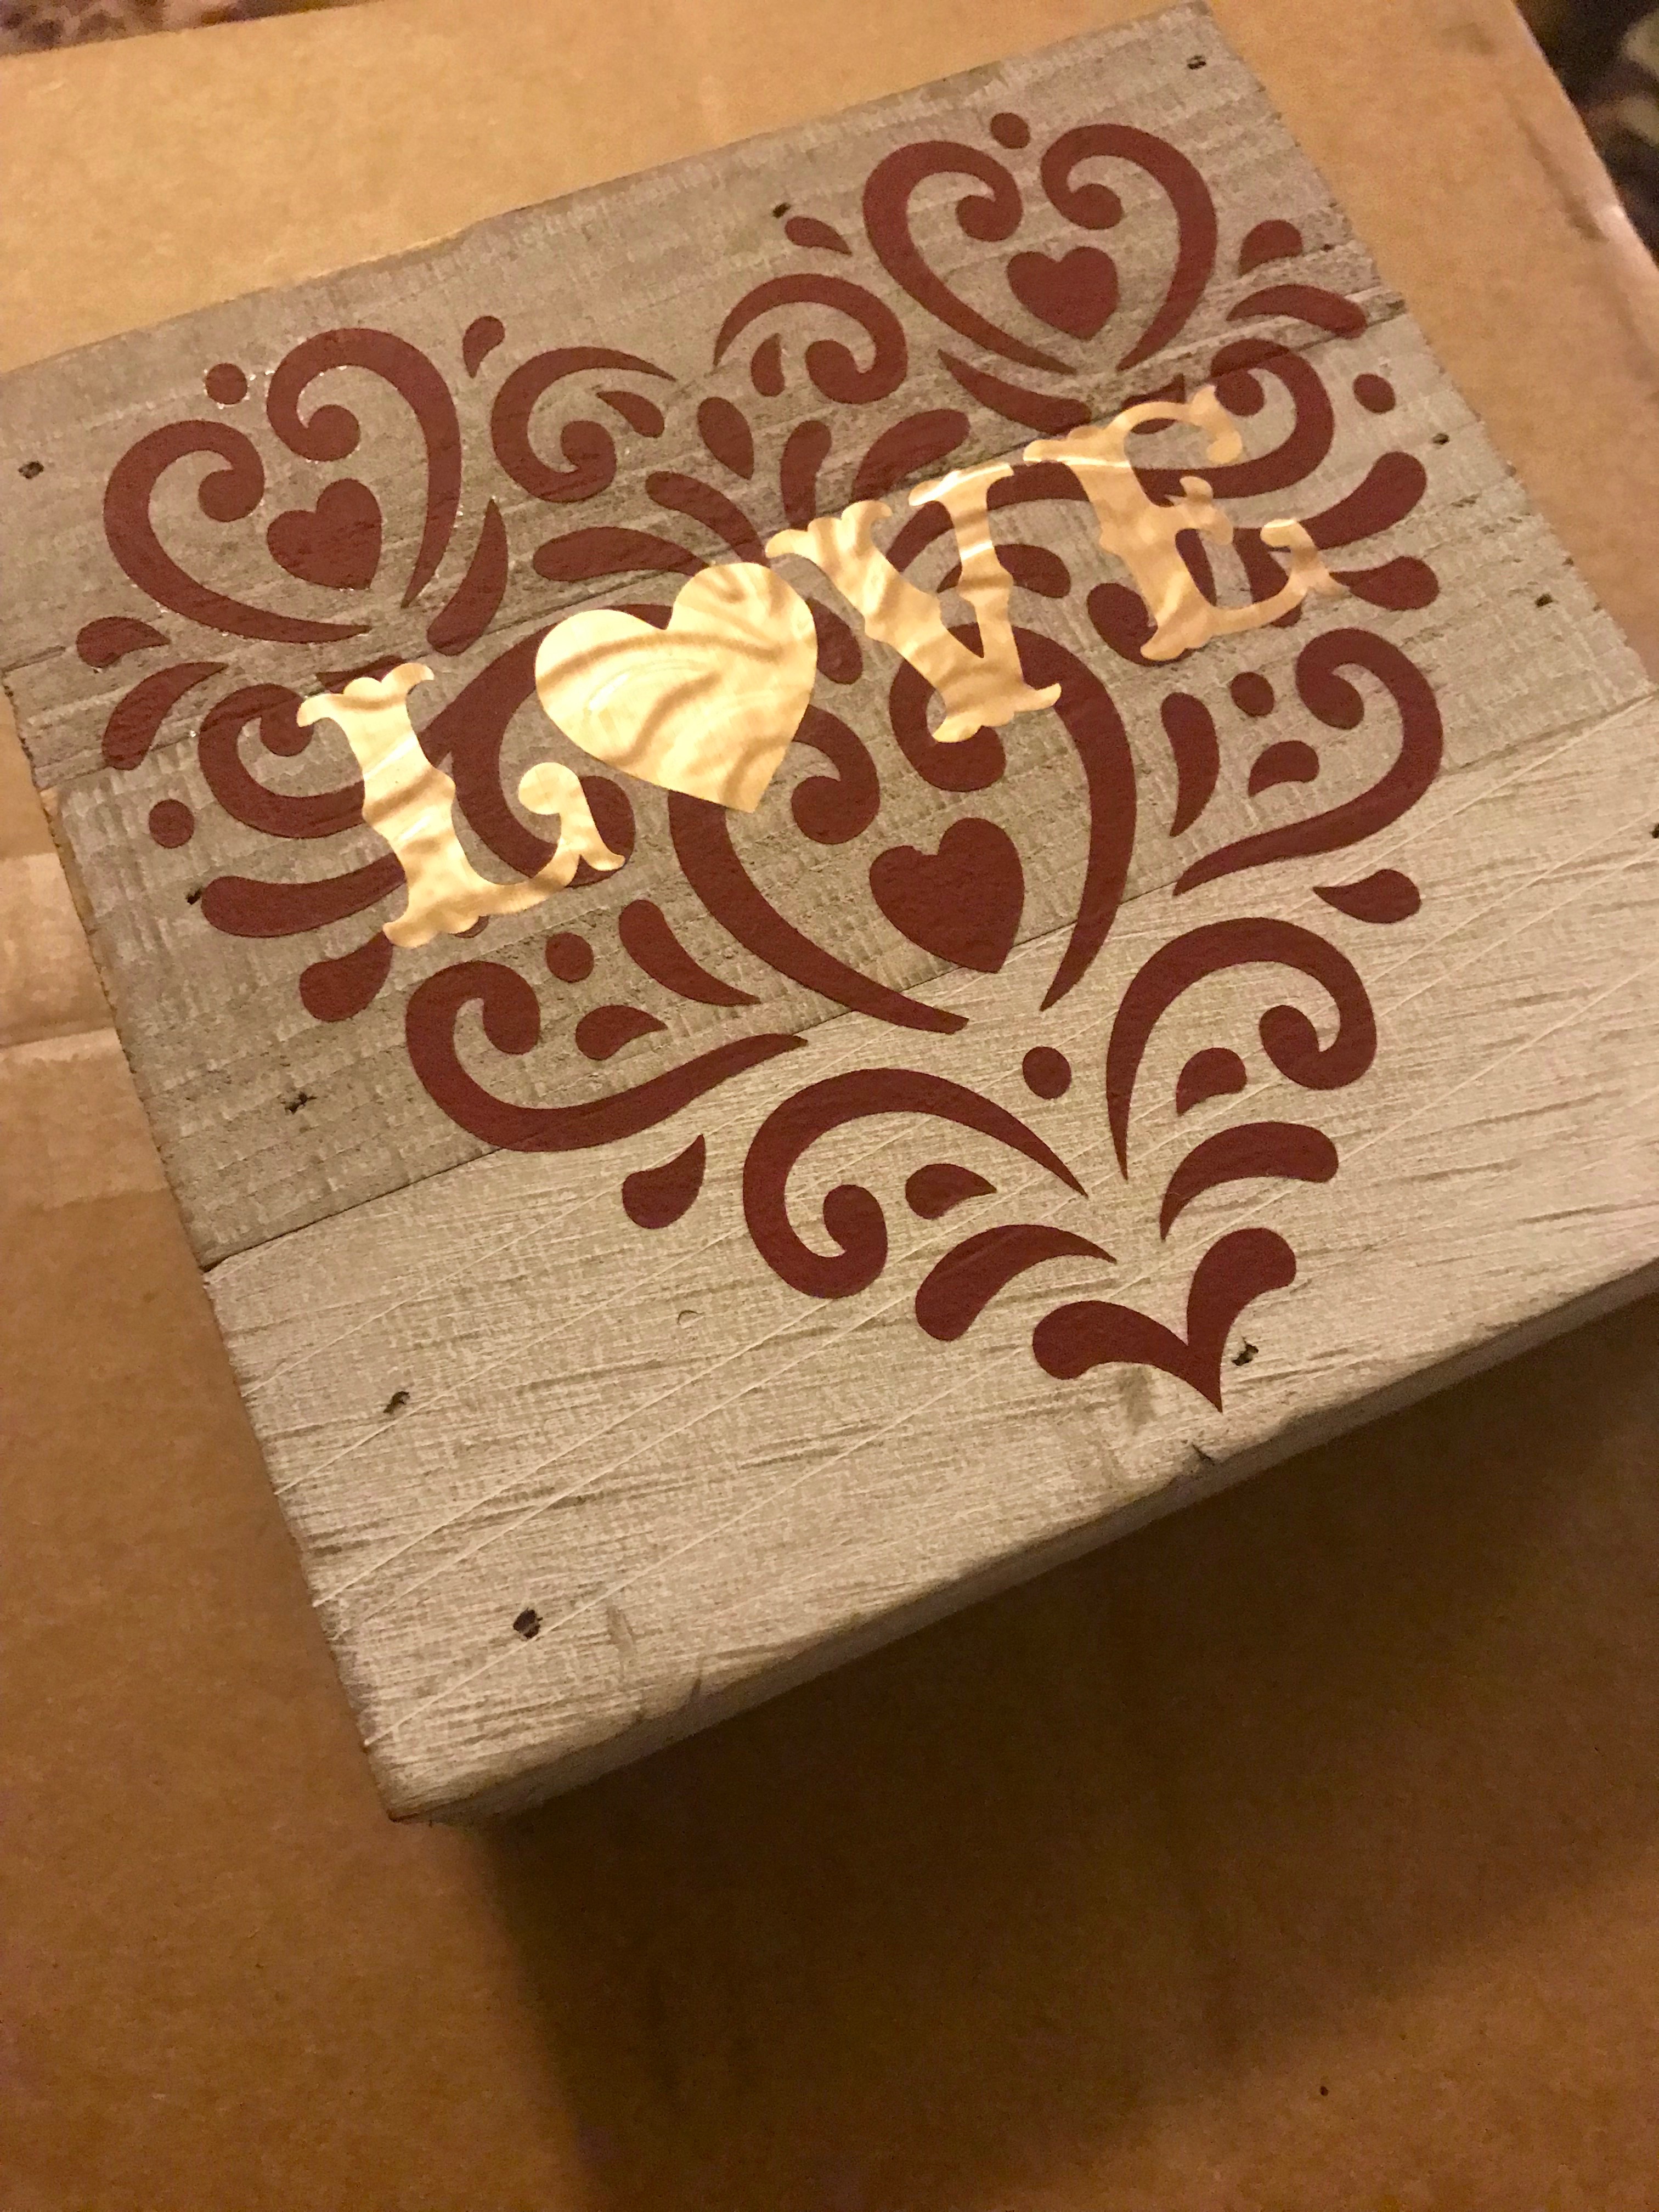
Weed the gold “Love” lettering and using transfer tape center it and apply it over the dried paint.
hint: One of the things I LOVE about using these plaques is where the wood pieces meet make perfect guidelines for making sure your designs are even.
After you have given it a good rub with the Cricut Scraper Tool and peeled away the transfer tape we are going to do one extra step. Using the back of the Cricut weeding hook firmly go over all of the gold vinyl again.
hint: I work with A LOT of unfinished wood and getting vinyl to stick to it at times can be tricky, however I have found using the back of the weeding tool helps the vinyl adhere SO much better. I also love how when used over the painted design this technique makes the letters come to life with the dimension of the design below!
I am a stickler for my projects having a long shelf life so I always do at least one coat of Matte Mod Podge to “seal” the vinyl onto the piece.
I hope you enjoy your homemade Valentine’s decor as much as I plan to and picked up a few tips for working with vinyl and unfinished wood along the way, despite what others say they *can* play nicely together if you know how to use them! One other hint if you want your decor to truly shine display near a candle or other warm flickering light to watch it truly come alive (just be safe about folks, fire danger/ wood/ and all of that).
 ,
,