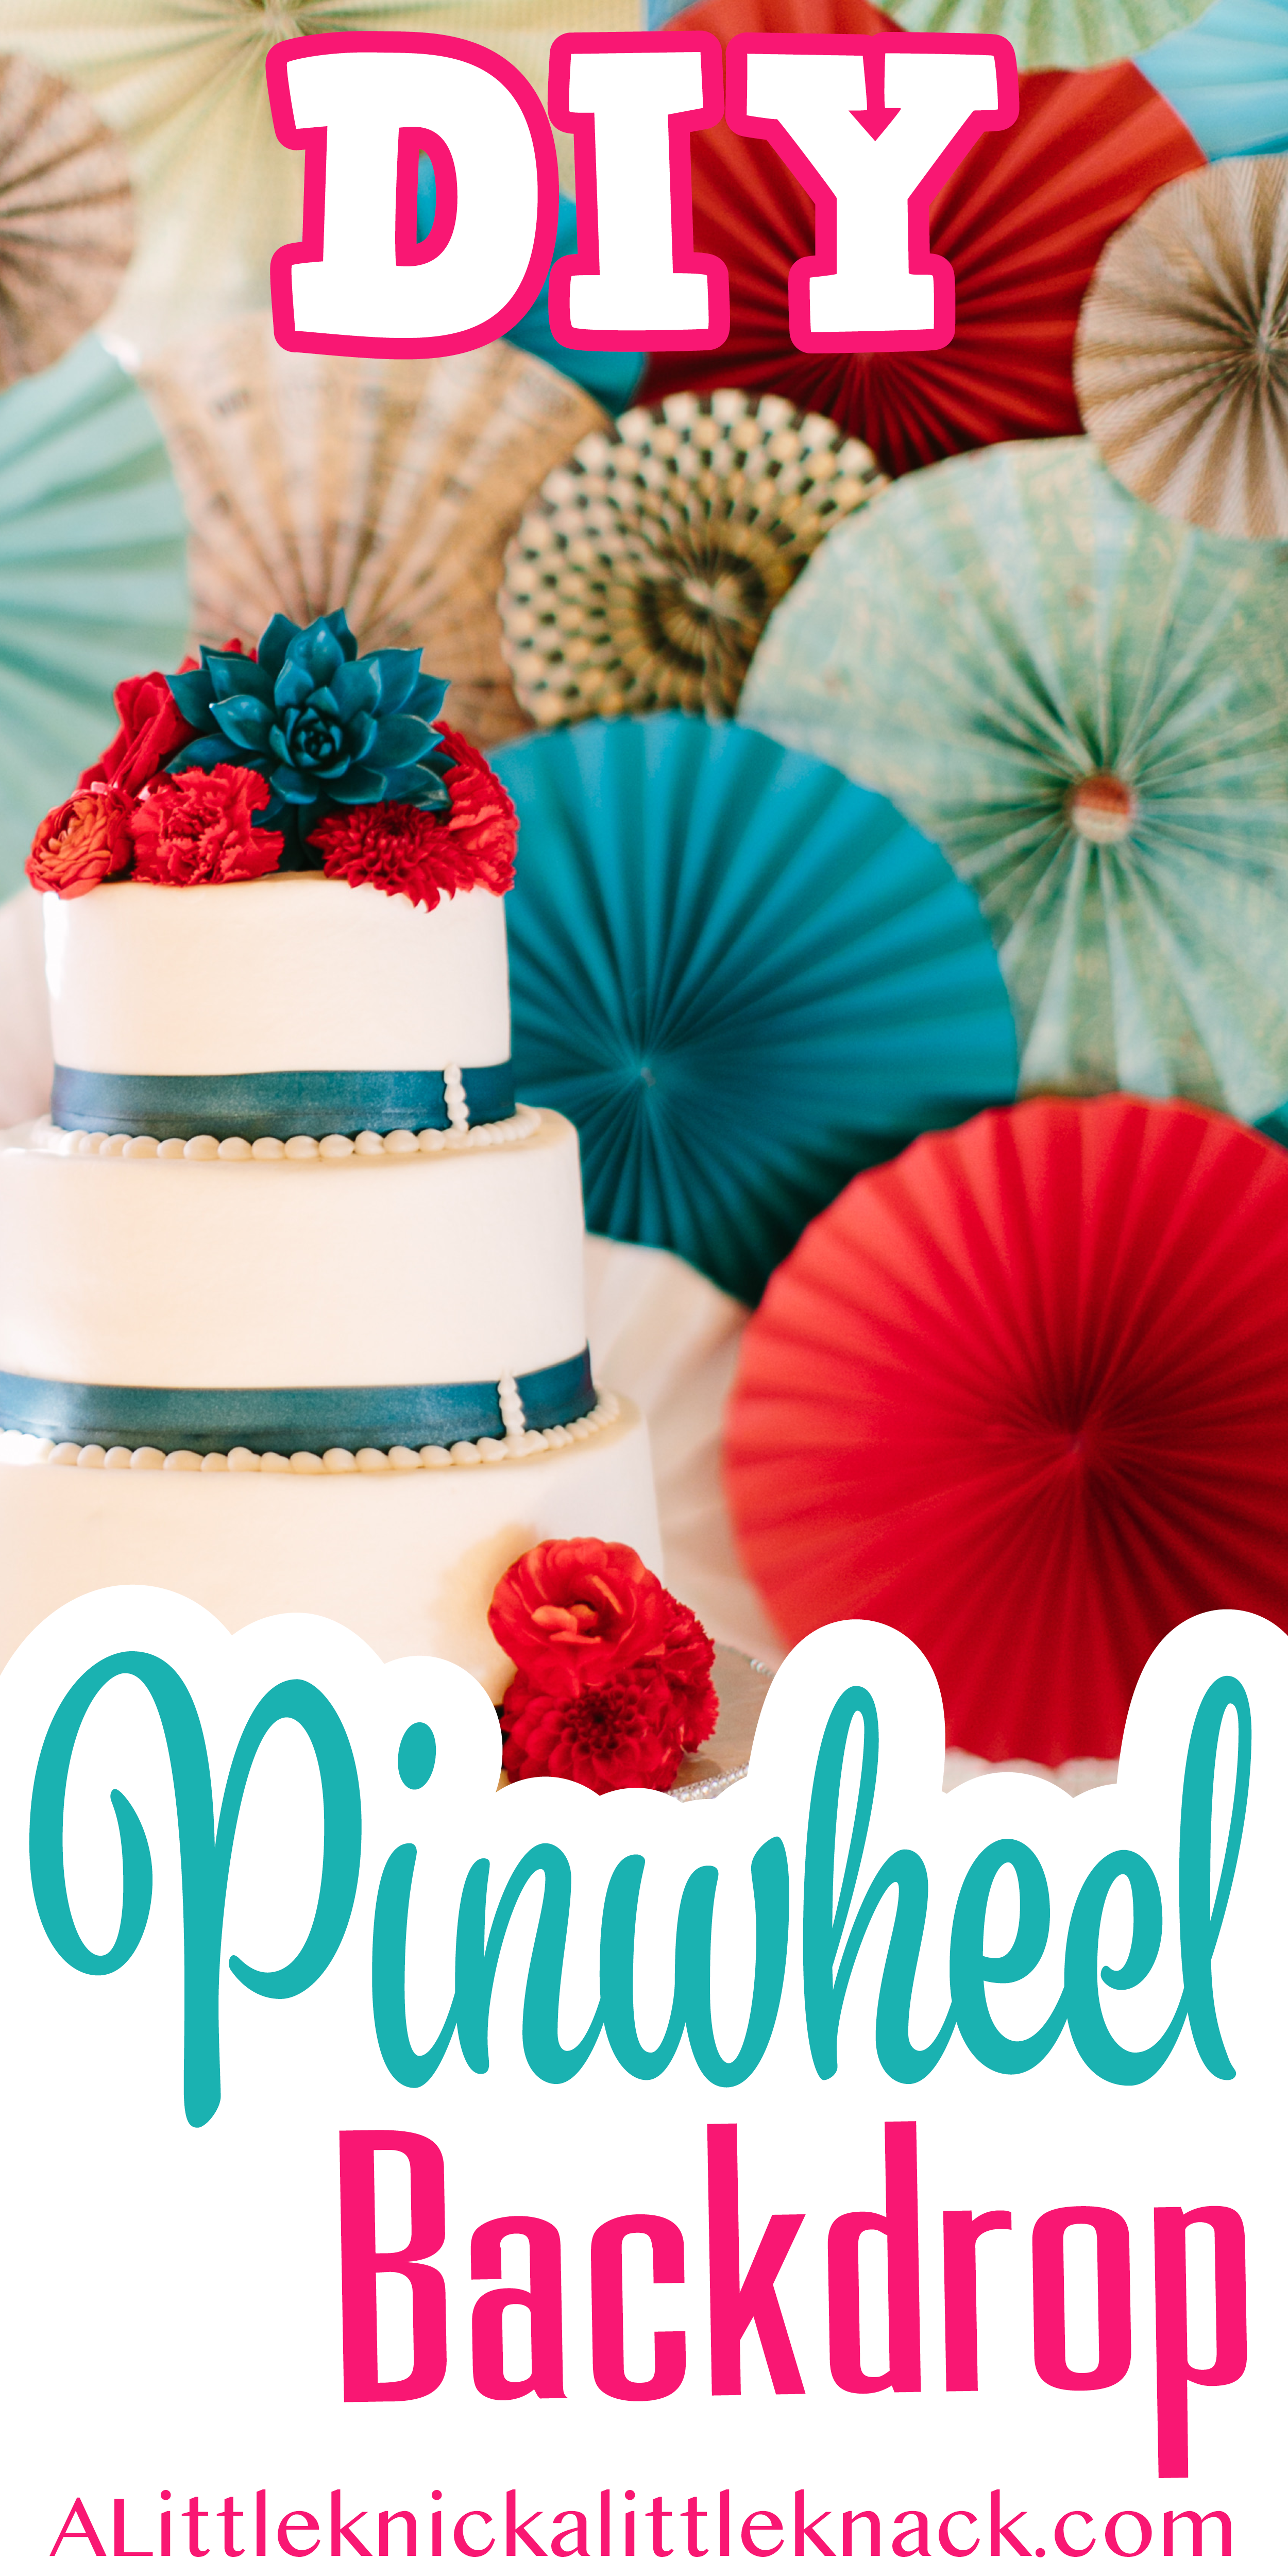
Out of all my projects for my wedding this is the one that took the longest and that I loved the most. There were a few bumps and bruises along the way, but aren’t there always? In the end with the help of my husband I overcame the challenges and ended up with a picture perfect backdrop.
*This post may contain affiliate links which may allow us to receive a small commission (at no additional cost to you) for purchases you make after clicking on product links in our posts, to view our full affiliate disclosure click here.
But rest assured we fully believe in every product we endorse.
Time: FOREVER ( okay realistically you will probably spend about 10-12 hours on this project depending on the size of backdrop you need. )
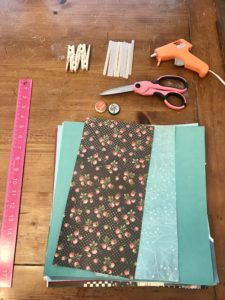
Materials
-
- Scissors
- Ruler
- Mini Hot glue gun
- All Temp Mini Hot Glue Sticks (buy the jumbo sized package)
- Bottle caps if you so choose
- Scrapbook paper
If you need a stand-alone backdrop you will also need:
- Clothespin hangers
- Loose knit no-slip rug netting (buy from the big rolls at Jo-anns so it will be big enough)
- PVC Pipe (2 of desired width, 4 pieces half the desired height, 4 six inch pieces)
- 2 PVC 90 degree corner connectors
- 4 PVC T-Shaped Splitters
- Zip Ties
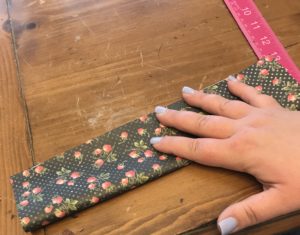
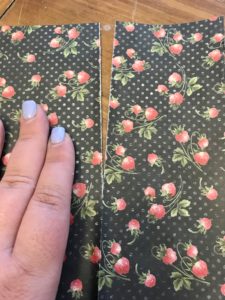
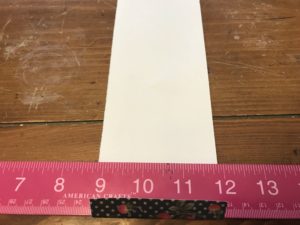
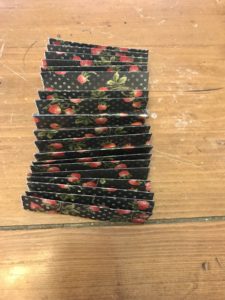
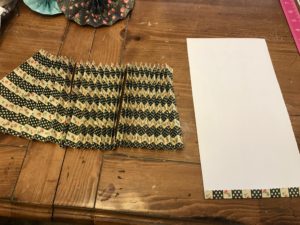
First cut or tear some of your paper into strips. I wanted a few different sizes for mine so I did approximately 2 inch, 3 inch, and 4 inch. The size of the original paper strips will determine the radius of your pinwheel.
The easiest way I have found to do this is fold the piece of scrapbook paper in half, quarters, or thirds lining up the edges as you go. Then fold over that crease line the opposite direction then fold back over the original direction. This will make it super easy to tear the strips of paper into even strips. or you can just cut along the crease line if you think that is easier.
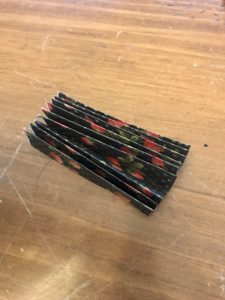
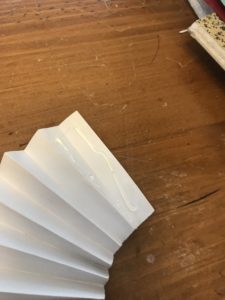
Accordion fold every strip of paper. I used my ruler to make sure the initial crease was straight and that they were all about the same width of fold (about half an inch).
The Number of folded strips you will need per pinwheel is dependent on size and how you want the pinwheel to look. Typically I used 2 strips for my smaller pinwheels and 4 for the larger. If you use too few it will look stretched along the edges once it is done.
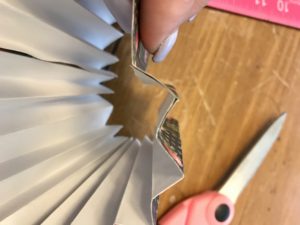
To combine the strips glue along the fold that will overlap on one strip. Then line up the other strip over it. Be sure that the creases align nicely.
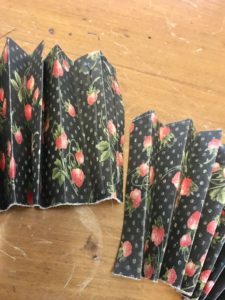
Then to complete the “circle” glue the ends of the strip together.
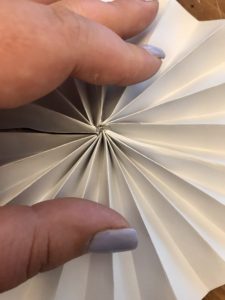
You then want to spread out your pinwheel and glue the center from the backside.
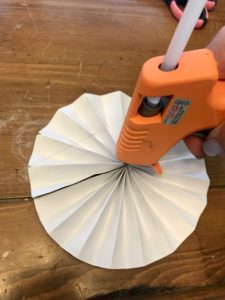
For the larger pinwheels glue 4 whole strips together and repeat the process above.
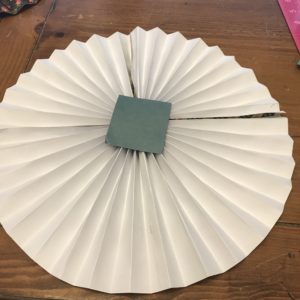
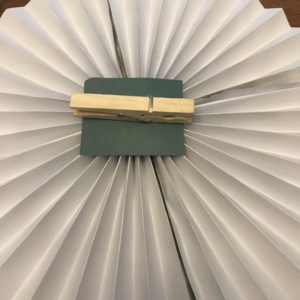
Glue a square of scrapbook paper on the back of the center of the pinwheel and hold til dry.
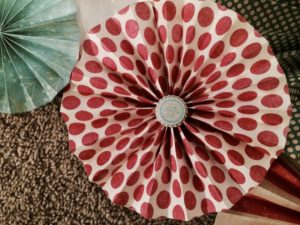
Add bottle caps or any other decorations to the middle if you choose (and it’s a great way to hide any messy glue centers).
If you are allowed to attach the pinwheels directly to the wall at your venue then you are good to go with a bit of removable adhesive (you can even attach a large paper to the wall and adhere them to that to make clean up easier). However if like me your venue bans anything attached to the wall follow the steps below:
Glue a clothespin to the square of scrapbook paper.
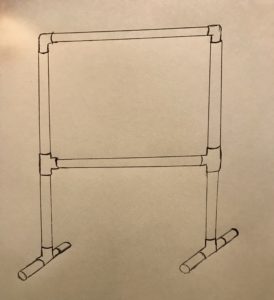
To build the backdrop structure attach one of the long (width) pieces of PVC pipe to two of the height lengths. Using T shaped connectors attach the second height pieces and the second width piece. Use two more of the T shaped connectors on the bottom with the two 6 inch pieces coming out from either side (for balance). I’m no artist but here is a rough sketch so you have a visual.
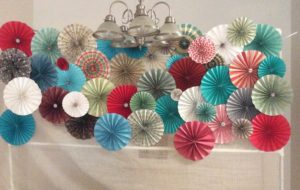
Zip tie the no slip rug netting tautly to the PVC frame. We used 5 zip ties on the top, and 4 on each of the sides. Using the clothespins attach each of the pinwheels to the netting. Play around until you like the way it looks but make sure you have enough!
Backdrop Transportation Tips:
I had the entire thing assembled in my living room for a month before our wedding. To move it without anything getting damaged I took each pinwheel off of the net and placed them in huge moving boxes (I think there ended up being three boxes just filled with pinwheels). I cut the zip ties and disassembled the PVC pipe structure to move it. Then I just reassembled the whole thing on site after our rehearsal brunch, the day before the wedding.

Related Posts
Be sure to follow my Retro Wedding Pinterest Board for more great ideas!
I have to try this for my next gathering. I have scraps of last years Christmas paper I might use when the holidays roll back around! I’m not sure it will be sturdy enough.
That is a great idea! I would think if it was thicker wrapping paper it would work just fine, or another idea would be to make a larger pinwheel out of cardstock in a complimentary color and make a smaller pinwheel out of the wrapping paper and layer them so you get the sturdiness and the look you are going for. I know it’s a long way away but I’d love to see pictures if you do it.
This is fabulous! What a great way to use up scrap paper! I’m saving this for my daughters bday!!