I am a huge fan of backdrops. I think they are a super easy way to make an event stand out and tie in themed party elements tastefully. For my wedding I made a beautiful pinwheel backdrop to go behind our cake and it was one of the highlights of the decor. So when we decided on a woodland fox theme for my youngest son’s first birthday I knew I wanted to create a DIY Birch Forest backdrop. However most of the tutorials I found were geared toward either permanent wall paintings (which my husband REFUSED to agree to) or appeared to be fairly unrealistic and time consuming.
So I decided to create my own method for creating a stunning, realistic, and EASY Birch Tree Backdrop. So if you are looking for a fun and temporary DIY birch tree backdrop for your woodland party, homecoming dance, or play look no further I have you covered!
*This post may contain affiliate links which may allow us to receive a small commission (at no additional cost to you) for purchases you make after clicking on product links on our posts , to view our full affiliate disclosure click here.
But rest assured we fully believe in every product we endorse.
Materials
- Textured Water Color Paper or Mixed Media Paper.
- Black Acrylic Paint
- Roll of Paper
- Painter’s Tape
- Old Credit Card / Store Reward Card
- Plastic Plate
- Tacky Mounting Putty
- Scissors
First you are going to want to clear a big area to work in. How big is going to depend on how large of a backdrop you need. In my case my ceiling was 7 ft at the highest point so my workspace needed to be at least 8 ft by 5 ft.
Hint: Go ahead and cut a ribbon or paper strip the height of your ceiling so you can use it to “measure.”
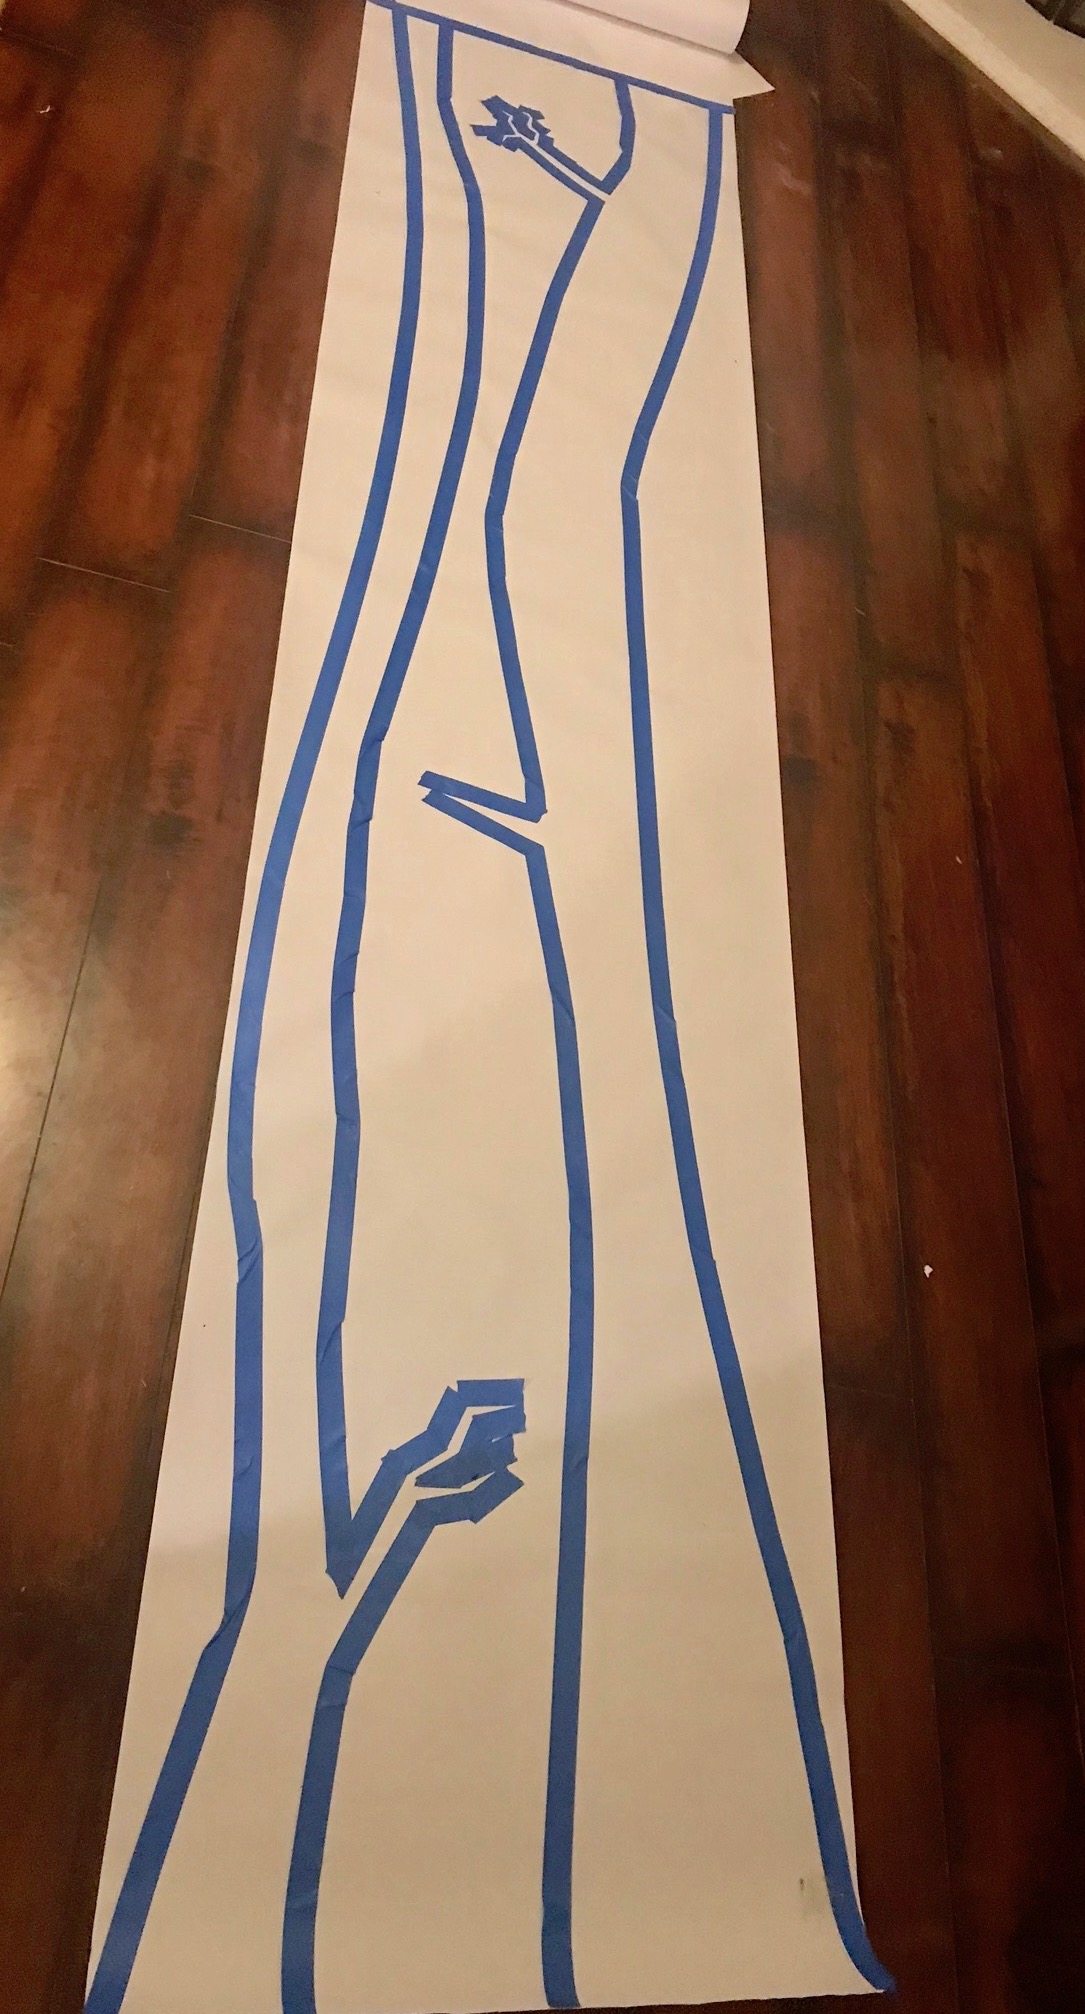
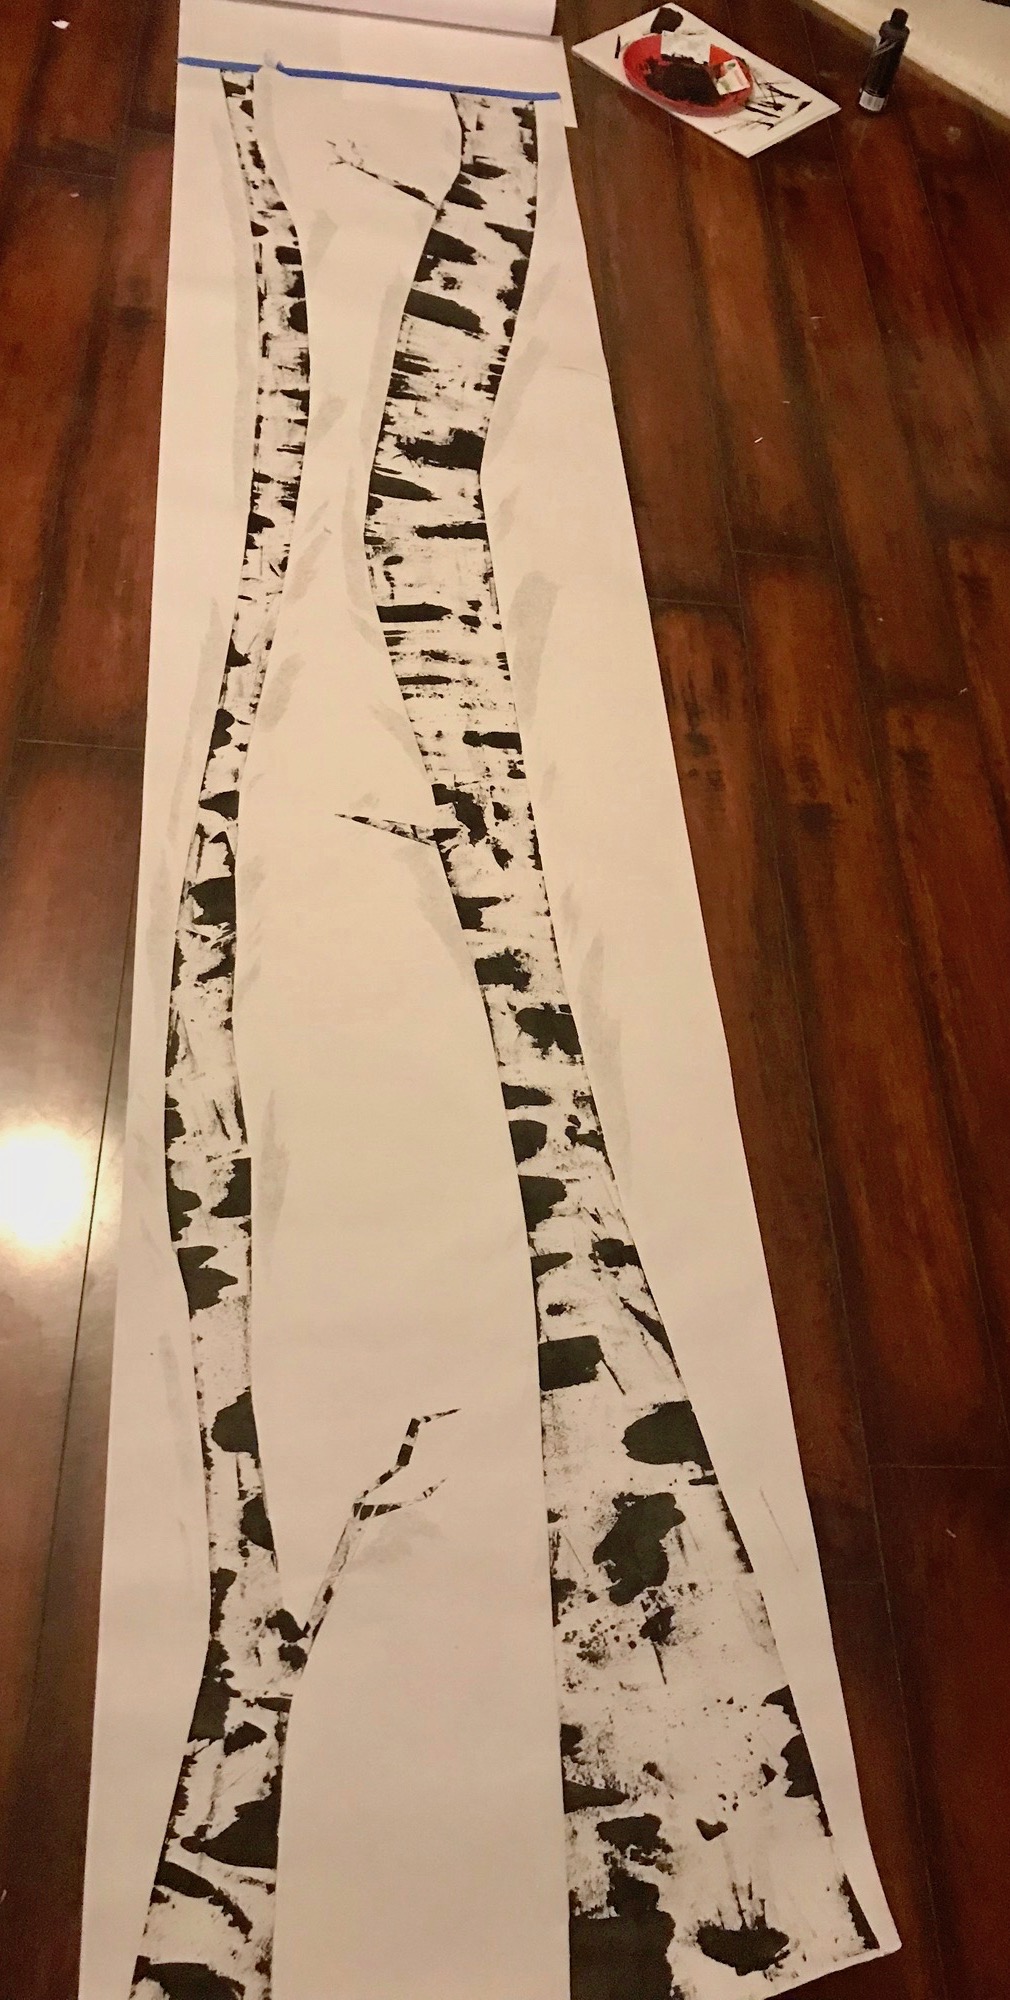
Roll out the paper and place a piece of tape across the paper marking how long you need the trees to be.
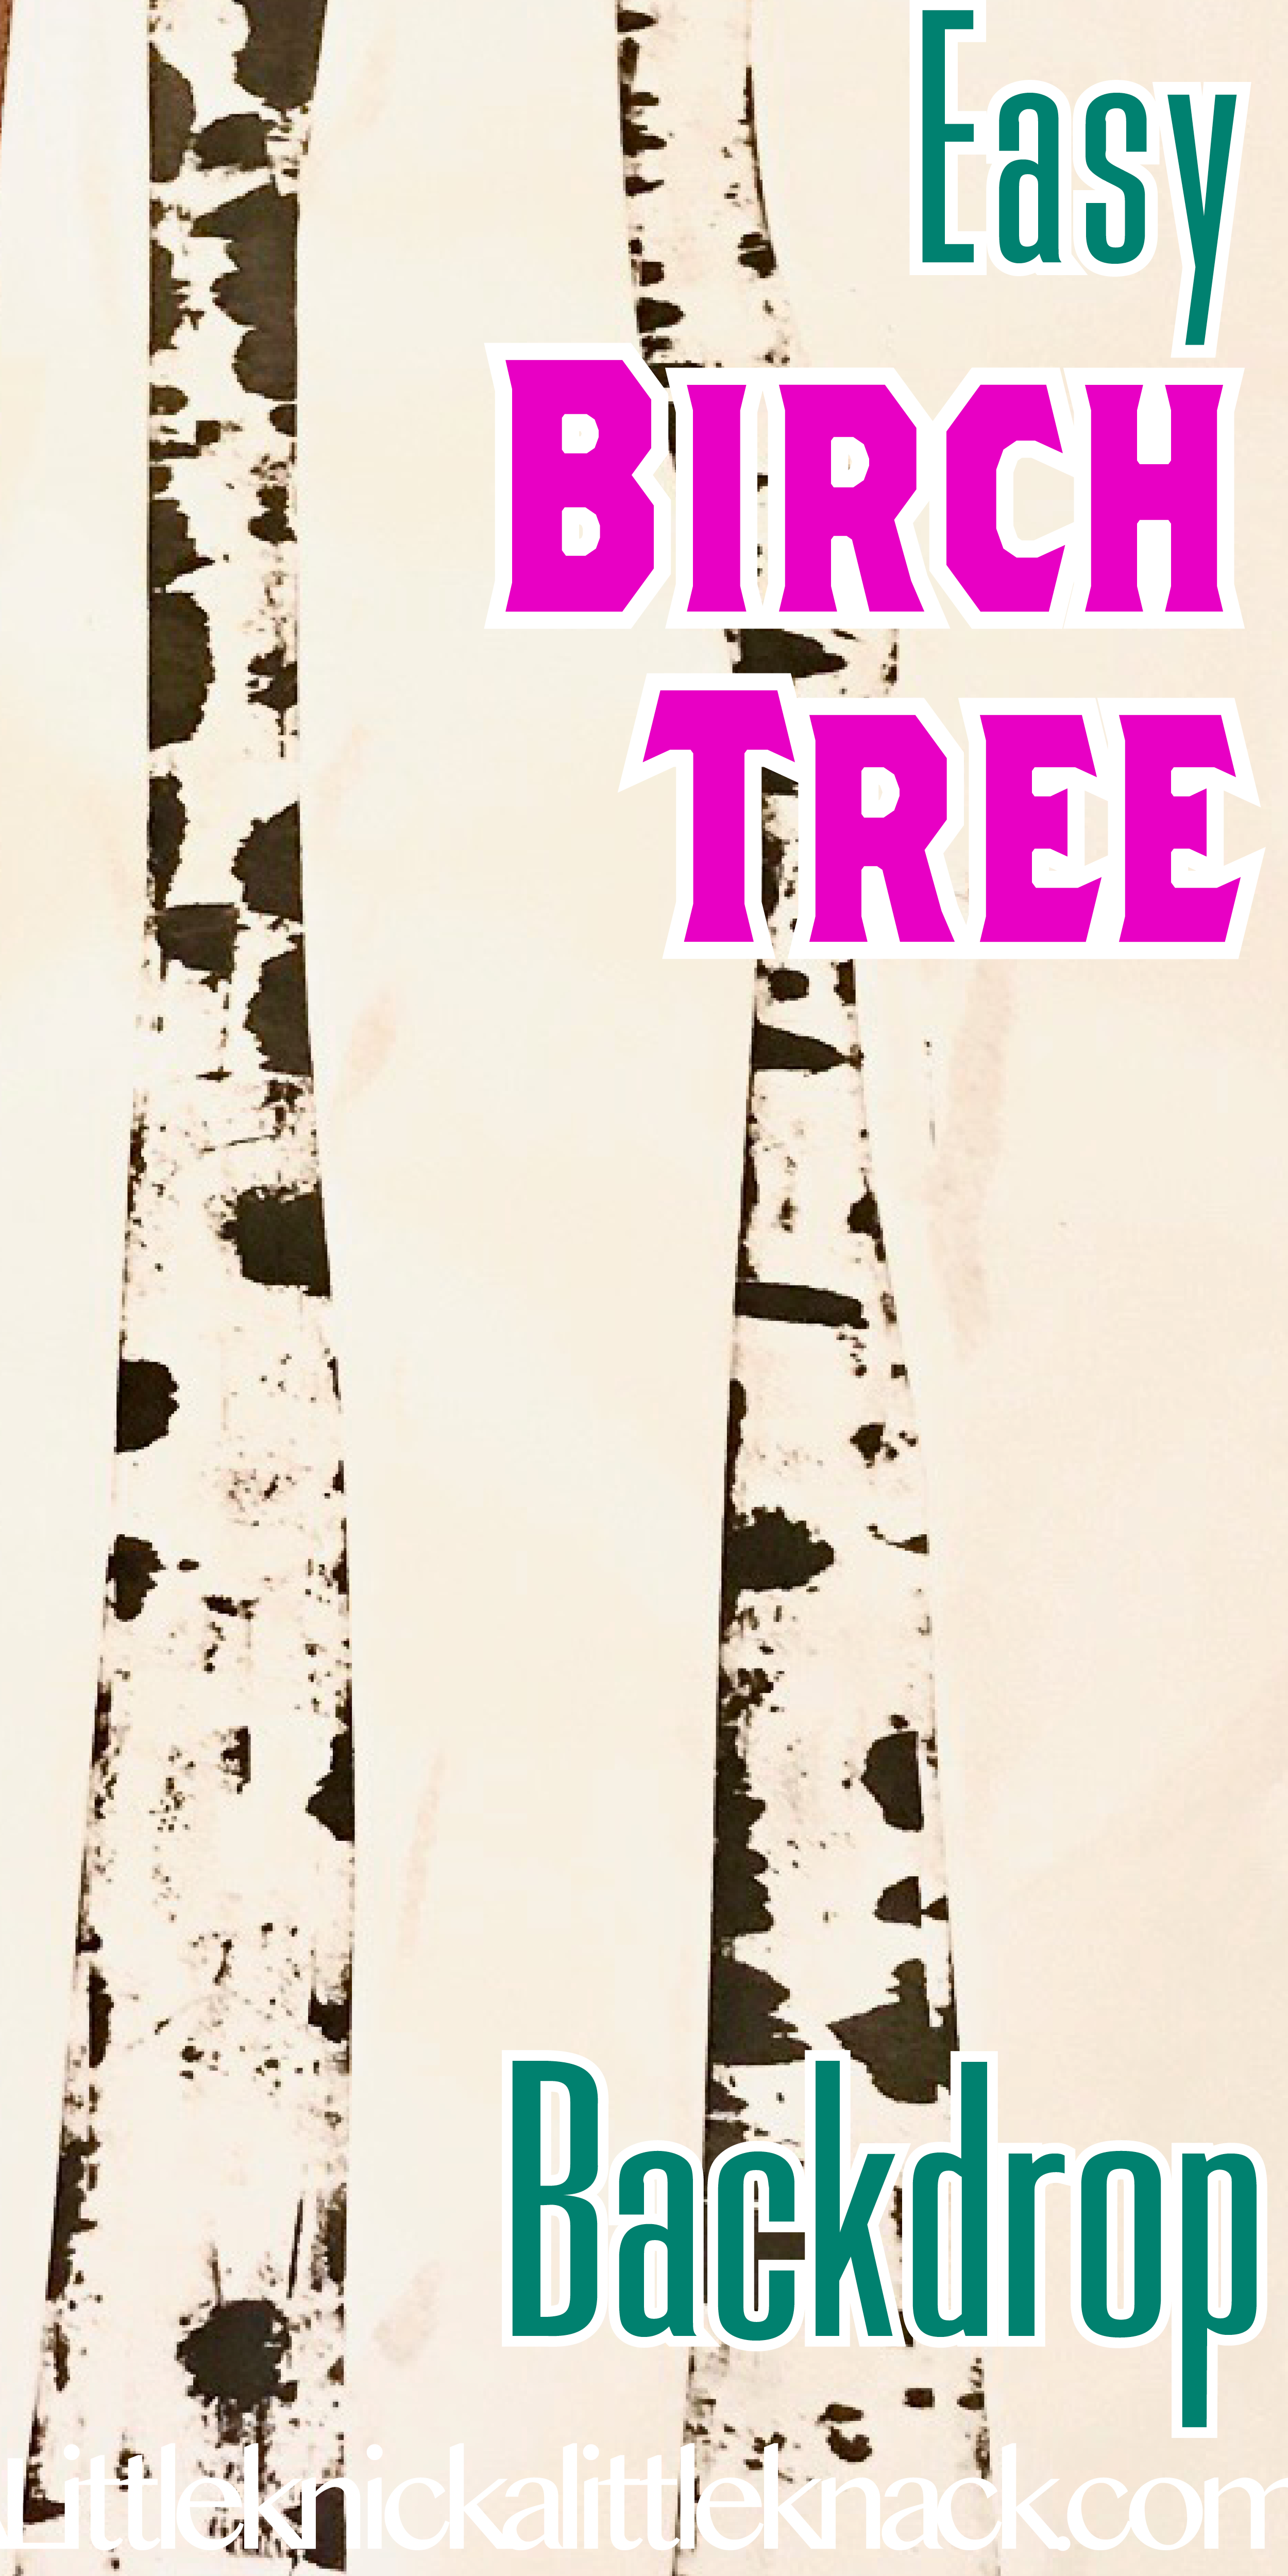
Use painter’s tape to outline the tree shape.
Hint: For the branches I used small pieces of tape to form the outline whereas for the majority of the trunks I used continuous pieces of tape.
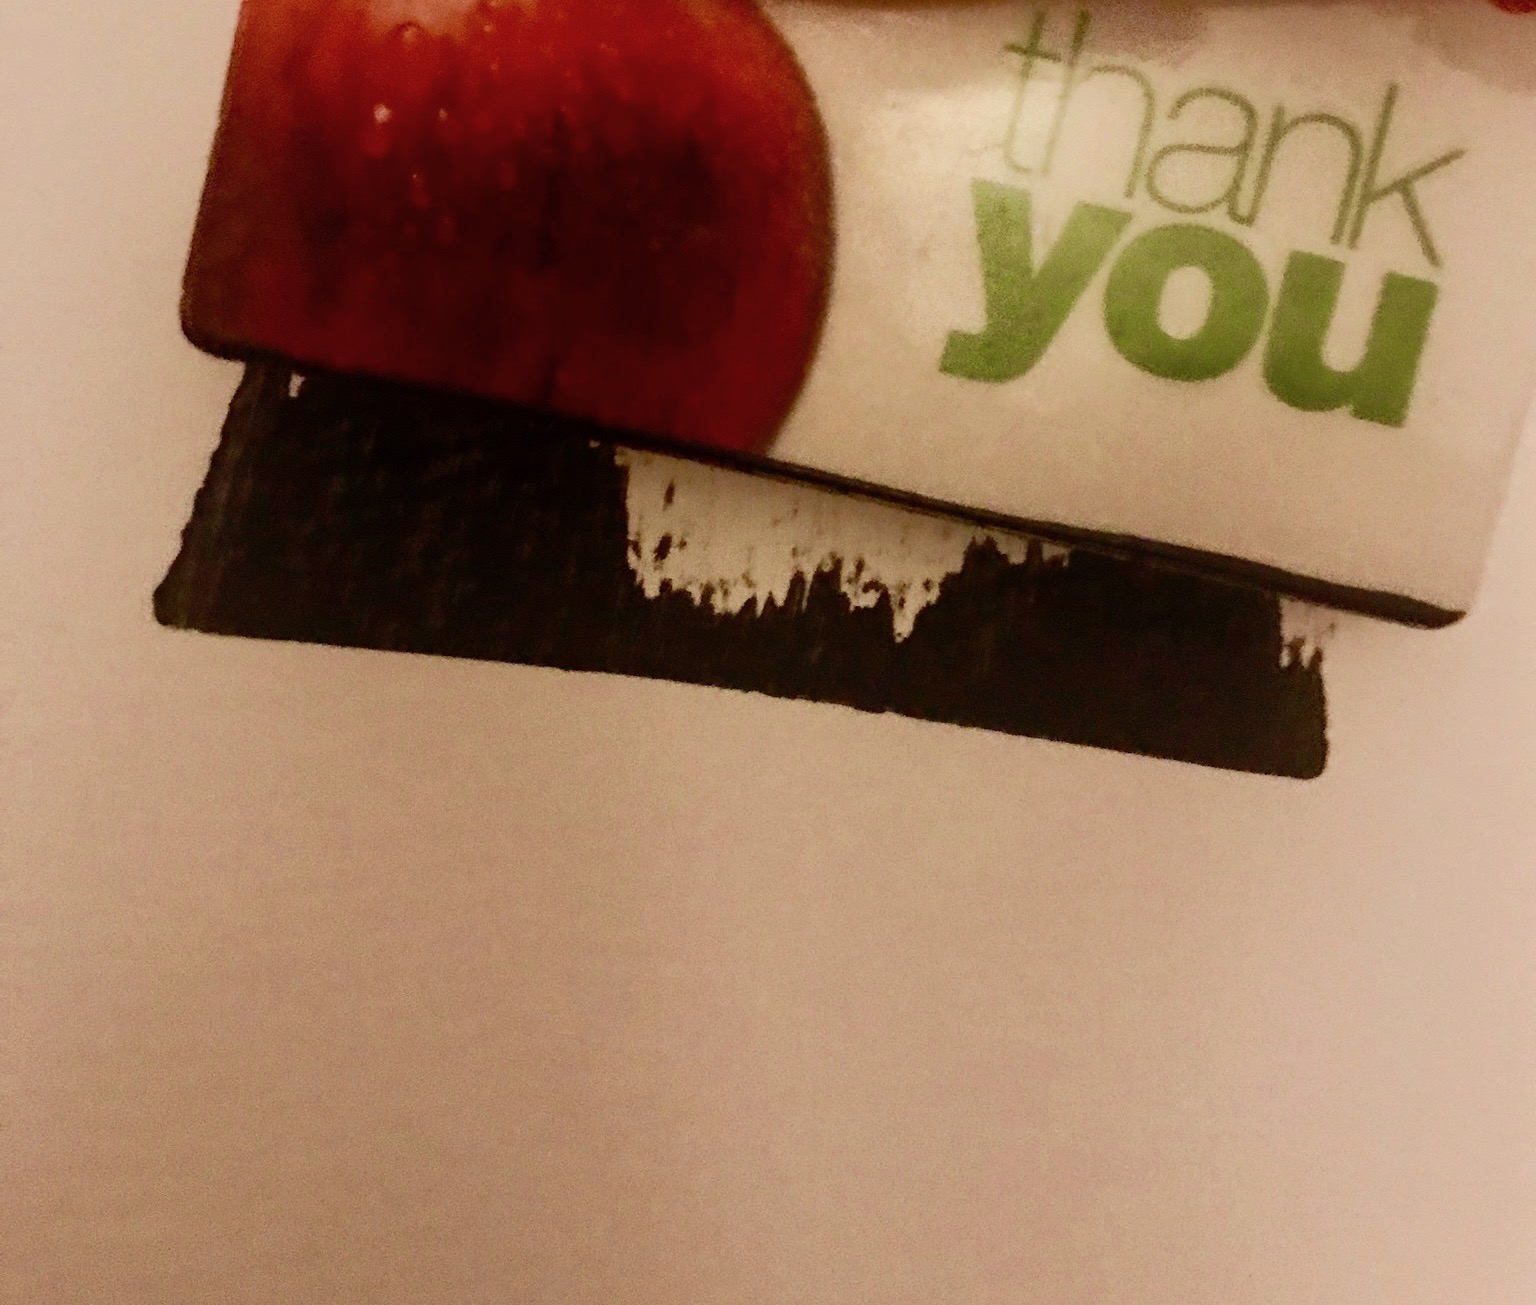
Place a puddle of black paint on the plastic plate. Dip the edge of the old store / credit card in the paint and tap the card against the plate to remove some excess.
Hint: Don’t scrape the paint off the card, just tap it against the plate.
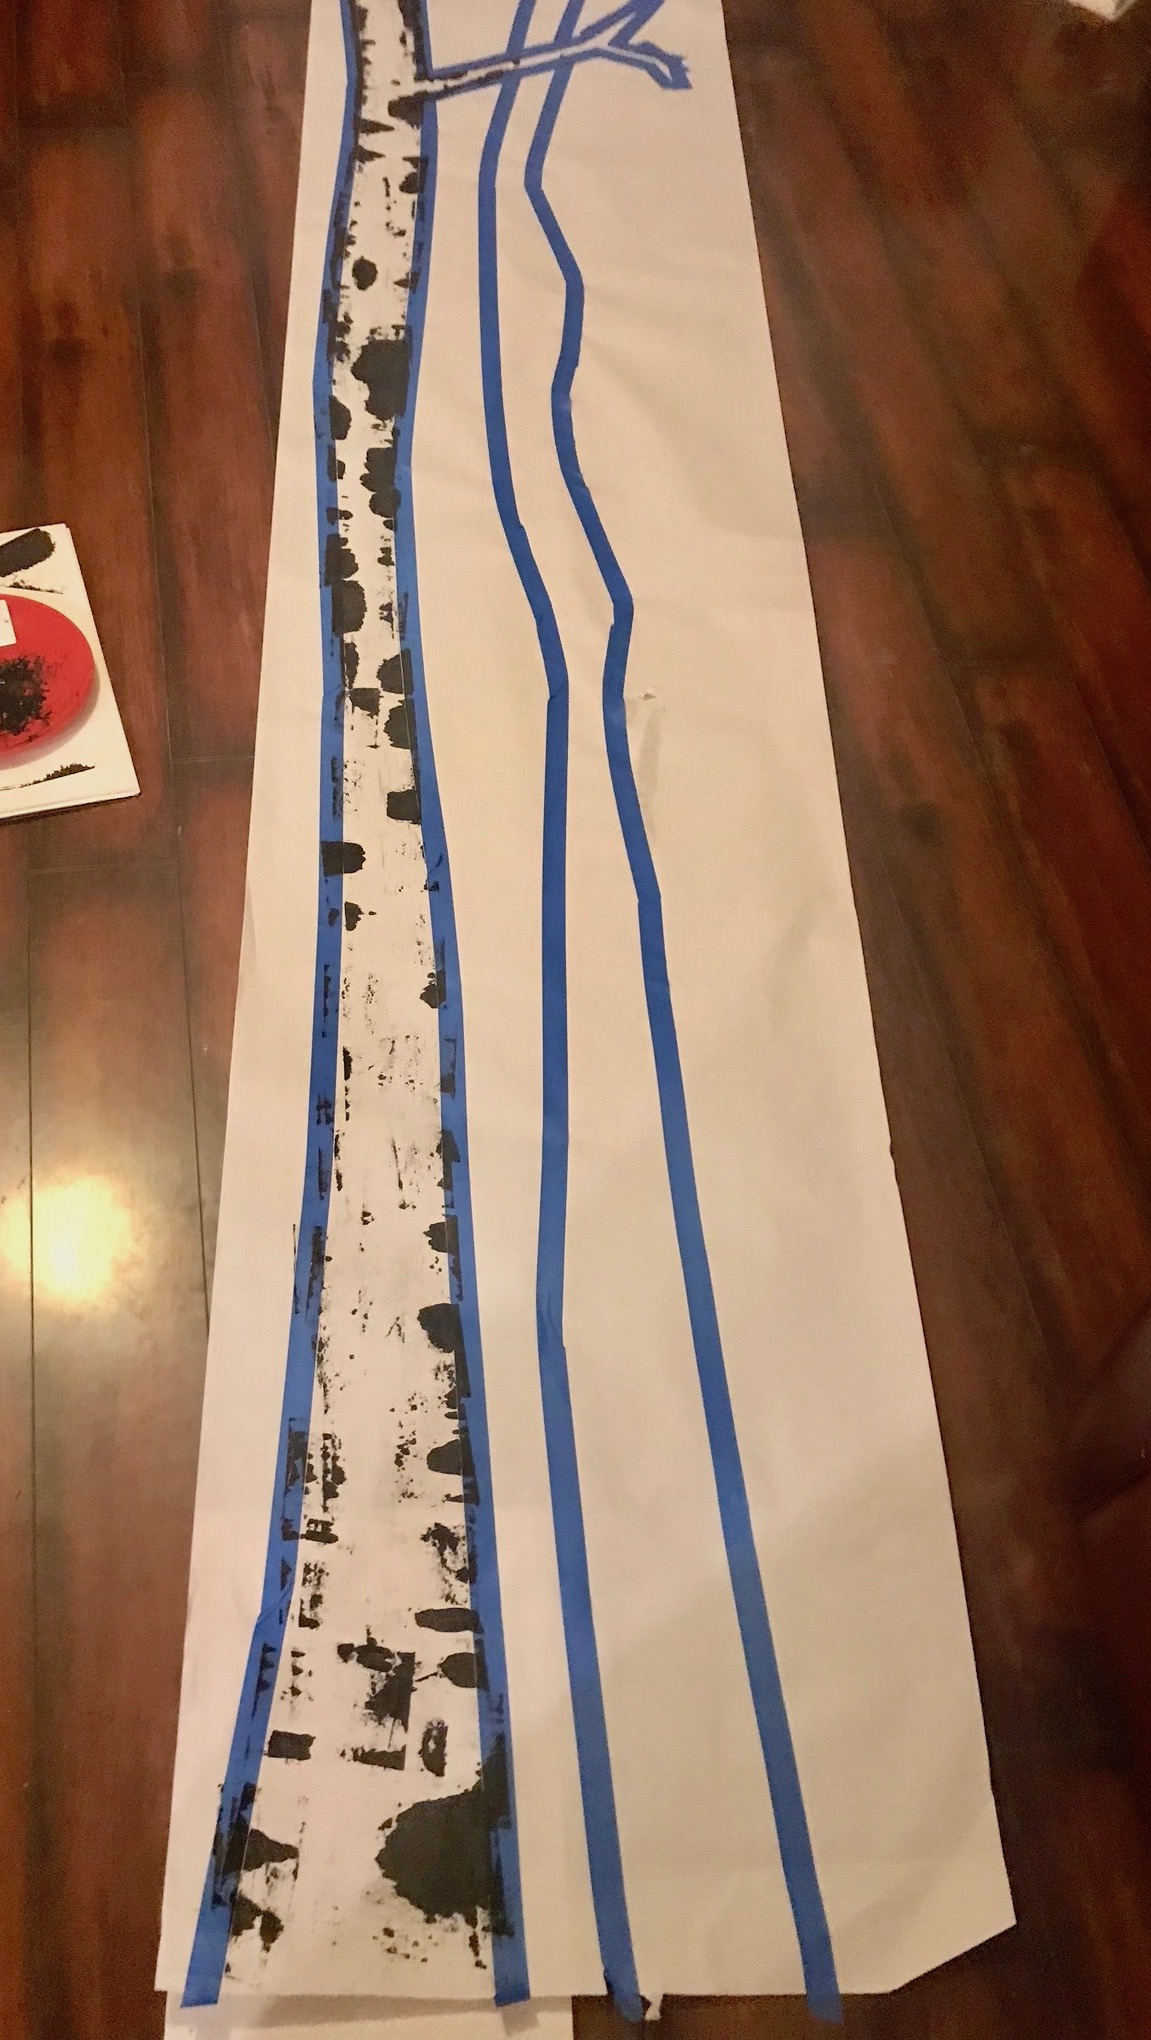
Now it is as easy as swiping the card against the paper! Although take my advice you are going to want to do a test run or two on the mixed media paper to see how the angle, amount of paint, and pressure changes the paint application.
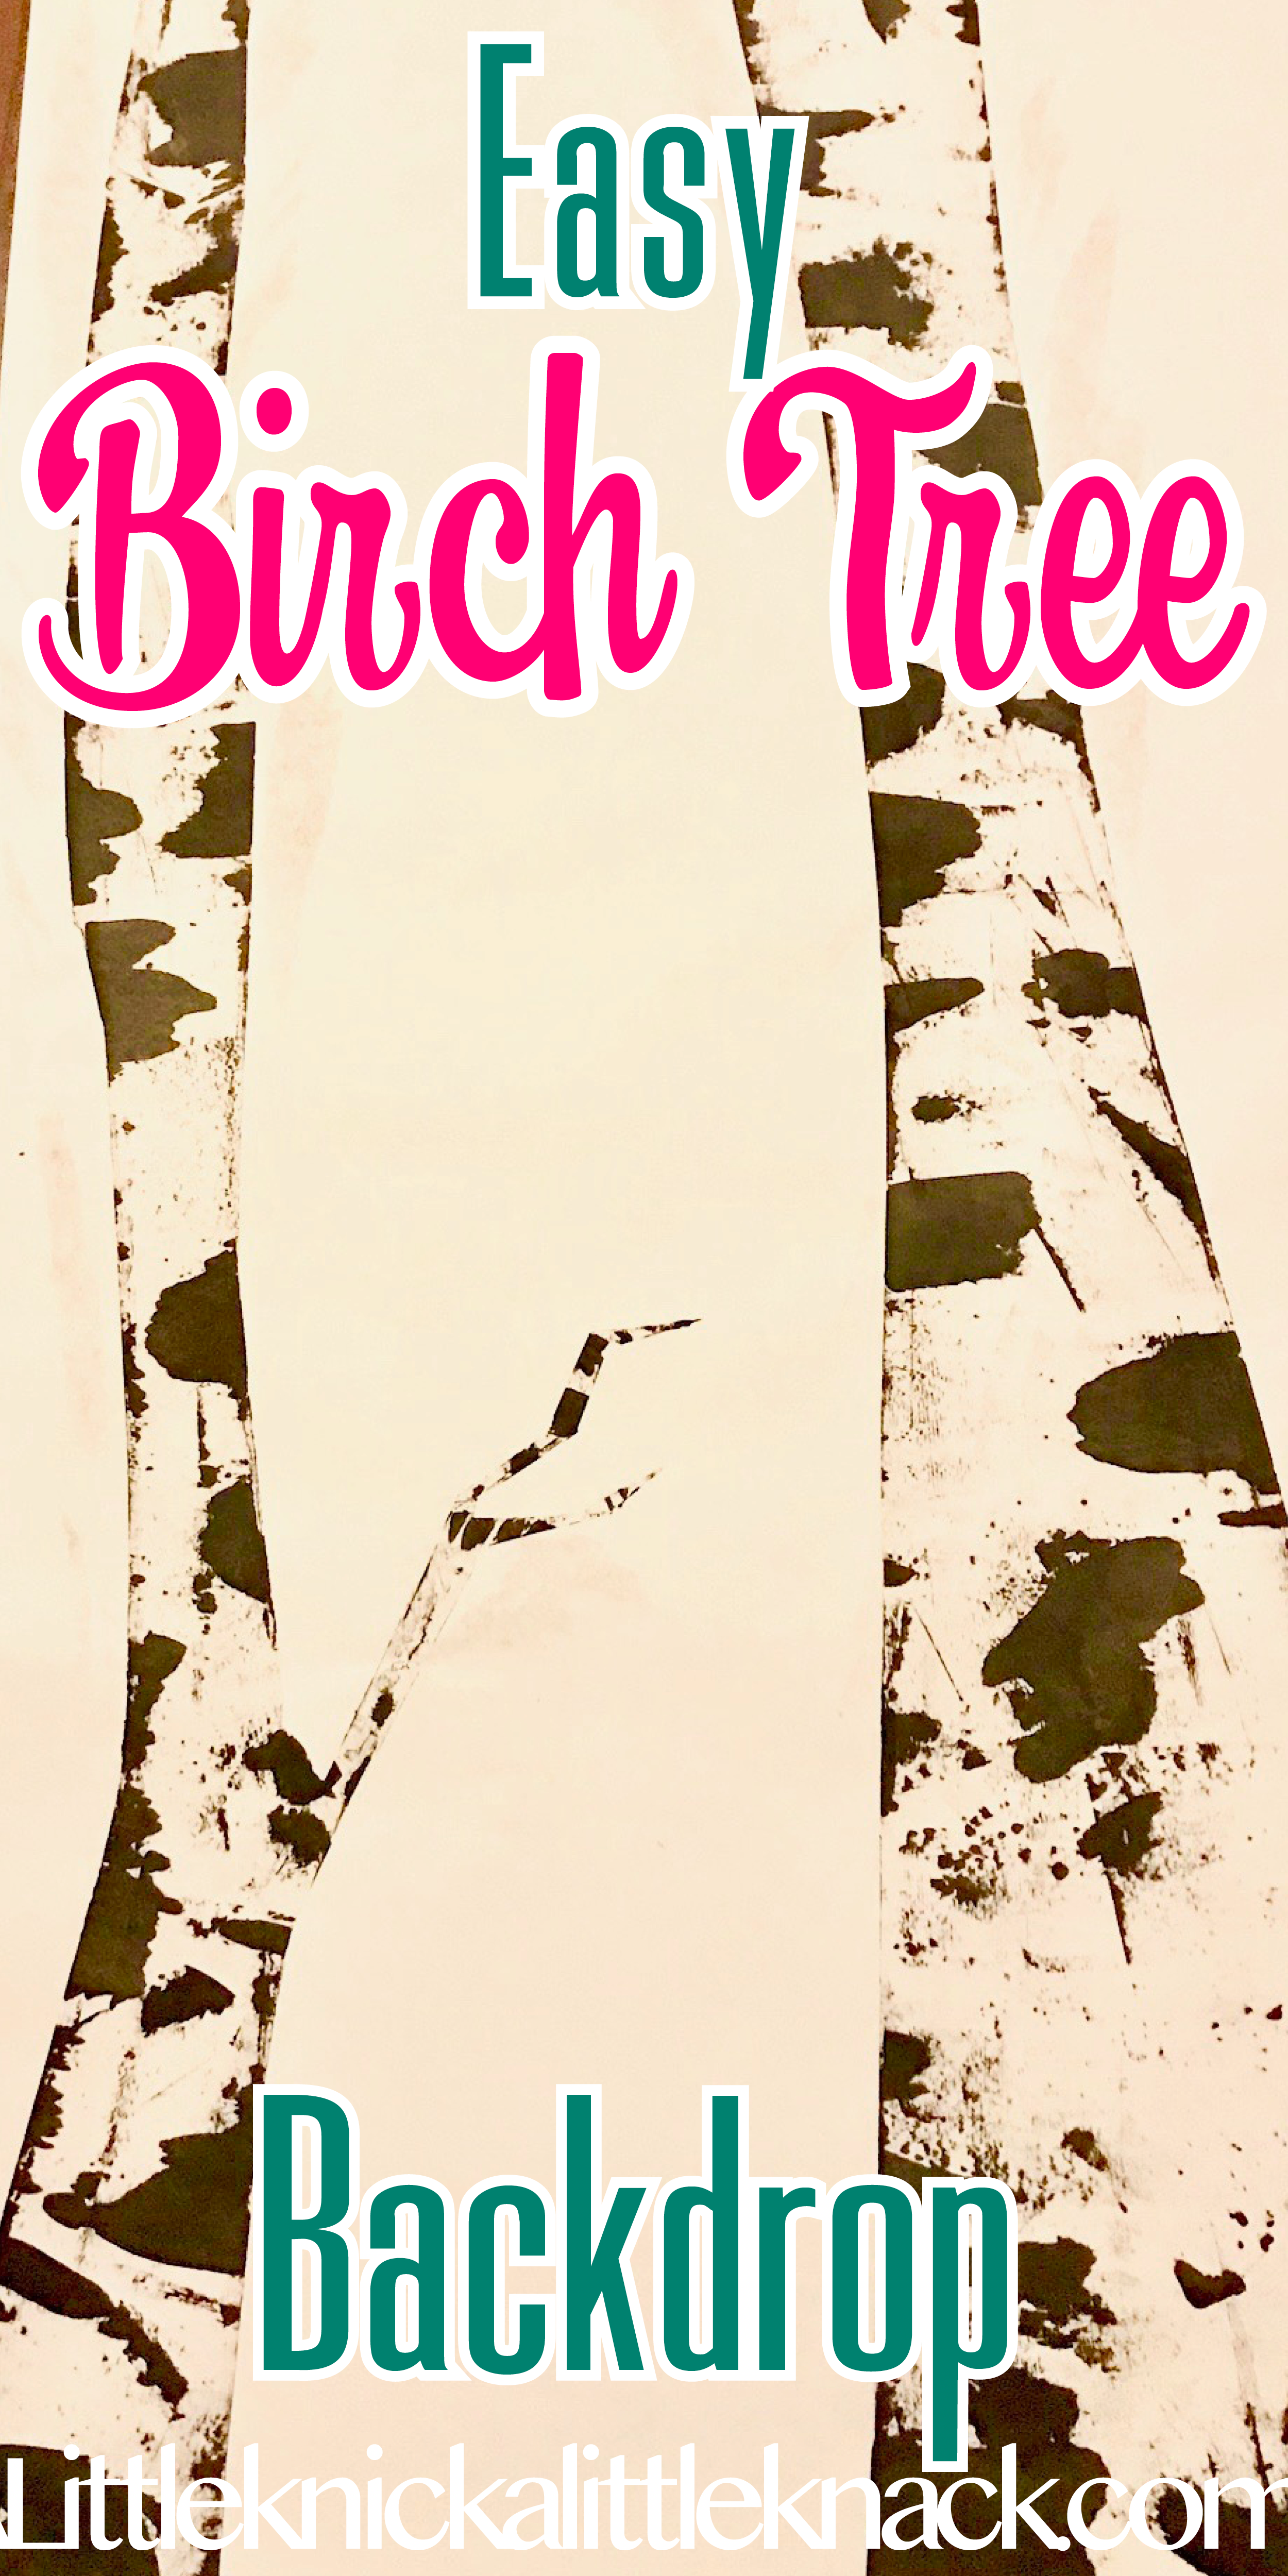
Once you feel like you have the technique down, place a sheet of the textured mixed media paper underneath the first section you will be working on.
Reapply paint to the card, tap off the excess, and swipe across the paper starting on the painter’s tape. You may want to do several swipes without “reloading” the card with paint so it forms a range of textures and not just the heavier lines.
Hint: I alternated the side of the tree I started on so my heavy lines would alternate and not be too heavily concentrated on one side.
If you want to have a really visible tree outline, once most of the paint has been swiped off gently scrape the card along the inside edge of the painters tape a few times in areas where there isn’t a heavy black line.
Once you finish that section, move the textured paper to a new section and repeat the process until the entire trees are filled in.
Hint: The textured paper serves two purposes. 1) it protects your floors from the possibility of seep-through. 2) It enhances the textures you can create with low amounts of paint (kind of like those crayon rub prints we did as kids)
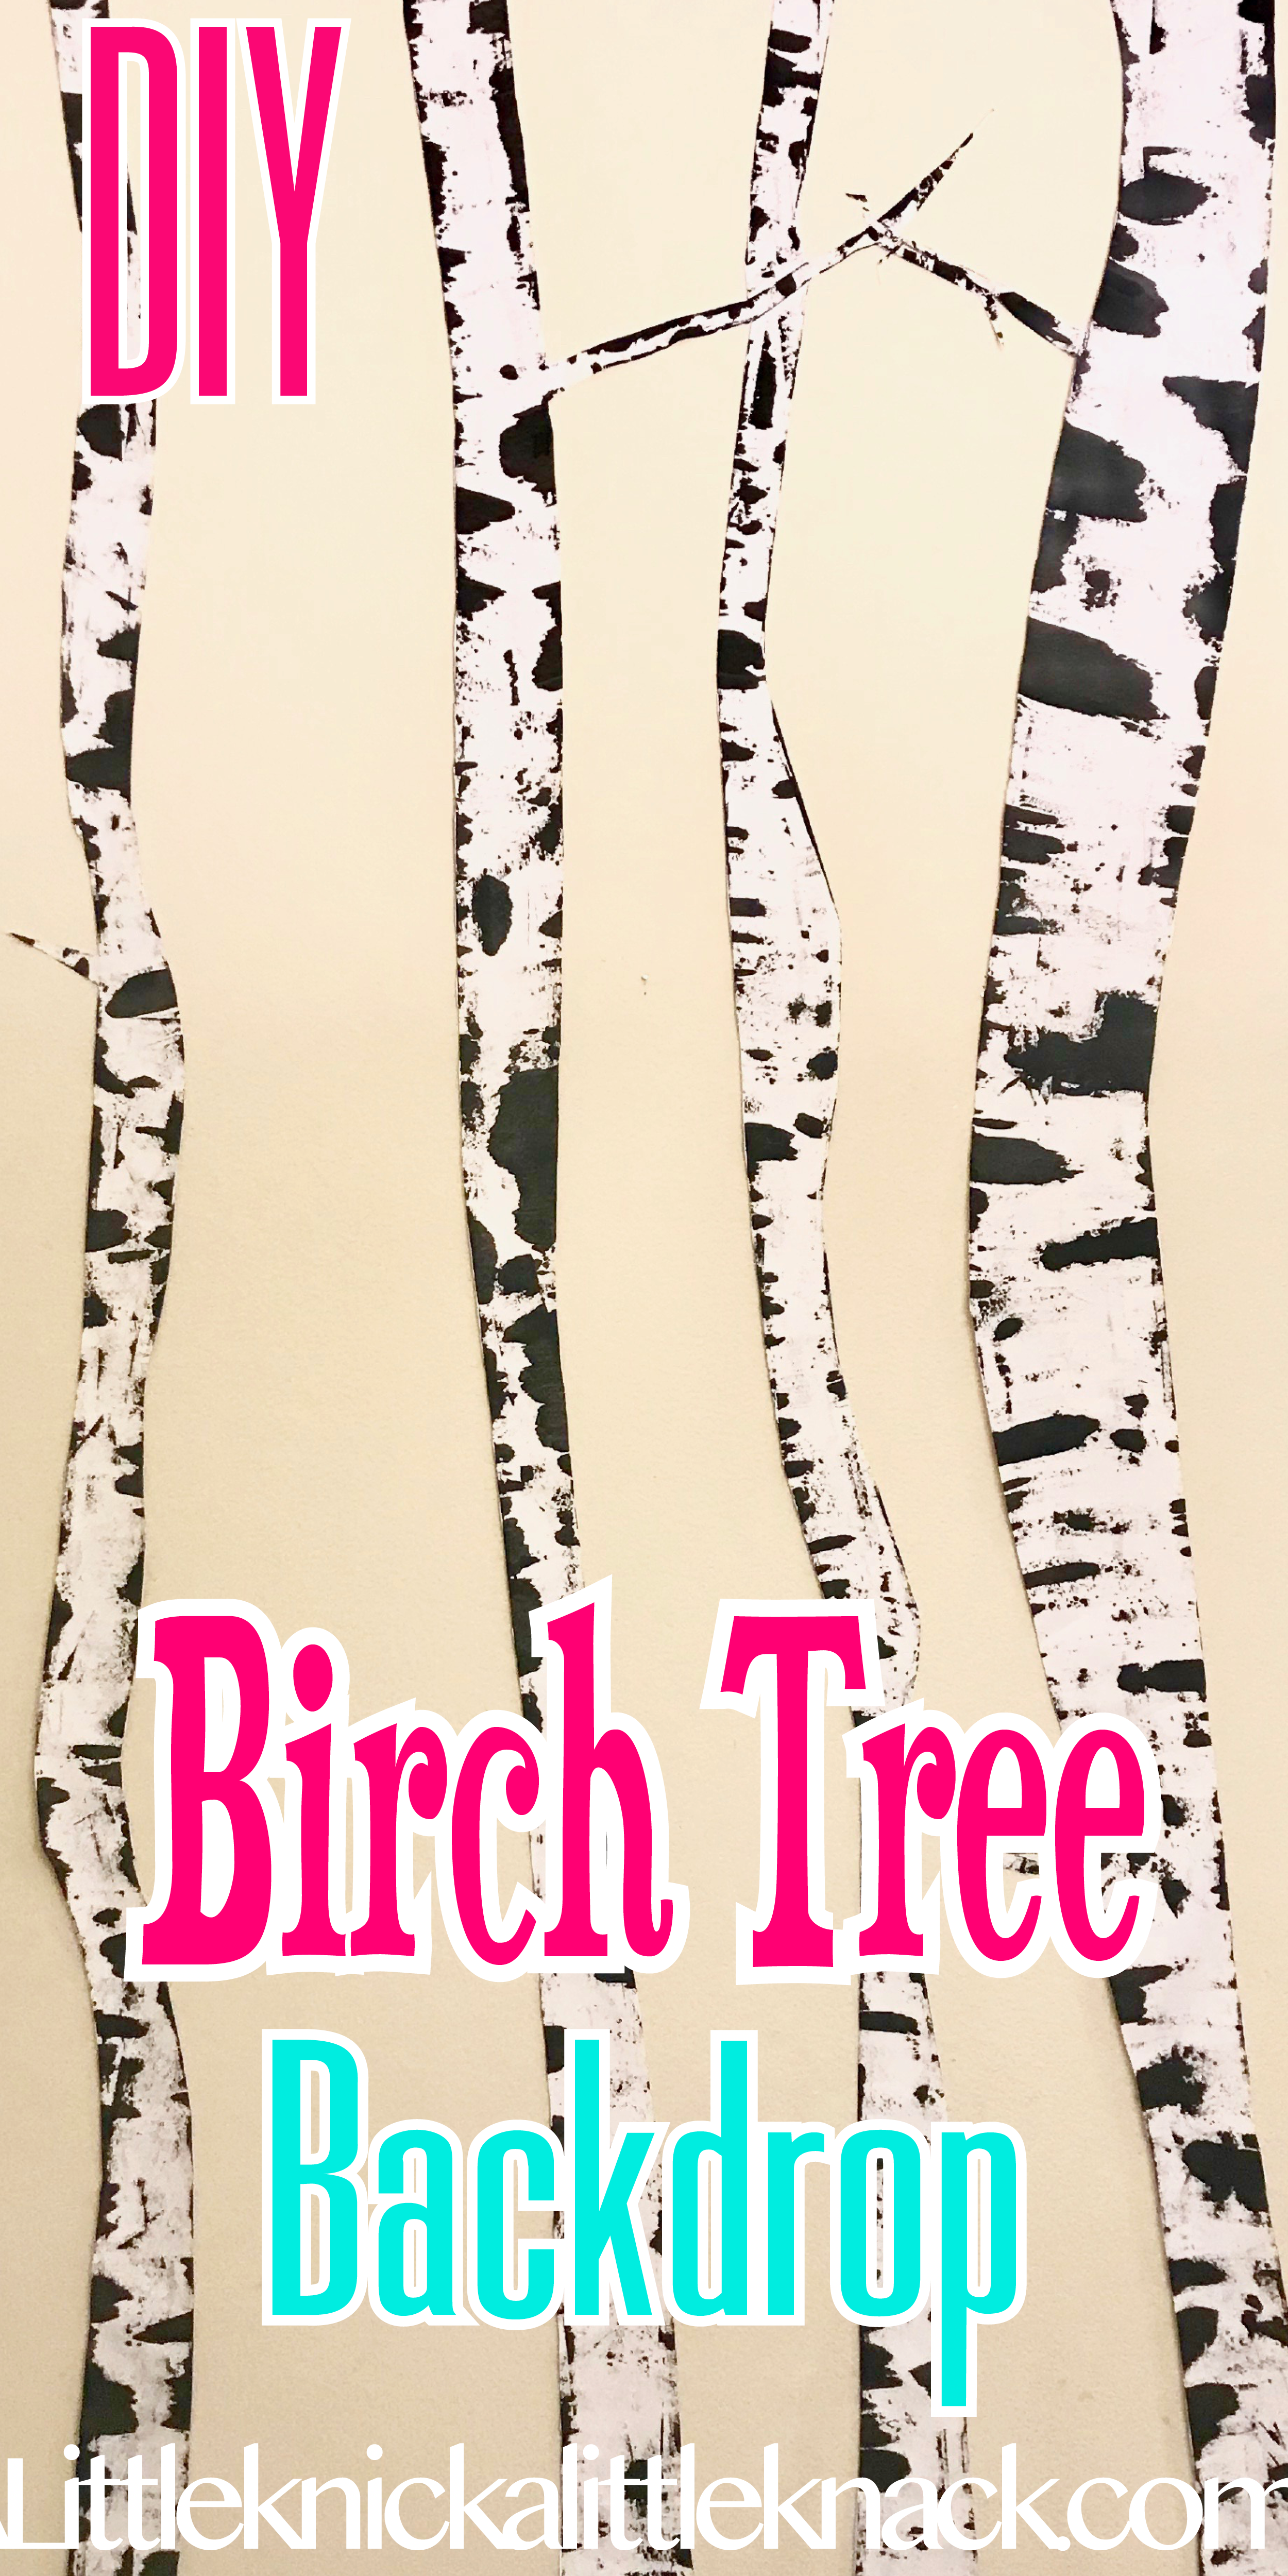
Let dry at least 10 minutes then slowly pull off the tape angling it away from the tree as you pull.
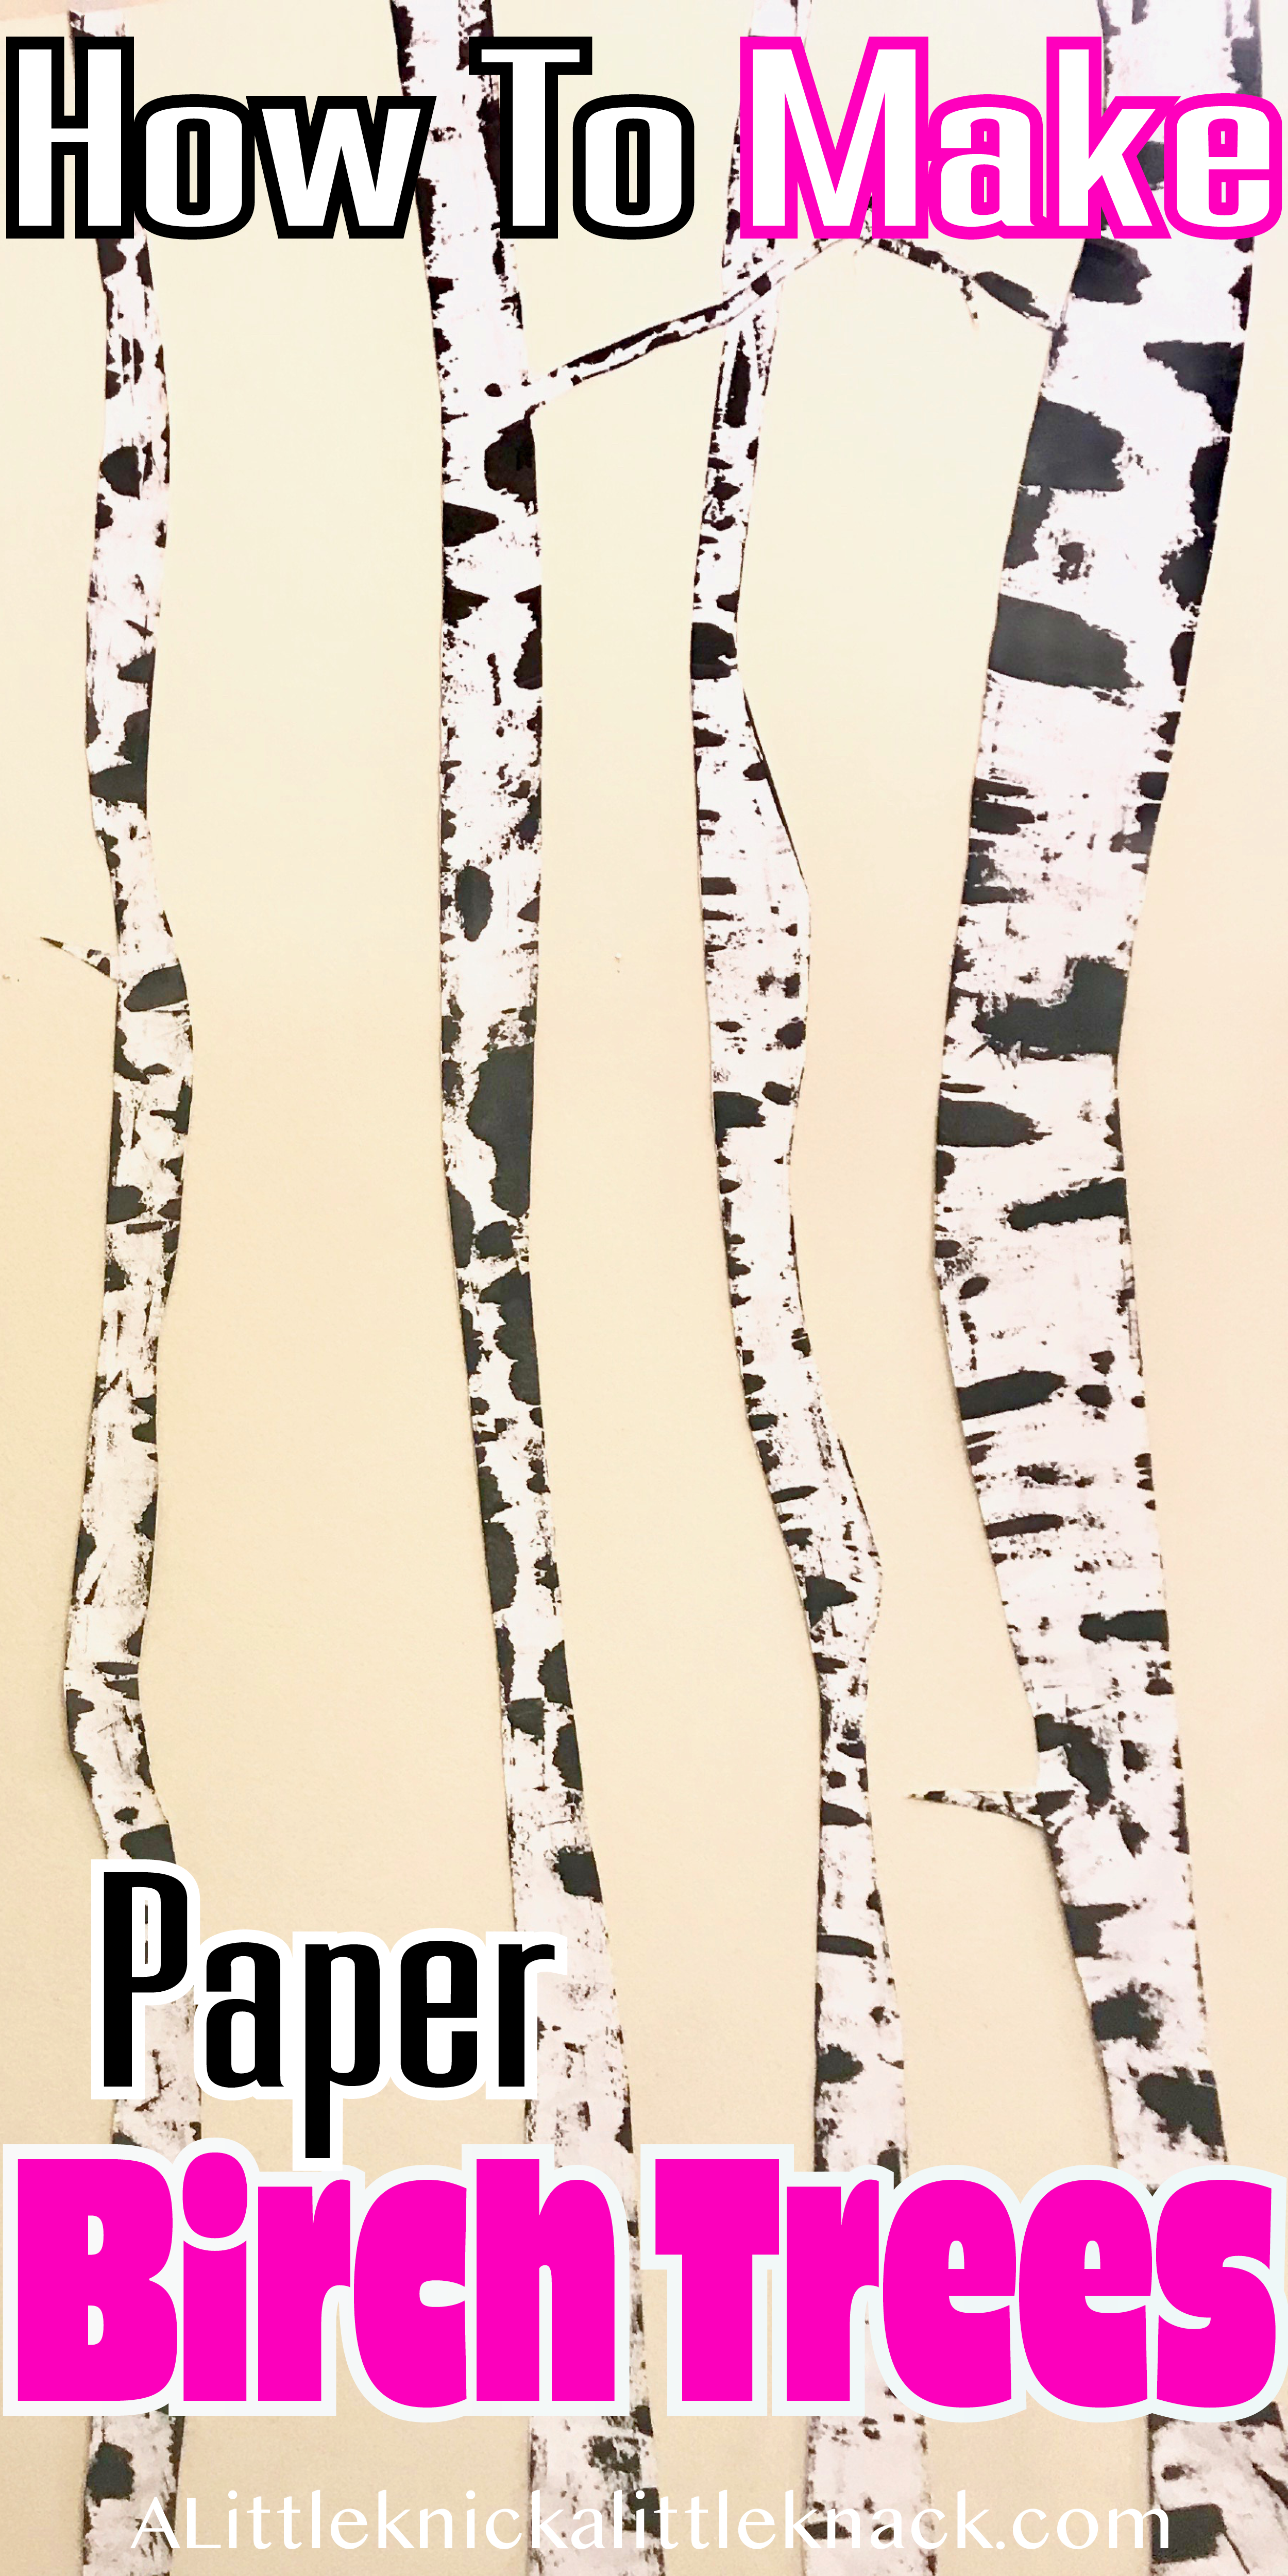
Cut out your trees and use small bits of Tacky Mounting Putty to secure them to the walls!
I loved how my DIY Birch tree backdrop turned out and every guest that mentioned them assumed they had been bought (little did they know how EASY they were to do).
Related Posts