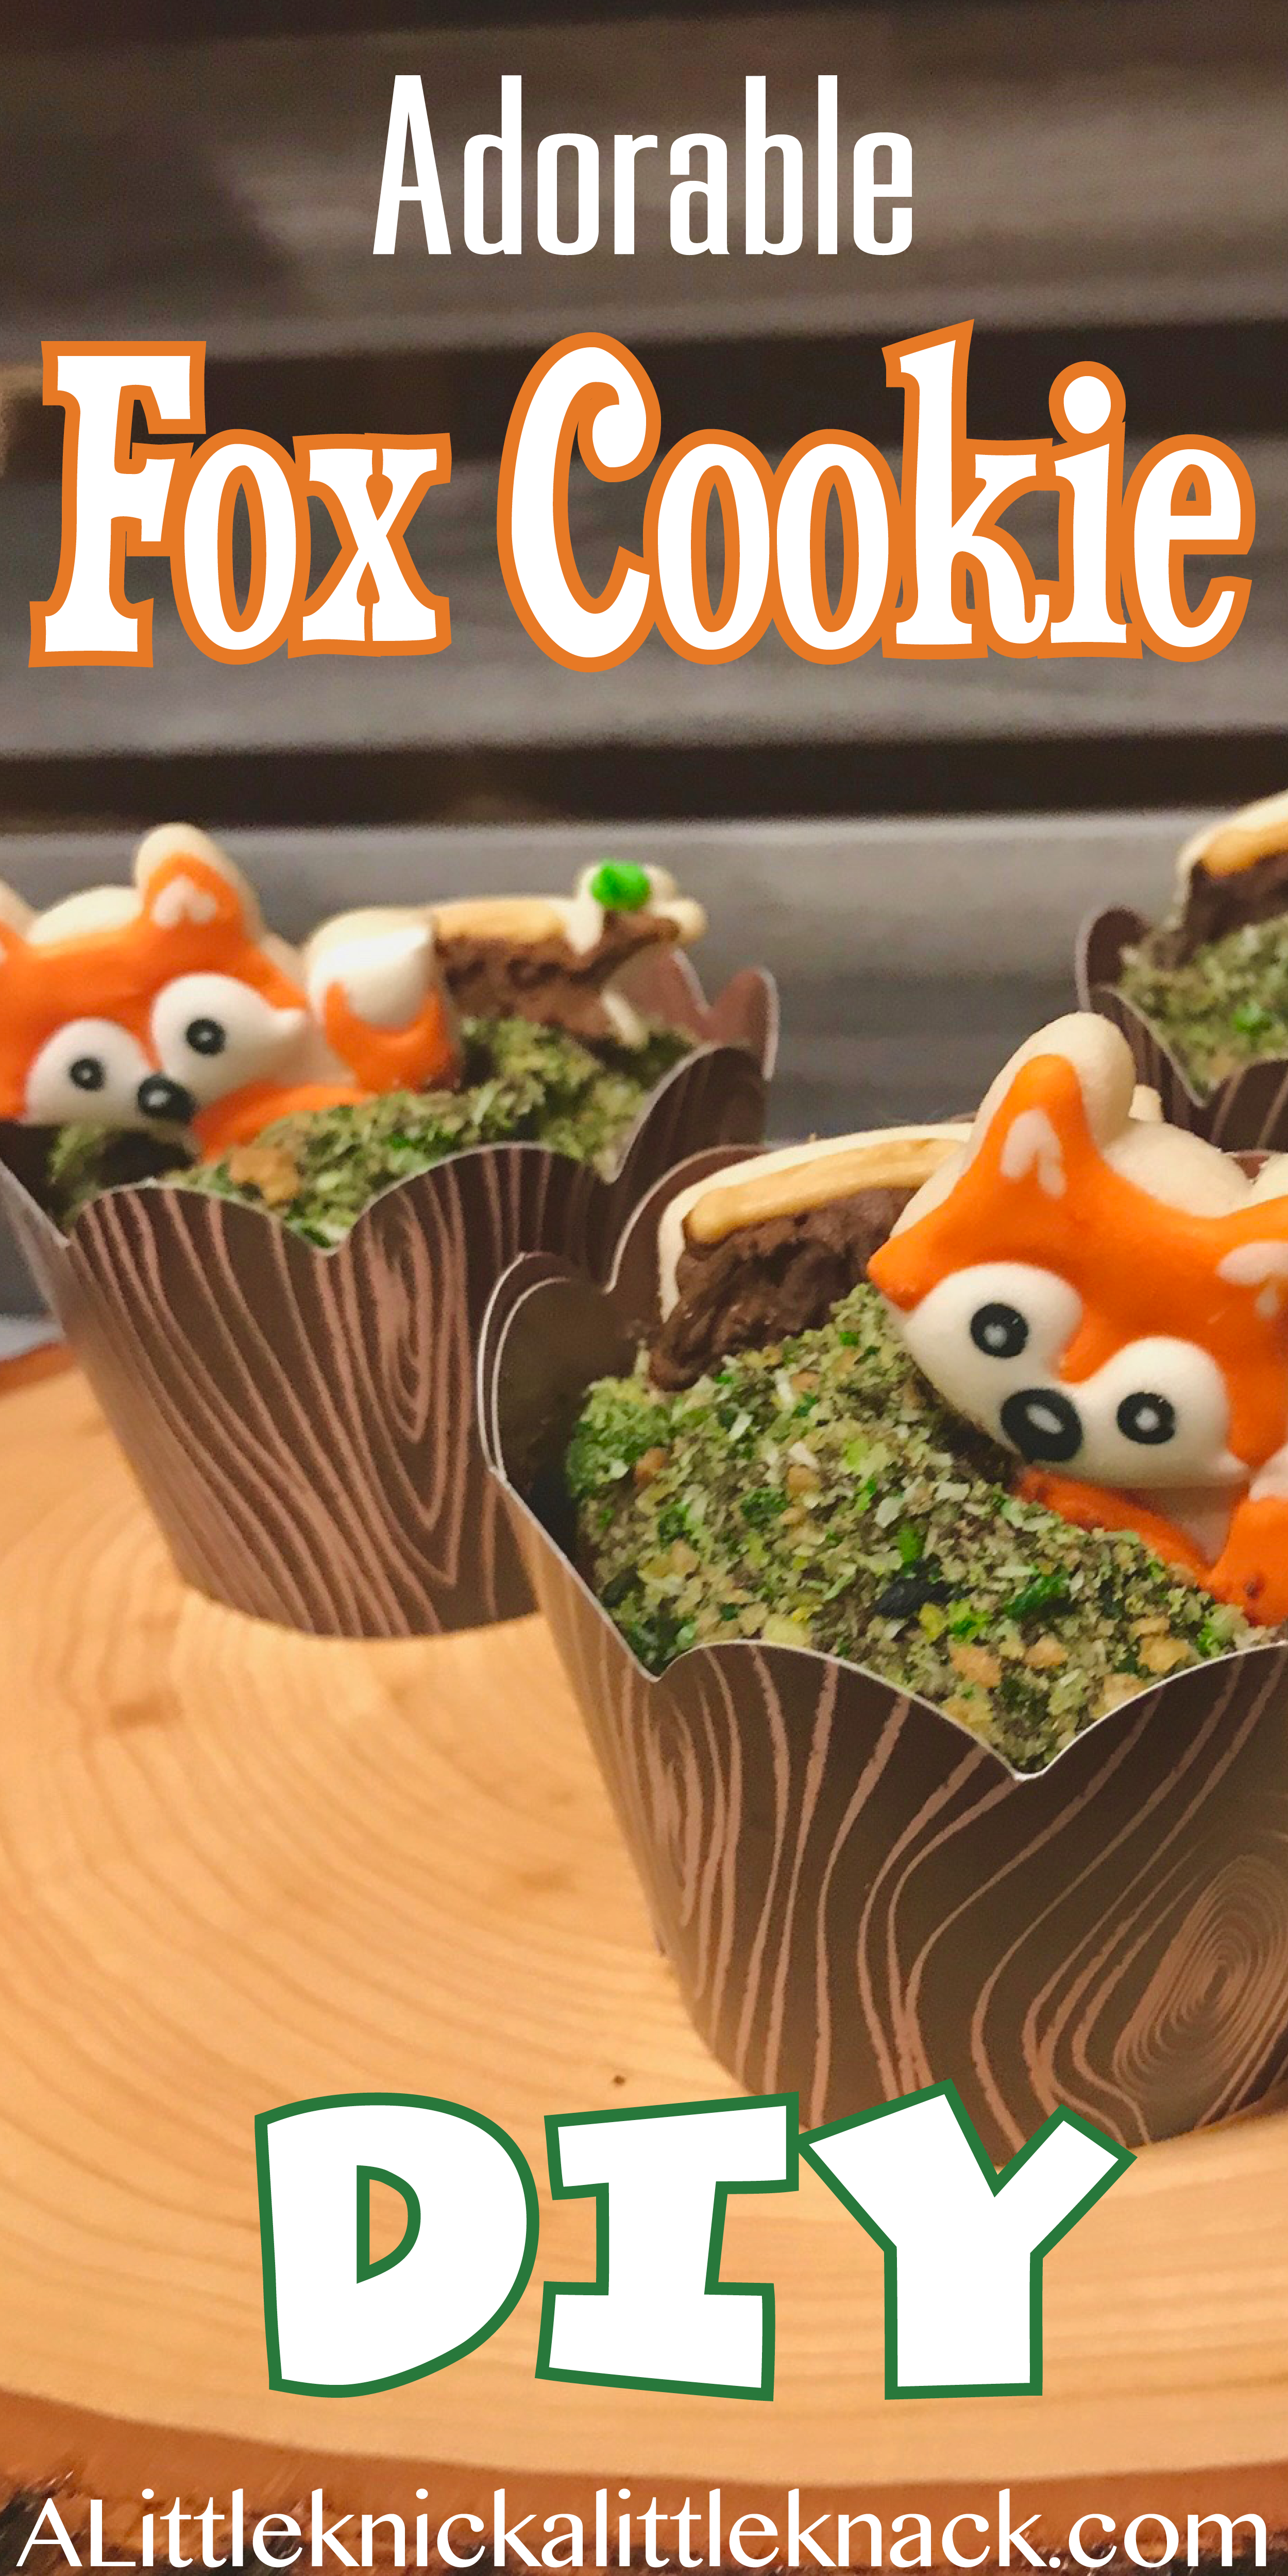
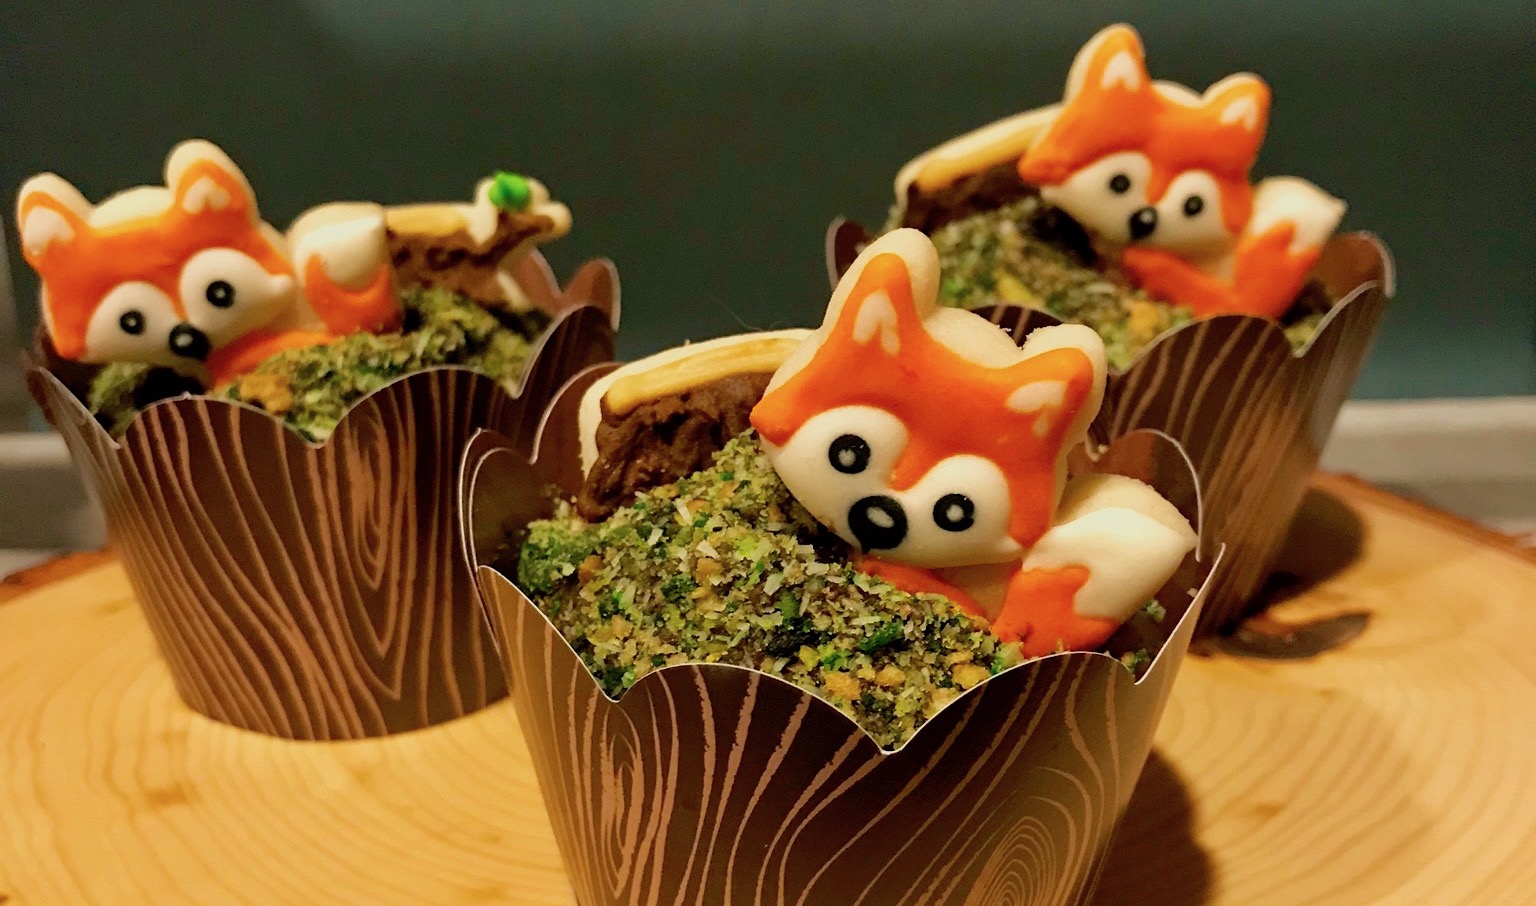
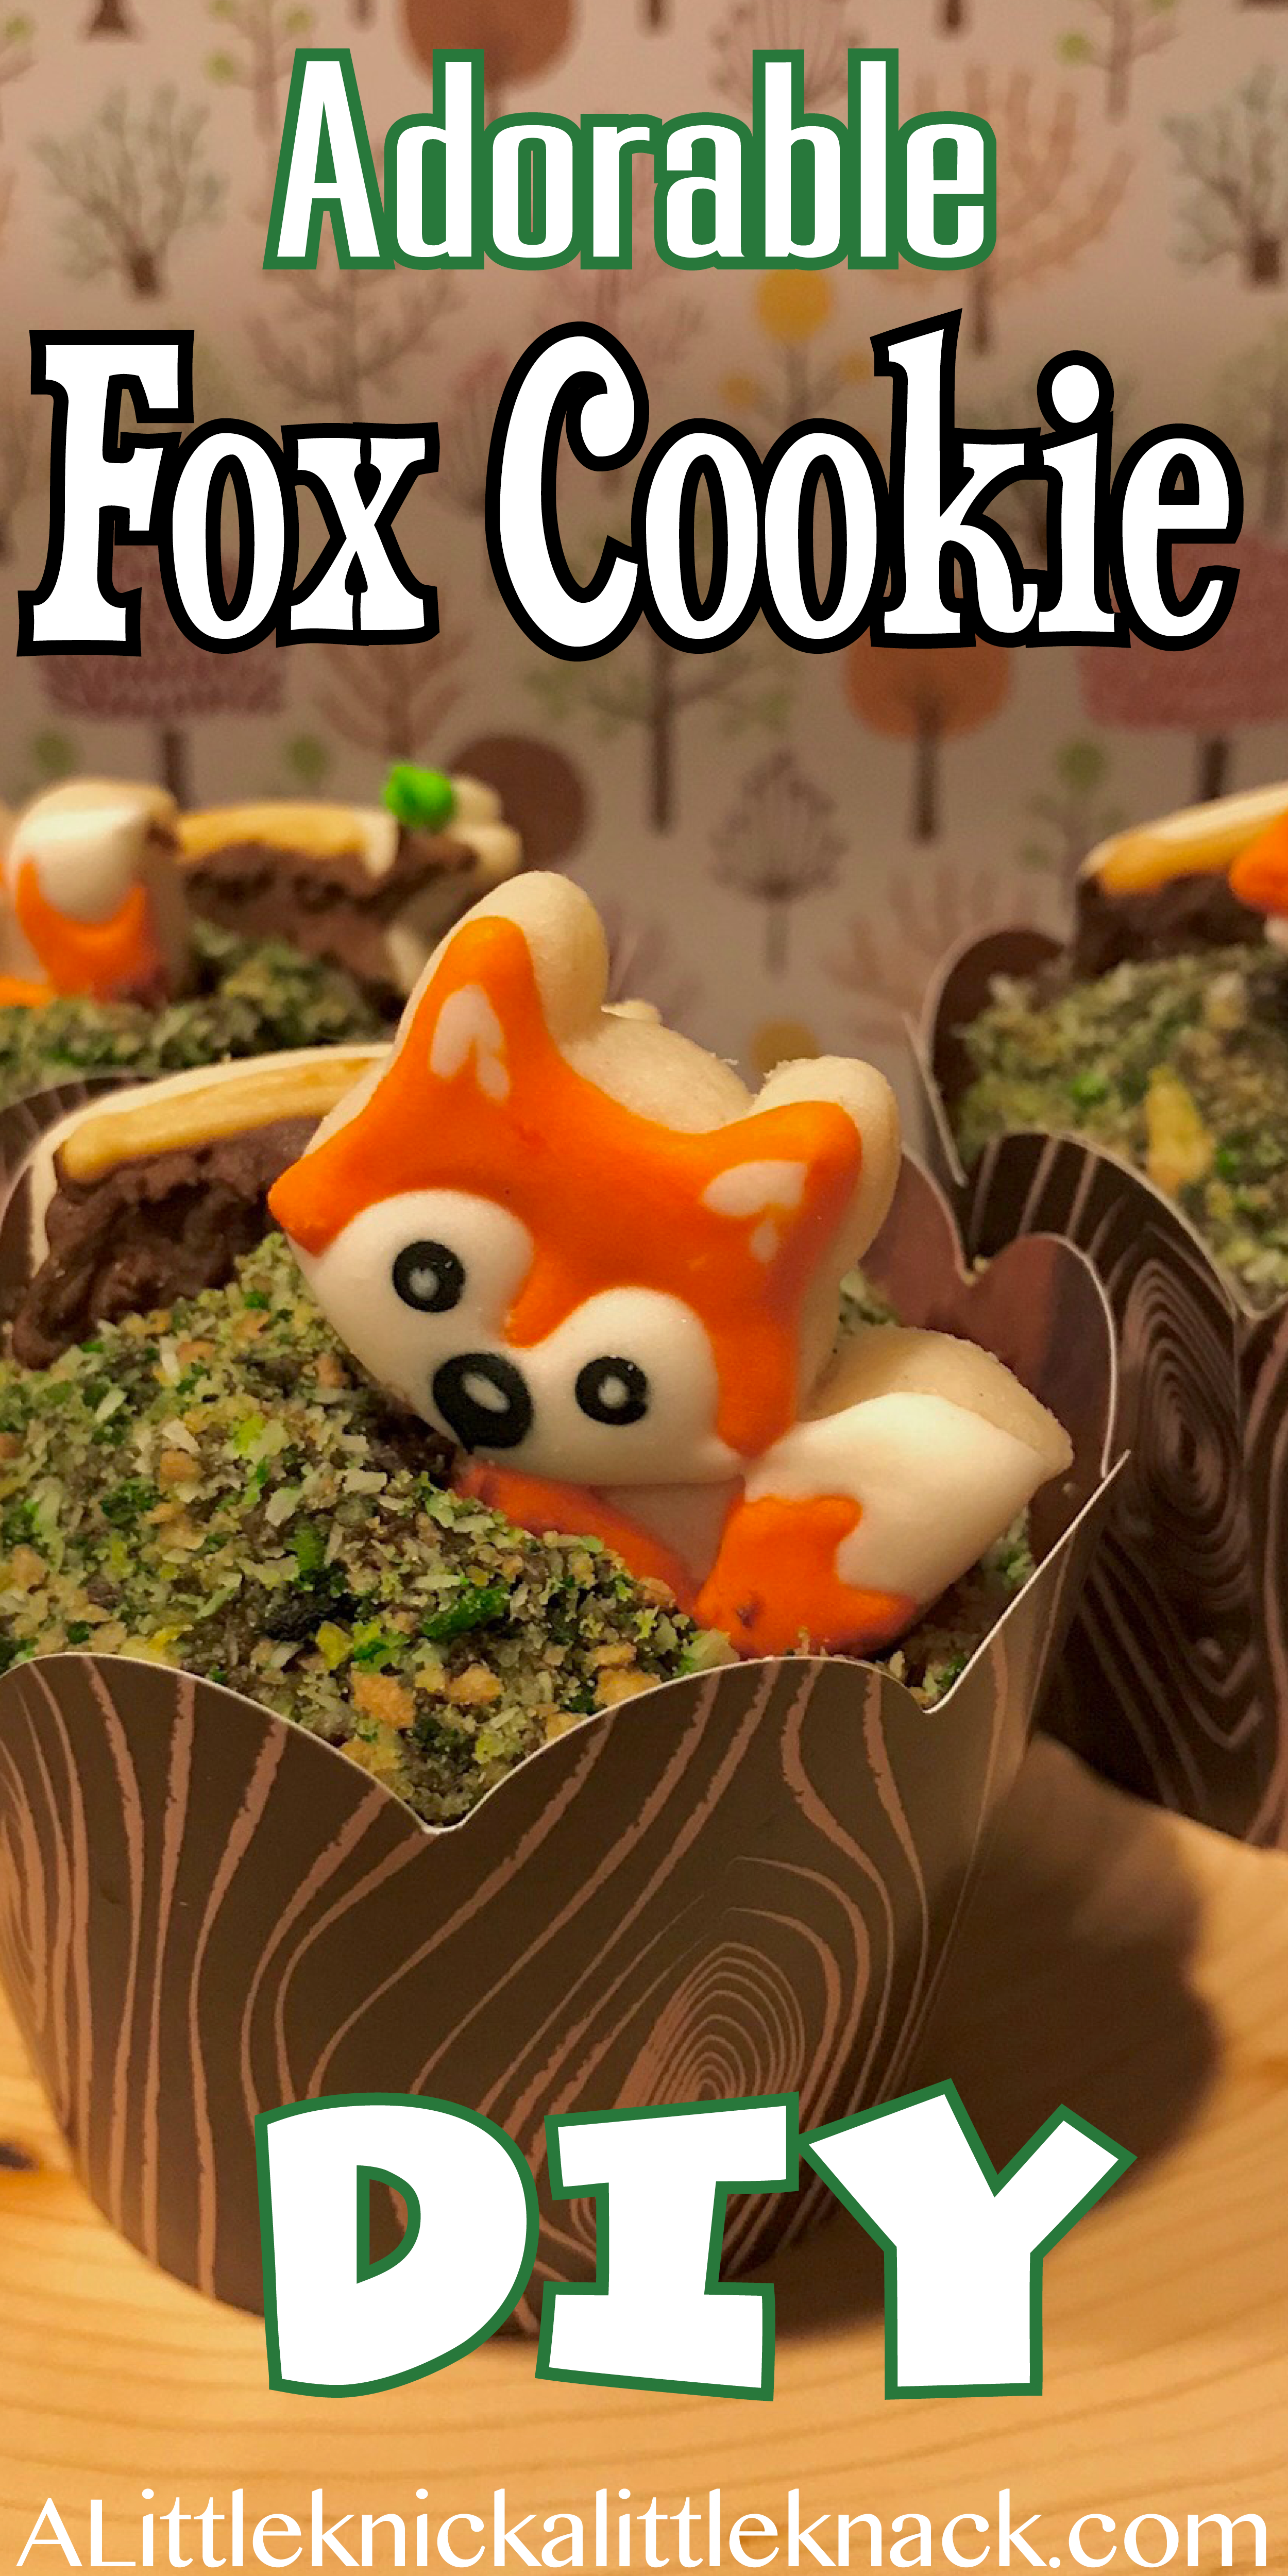
We settled on a fall woodland fox theme for my youngest’s first birthday and I knew I wanted to decorate the cupcakes with cookies. I did half (the chocolate cupcakes) with my picture perfect pumpkin cookies and the vanilla cupcakes got an adorable fox and tree stump.
Why cookies on cupcakes you may ask? Because kids and little plastic decorations tend to lend themselves to choking, plus who doesn’t love a beautifully decorated cookie?
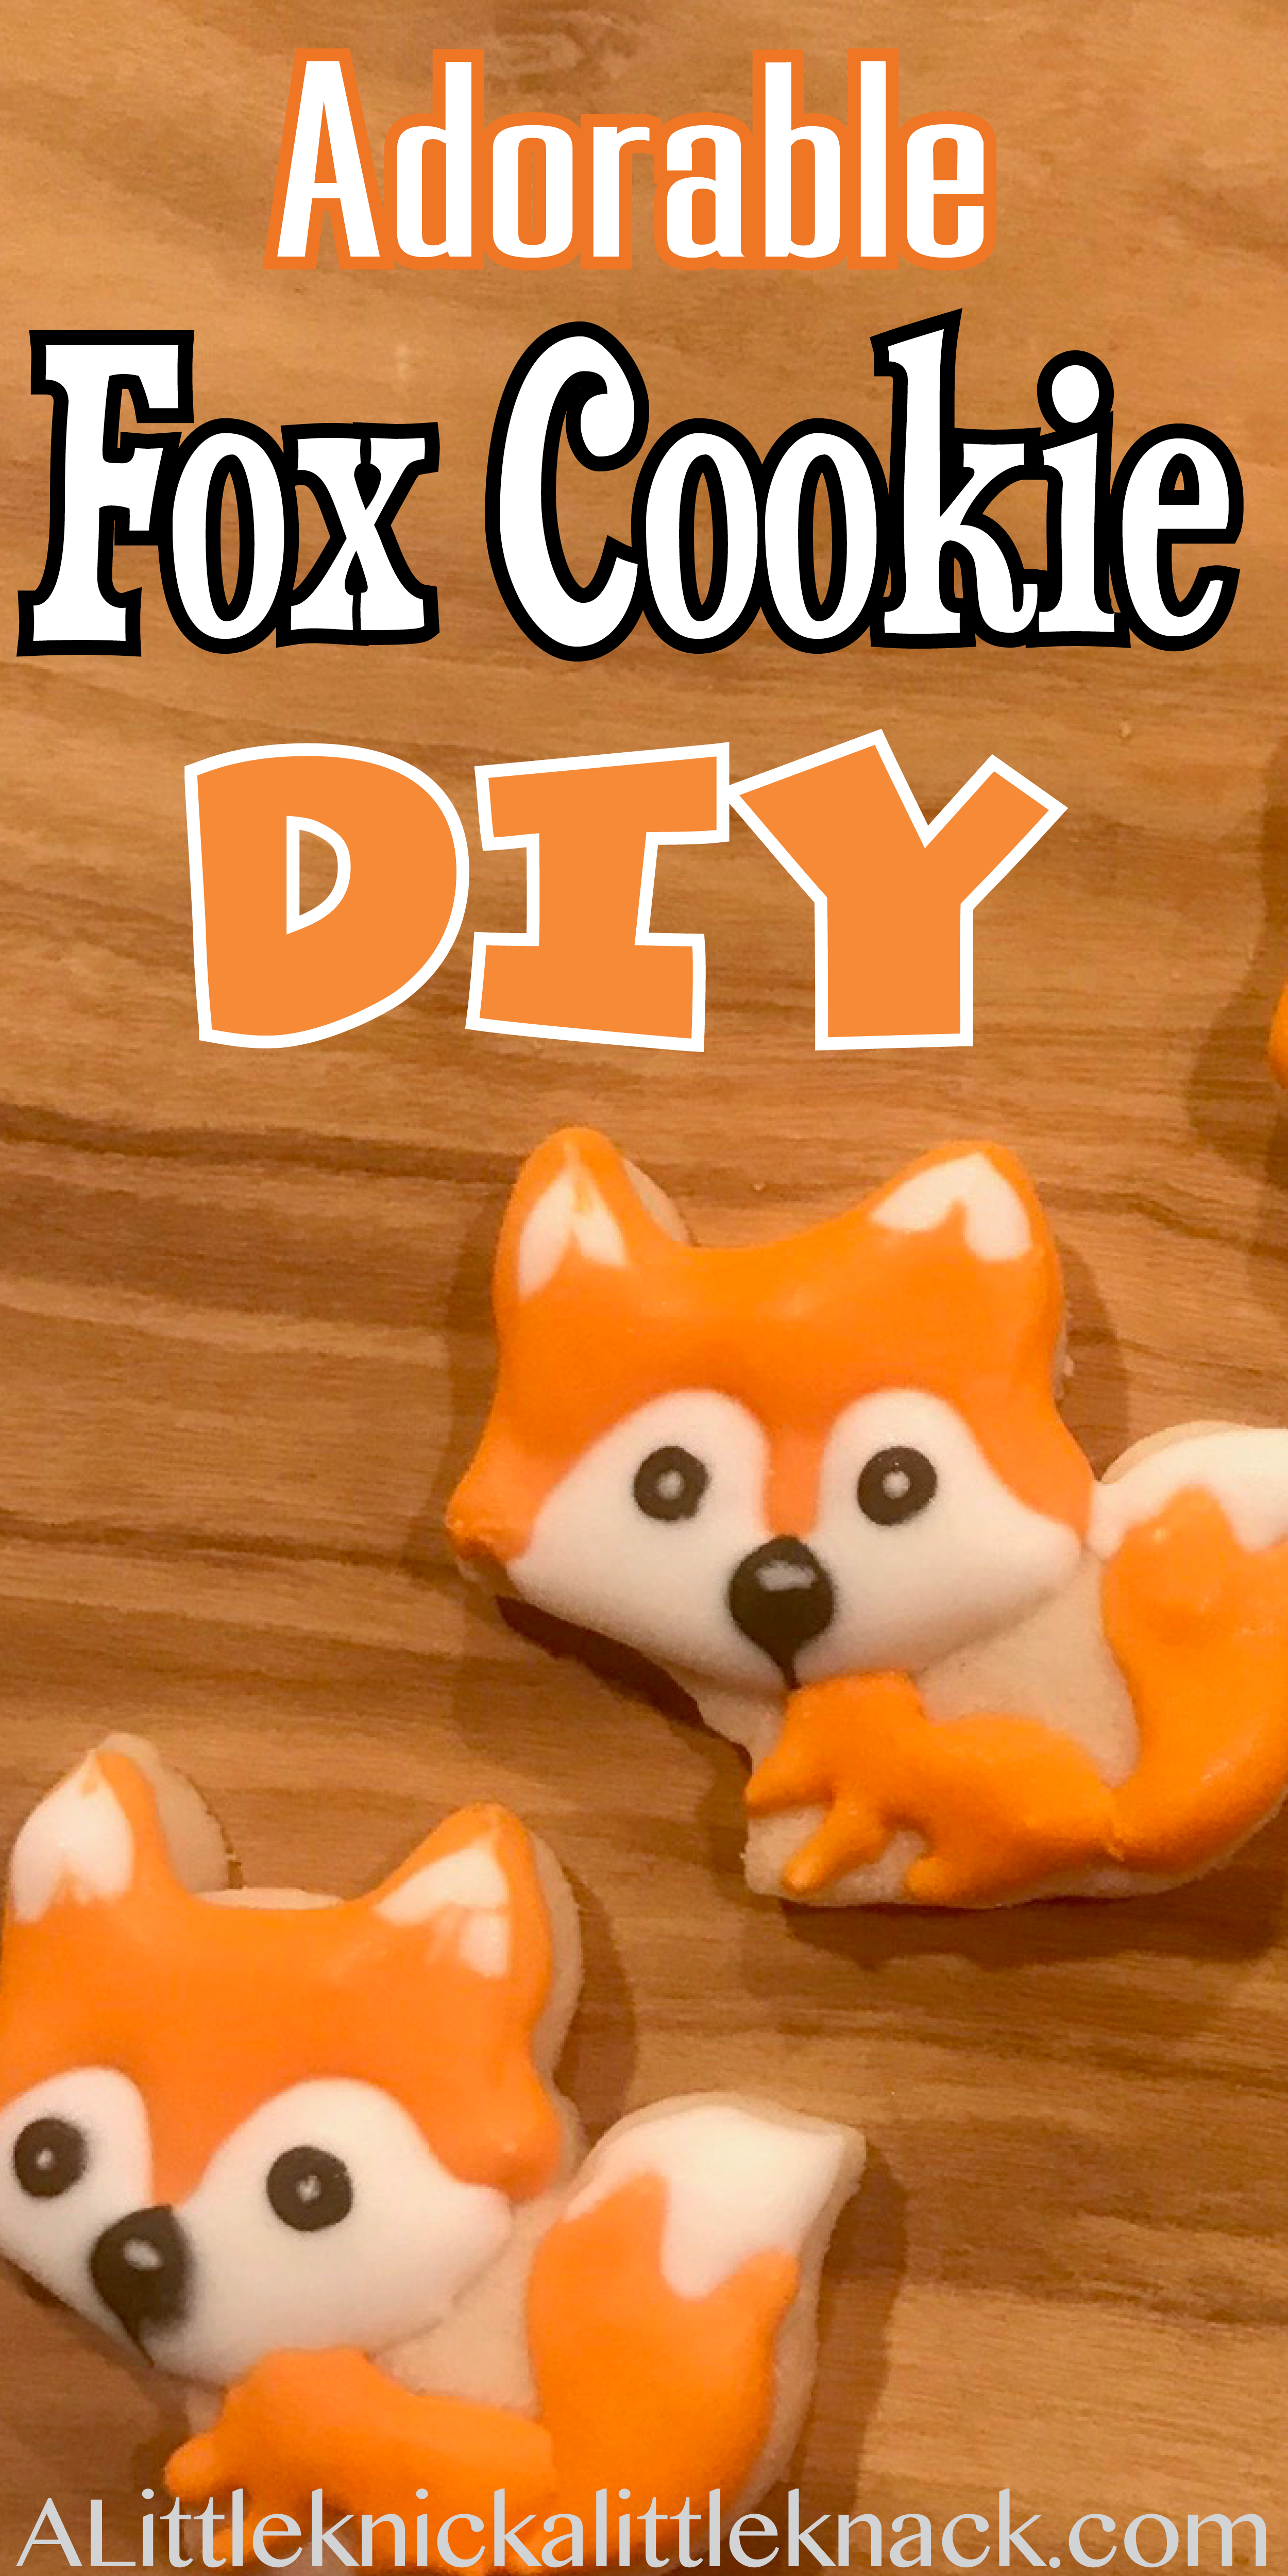
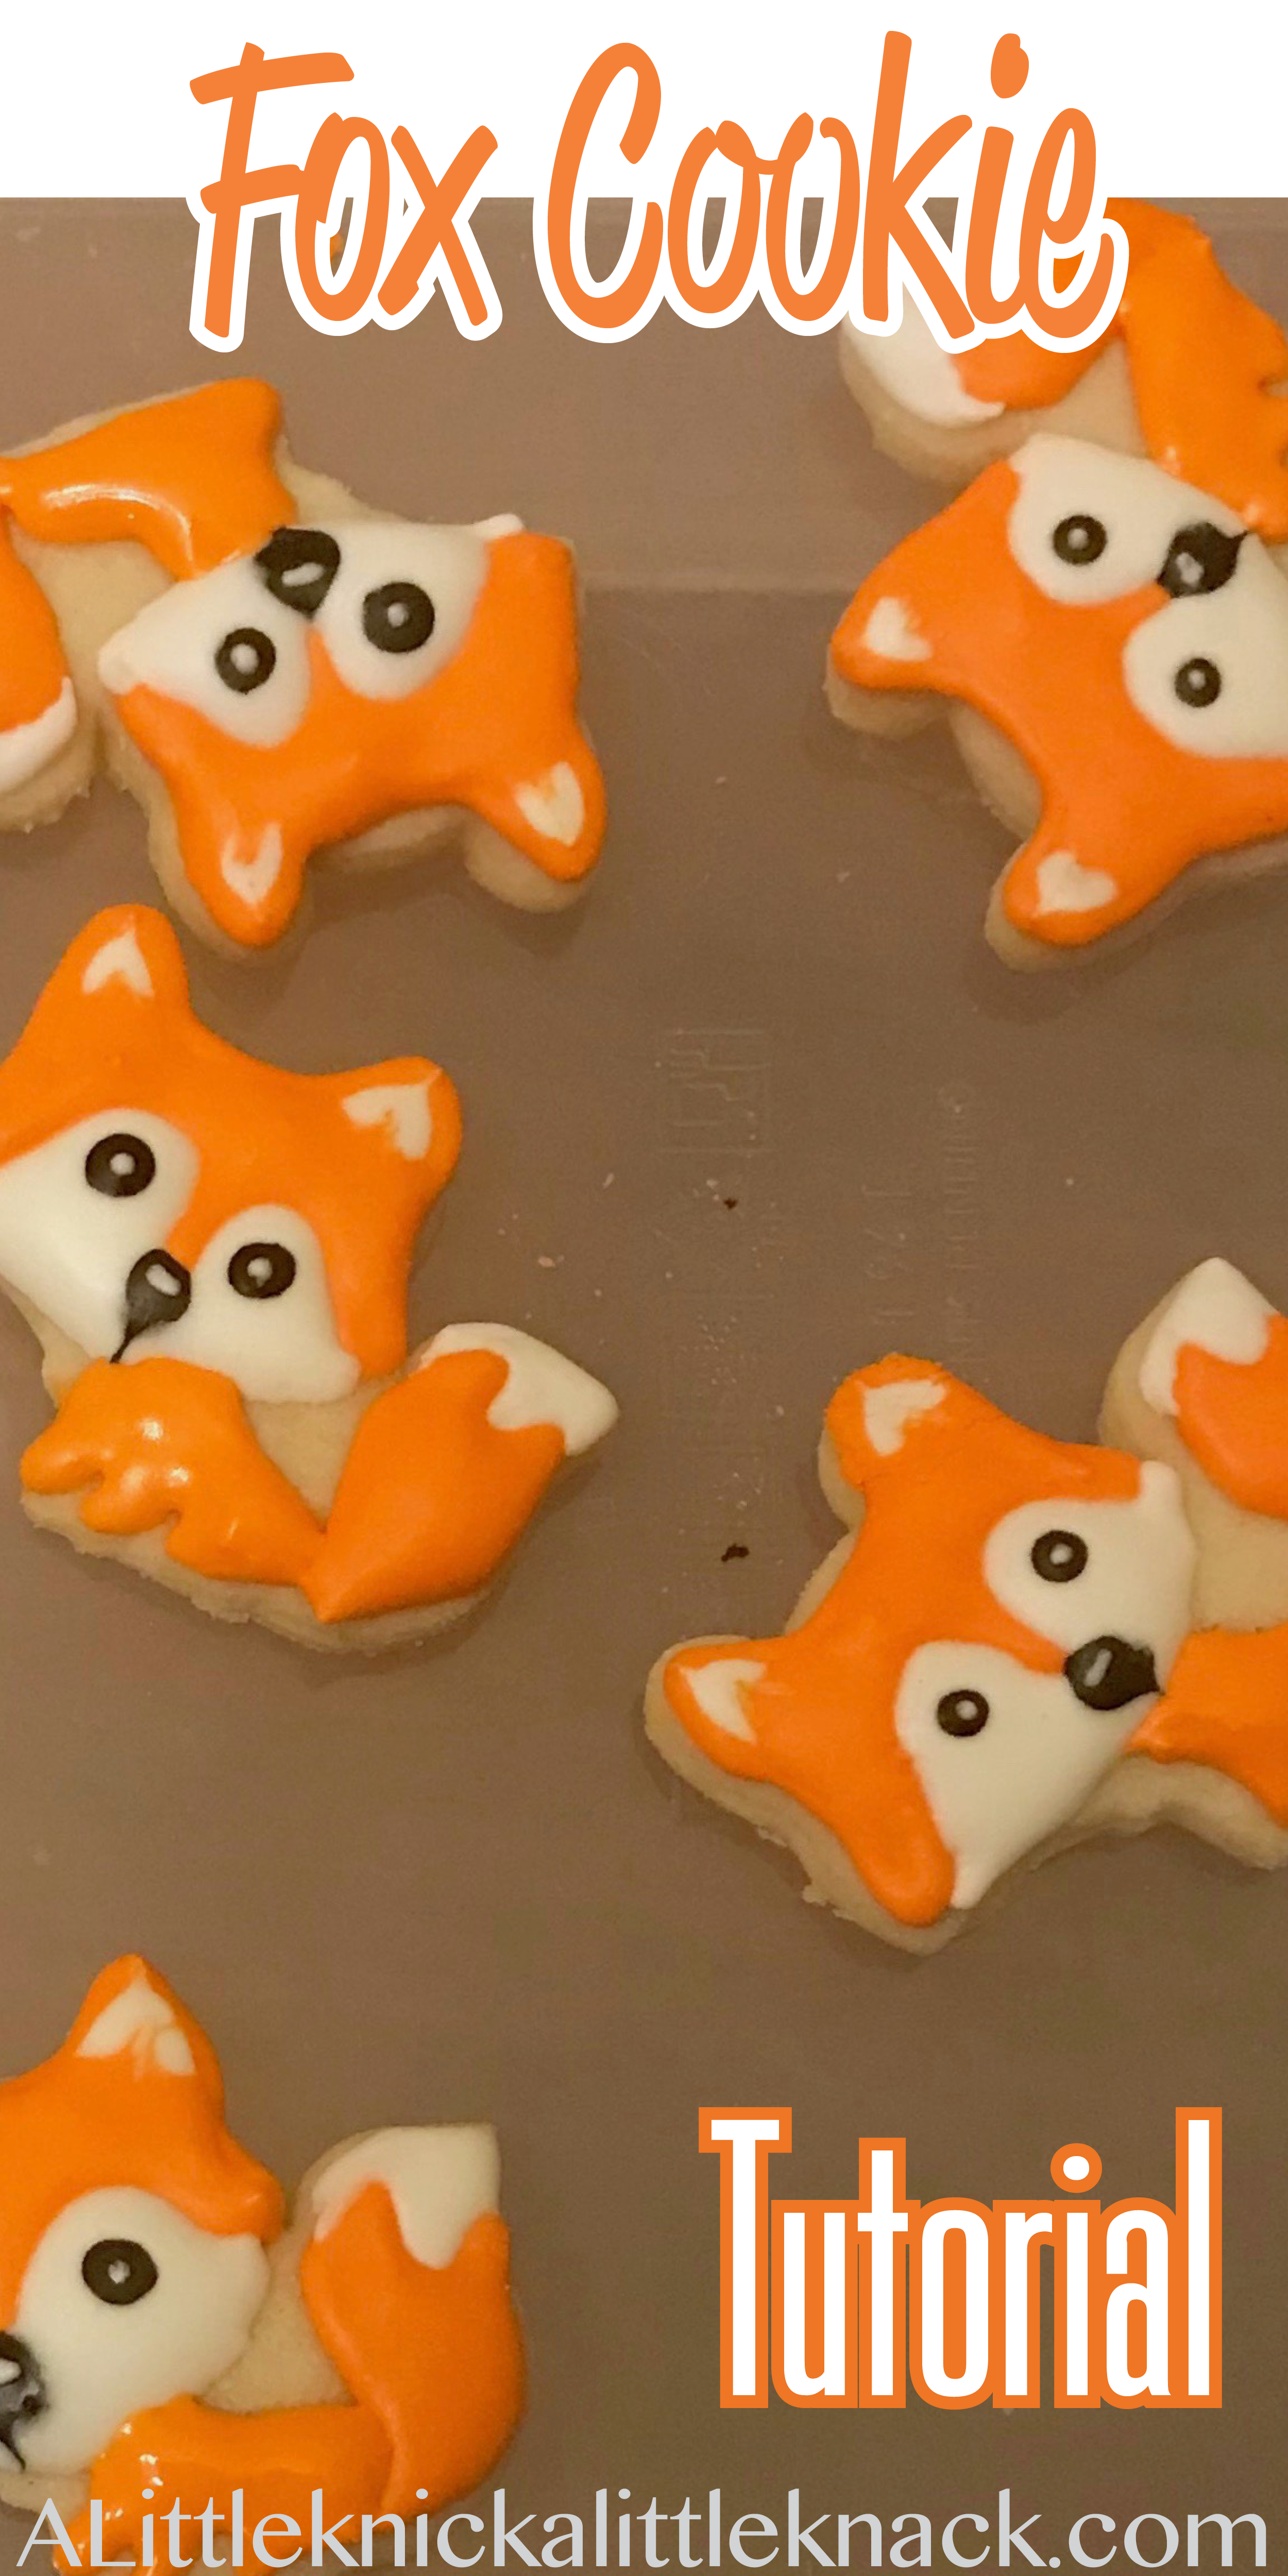
They may look designer but I PROMISE these adorable fox cookies were actually super easy to make!
*This post may contain affiliate links which may allow us to receive a small commission (at no additional cost to you) for purchases you make after clicking on product links on our posts , to view our full affiliate disclosure click here.
But rest assured we fully believe in every product we endorse.
Materials
- Perfect Edge Sugar Cookie Dough
- Fool Proof Royal Icing
- Food Coloring: red, yellow, black
- Scriber Needle
- Piping Bags
- Squeeze Bottles
- Couplers
- Icing Bag Ties
- 2 Wilton #2 Piping Tips
- Fox Cookie Cutters (I got mine on Etsy)
First make a batch of perfect edge sugar cookie dough (really you want clean cookie edges for these fox cookies so I would HIGHLY recommend using my recipe) then make some fool proof royal icing .
hint: I normally bake the cookies on day one and create my colored icing/ start decorating on day 2 to avoid cookie burnout!
You will then need to prepare 3 different colors in varying consistencies. If you need help figuring out how to create the different consistencies head over to my preparing royal icing for cookie decorating post.
- Orange- Outline & Flood (I used 4 drops of yellow food coloring to 1 drop red)
- Black- Flood
- White – Outline & Flood
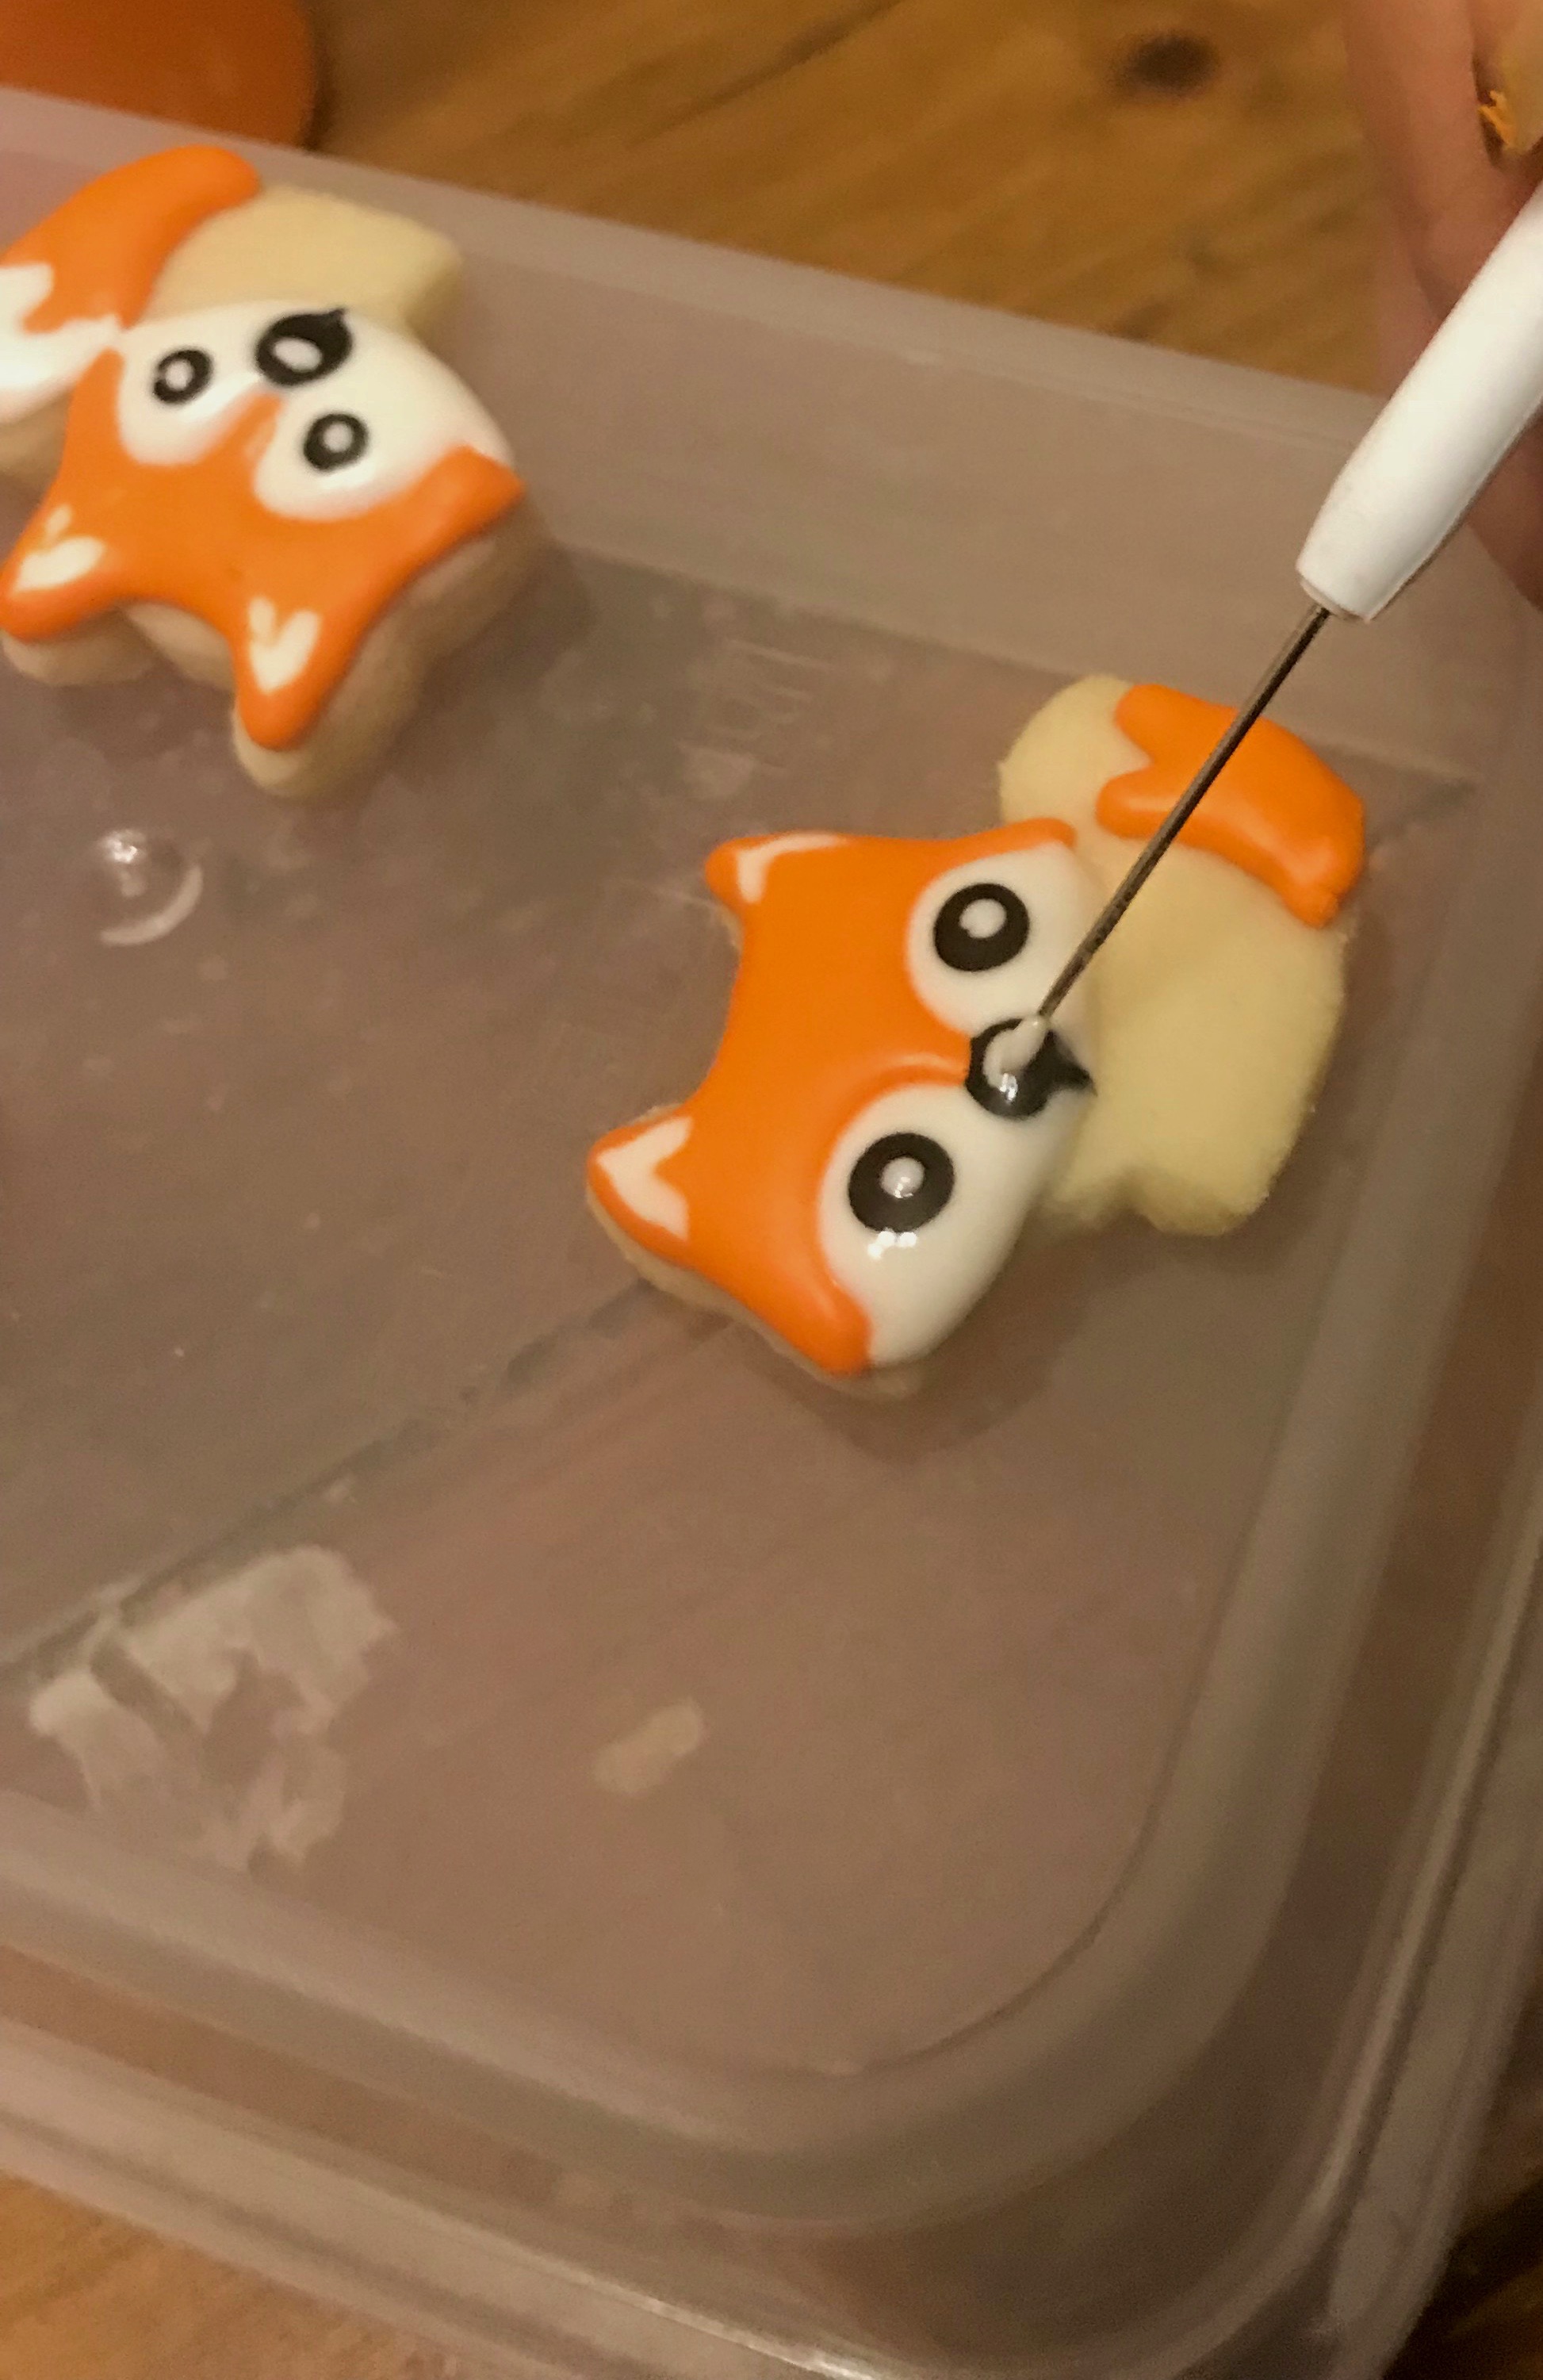
hint: While you work keep your piping bags tip-down in a container with a damp paper towel to keep them from drying out.
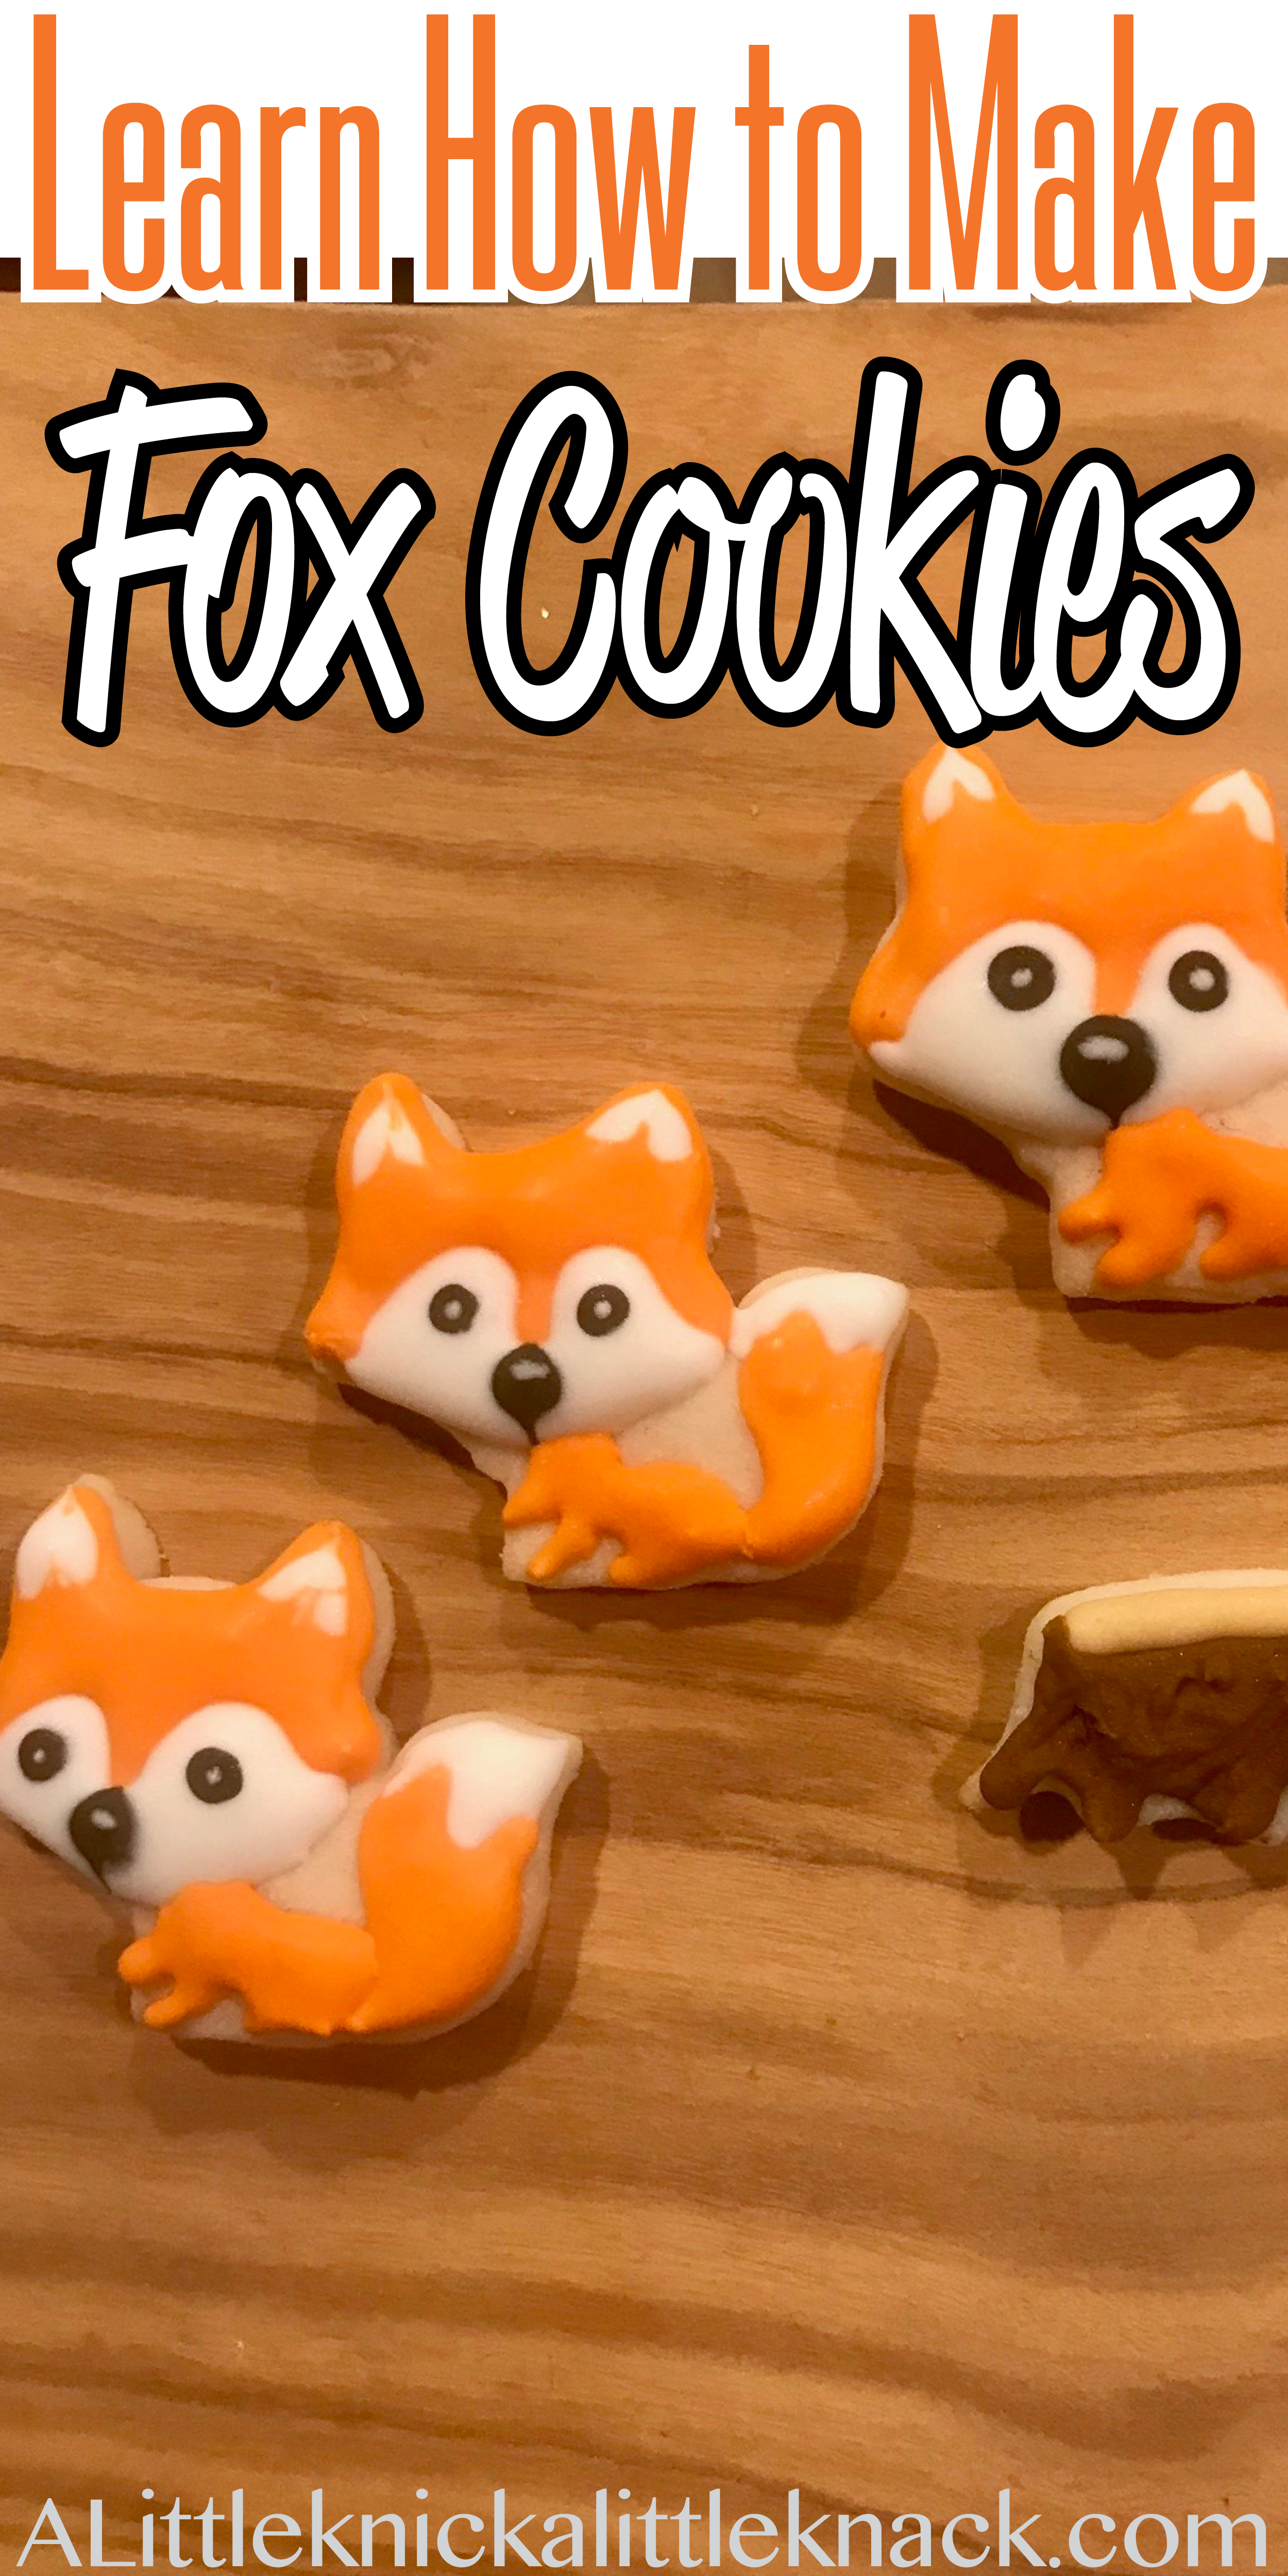
Now you are ready to create a flock of adorable fox cookies!
Ok, actually a group of foxes is known as an earth, skulk, or leash, but who even knows what those are?!?!
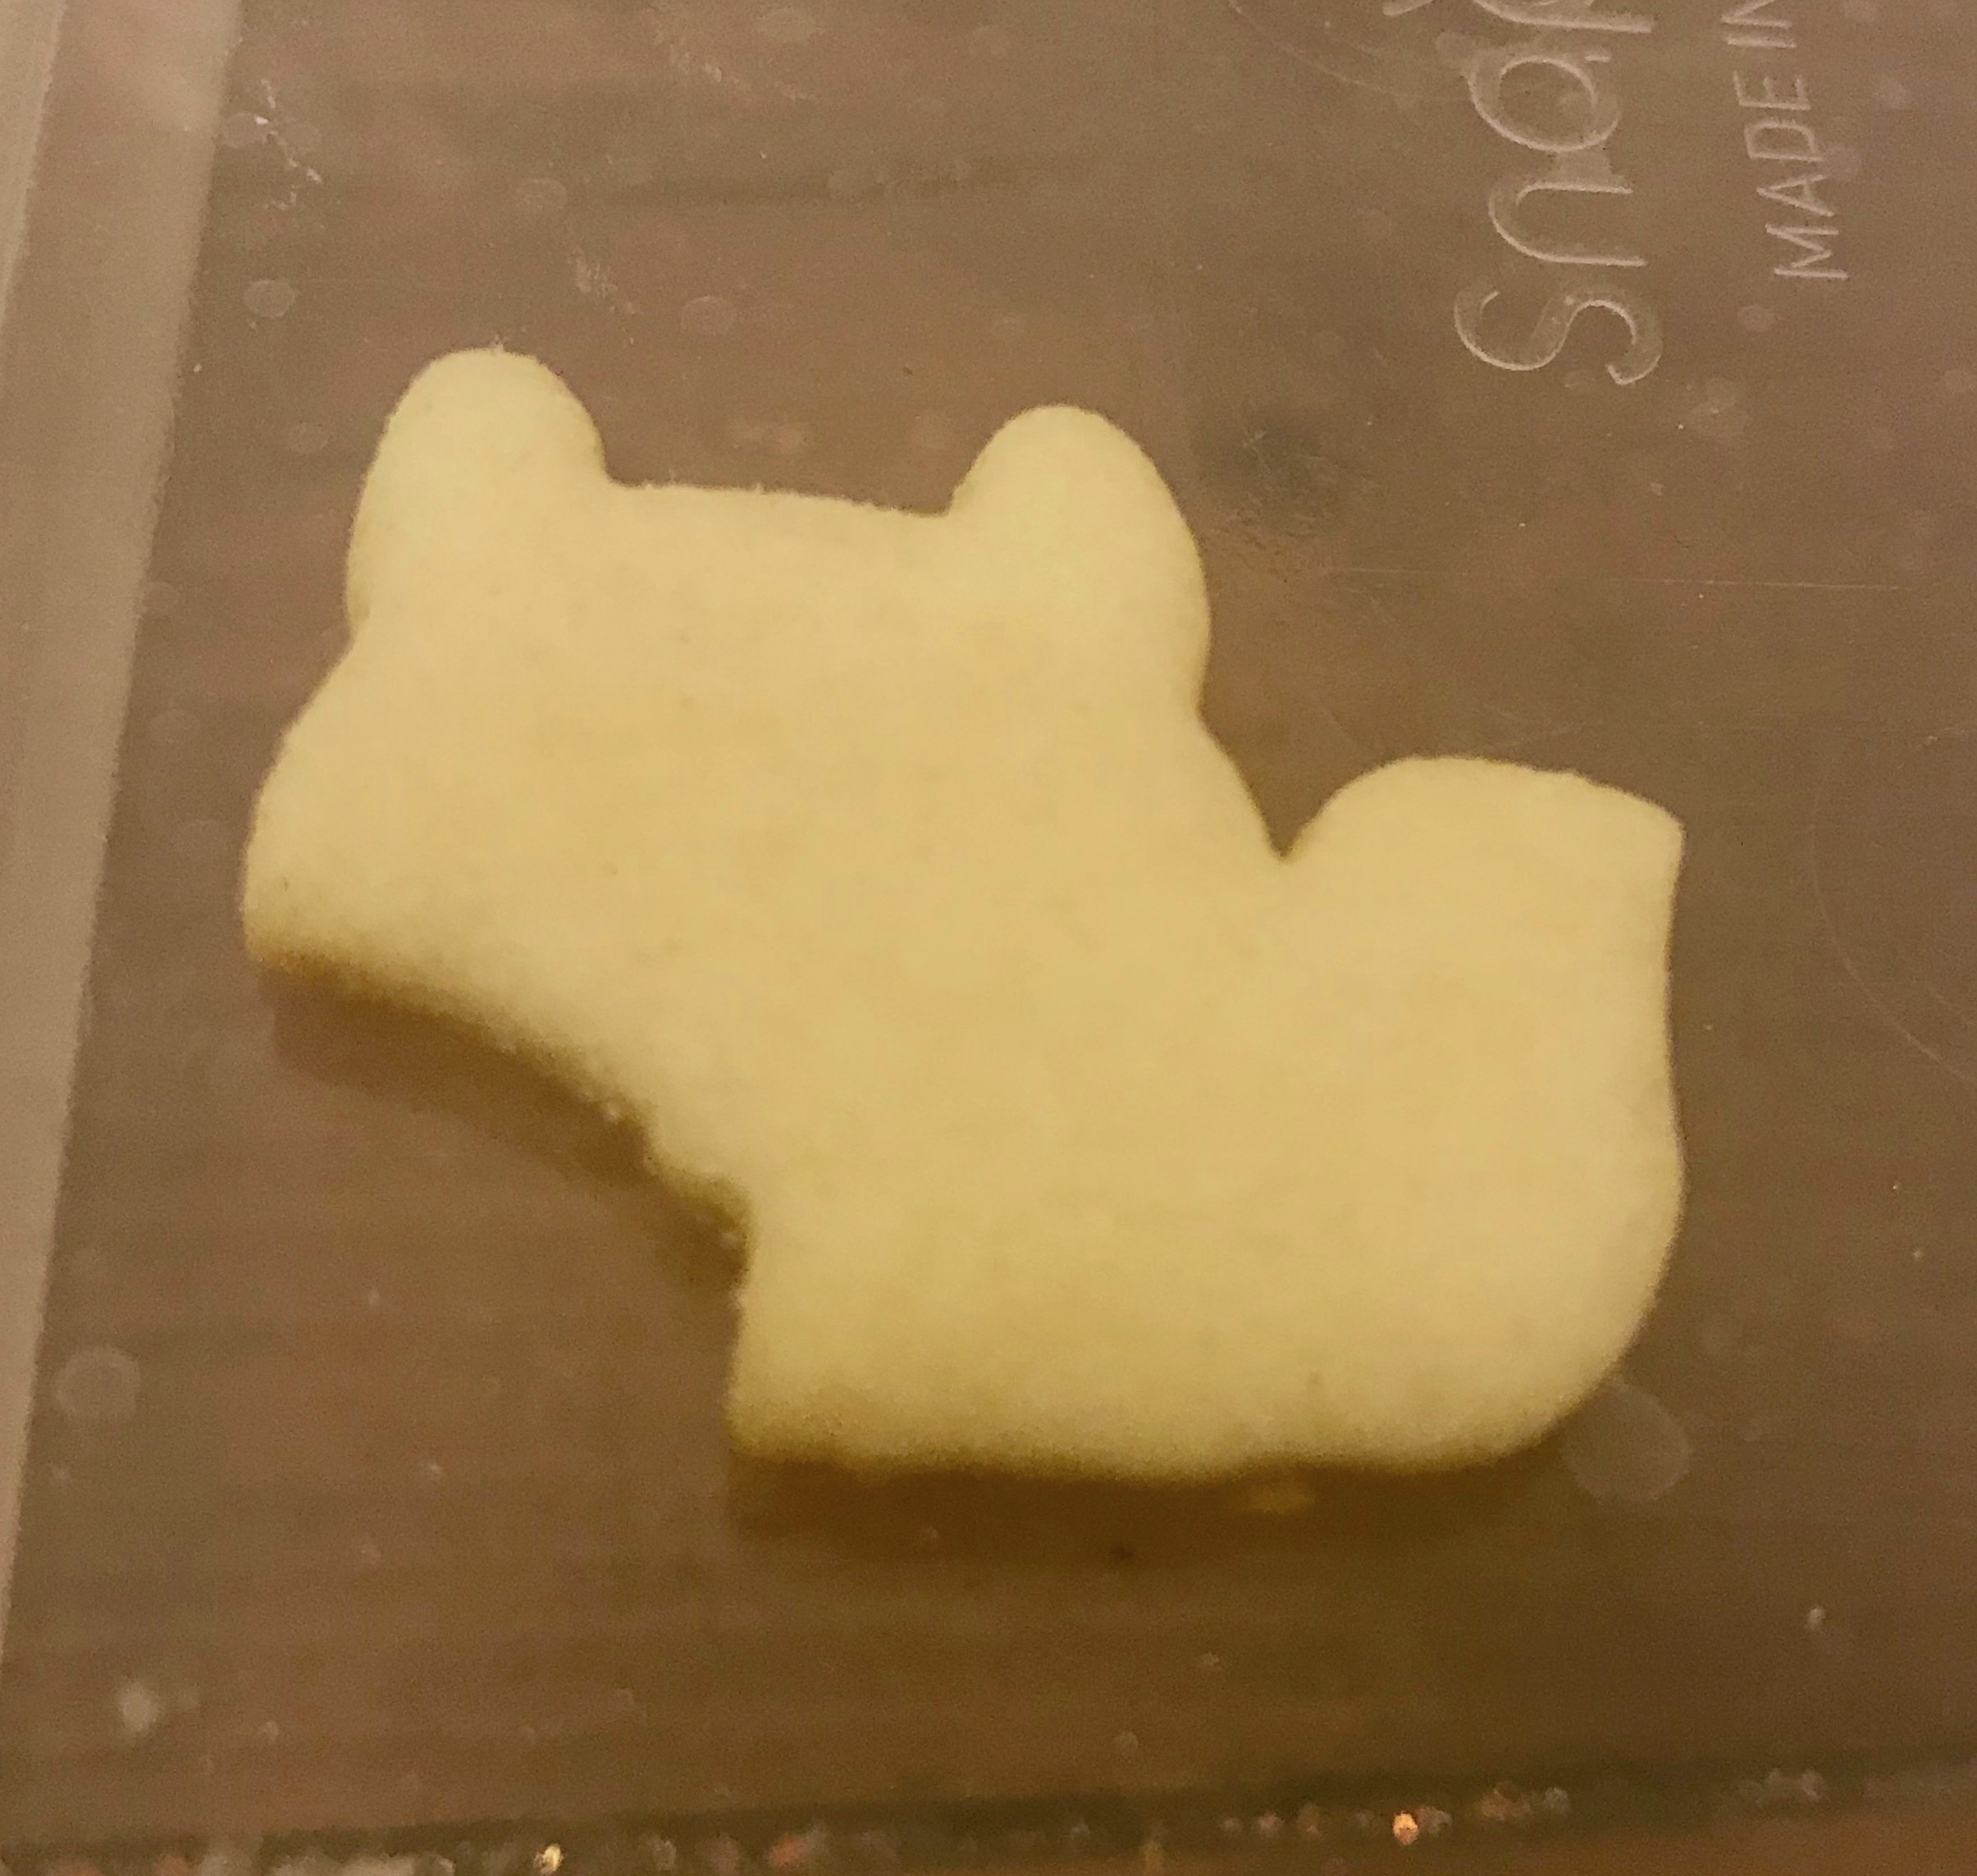
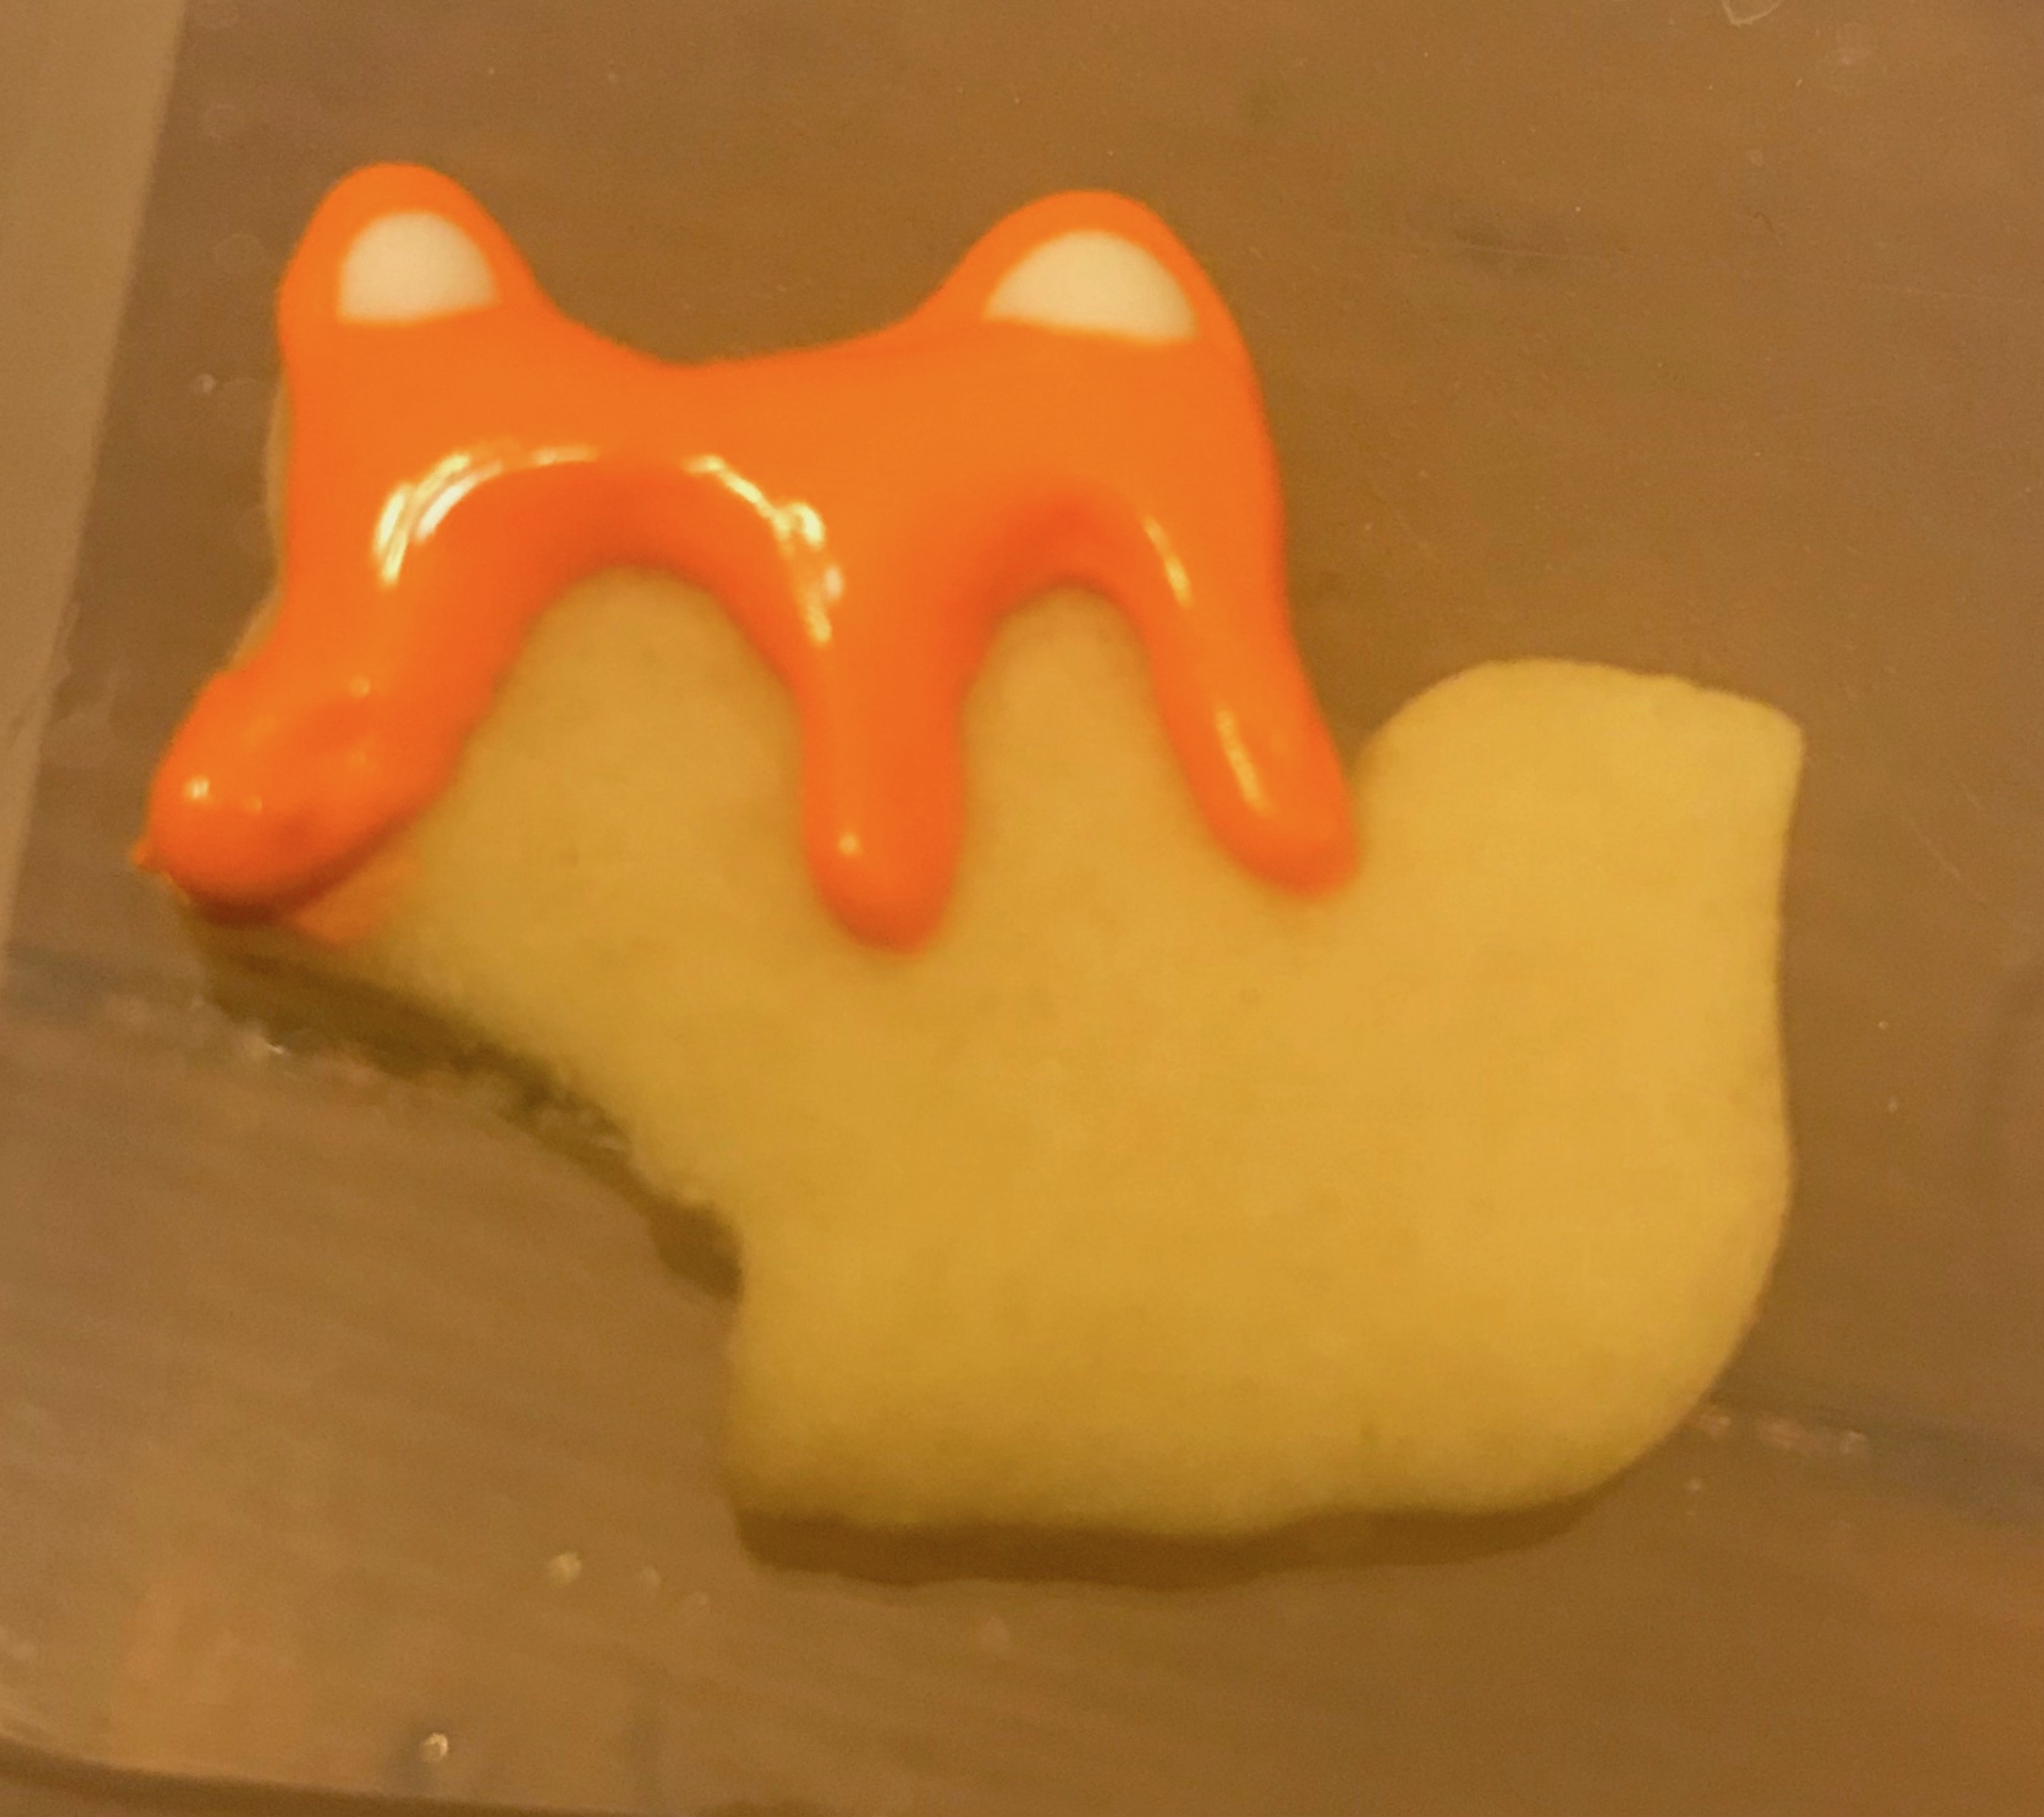
First you are going to outline the top of the foxes head with orange outline icing. I thought of it as following the head shape to the two widest pints and then connecting them with an “m.”
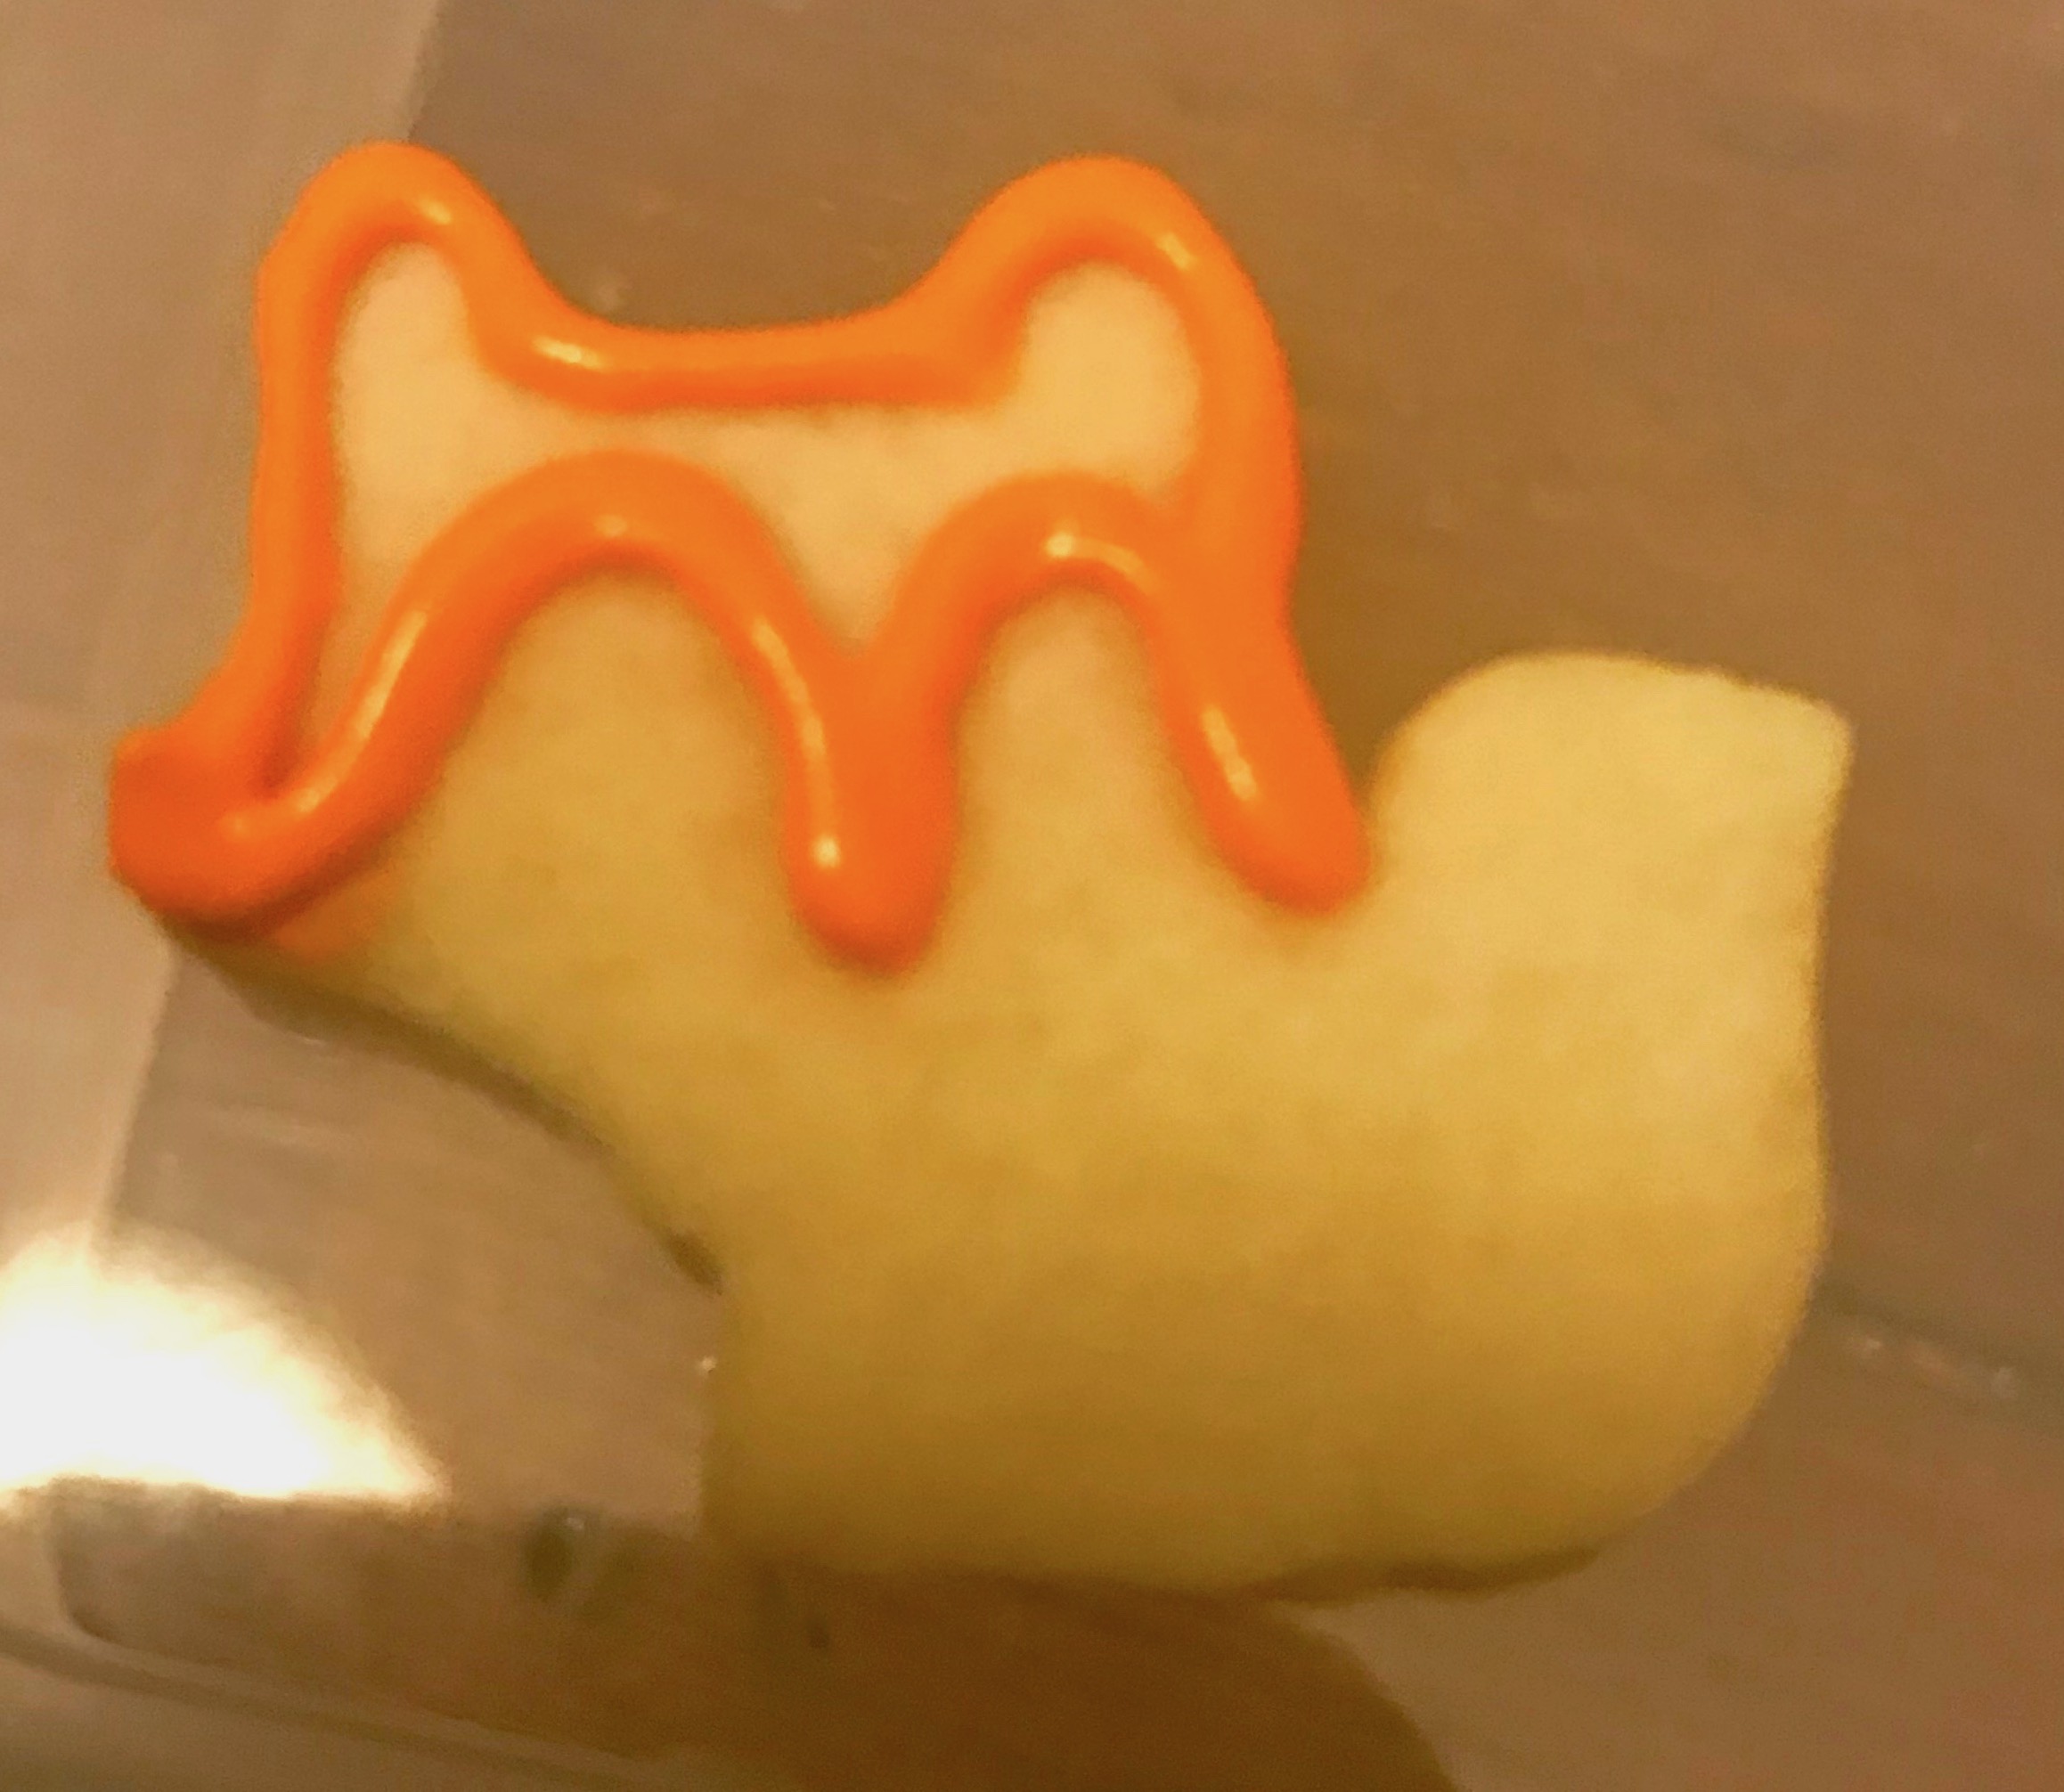
Now place two dots of white flood icing where the ears will be
Fill the rest of the outlined shape with orange flood icing.
I then used a Scriber Needle to drag a little bit of the orange into the white at the bottom of the ear and a little bit of the white into the orange outline icing at the top of the ear.
Outline the tail with orange outline icing.
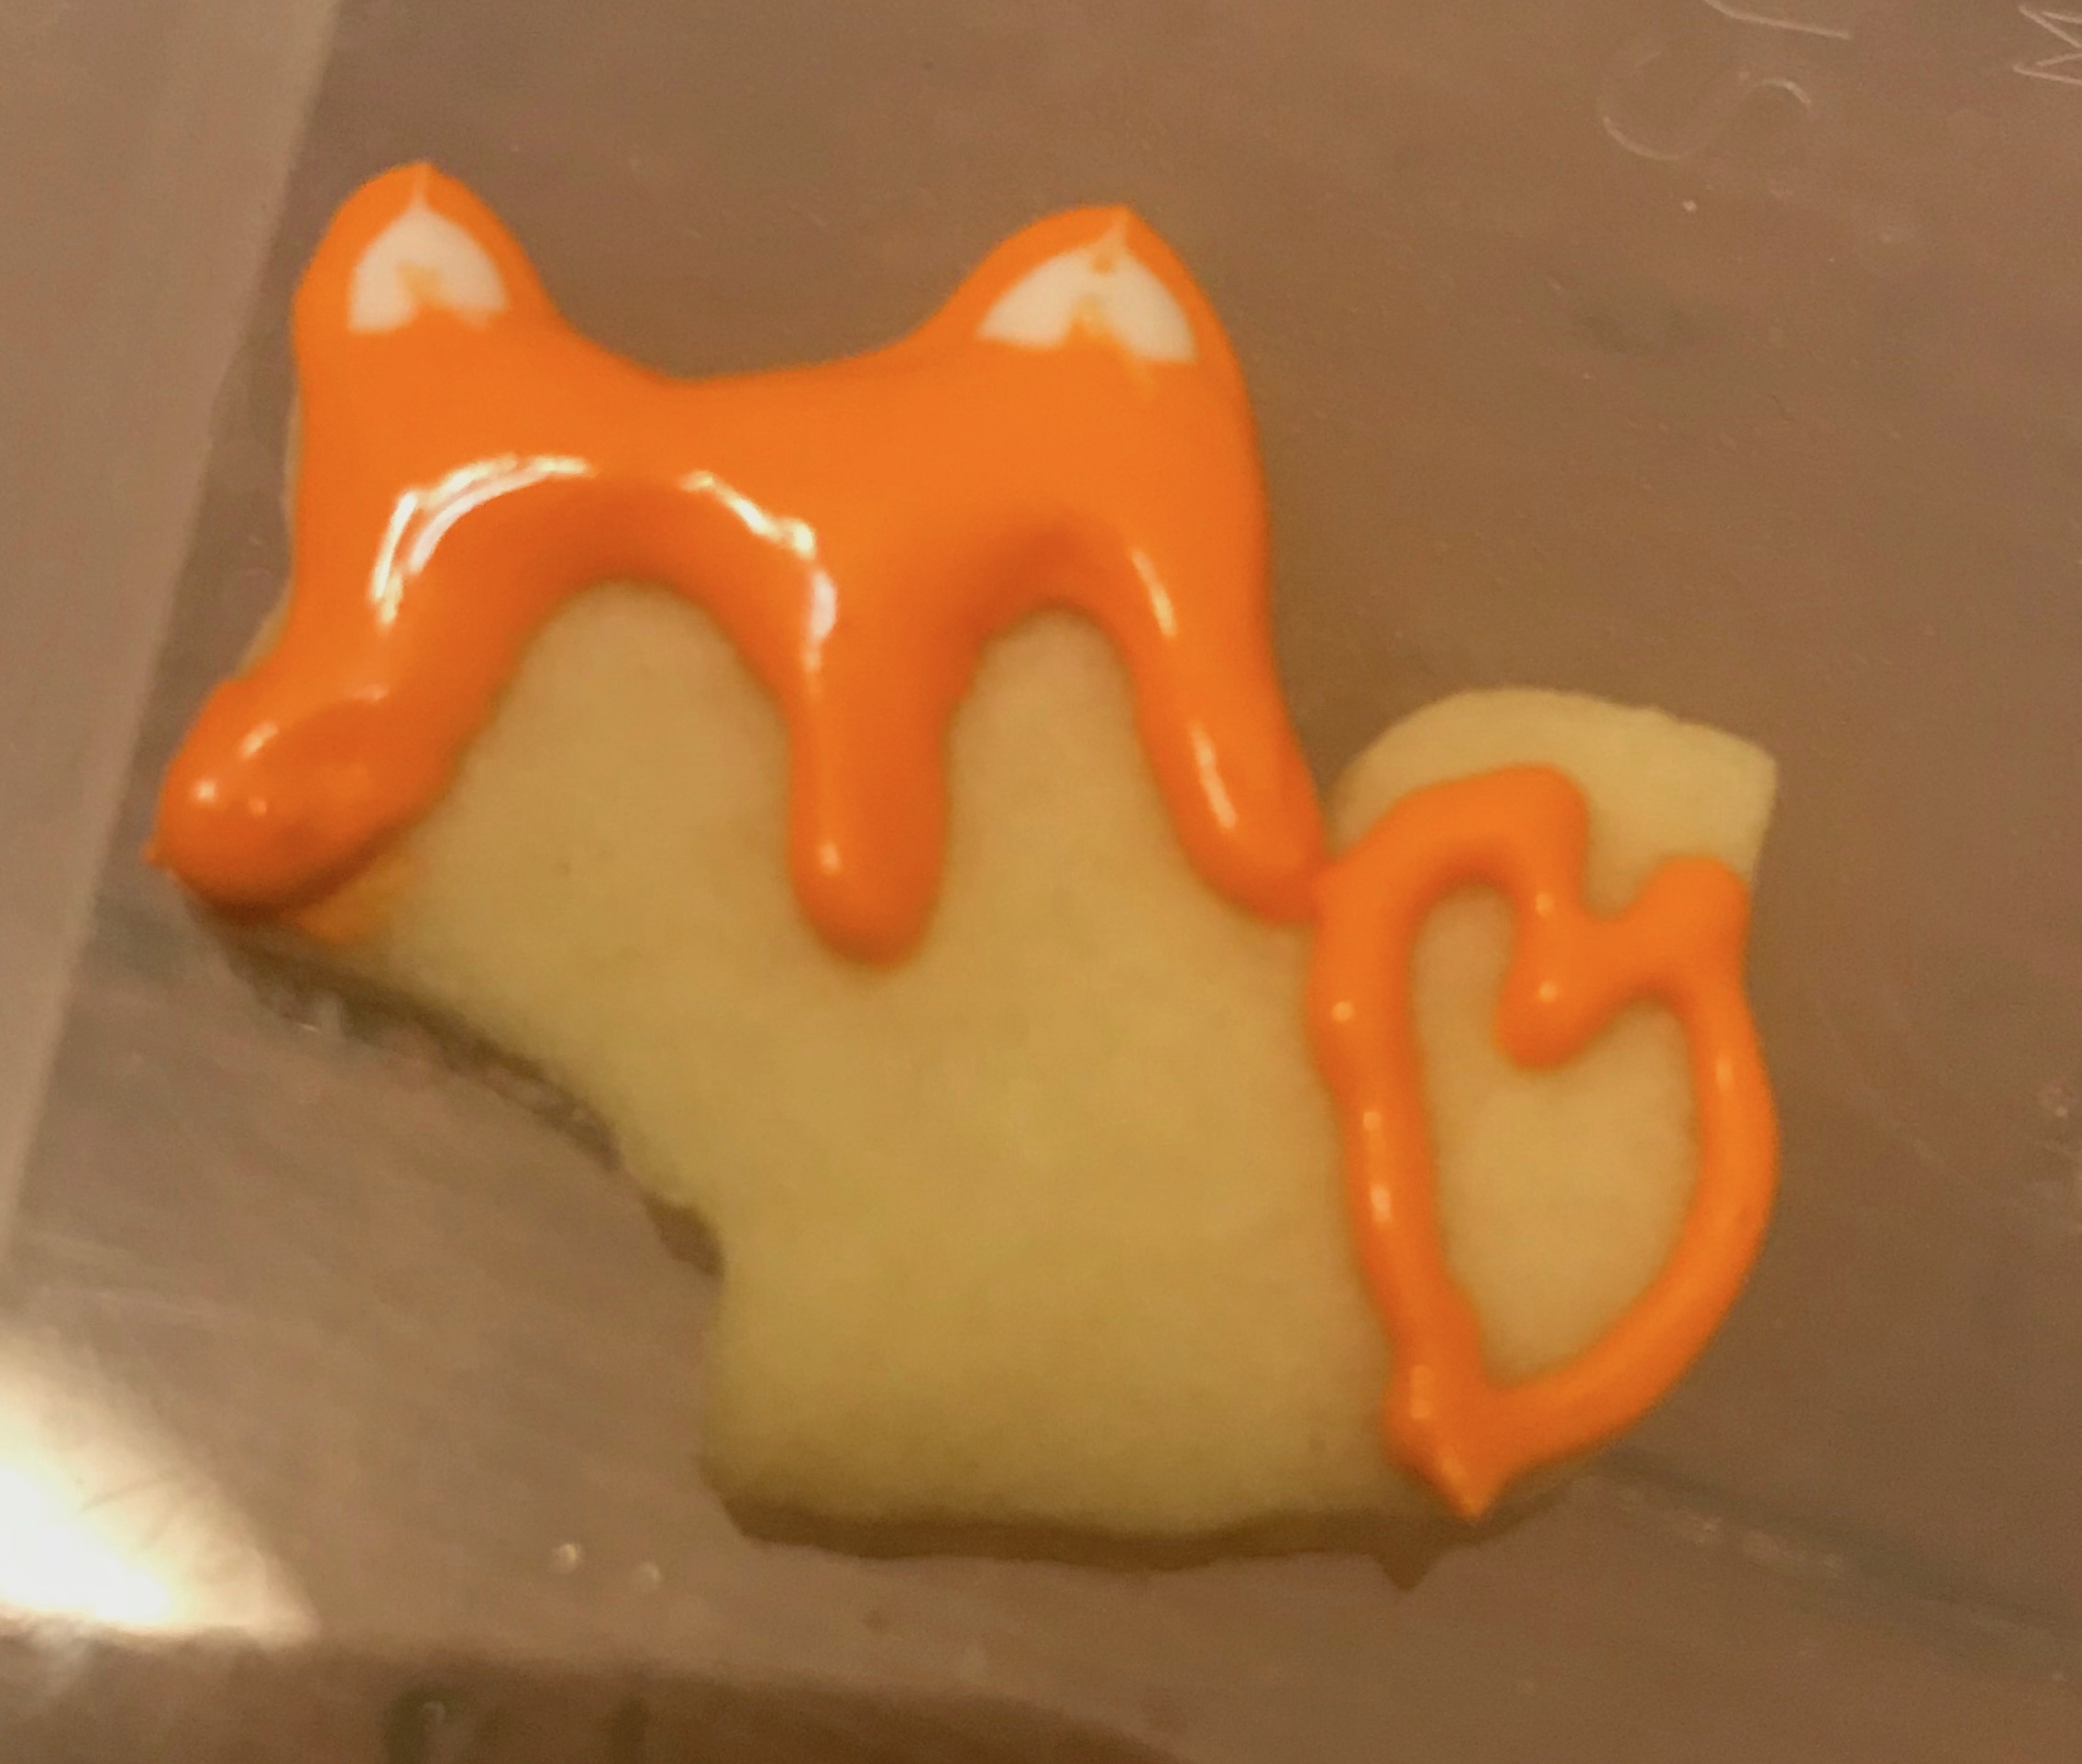
Fill in the tail with orange flood icing.
Now you are going to move onto the next cookie and allow this to dry for at least 15 minutes!
hint: I normally work on batches of 20 or so cookies at a time so by the time I finish this step on all the cookies, I am ready to start on the next step on the first cookie I iced.
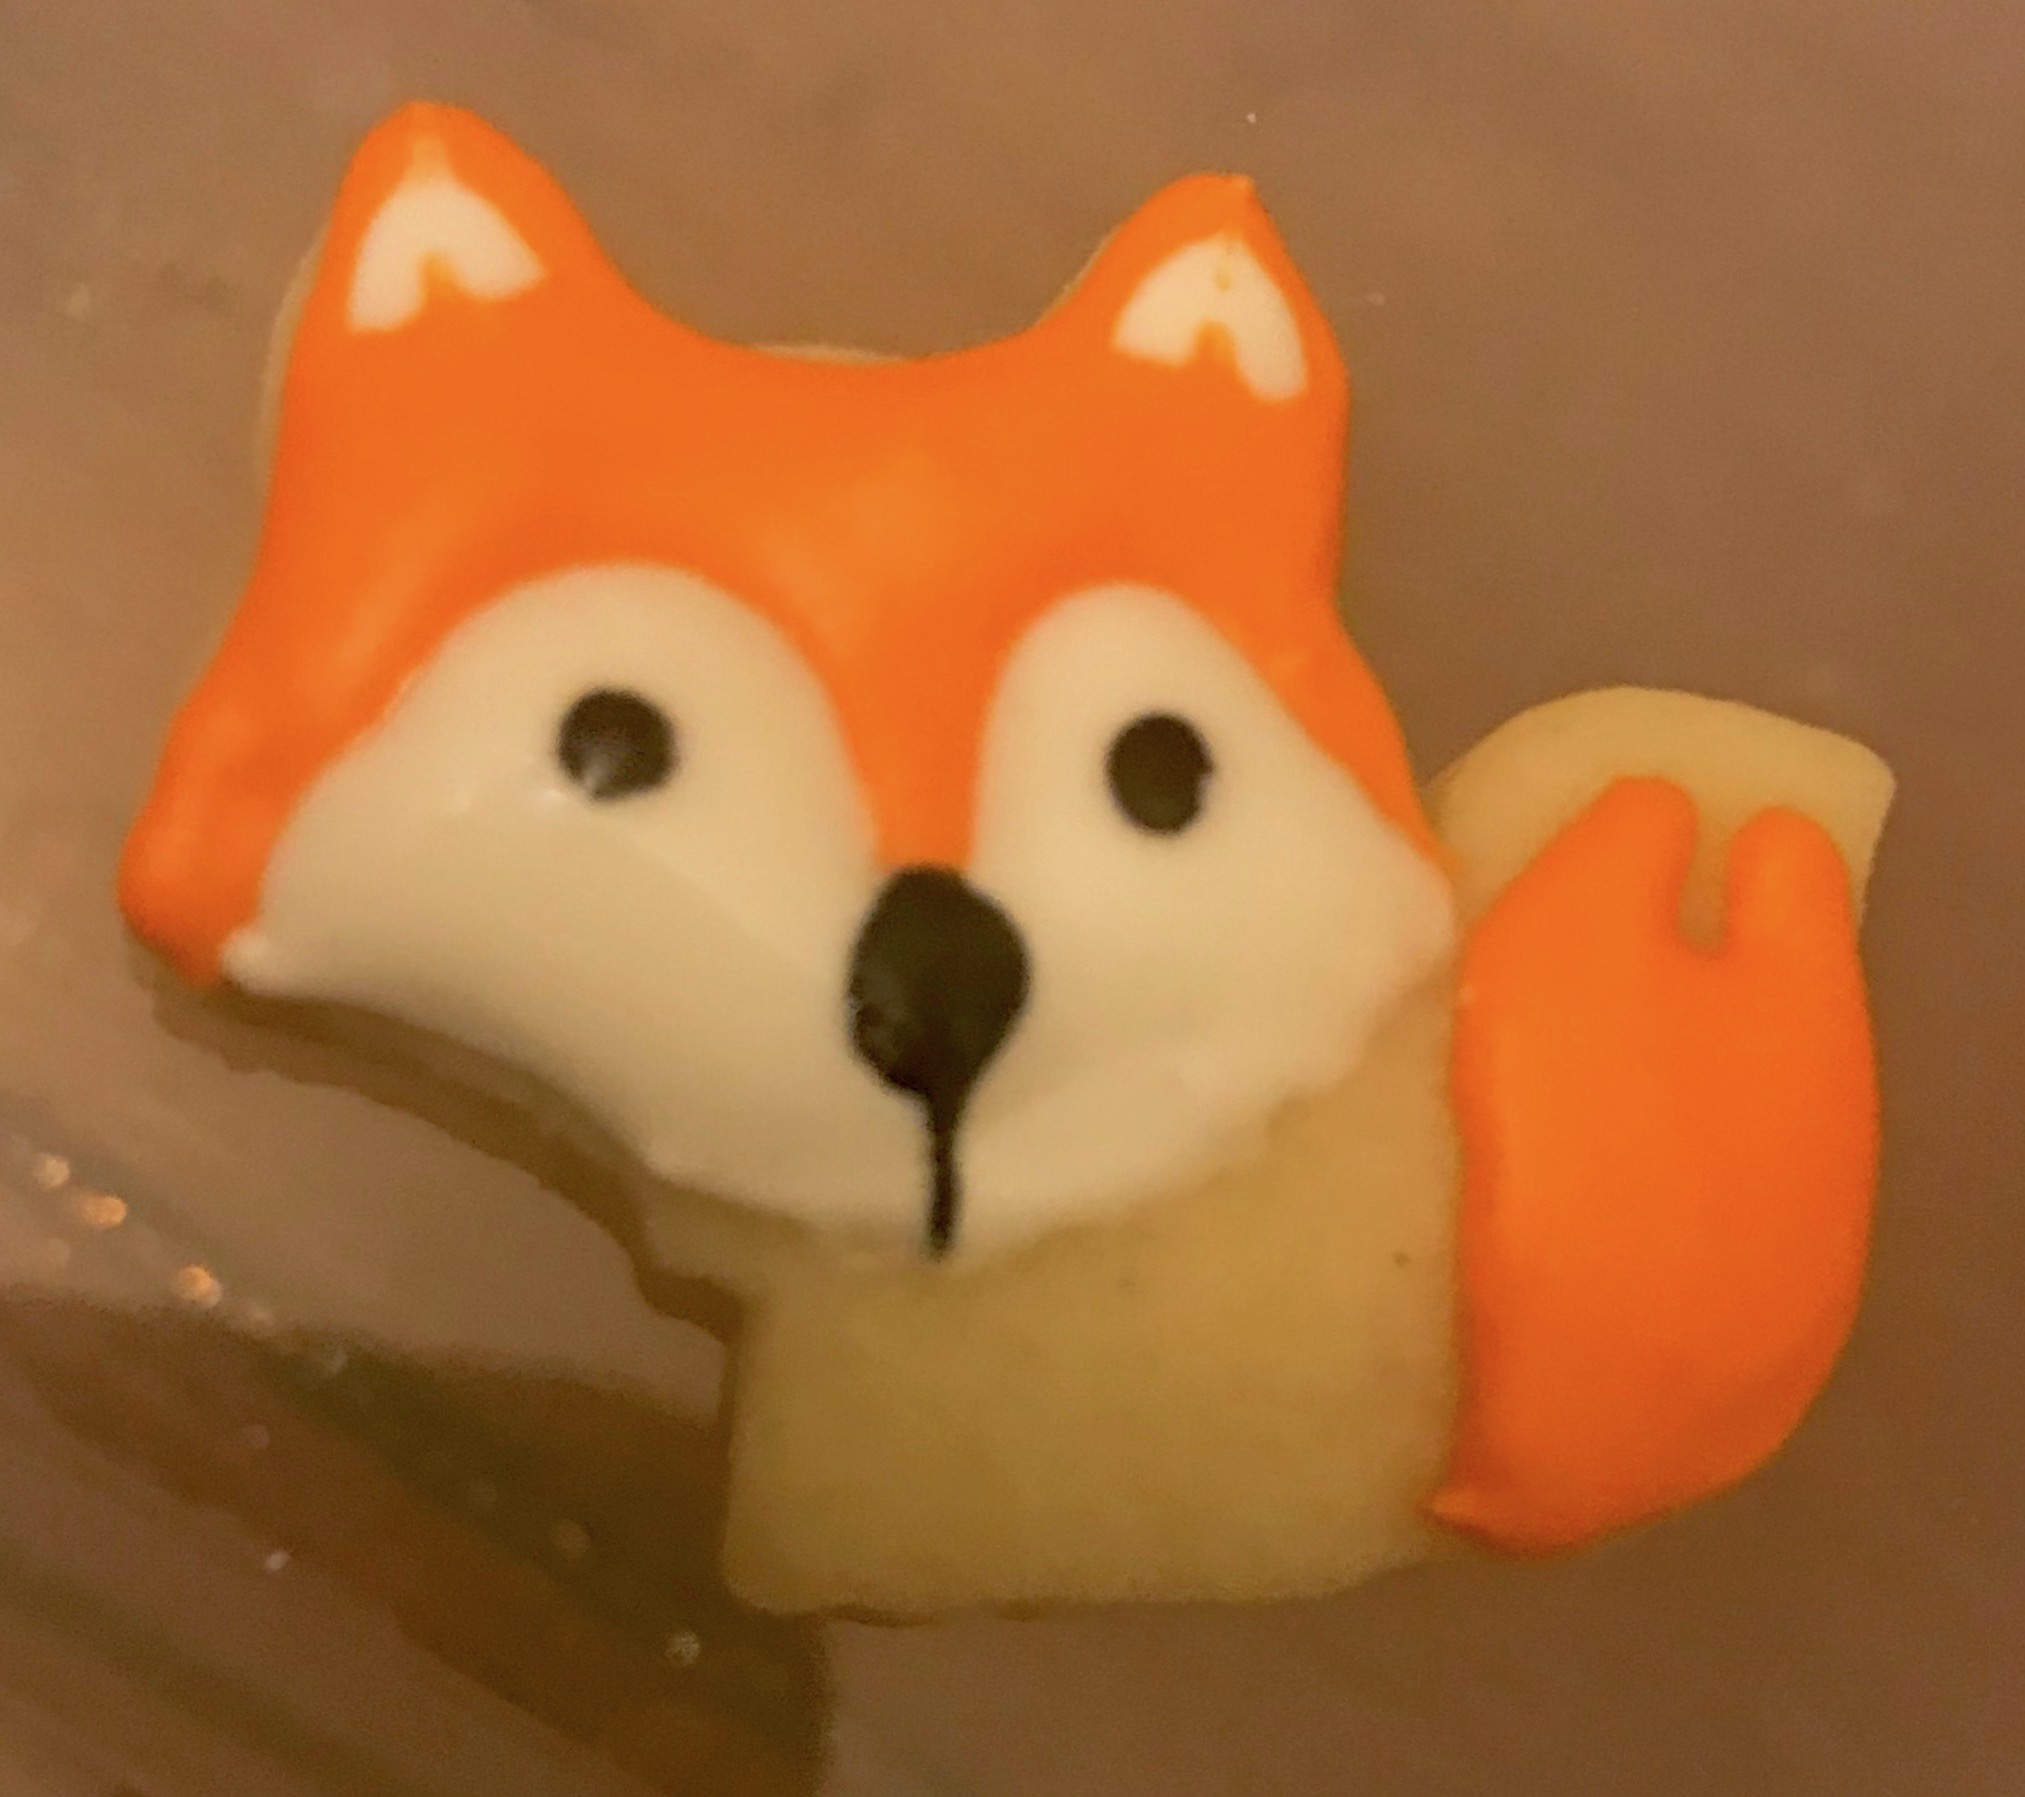
Outline the bottom of the foxes face with white outline icing.
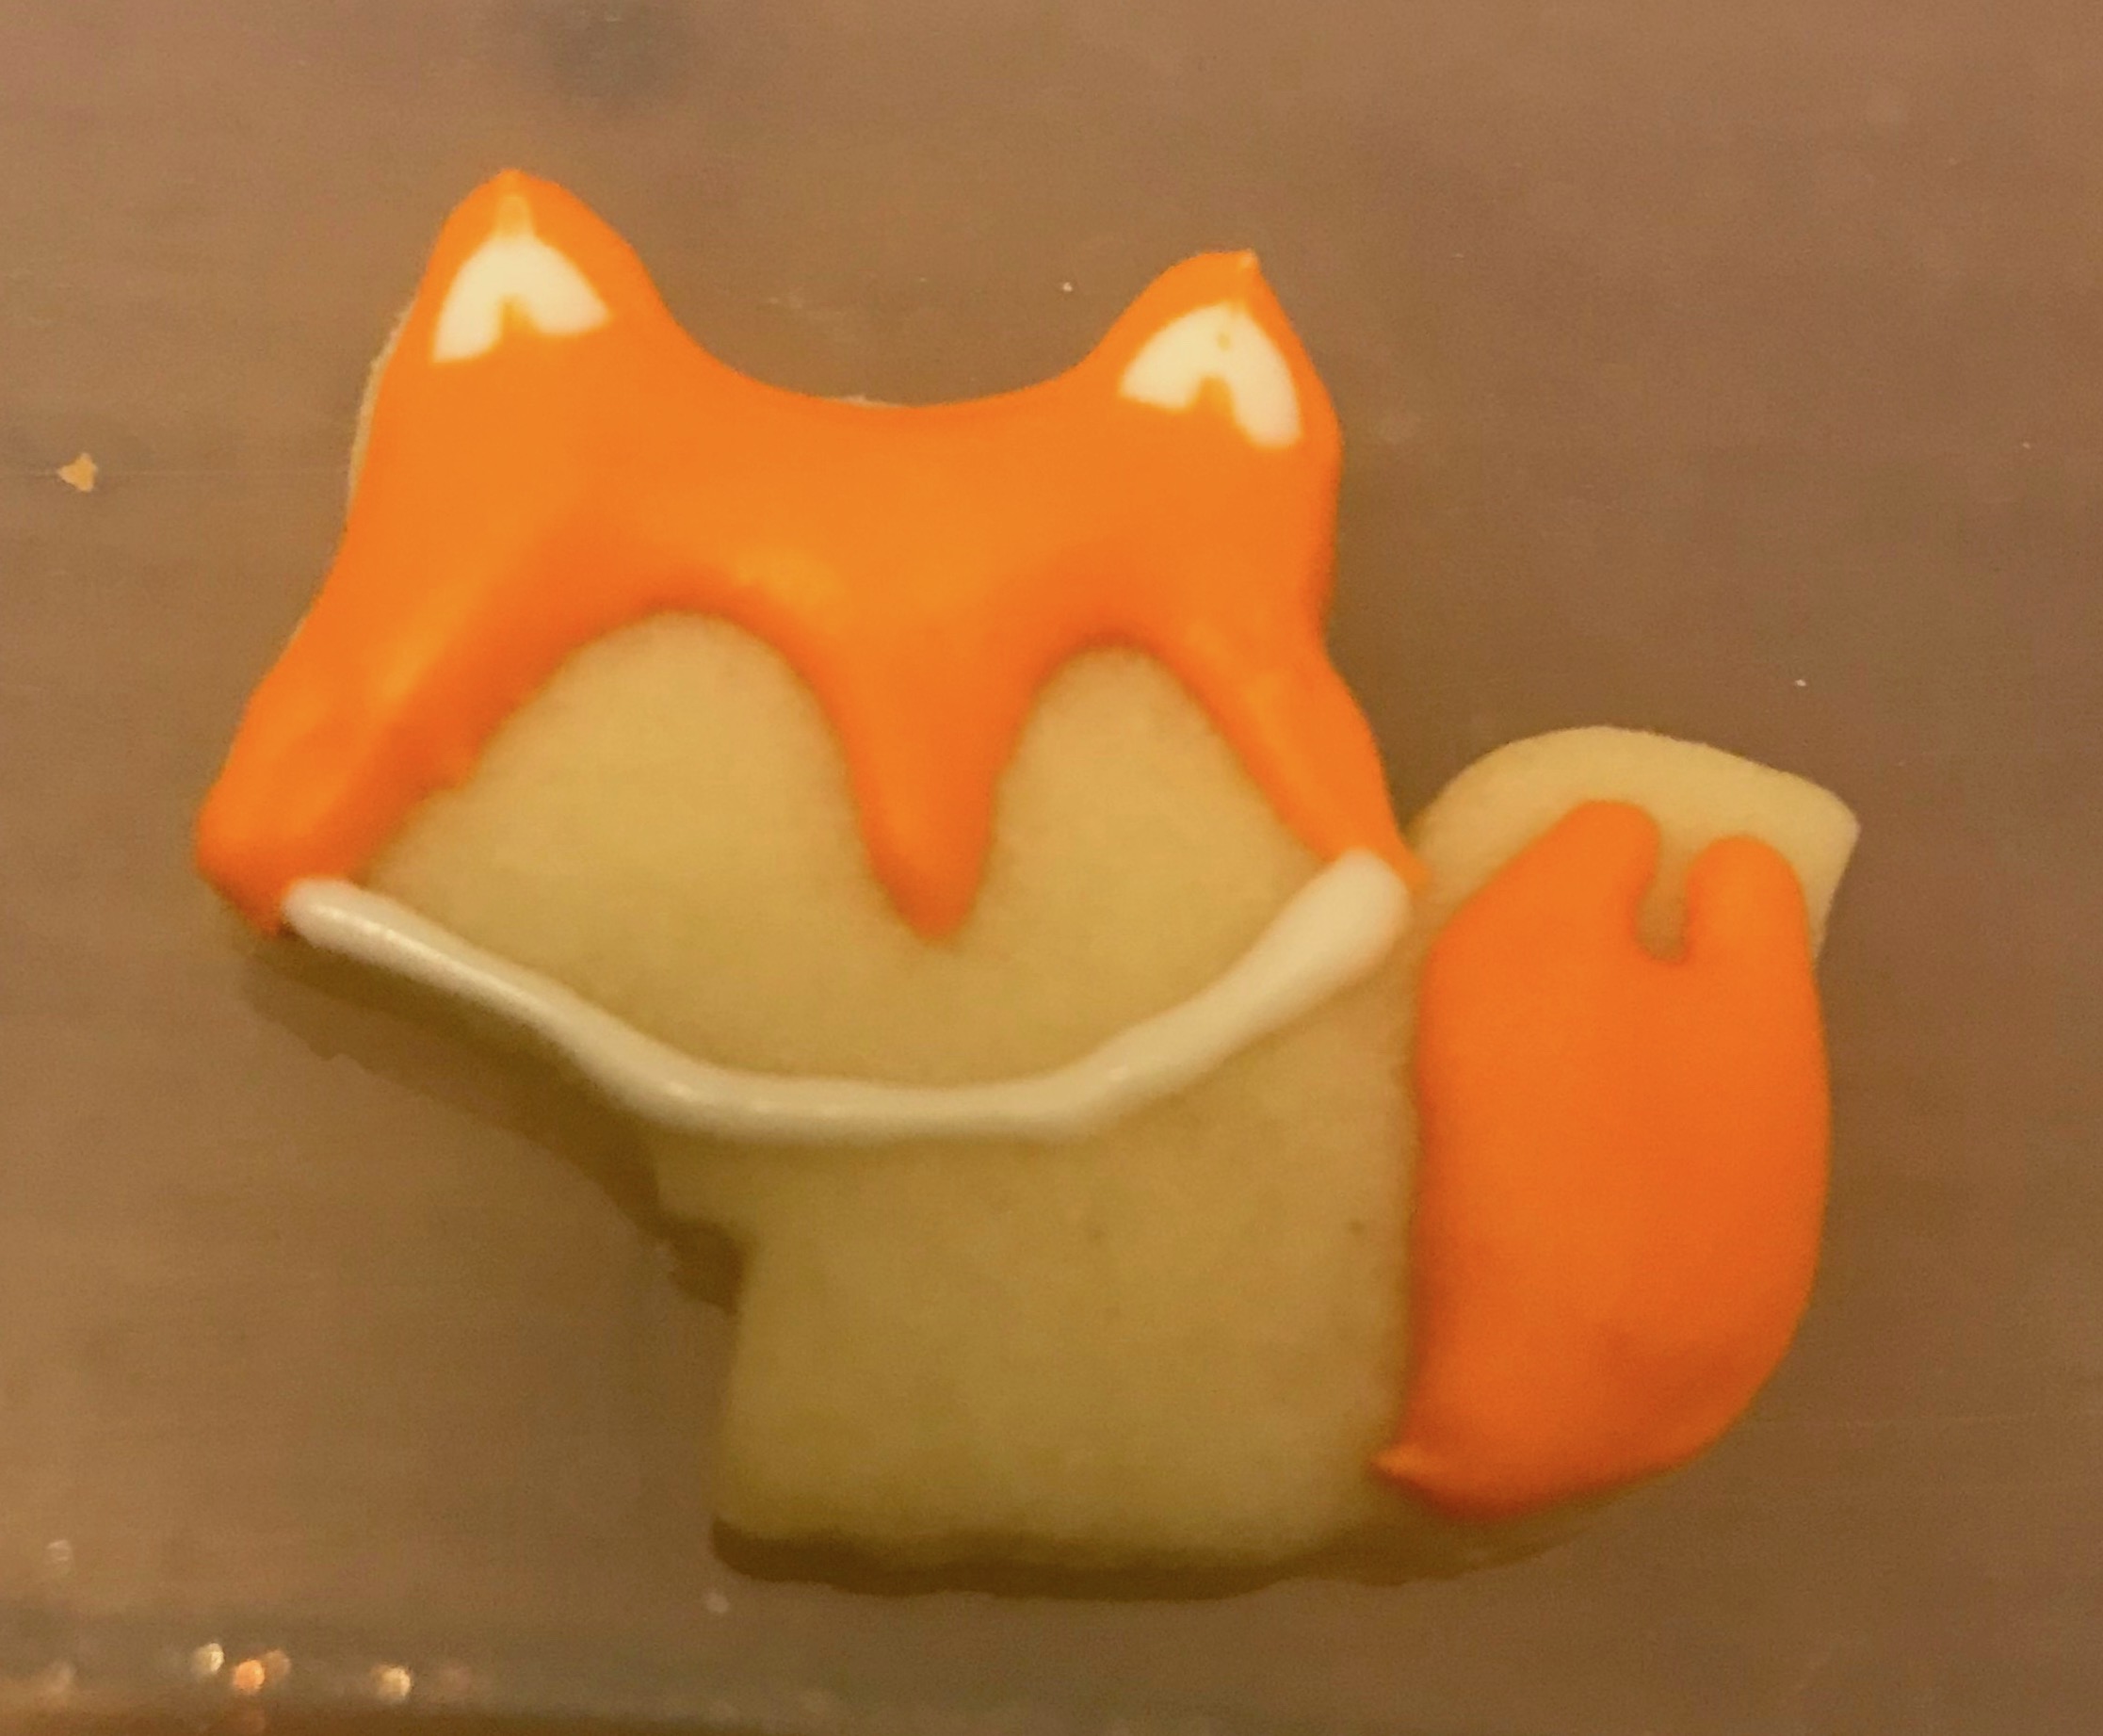
Fill the outlined section with white flood icing.
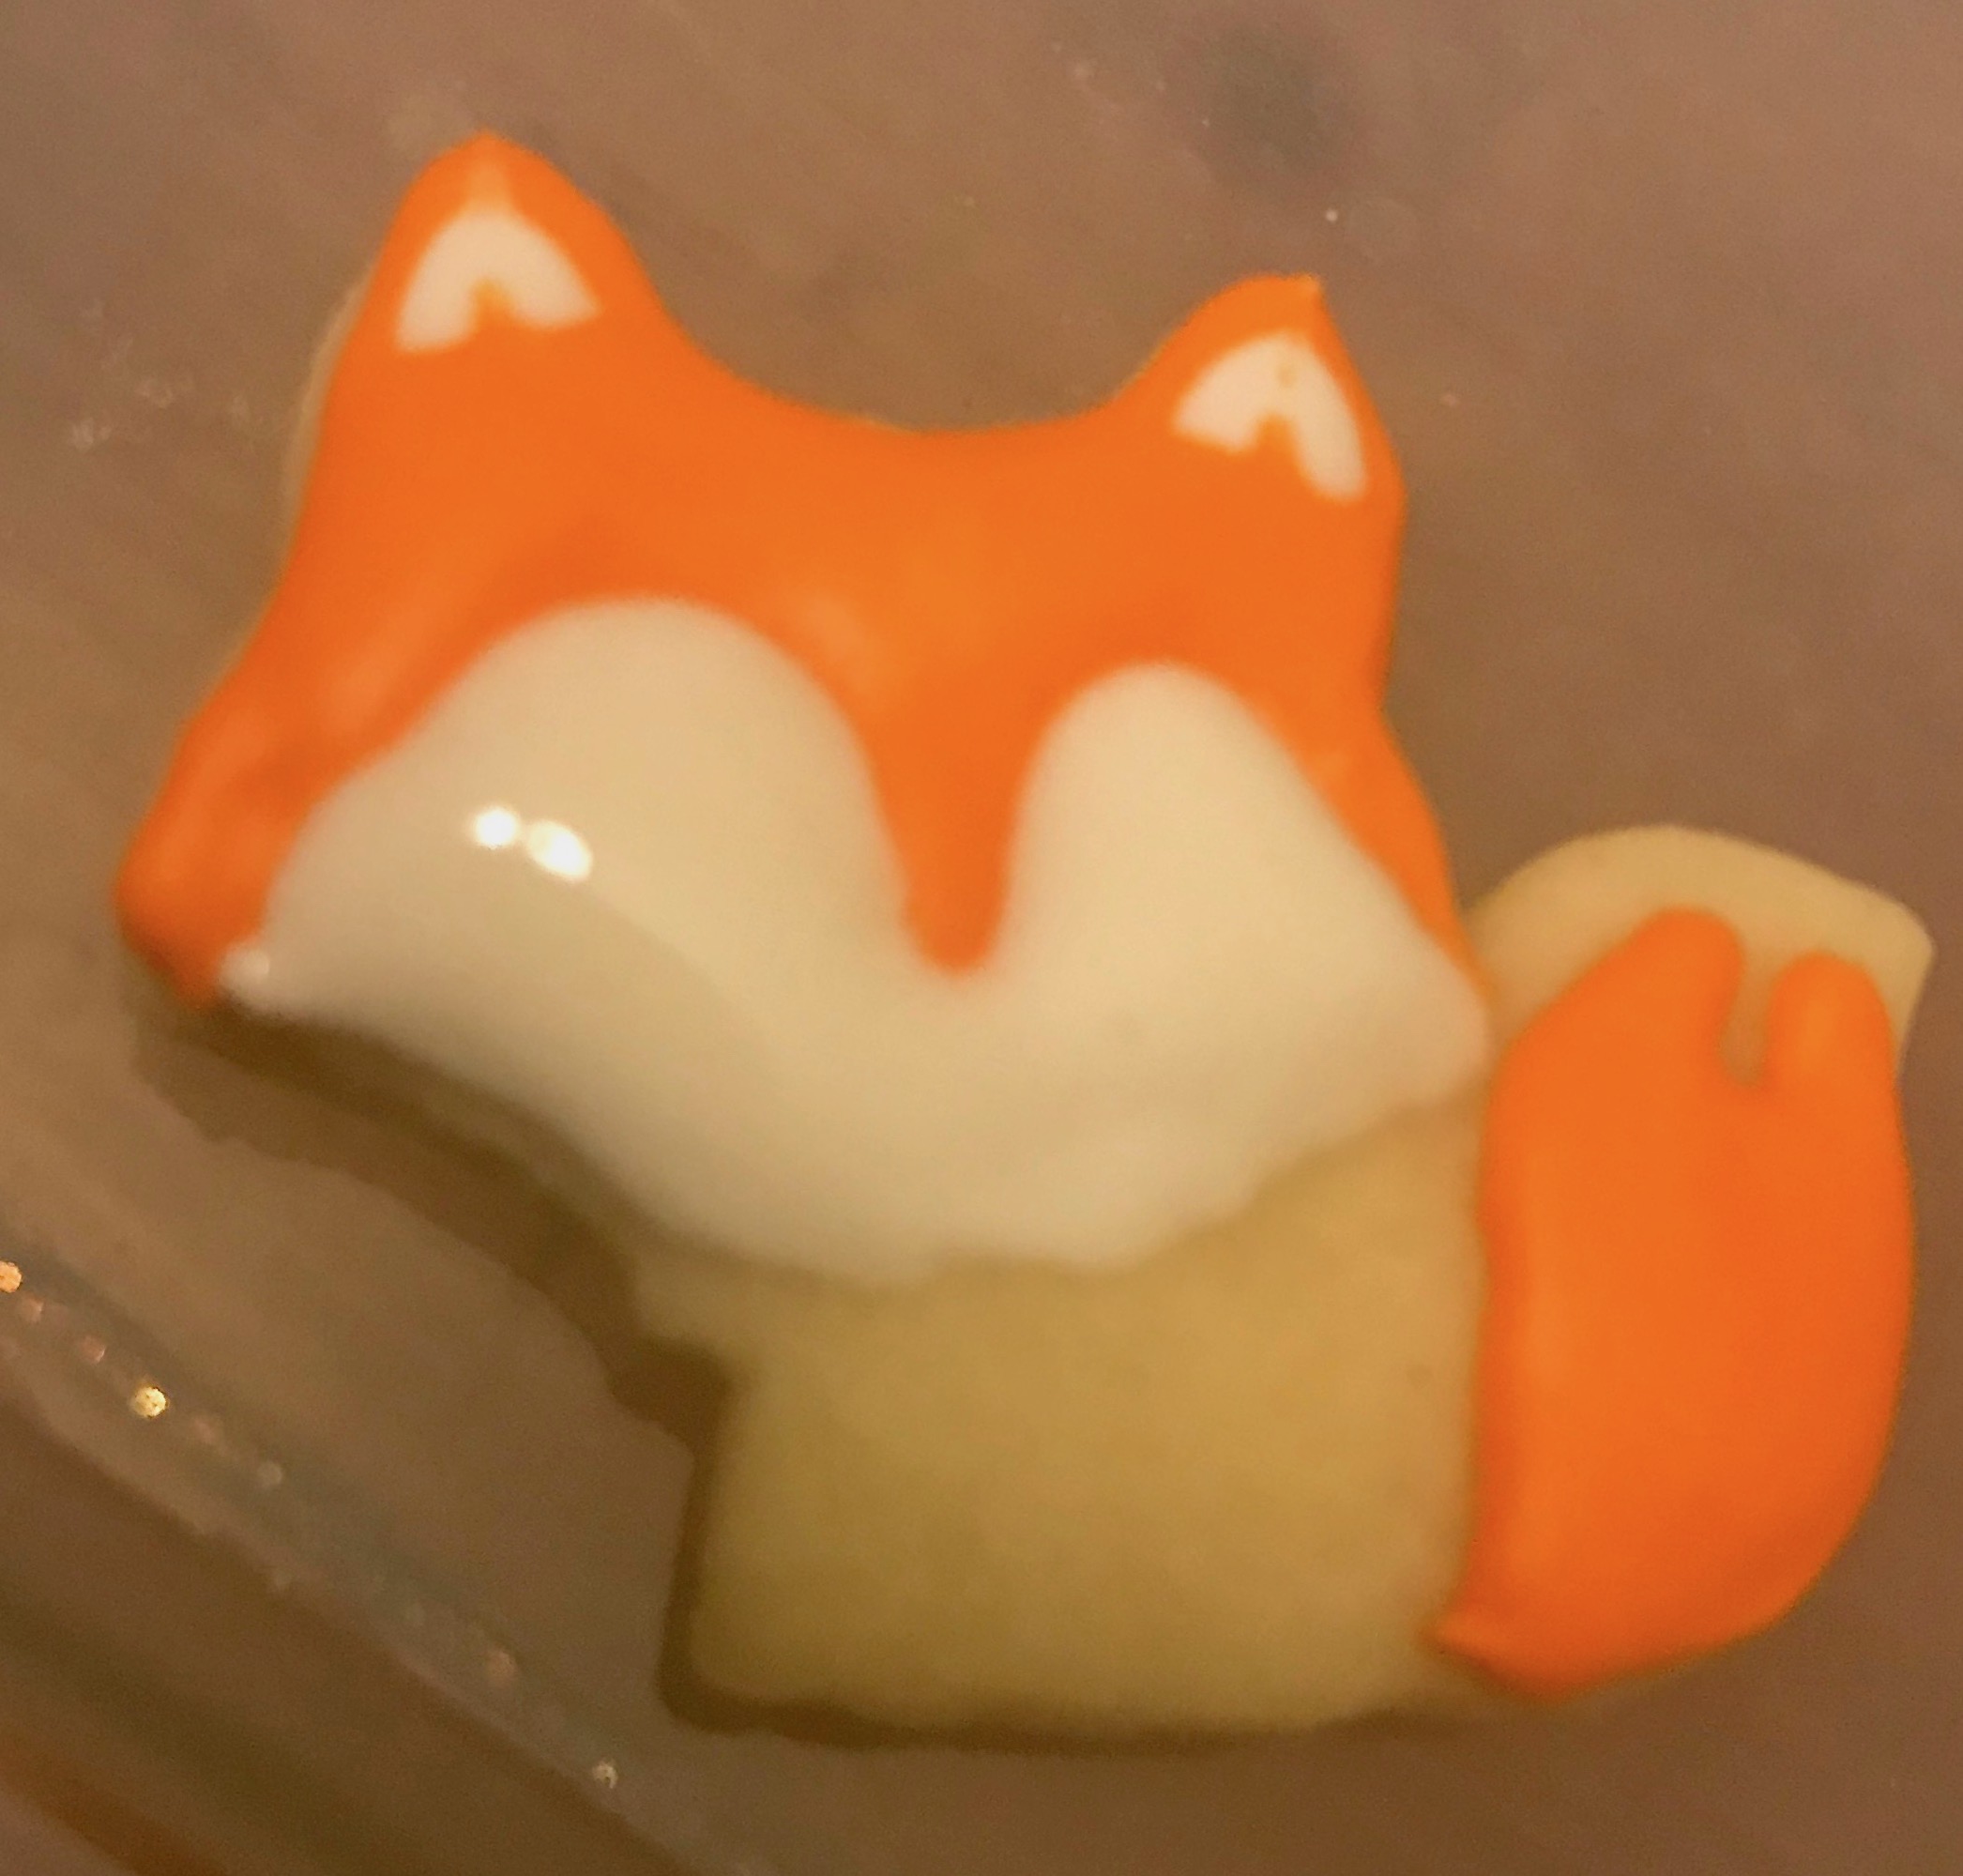
While the white icing is still wet, put a small black dot of black flood icing where you want both of the eyes to go (try to make them even). Then put a slightly larger dot where you want the nose.

Use the Scriber Needle to drag a small bit of the black icing from the nose to the bottom of the “chin.”
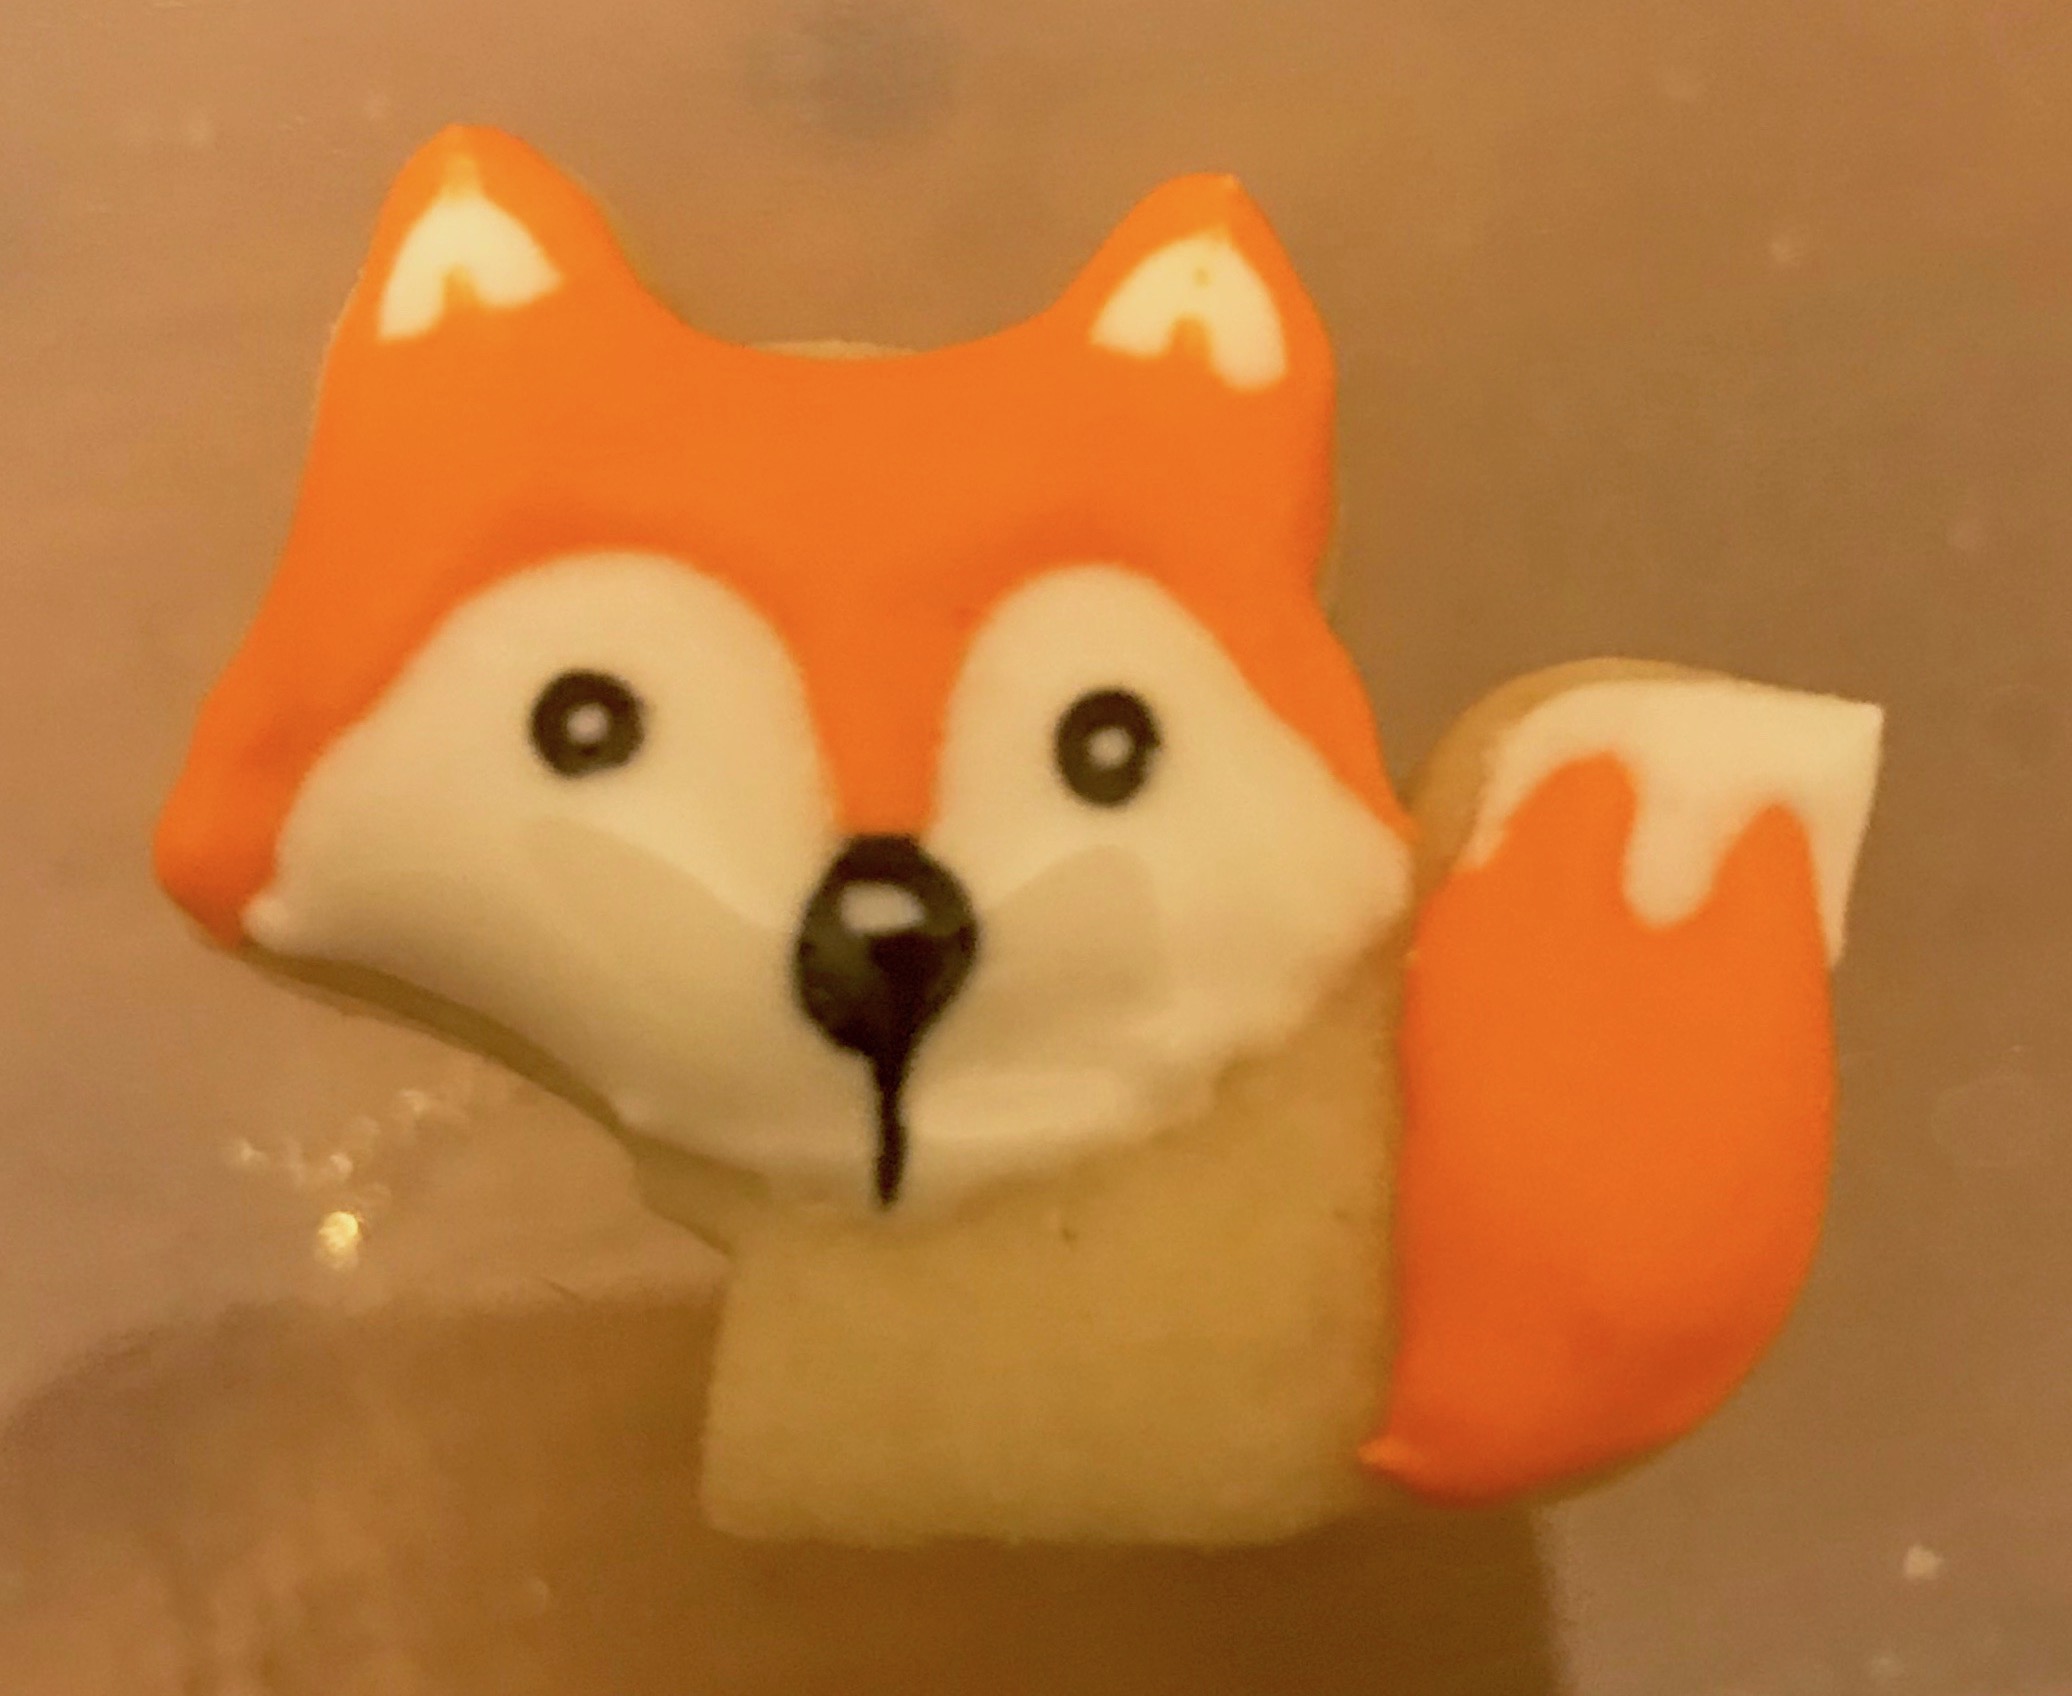
Now we are going to add one of the smallest details, which also happens to make one of the biggest differences in making the cookies look PHENOMENAL.
Place a small dot of white flood icing on a plate or non-porous work surface.
Dip the Scriber Needle into the dot of flood icing and use it to add a small white dot into the center of both eyes. Then using the same method add a small white oval/ line across the top of the nose.
Outline the top of the fox’s tail with white outline icing and fill with white flood icing.
Move onto the rest of the cookies to let this dry for at least 15 minutes.
Now outline the bodies with orange outline icing and fill with orange flood icing.
hint: I was using these cookies for cupcake decorations so the bottoms were largely going to be covered. However I really liked how going with the flow and adding slightly different body shapes/ positions gave the foxes some unique personalities! Some looked like they were sitting while others looked ready to playfully pounce.

If you made it all the way through this tutorial congrats!!! you now have an earth of adorable fox cookies that *almost* look too good to eat!
Are there any cookie designs you are on the hunt for you want me to break down for you? Let me know in the comments or shoot me an e-mail and I’ll see what I can do!
Related Posts
These are SO cute. I’m planning to do my first attempt at cookies for my daughter’s birthday next month. Going to be trying the You’re My Hero “metal” from Wreck It Ralph. Hoping it will be simple enough for my first attempt.