While I was pregnant with my youngest son our three bedroom home plus office began to seem SO much smaller than it did previously. We occupied the Master, our oldest son had his own room (and at 5 and starting kindergarten a baby sharing the room wasn’t an option). The third bedroom was a guest room and then there was the office which my oldest had long ago taken over as his playroom.
So we had a dilemma which room could be the nursery?
Obviously the guest room was the logical choice but between my best friend living five hours away and my husband’s infernal snoring that room got used a lot! So I pretty much discounted it immediately (much to my husband’s dismay). That left moving the playroom out from behind closed doors but how bad could that be?
The answer is BAD.
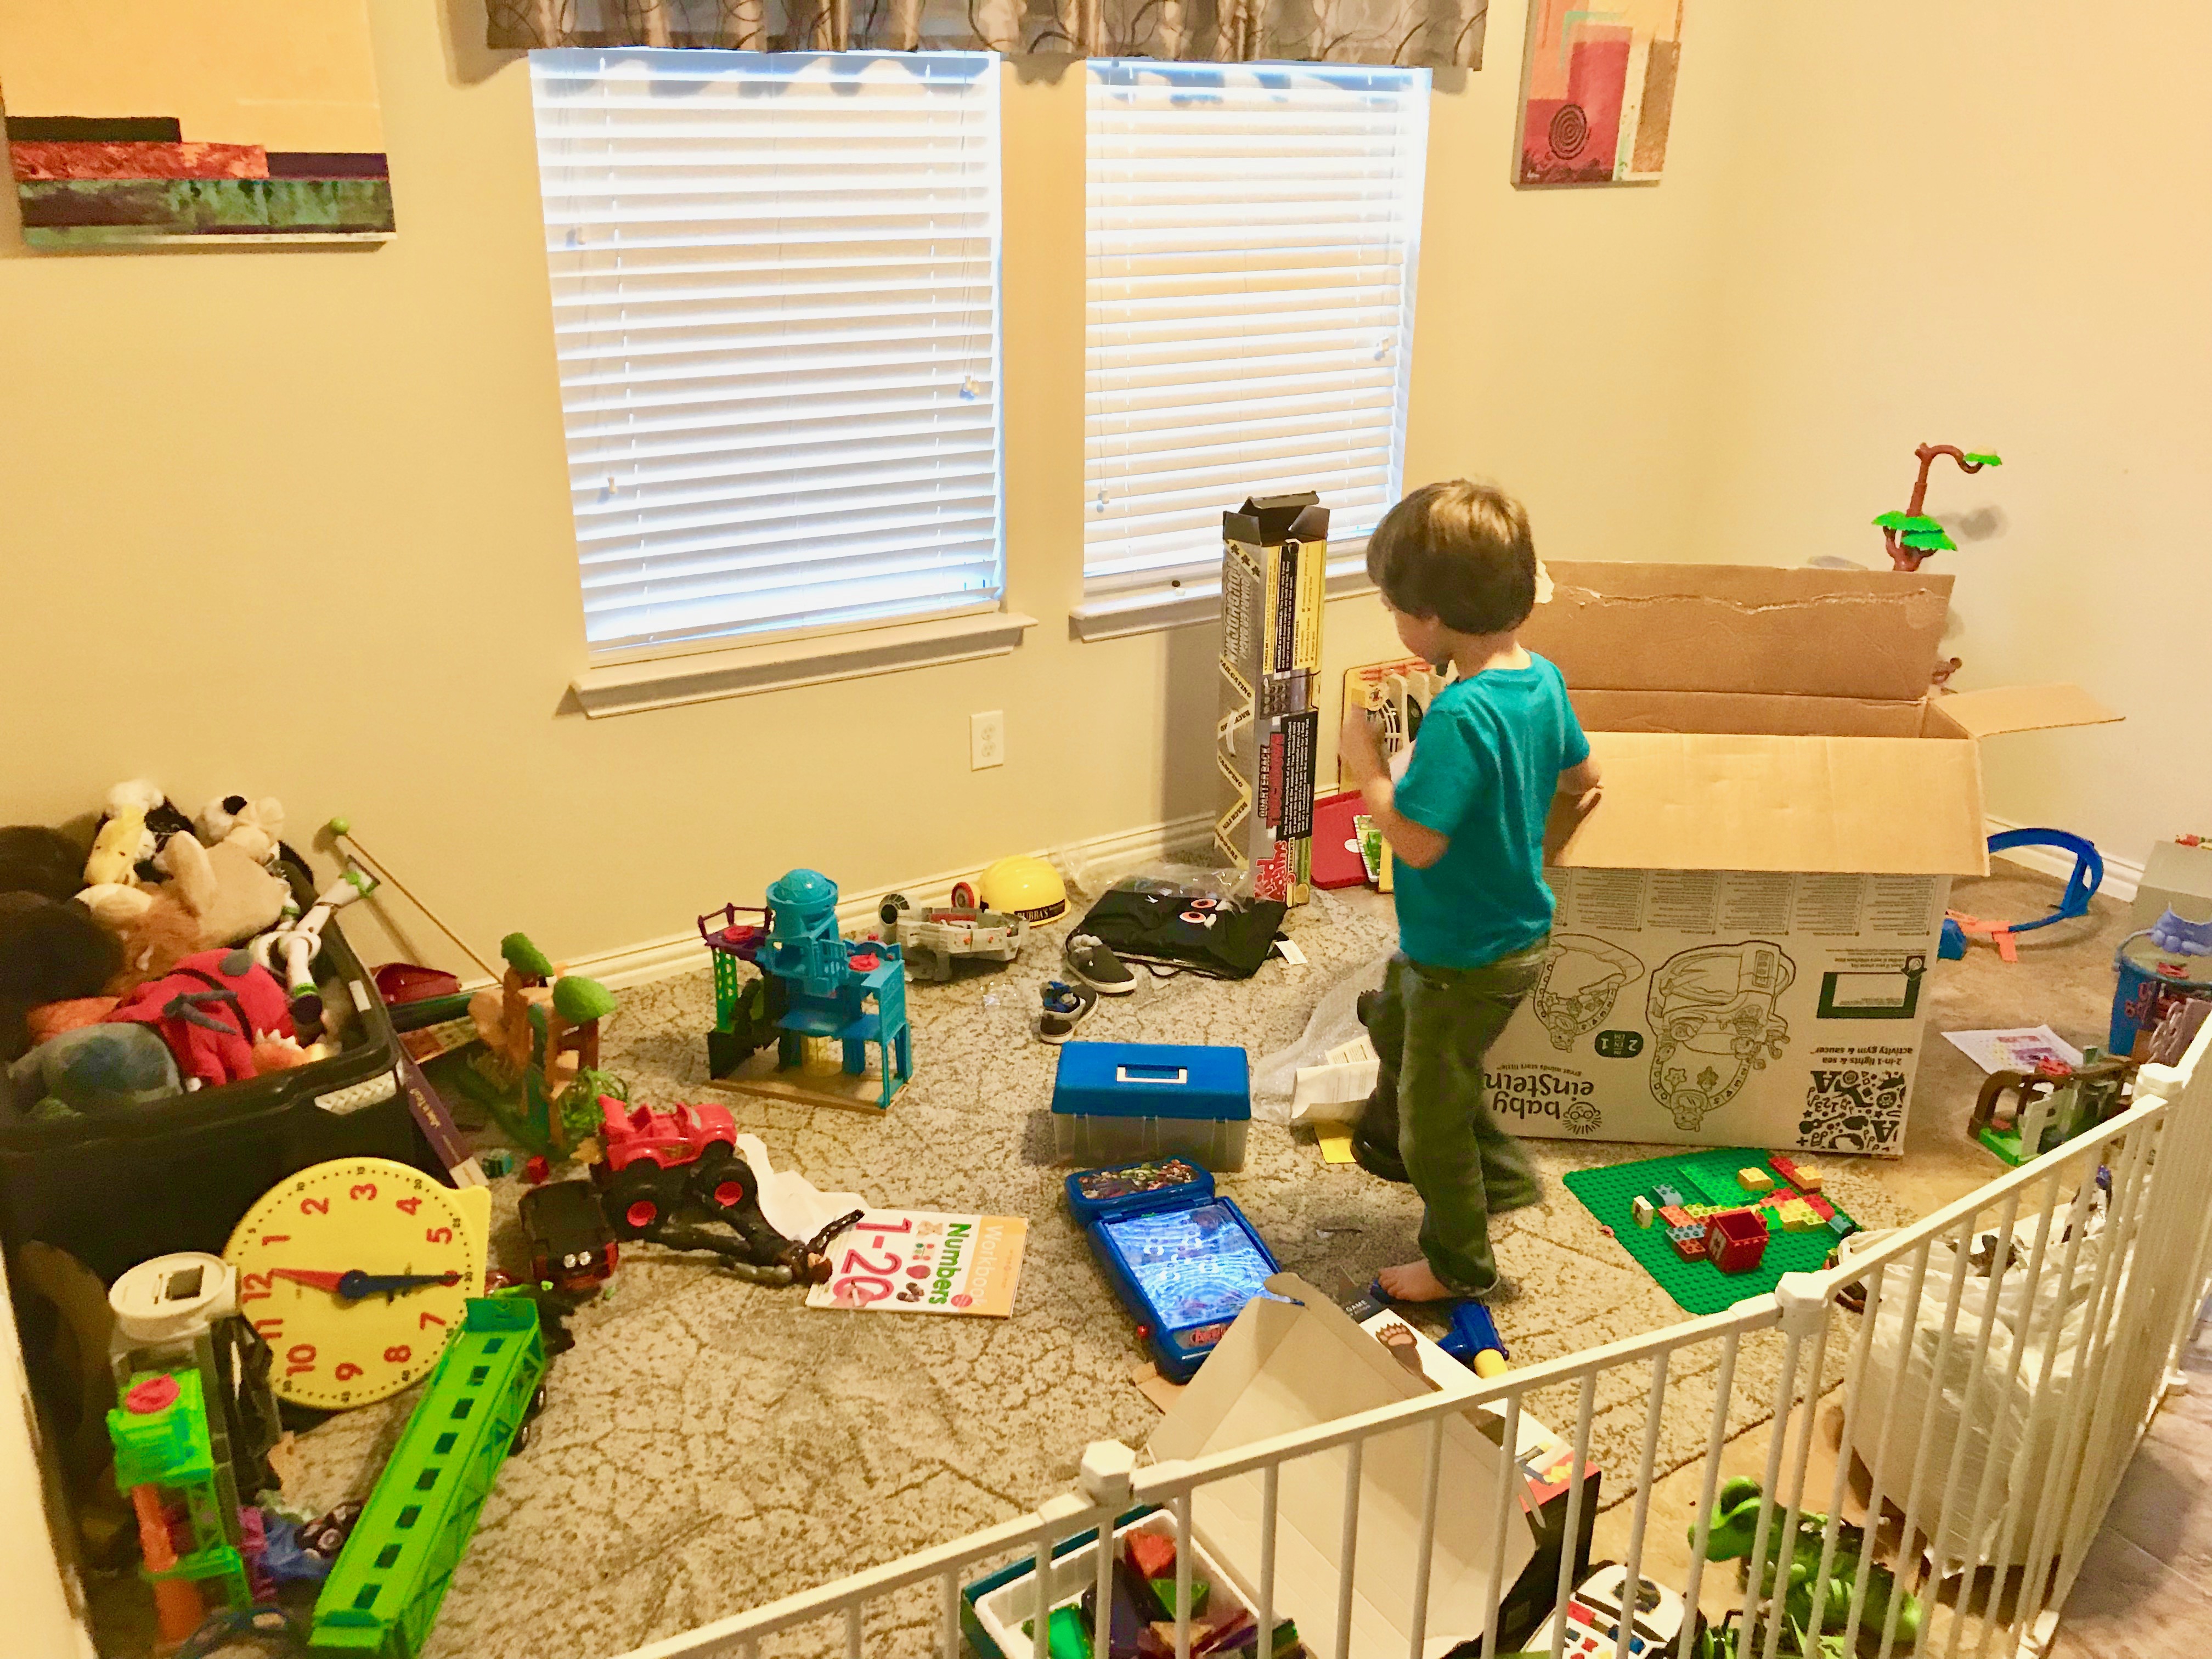
You see we had a sitting room at the front of the house and after a bit of convincing I got my husband on board with the sitting room becoming the new playroom. We ordered a huge baby gate to keep our crazy (but very much loved) husky out of the area. We removed all the furniture, loaded all of our oldest’s toys into his storage trunk, laid down some carpet tiles, and we had a decent looking playroom for about five seconds.
You know until my son actually wanted to play in his play area. (Seriously what is up with that?!?)
Anytime my son wanted to play with ANYTHING it meant every toy he has ever owned had to come out of the depths of that thing so he could find Spongebob’s dime sized Krabby Patty or Batman’s ever elusive cape.
Actually playing with toys became chaos that could not be controlled or meant a forty five minute fight to get him to shove all the toys back in there. Not to mention the toys that just wouldn’t fit especially when my family has a penchant for giving oversized gifts just to get simultaneous reactions of elation from a child and horror from the parents Christmas morning (and I’m honestly not sure which reaction my dad likes more).
So after months of walking past this “playroom,” we finally had a bit of disposable income it easily became my new obsession. How to create a space that is kid friendly, safe, functional, and not spend an arm and a leg?
The answer: IKEA.
So we measured our wall space and once again ventured into the land of reasonably priced Swedish furniture, much to my husband’s chagrin. After stopping to eat a Princess Cake we selected three units we thought would work well and other bits and bobs to tie it together.
Our playroom related IKEA purchases were:
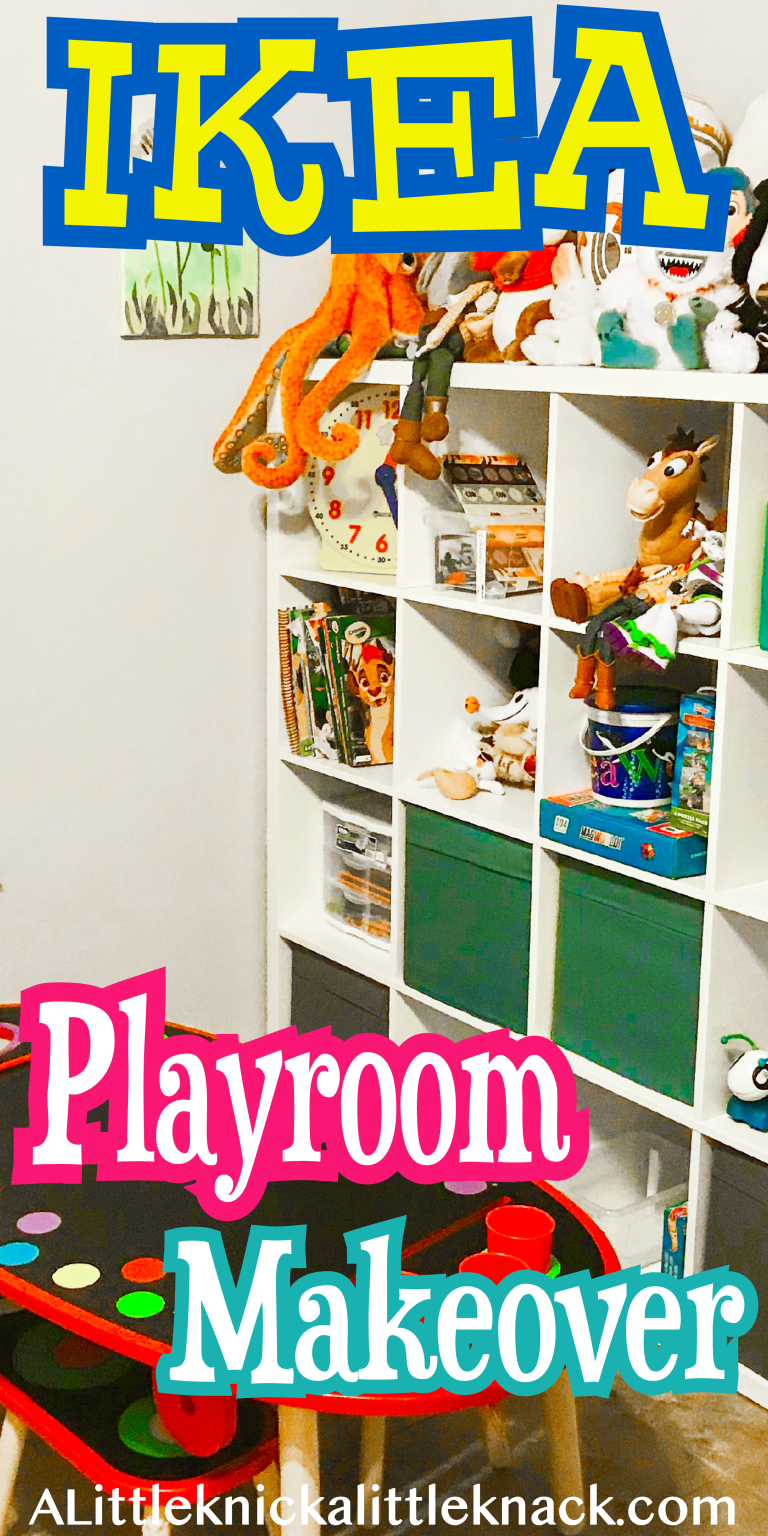
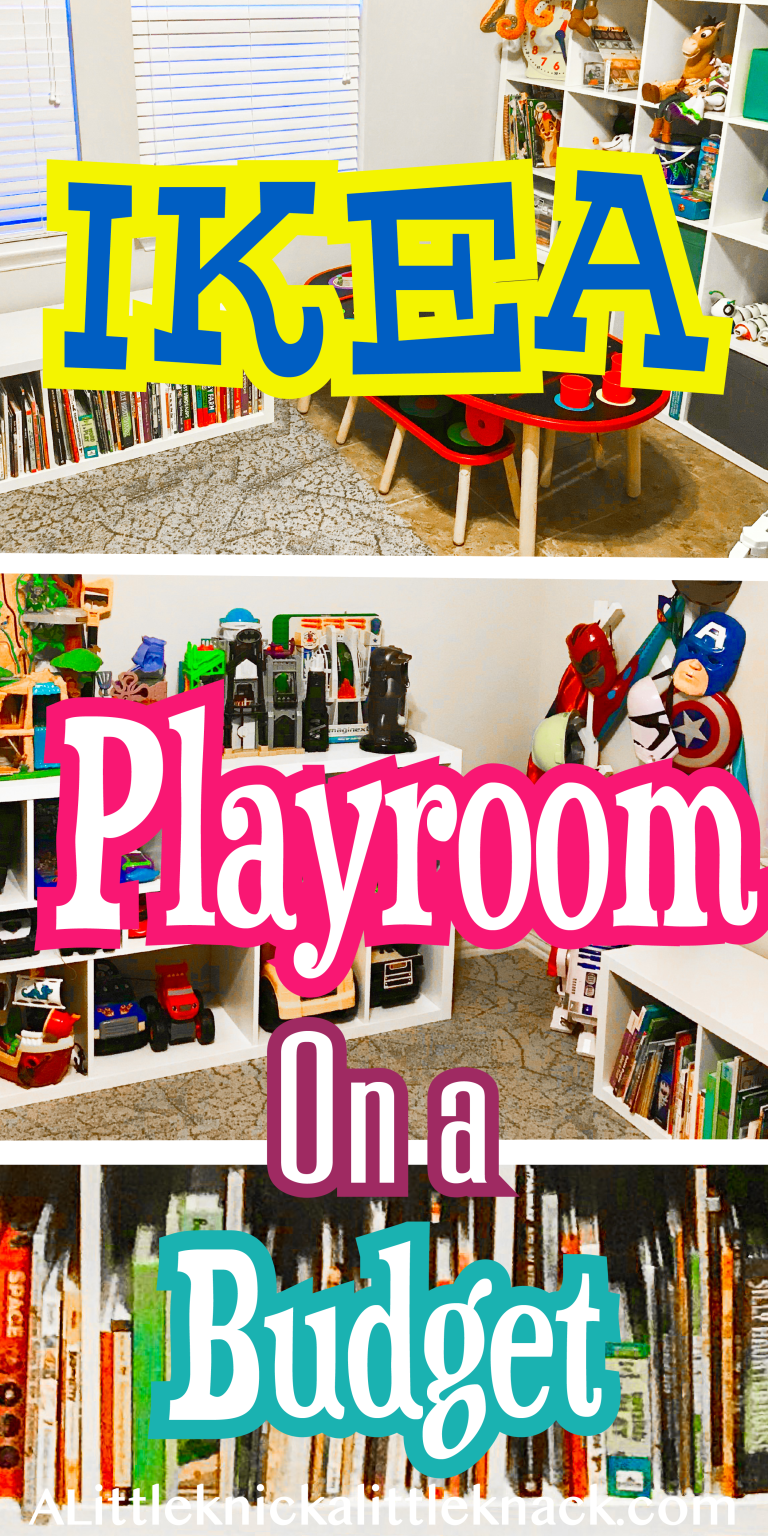
- The KALLAX 16.5″ x 57.875″ white shelving unit
- The KALLAX 57.875″ x 57.875″ white shelving unit
- The KALLAX 33.875″ x 57.875″ white shelving unit
- 3 DRONA boxes
- 2 TJUSIG Wall Hangers
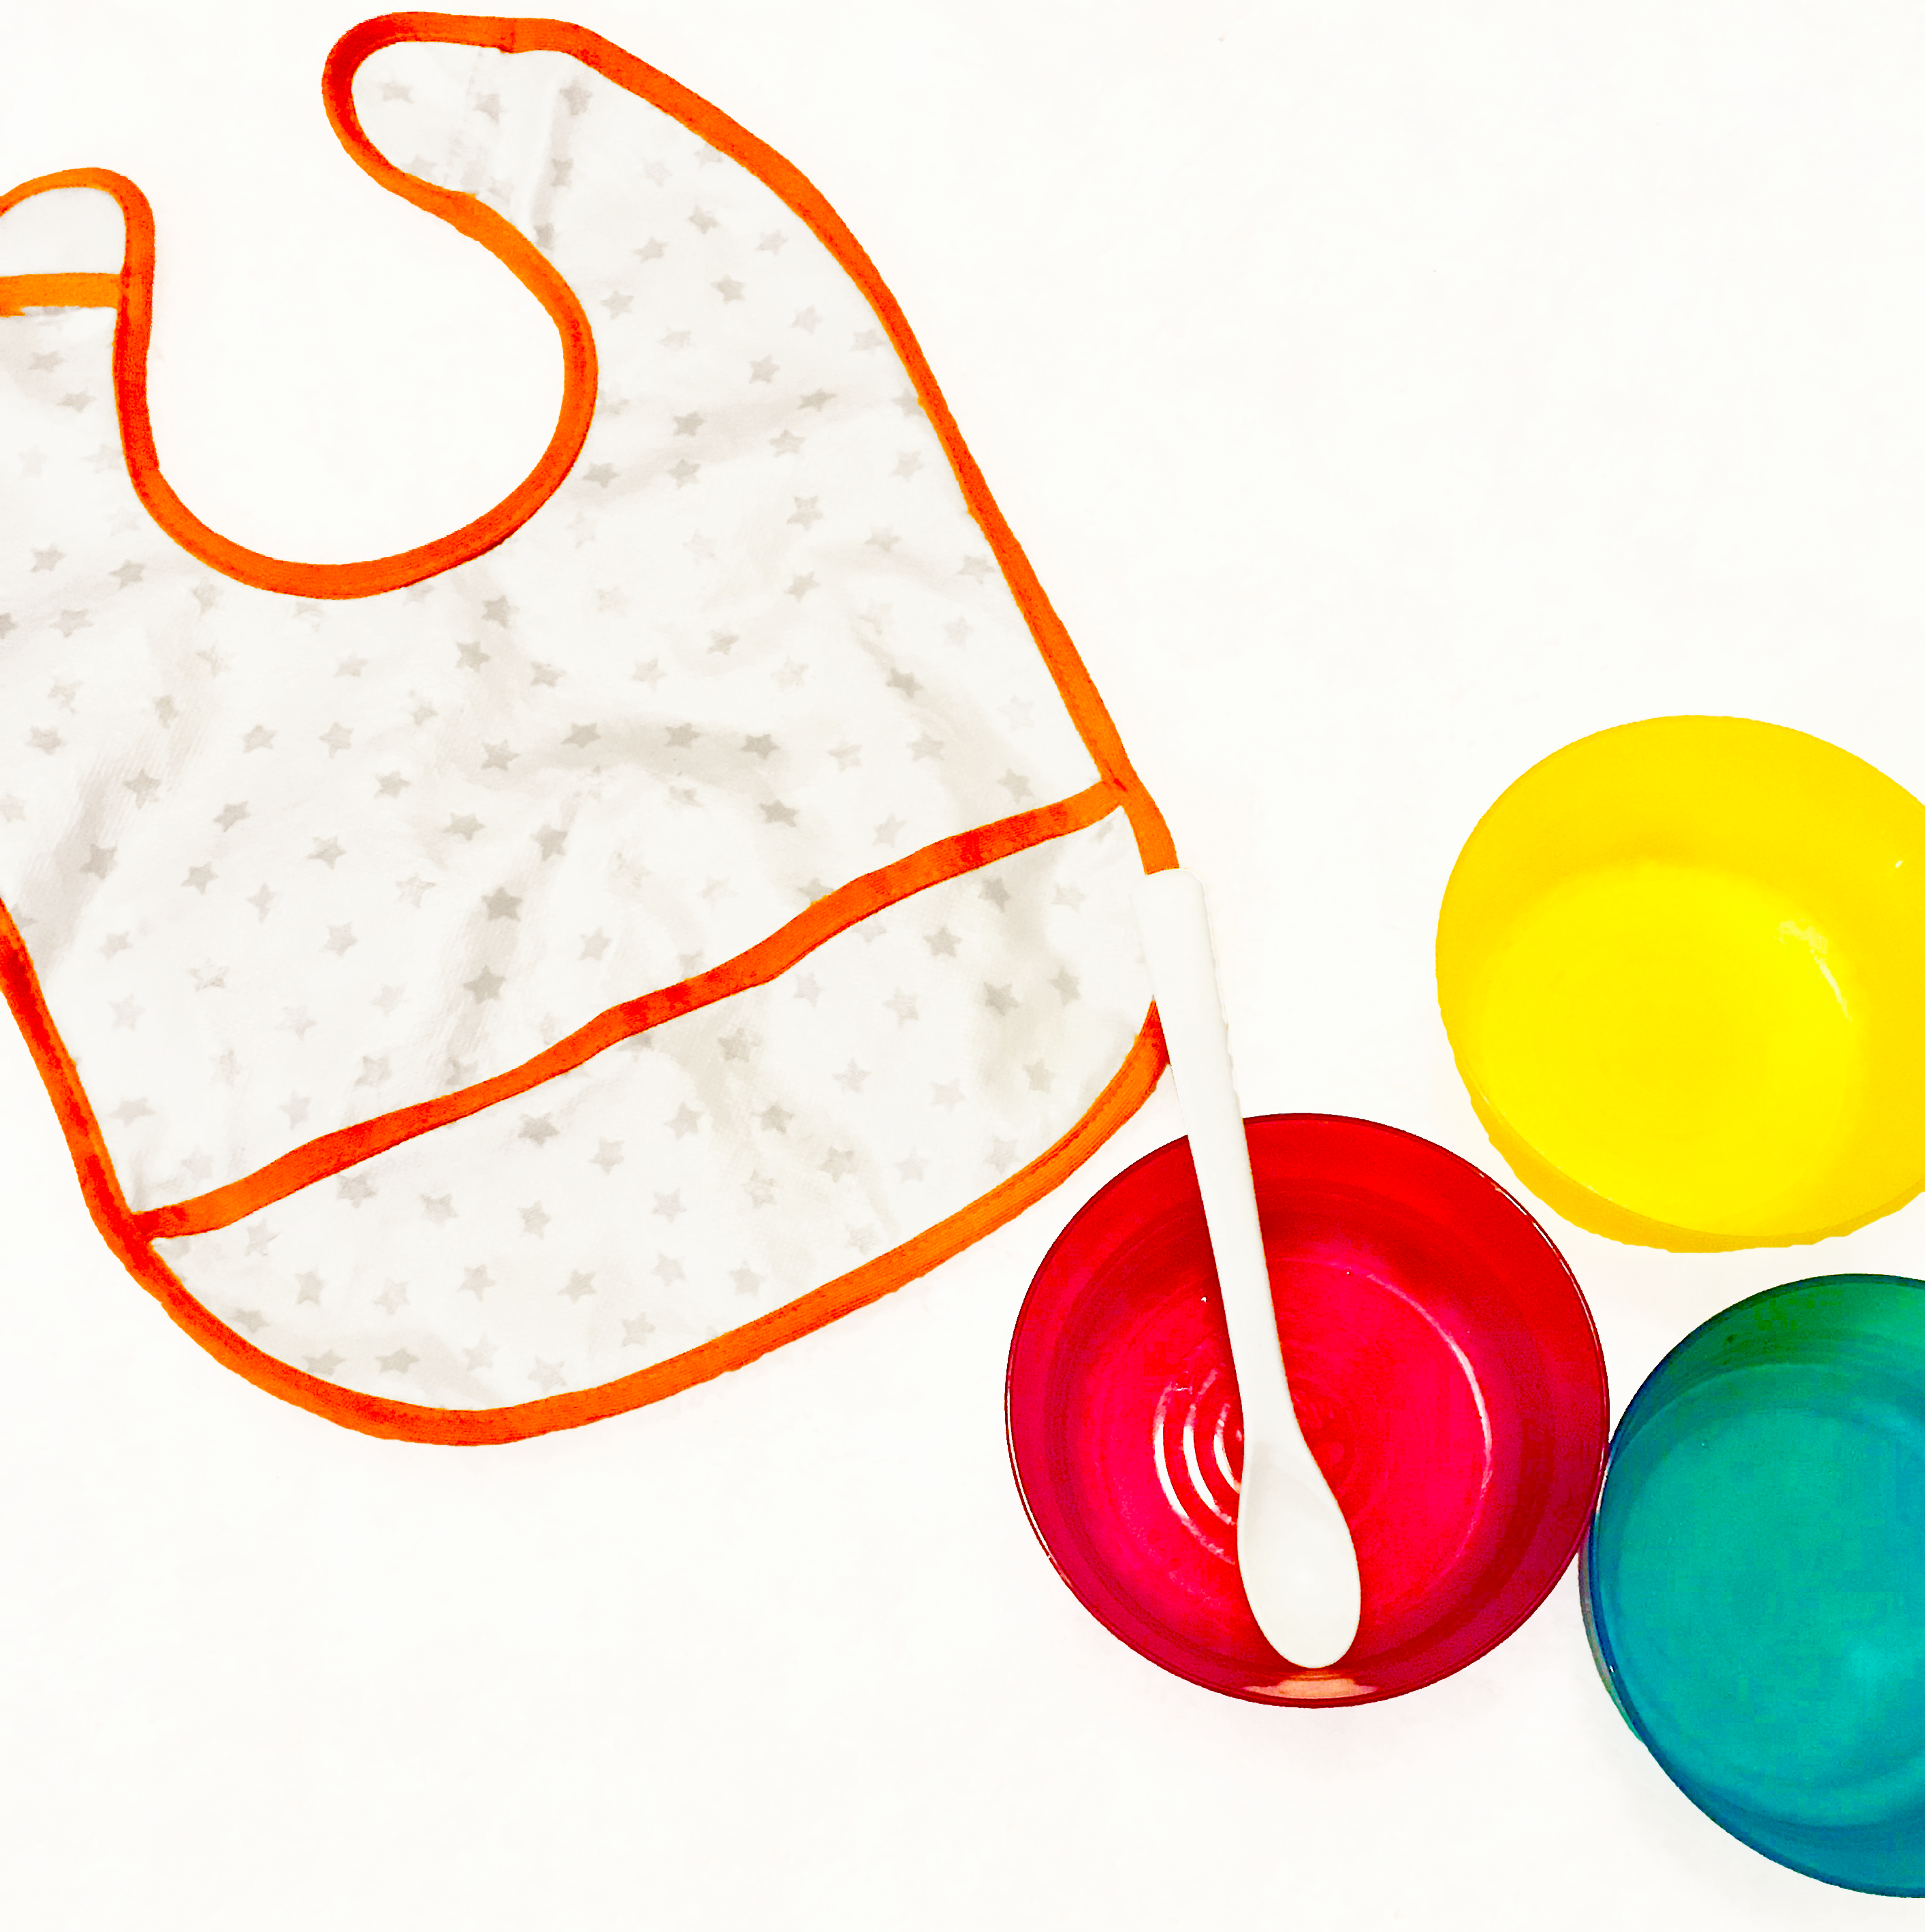
I managed to control my non playroom related purchases and only walked out with three picture frames, a set of food storage containers, baby spoons, and a few bibs ( which I’m counting as a win).
After lugging the boxes in the real test began.
How long would we stare at these boxes in our hallway before we actually test the very fabric of our marriage by building these seemingly innocuous shelving units? Luckily my husband is pretty handy and we did not have repeat of teenage me trying to build an IKEA entertainment system (I think it is still half built in my father’s house a decade later, forever a shrine to my defeat).
Over the next two weeks the toys were packed (ok thrown) into boxes, my husband assembled the shelves and even let my oldest help as I sat on the sidelines and attempted to keep our youngest entertained.
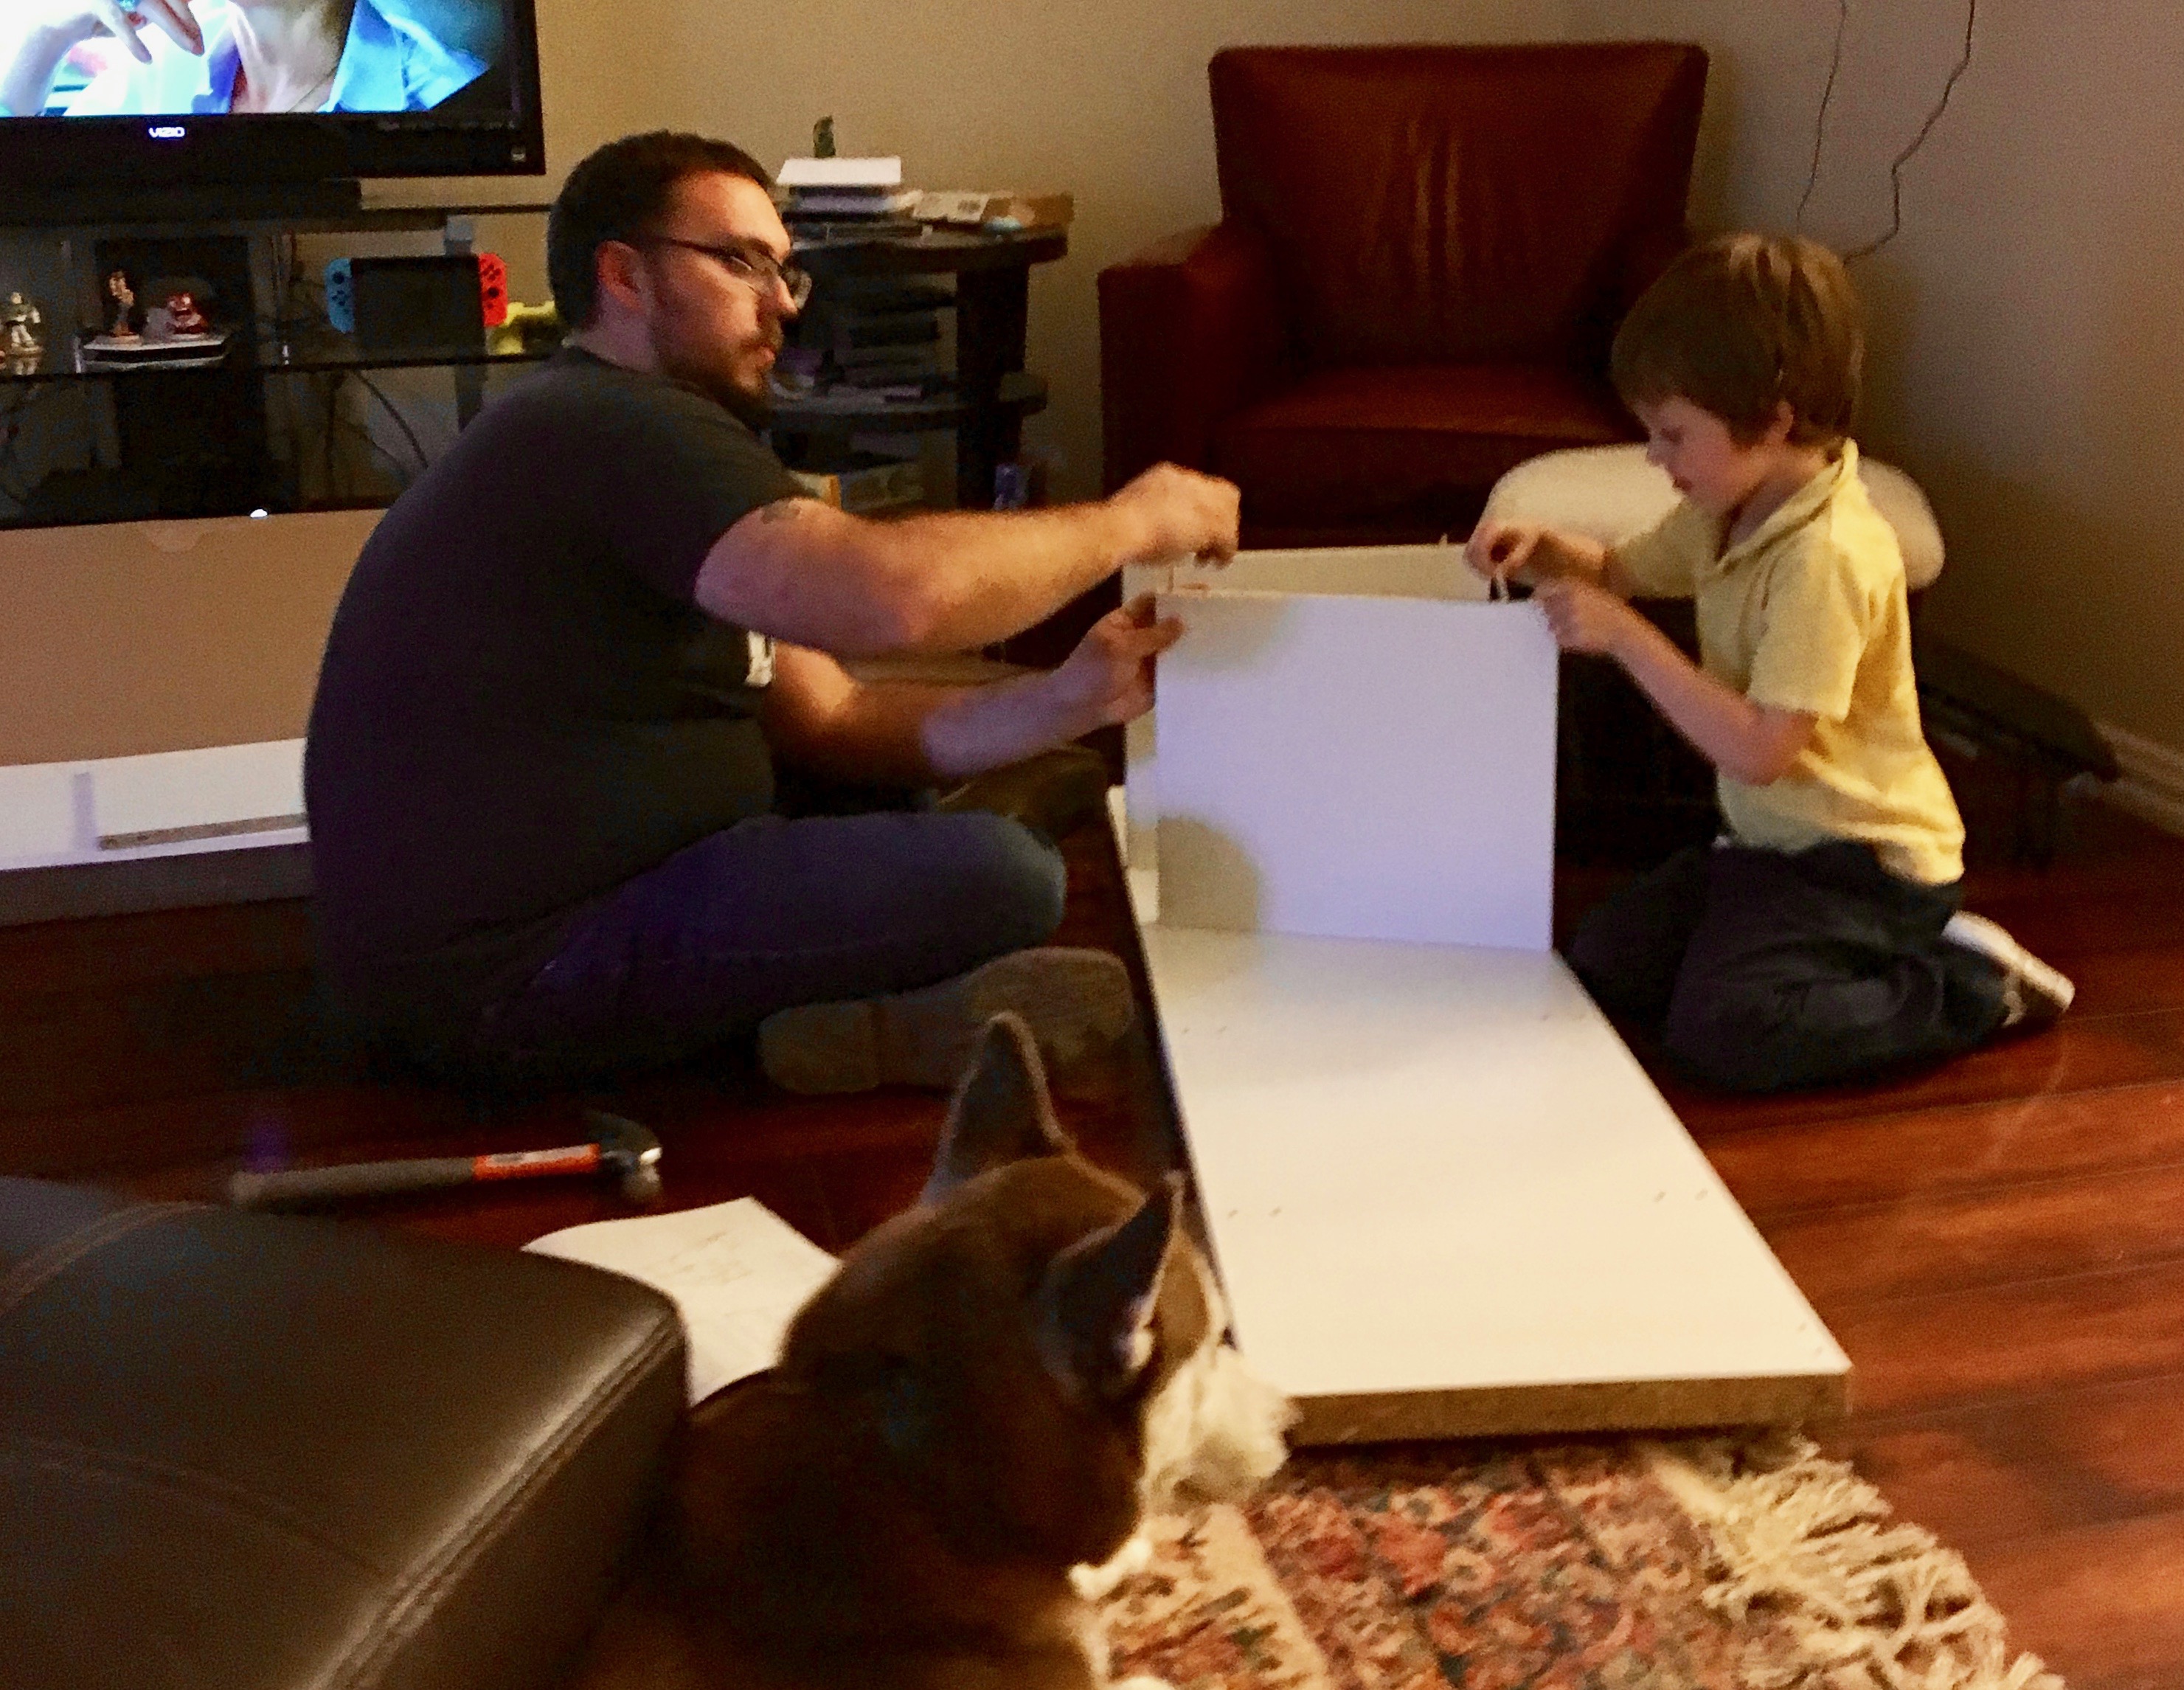
Everything was going relatively smoothly until we realized that thanks to our base molding we could not bracket the shelving to the wall with the included hardware. I was non-negotiable on these shelves being mounted because I didn’t want a repeat of Dr. Bailey’s terrifying saga with Ben. My husband figured it out and a trip to Lowe’s later we had ourselves a few corner braces which we screwed into the wall and unit to secure it.

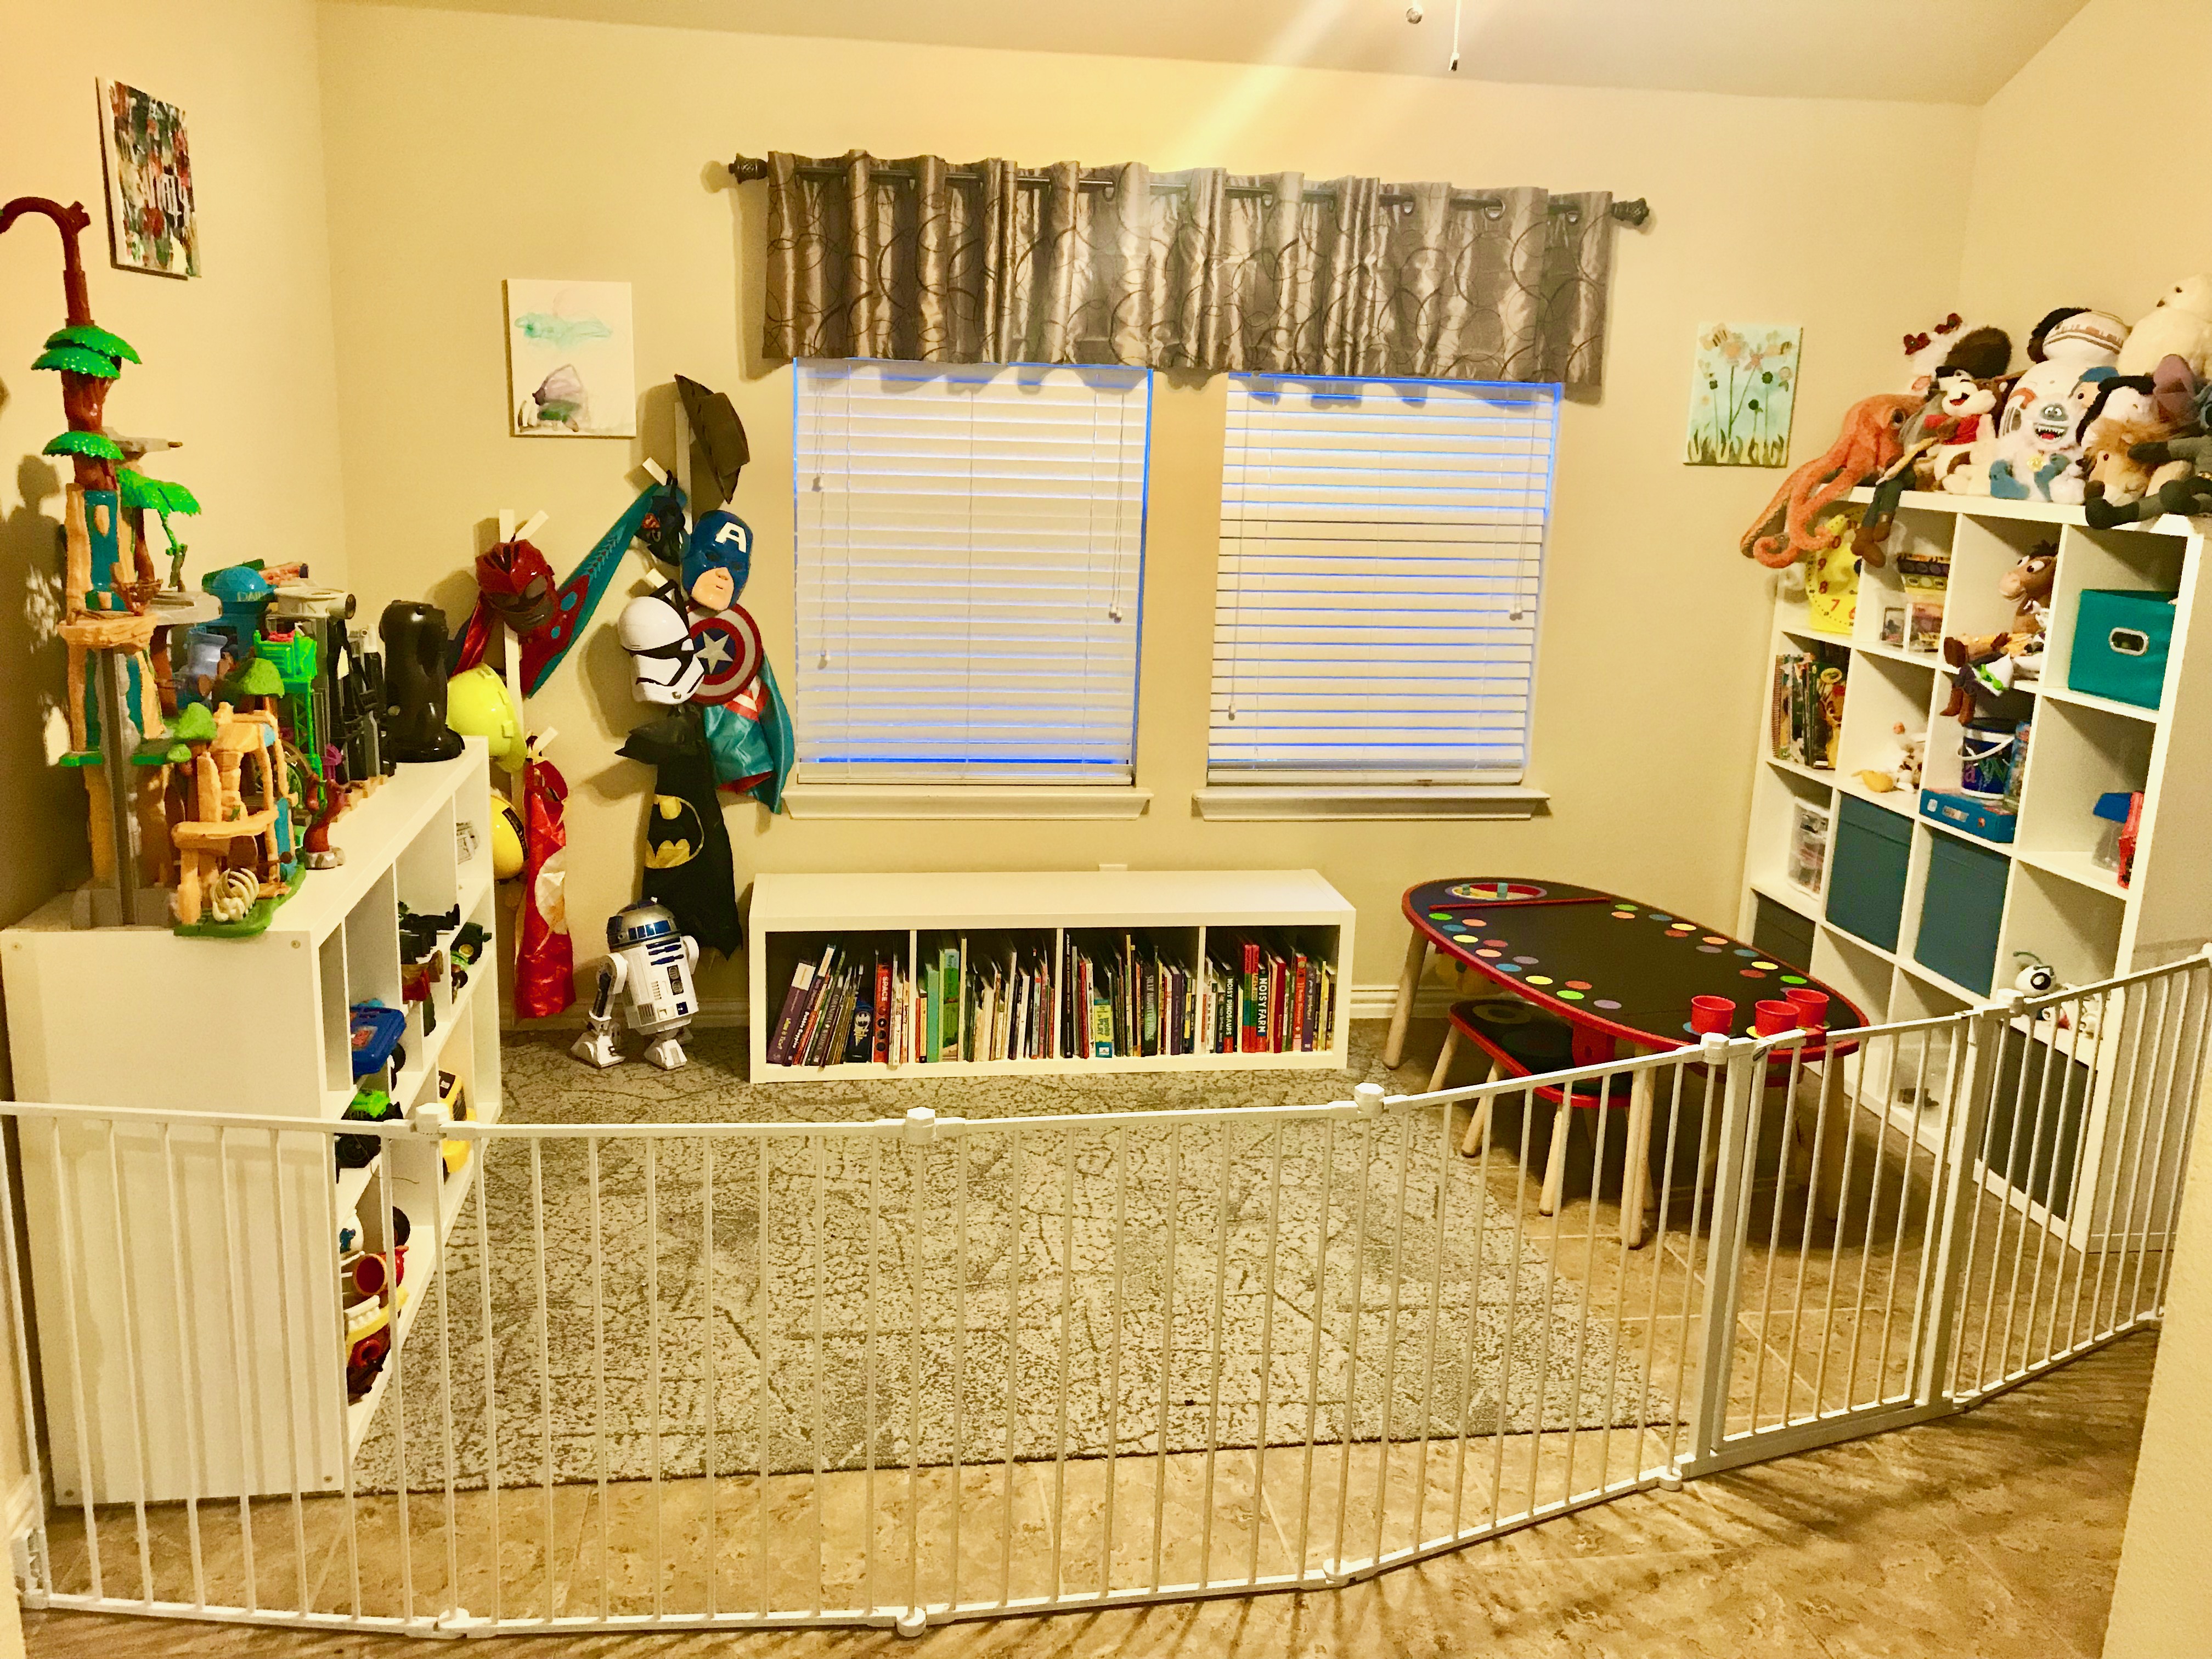
Once everything was set up, it was time to organize. Me and my oldest son went through EVERY toy that he owned and found homes for them all:
The smaller figurines and legos went into the bins.
His huge collection of crayons, markers, and colored pencils went into a Sterilite organizer.
Books found their new place under his reading bench.
His capes and masks found their way to his new “Hero Up” station.
The medium sized KALLAX unit became a parking garage for his many cars and above ended up being the perfect space for every over sized toy he owns.
We even had a perfect tiled space left for his very own “crafting table.”
At first I was motivated by the dream of coming home and not grimacing at an eyesore, but an amazing thing happened in the days and weeks following the makeover.
My son began running around the house in his capes that largely hadn’t seen the light of day in YEARS. He started to color and create more. He pulled down those activity sets and played for hours. He raced cars and he read. Clean up time became easy instead of the over dramatic hysterical scenes that had occurred not so long before. It was no longer a fight because this was HIS space that he had helped create and he now enjoys keeping it so he knows where everything is.

I’m not sure this project is a hundred percent done. I recently came across a tutorial on how make a seat cushion for a bench like ours by Mommy Vignettes which I think could add another layer of functionality to the room and add a pop of color. I love this tutorial because it’s no sew which equals a huge time saver. When I do get to it I will be sure to add any other tips and tricks I discover along the way!
Related Posts
The playroom looks fantastic. Can’t wait to hear about how the “no-sew” cushions turn out.