I am always looking for an excuse to play with my Cricut .
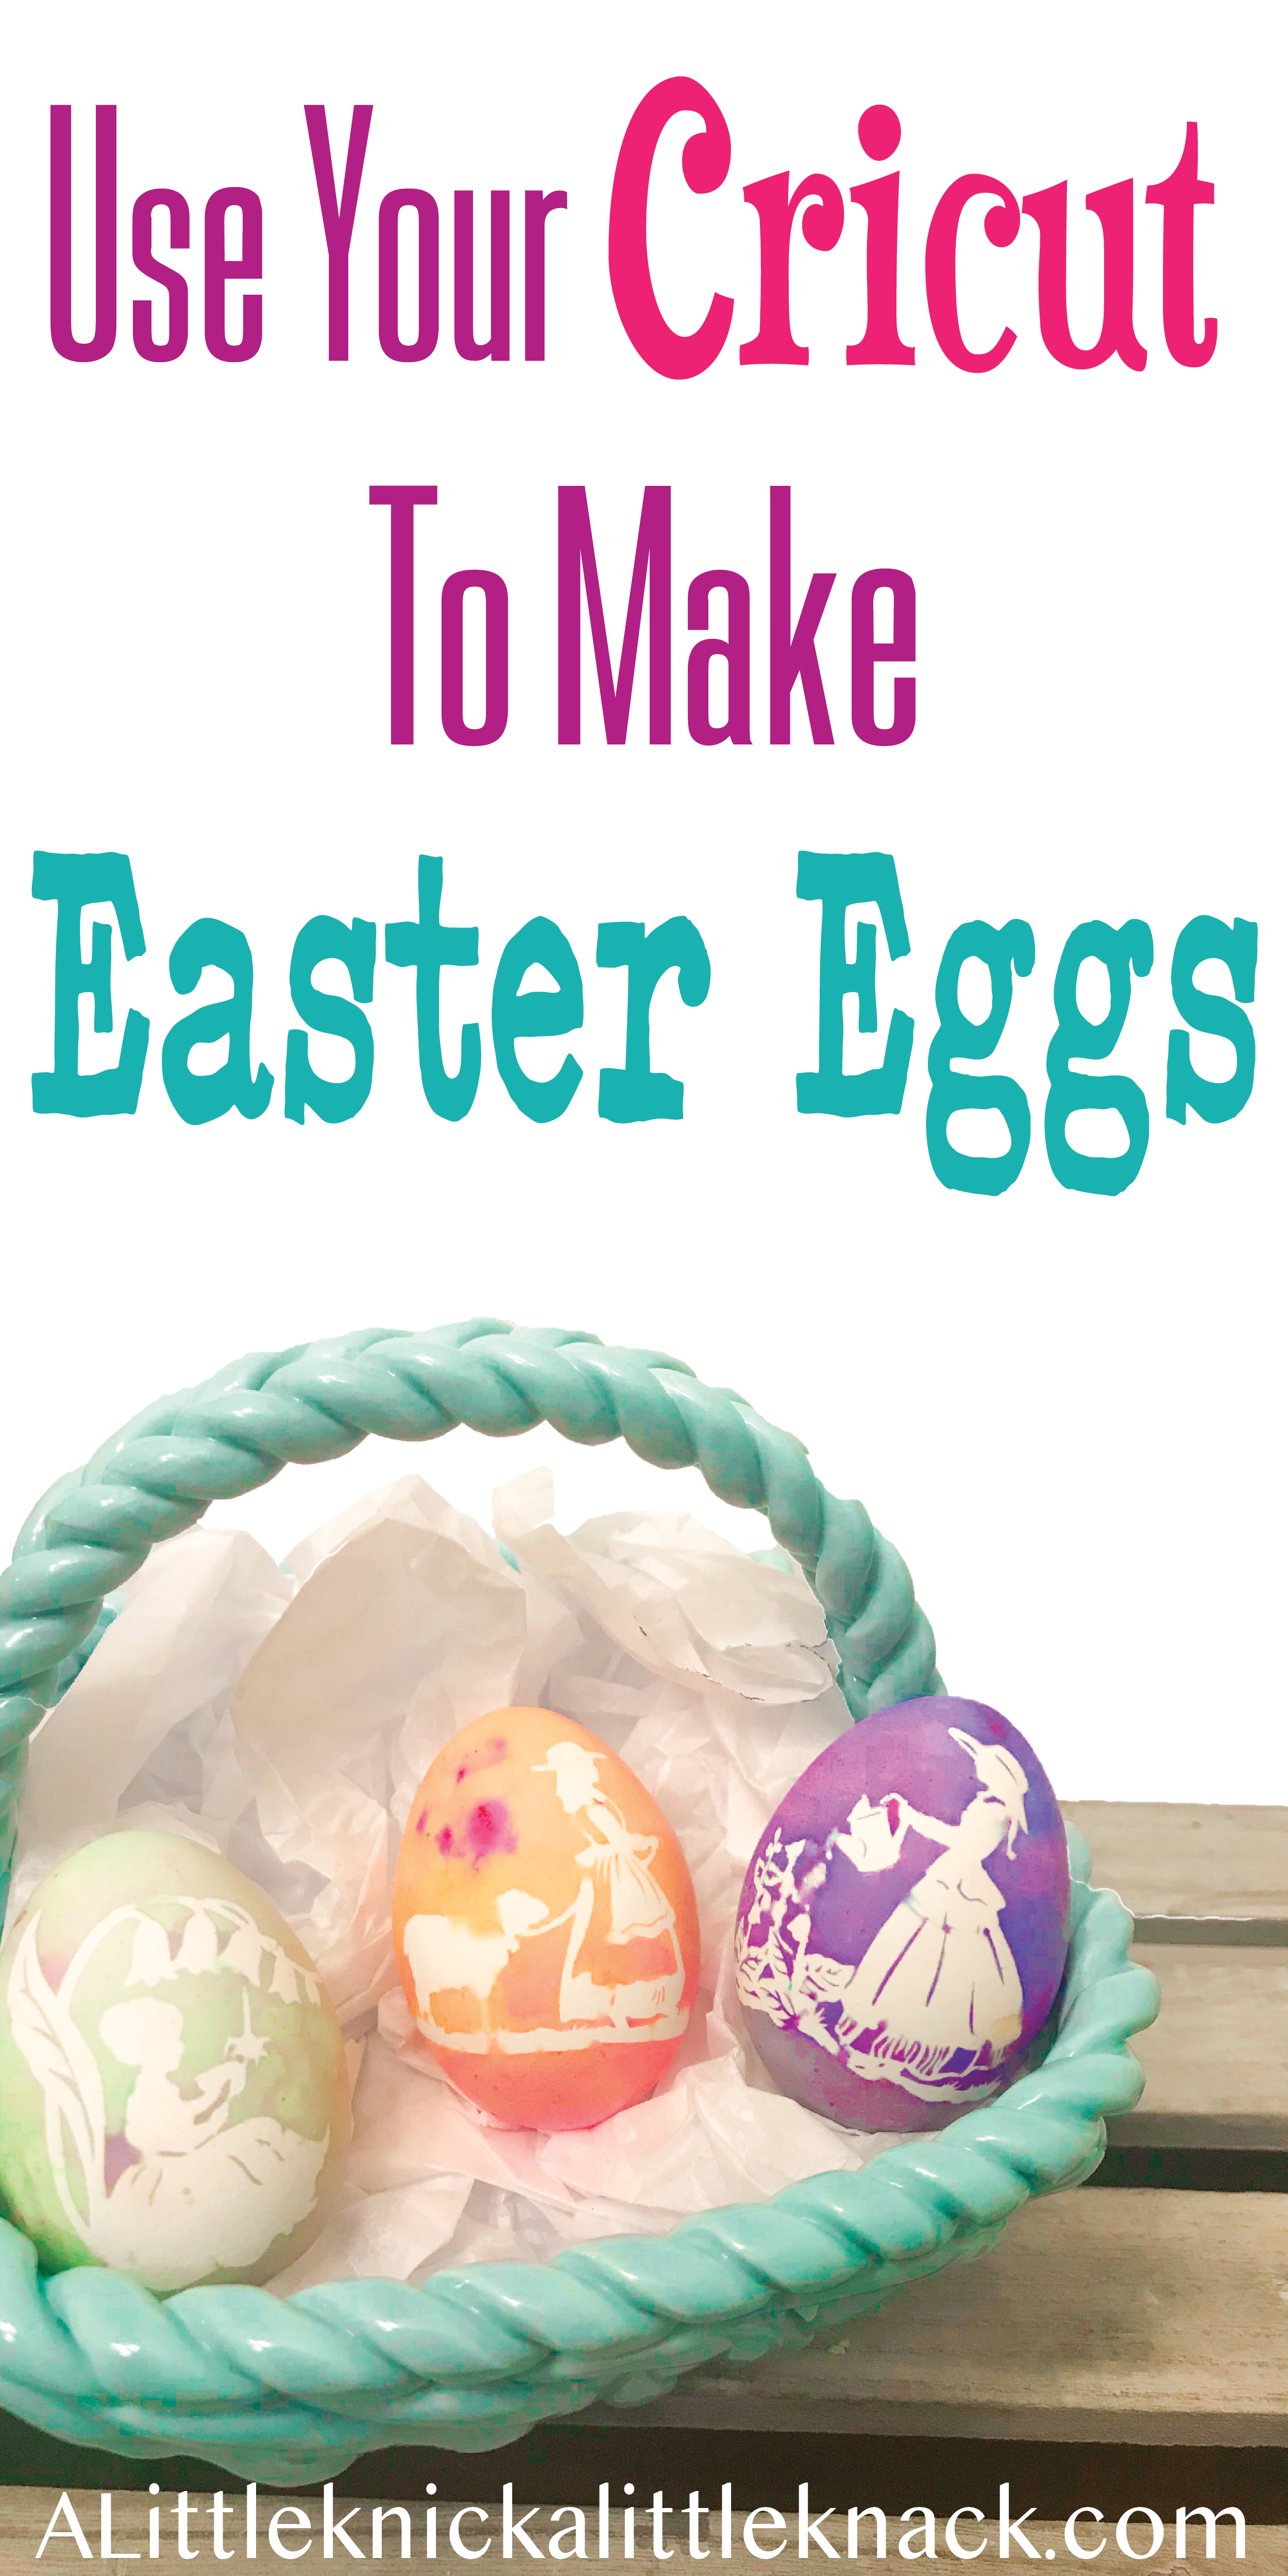
So while preparing for Easter this year I had an idea: Use my Cricut cut vinyl as a dye stencil!
I was SO nervous when peeling off those beautiful designs after dipping… would it work? Would the vinyl hold tight? Or would it be a big ‘ole mess?
Luckily when I peeled off the vinyl … They were BEAUTIFUL!
Now my head is spinning with ALL the endless varieties of beautiful and fun Easter eggs me and my kiddos can make and without much extra effort at all.
But I wanted to share this awesome Cricut trick with you all so you can get in on the fun as well! I hope you and your kiddos have a TON of fun decorating Easter eggs with everything from their names to anything else they can imagine.
*This post may contain affiliate links which may allow us to receive a small commission (at no additional cost to you) for purchases you make after clicking on product links in our posts, to view our full affiliate disclosure click here.
But rest assured we fully believe in every product we endorse..
Materials:
-
- Cricut Explore Air™ (or other Vinyl Cutter )
- Permanent Adhesive Vinyl ( I used plain Oracal 651 Vinyl because I got it for a great deal!)
- Cricut Access or other SVG’s
- Cutting Mat
- Cricut Transfer Tape
- Weeding Tool
- Cricut Scraper tool or Credit card
- Eggs
- 9 oz cups or containers large enough for an egg
- Food Coloring
- White Vinegar
- A Few Spoons
- Bottle caps (optional but they make life easier!)
Hard Boil Eggs
Place the Eggs in a saucepan or pot and cover with water until the eggs are about 1 inch below the water line.
Place the pot on high heat and once the water reaches a rolling boil turn off the heat, place the cover on the pot, and let the eggs sit for 12 minutes.
Remove the warm water from the pan and fill with cold water to cool the eggs. Place in fridge until about 30 minutes before you are ready to decorate!
hint: Vinyl sticks to slightly warmer eggshells better than cool ones so be sure to pull them out before you are wanting to decorate!
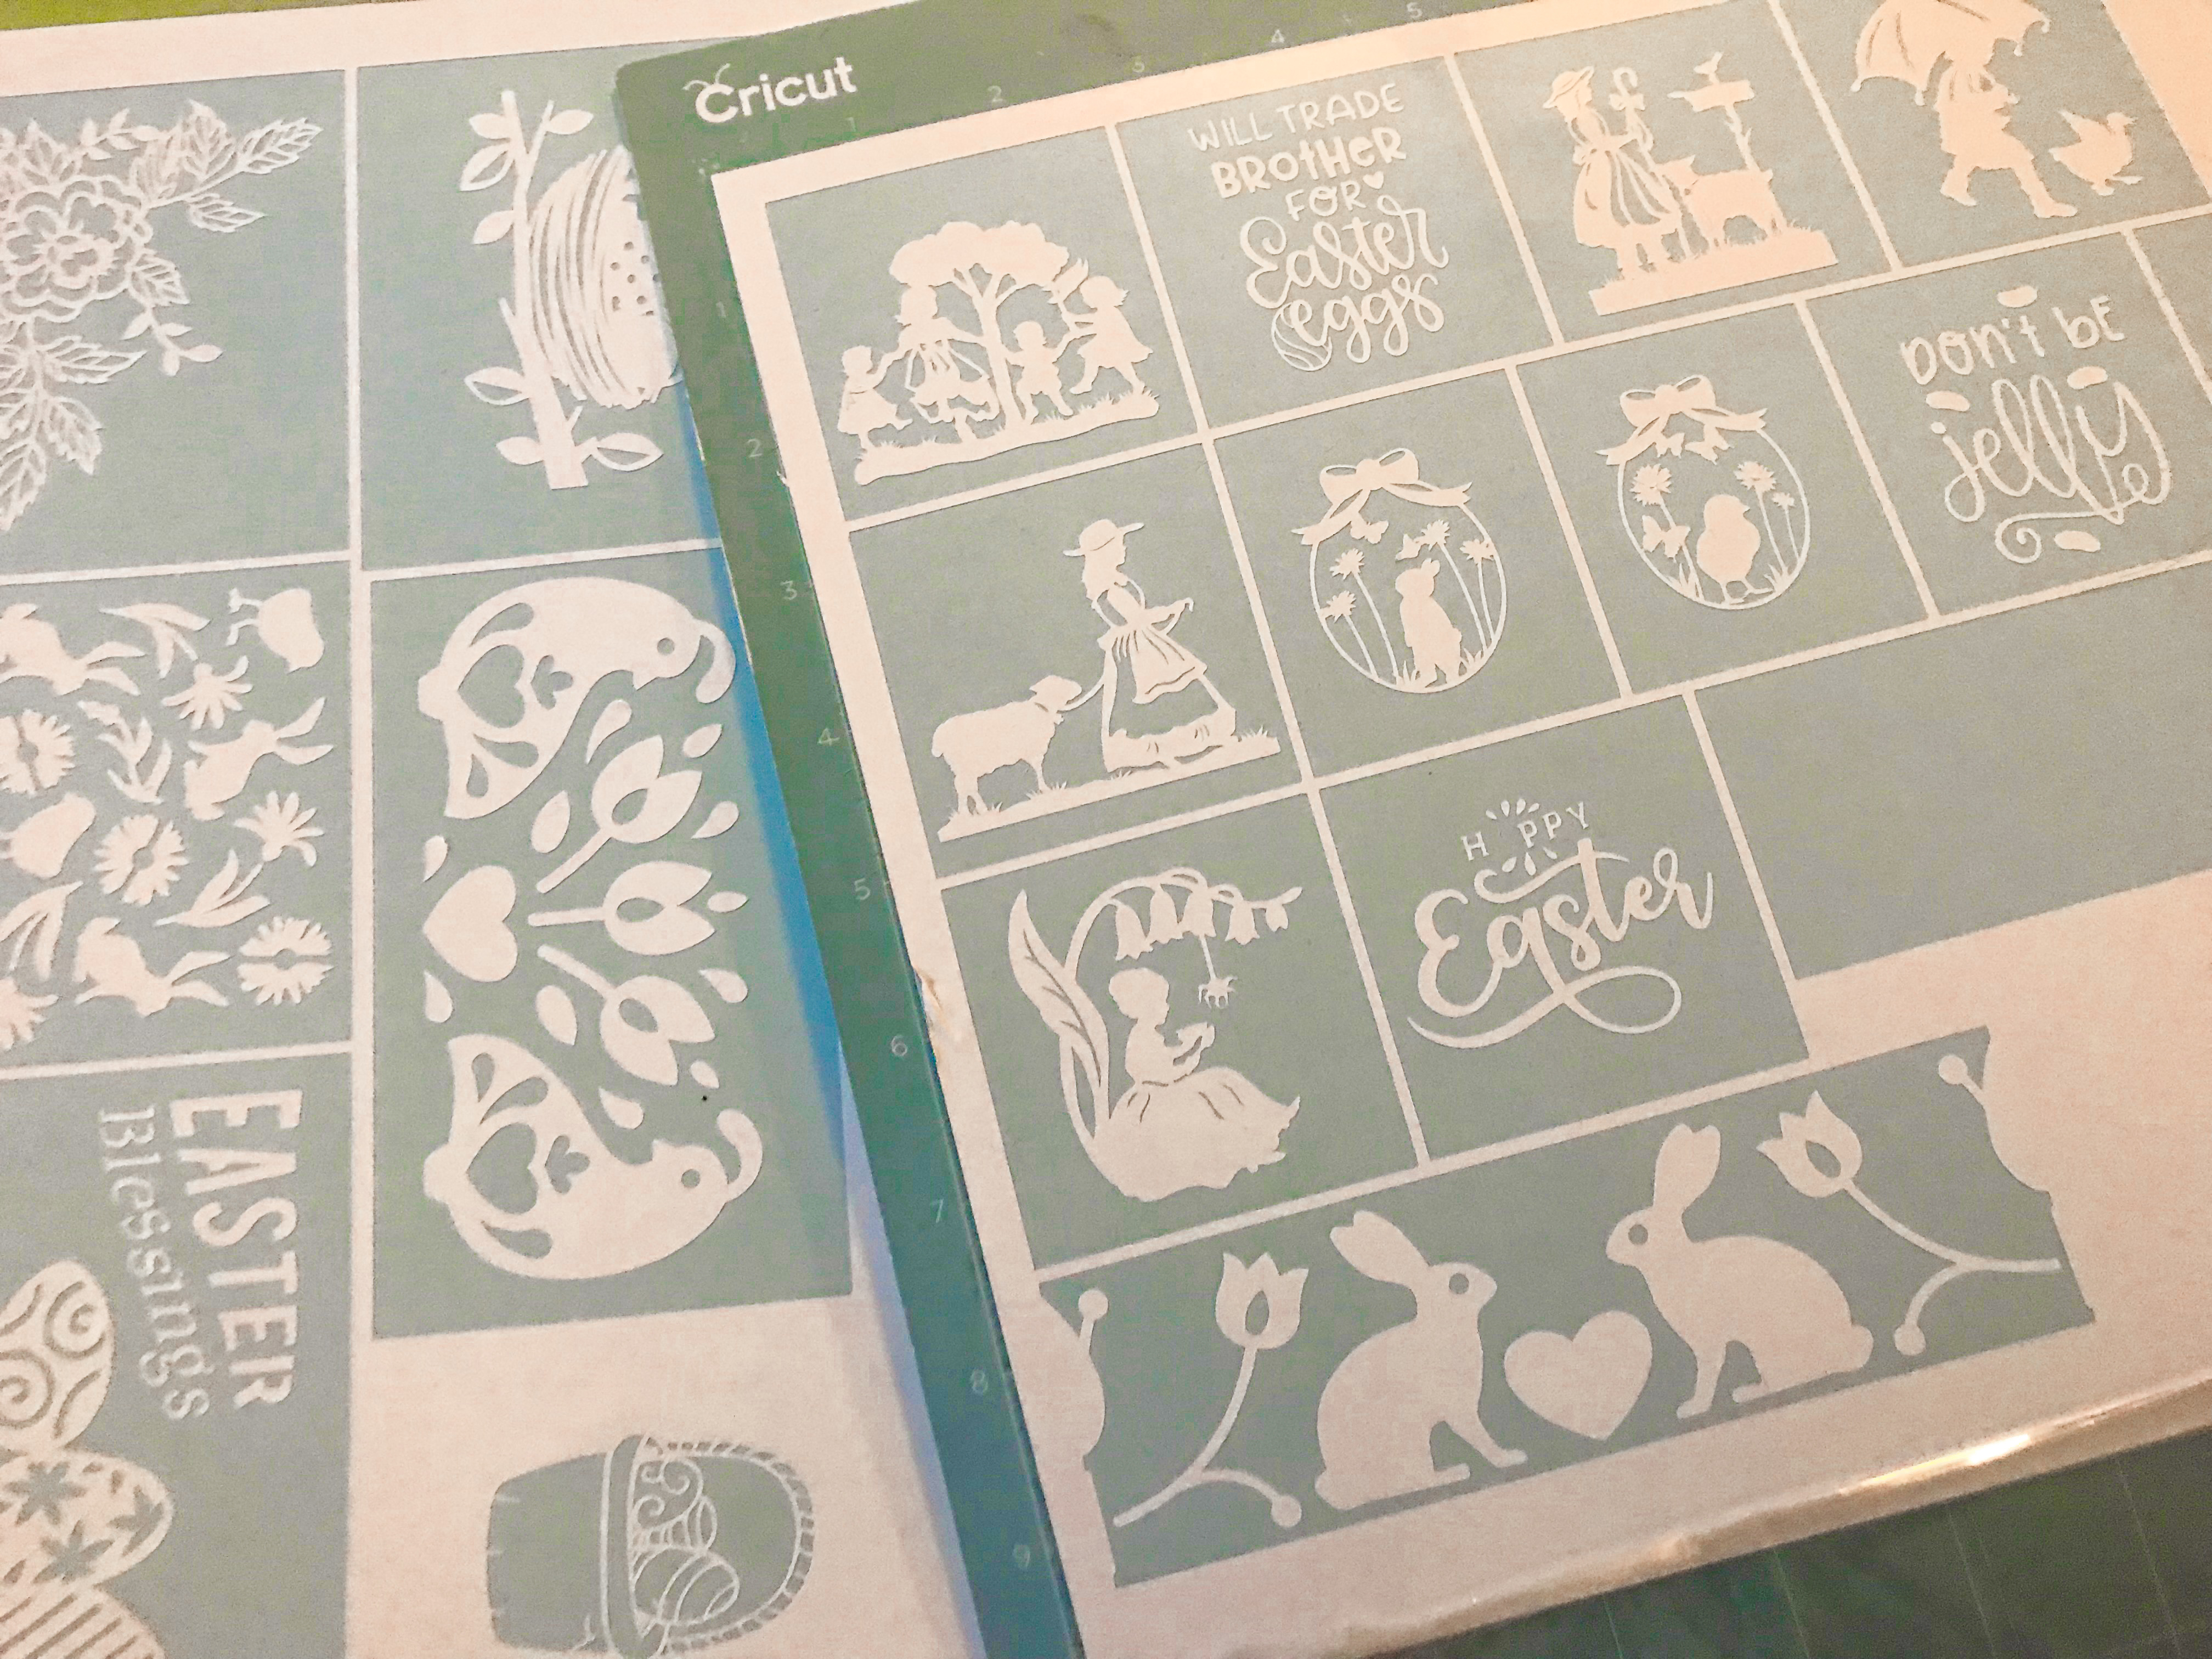
Create Your Vinyl “Stickers”
I started a new project, added images included with Cricut Access ,and resized them so they would fit well on an egg.
The Best Vinyl Sizes for Easter Eggs :
Small Images : 2″ wide by 3″ long or smaller
Wrap Around “Borders”: 5 1/2″ wide by 2″ long or smaller
hint: To make it easier I added weeding boxes around all the images.
Save the project, load the mat, and cut!
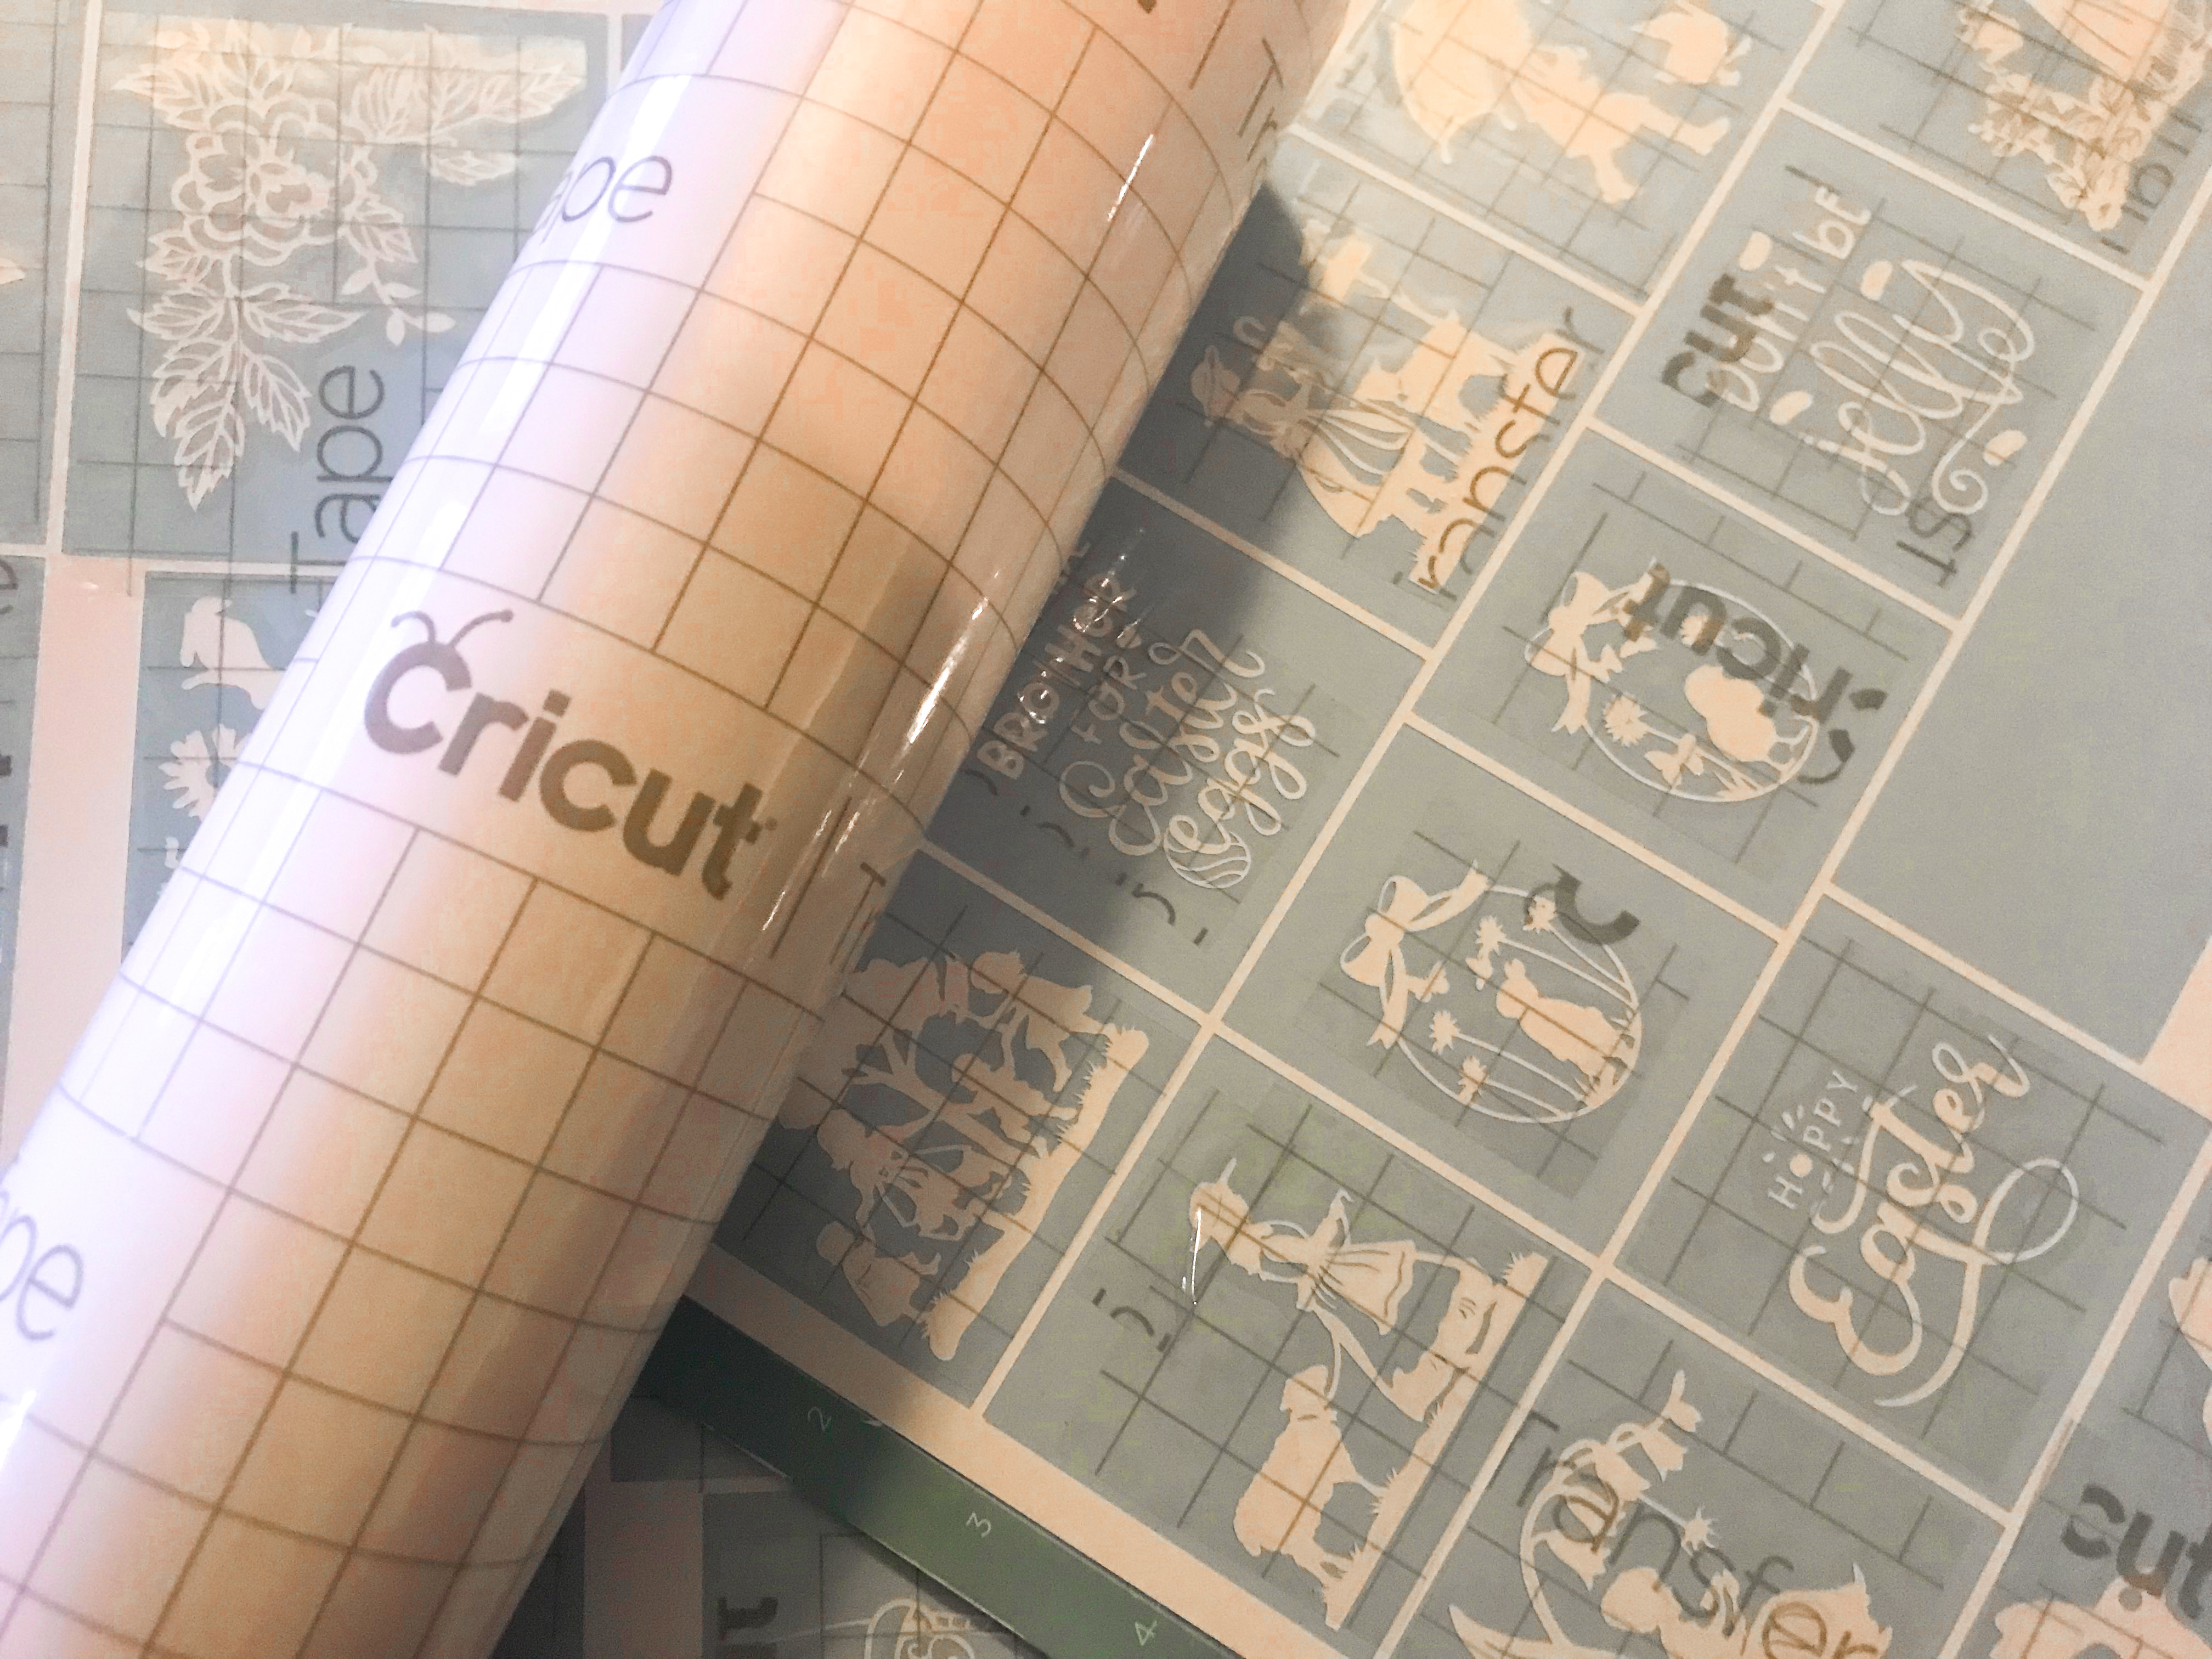
Prepare Your Vinyl Easter Egg “Stickers”
Weed the Easter egg designs using the weeding tool.
Cut Cricut transfer tape to the approximate size of each of the Easter vinyl cut-outs.
Peel off the transfer tape backing while applying it to the cut vinyl “stickers.”
Rub the transfer tape with either the Cricut scraper tool or a credit card to make sure the design transfers.
Make An Easter Egg Dying Station
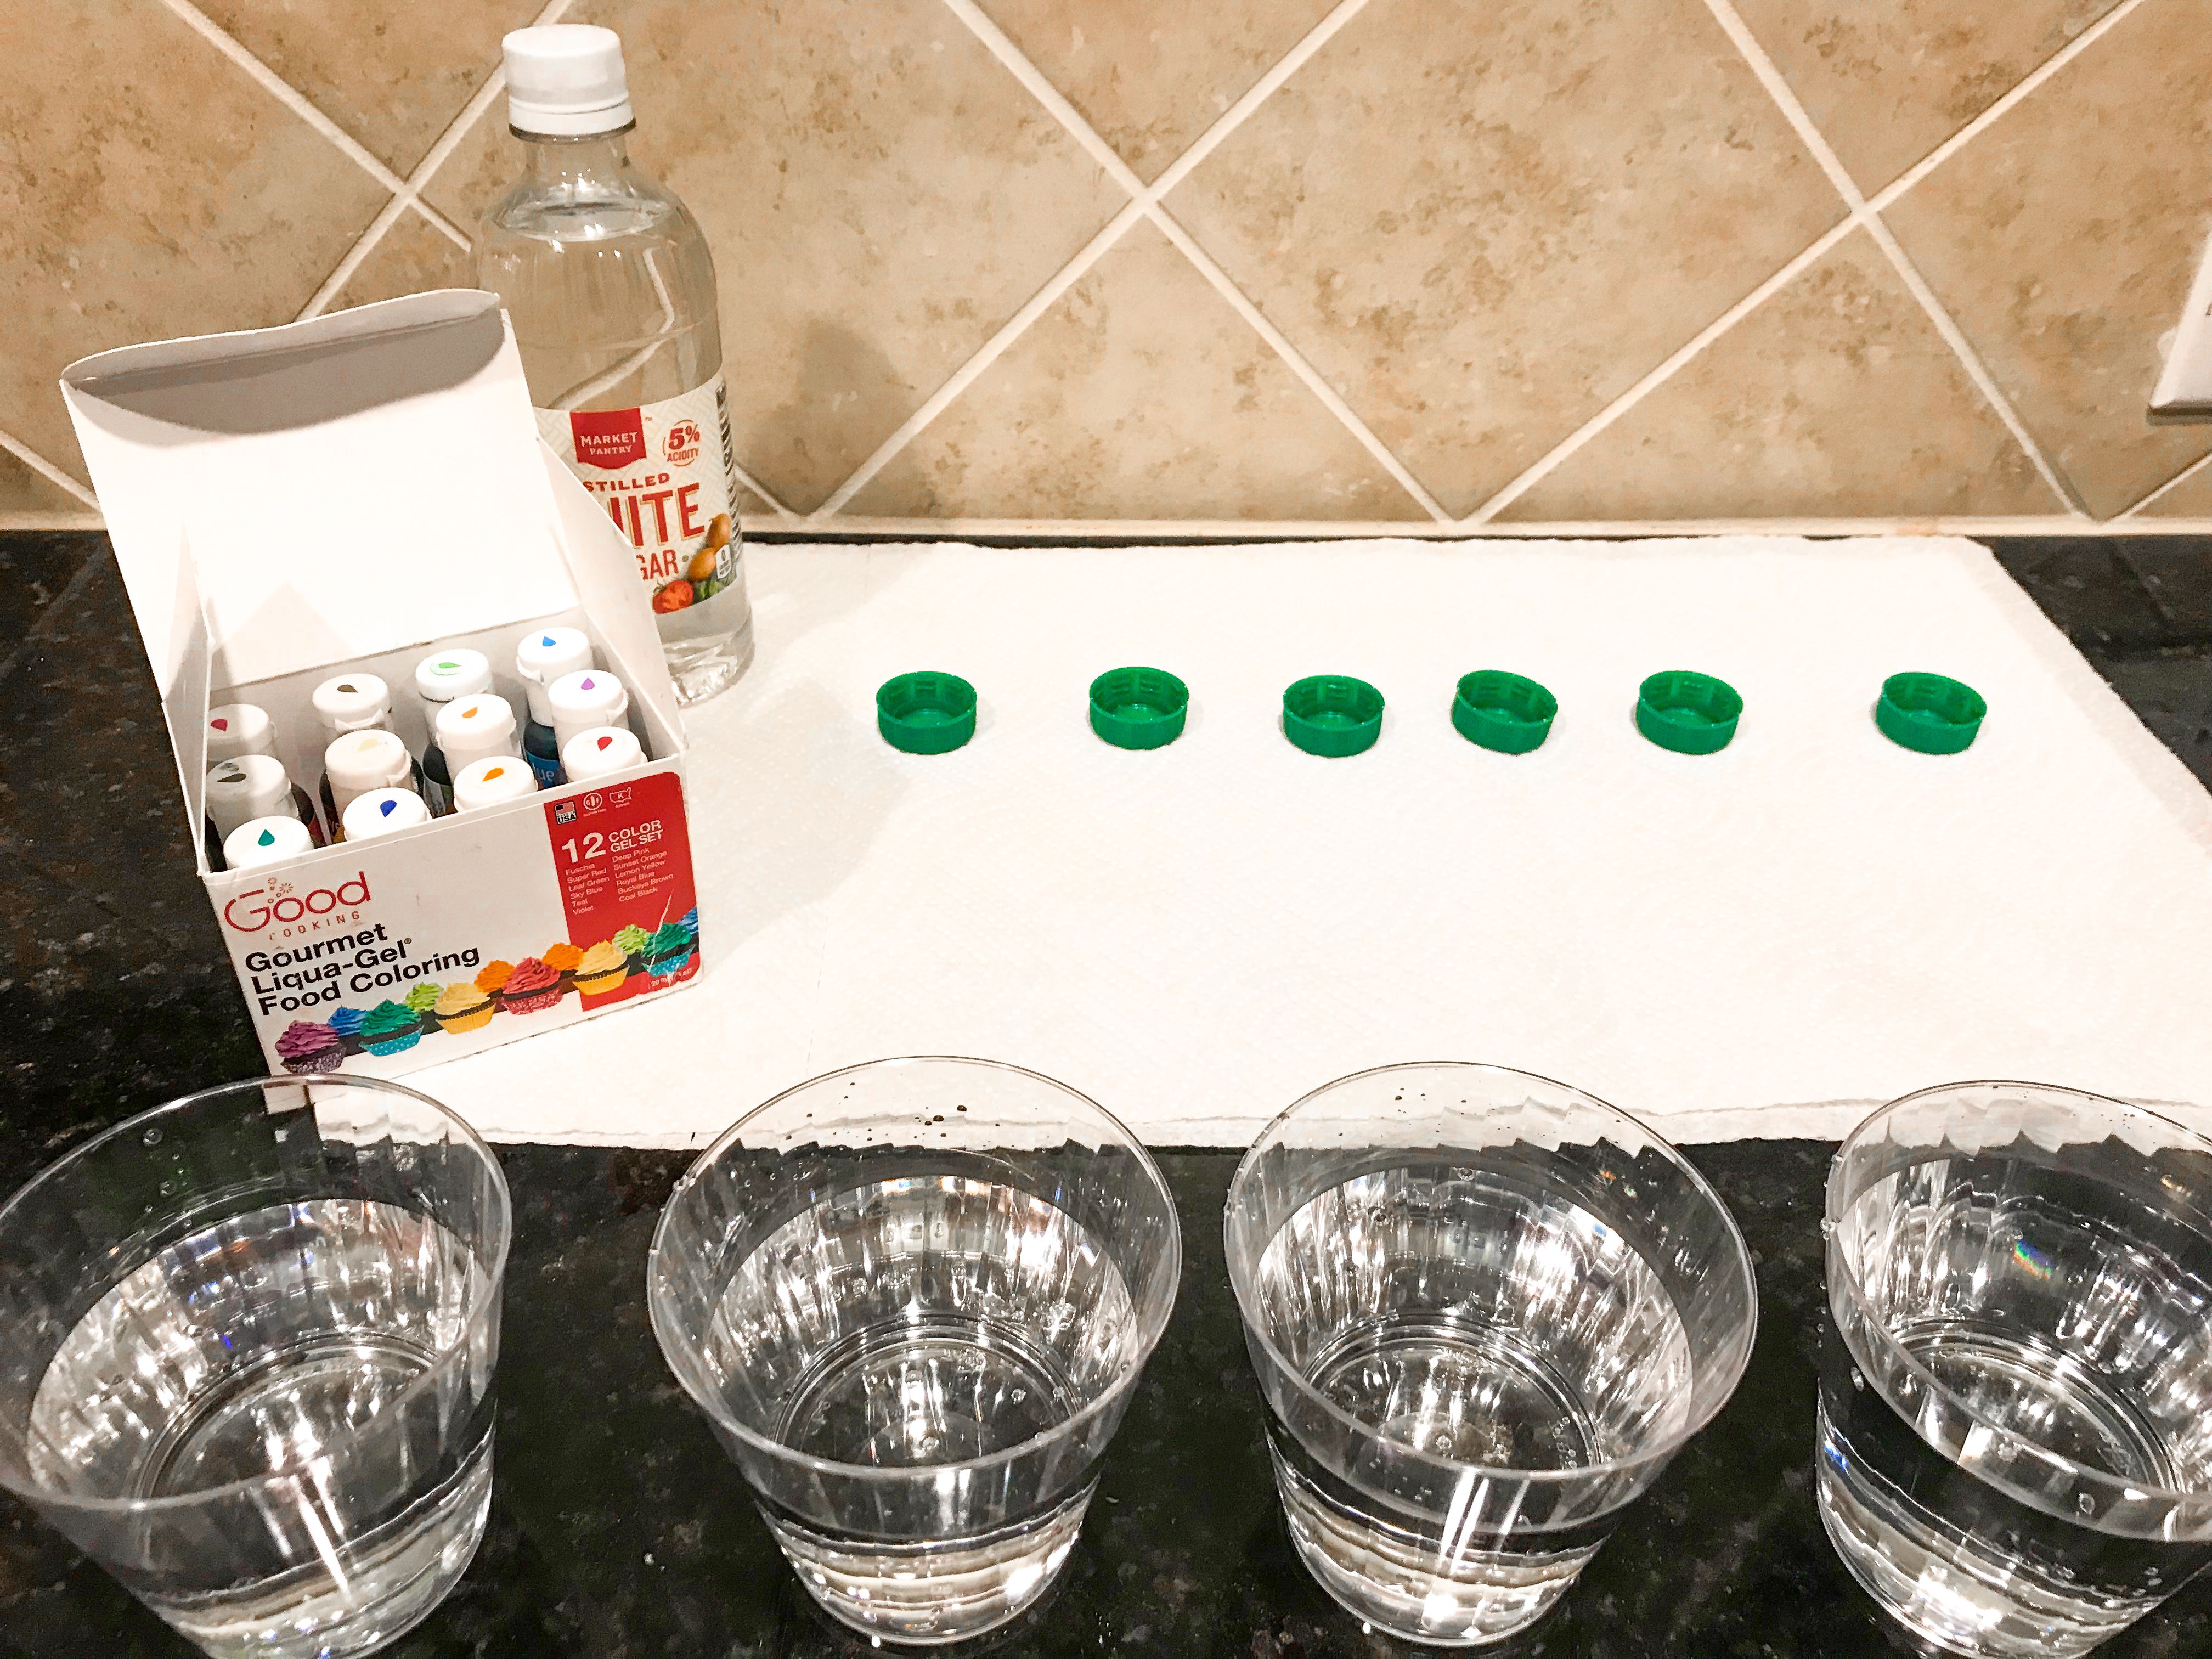
Line up bottle caps on a paper towel (to hold the freshly dyed eggs) and get out a few 9 oz containers big enough for an egg.
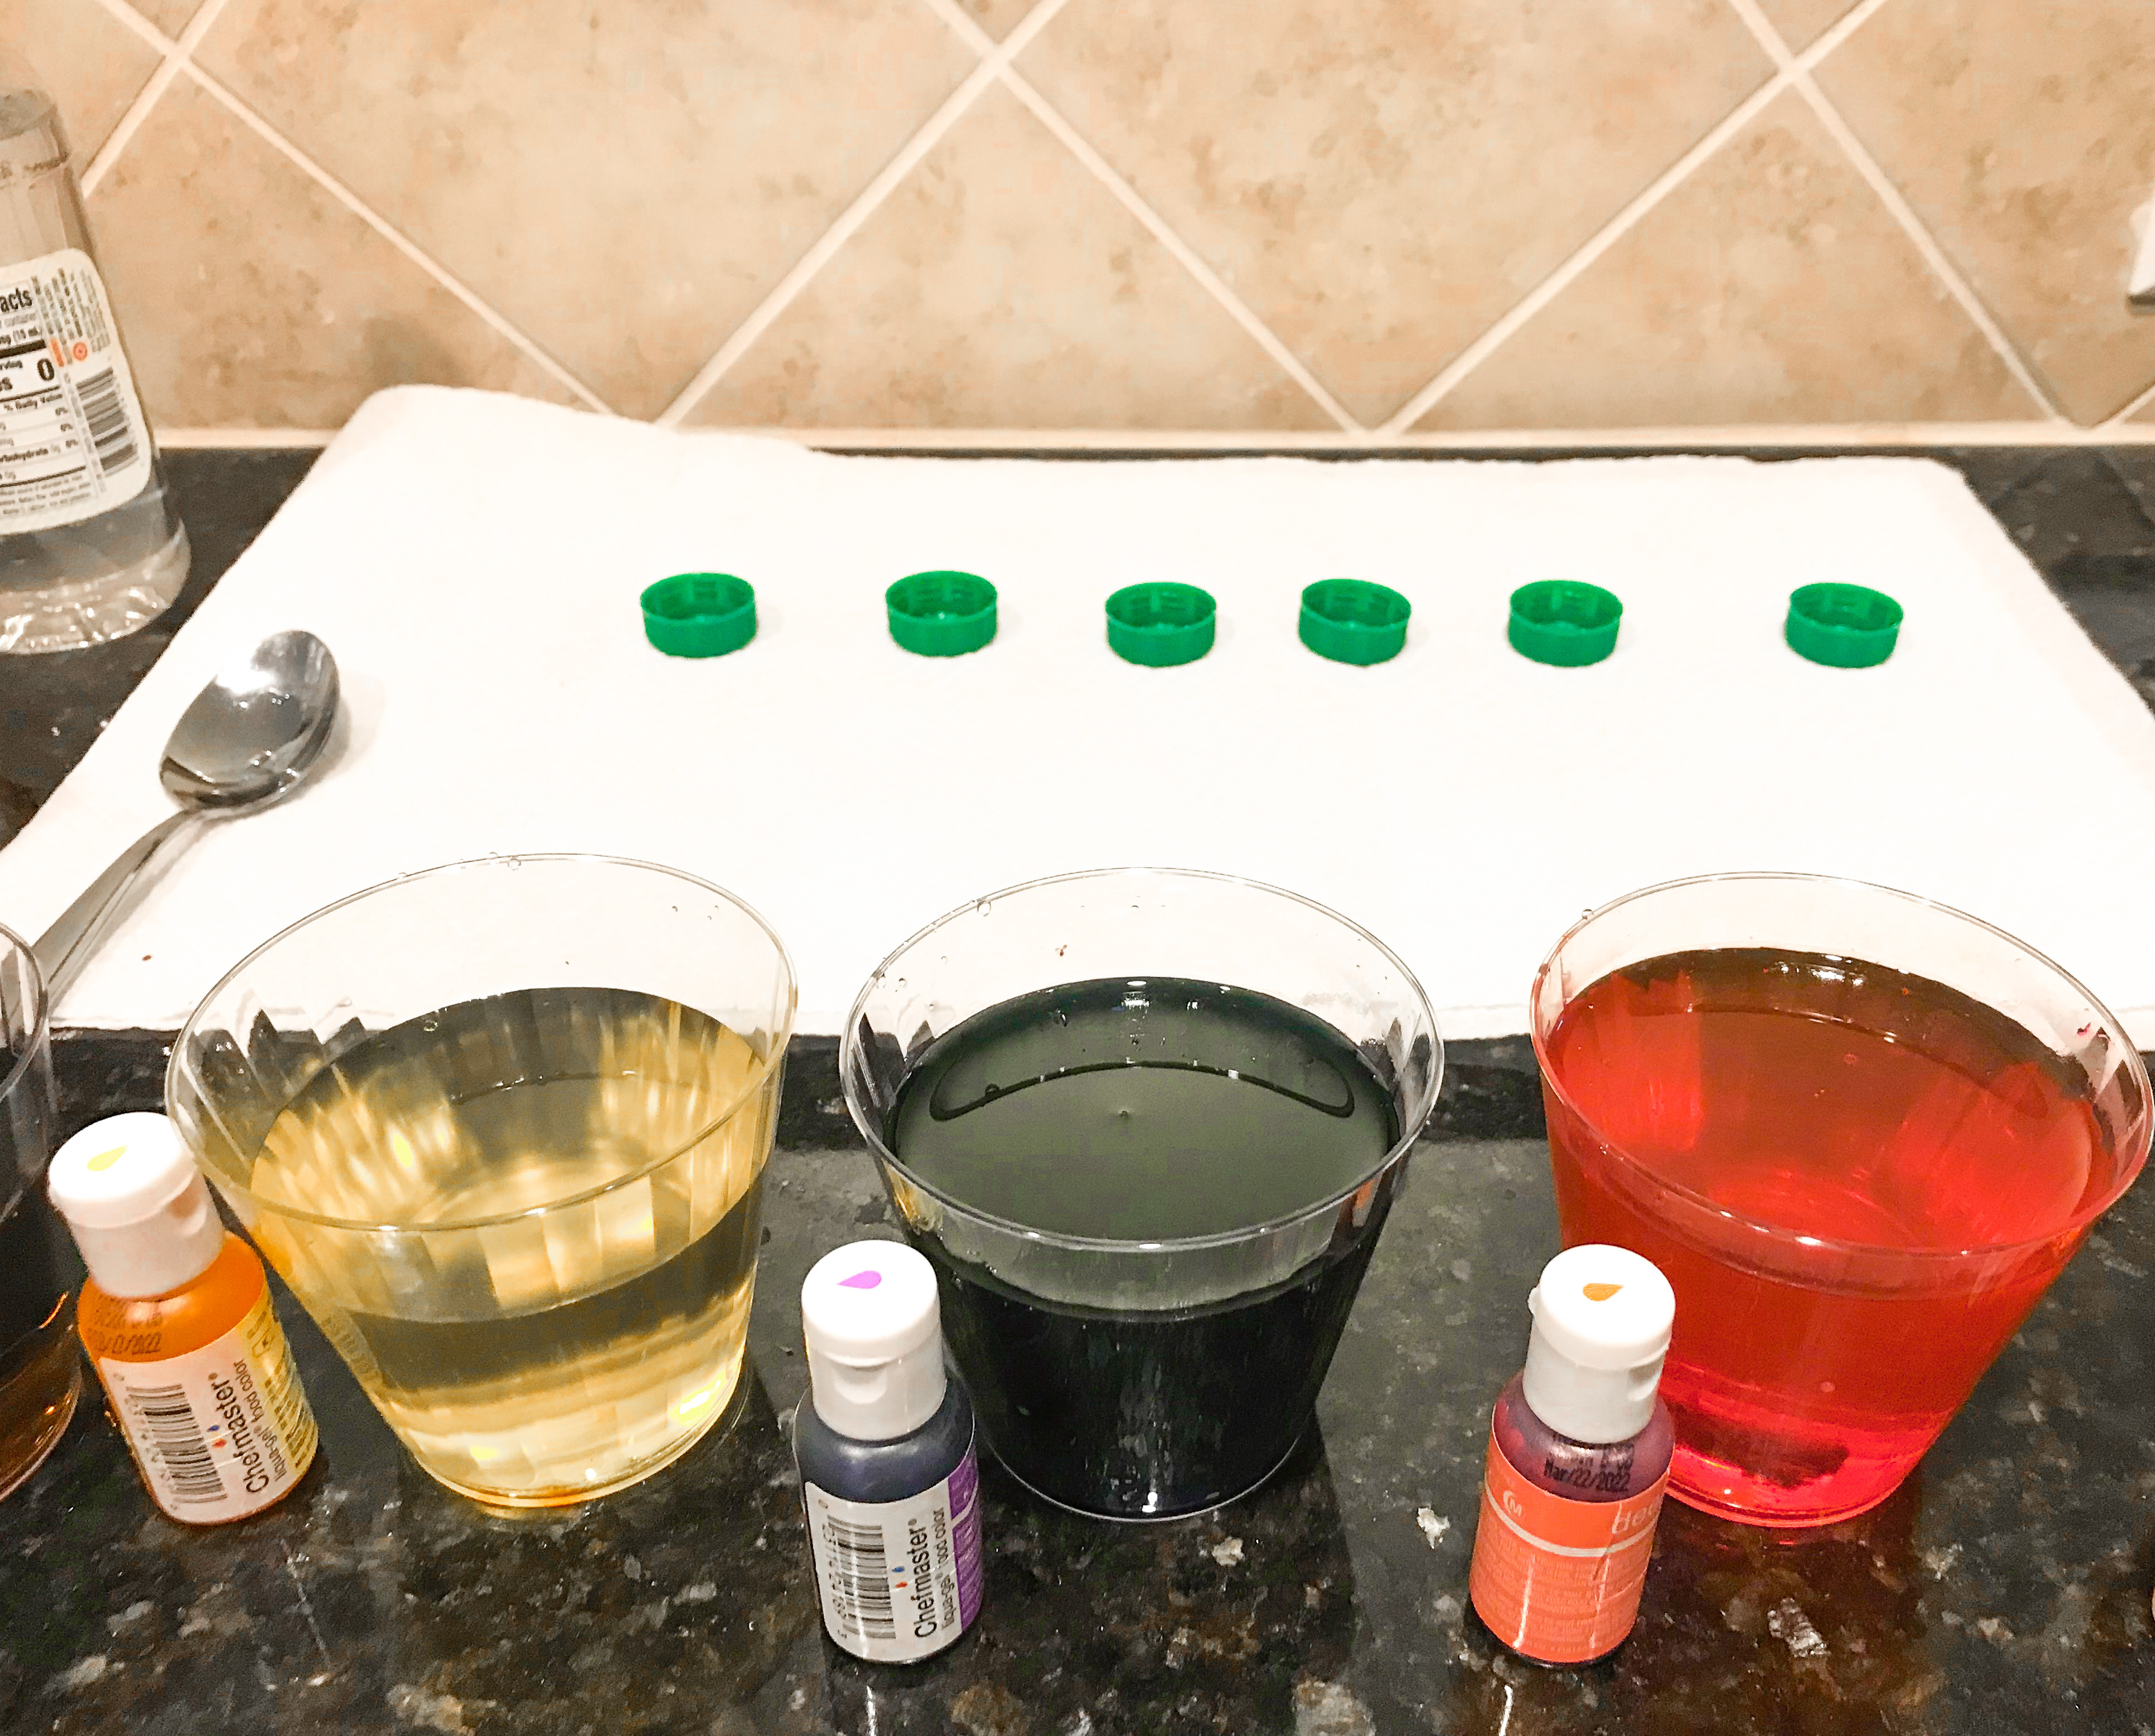
To Mix the Dye:
Fill 9 oz containers 3/4 of the way with warm water.
Add 2-3 drops of high quality gel food coloring (if using cheaper non- gel food coloring add 20 drops or so)
Add 1 Tbsp of vinegar
Stir well with a fork!
Add The Vinyl Easter “Stickers” To The Egg
This works much better with close to room temp eggshells so be sure to let them sit for around thirty minutes or so.
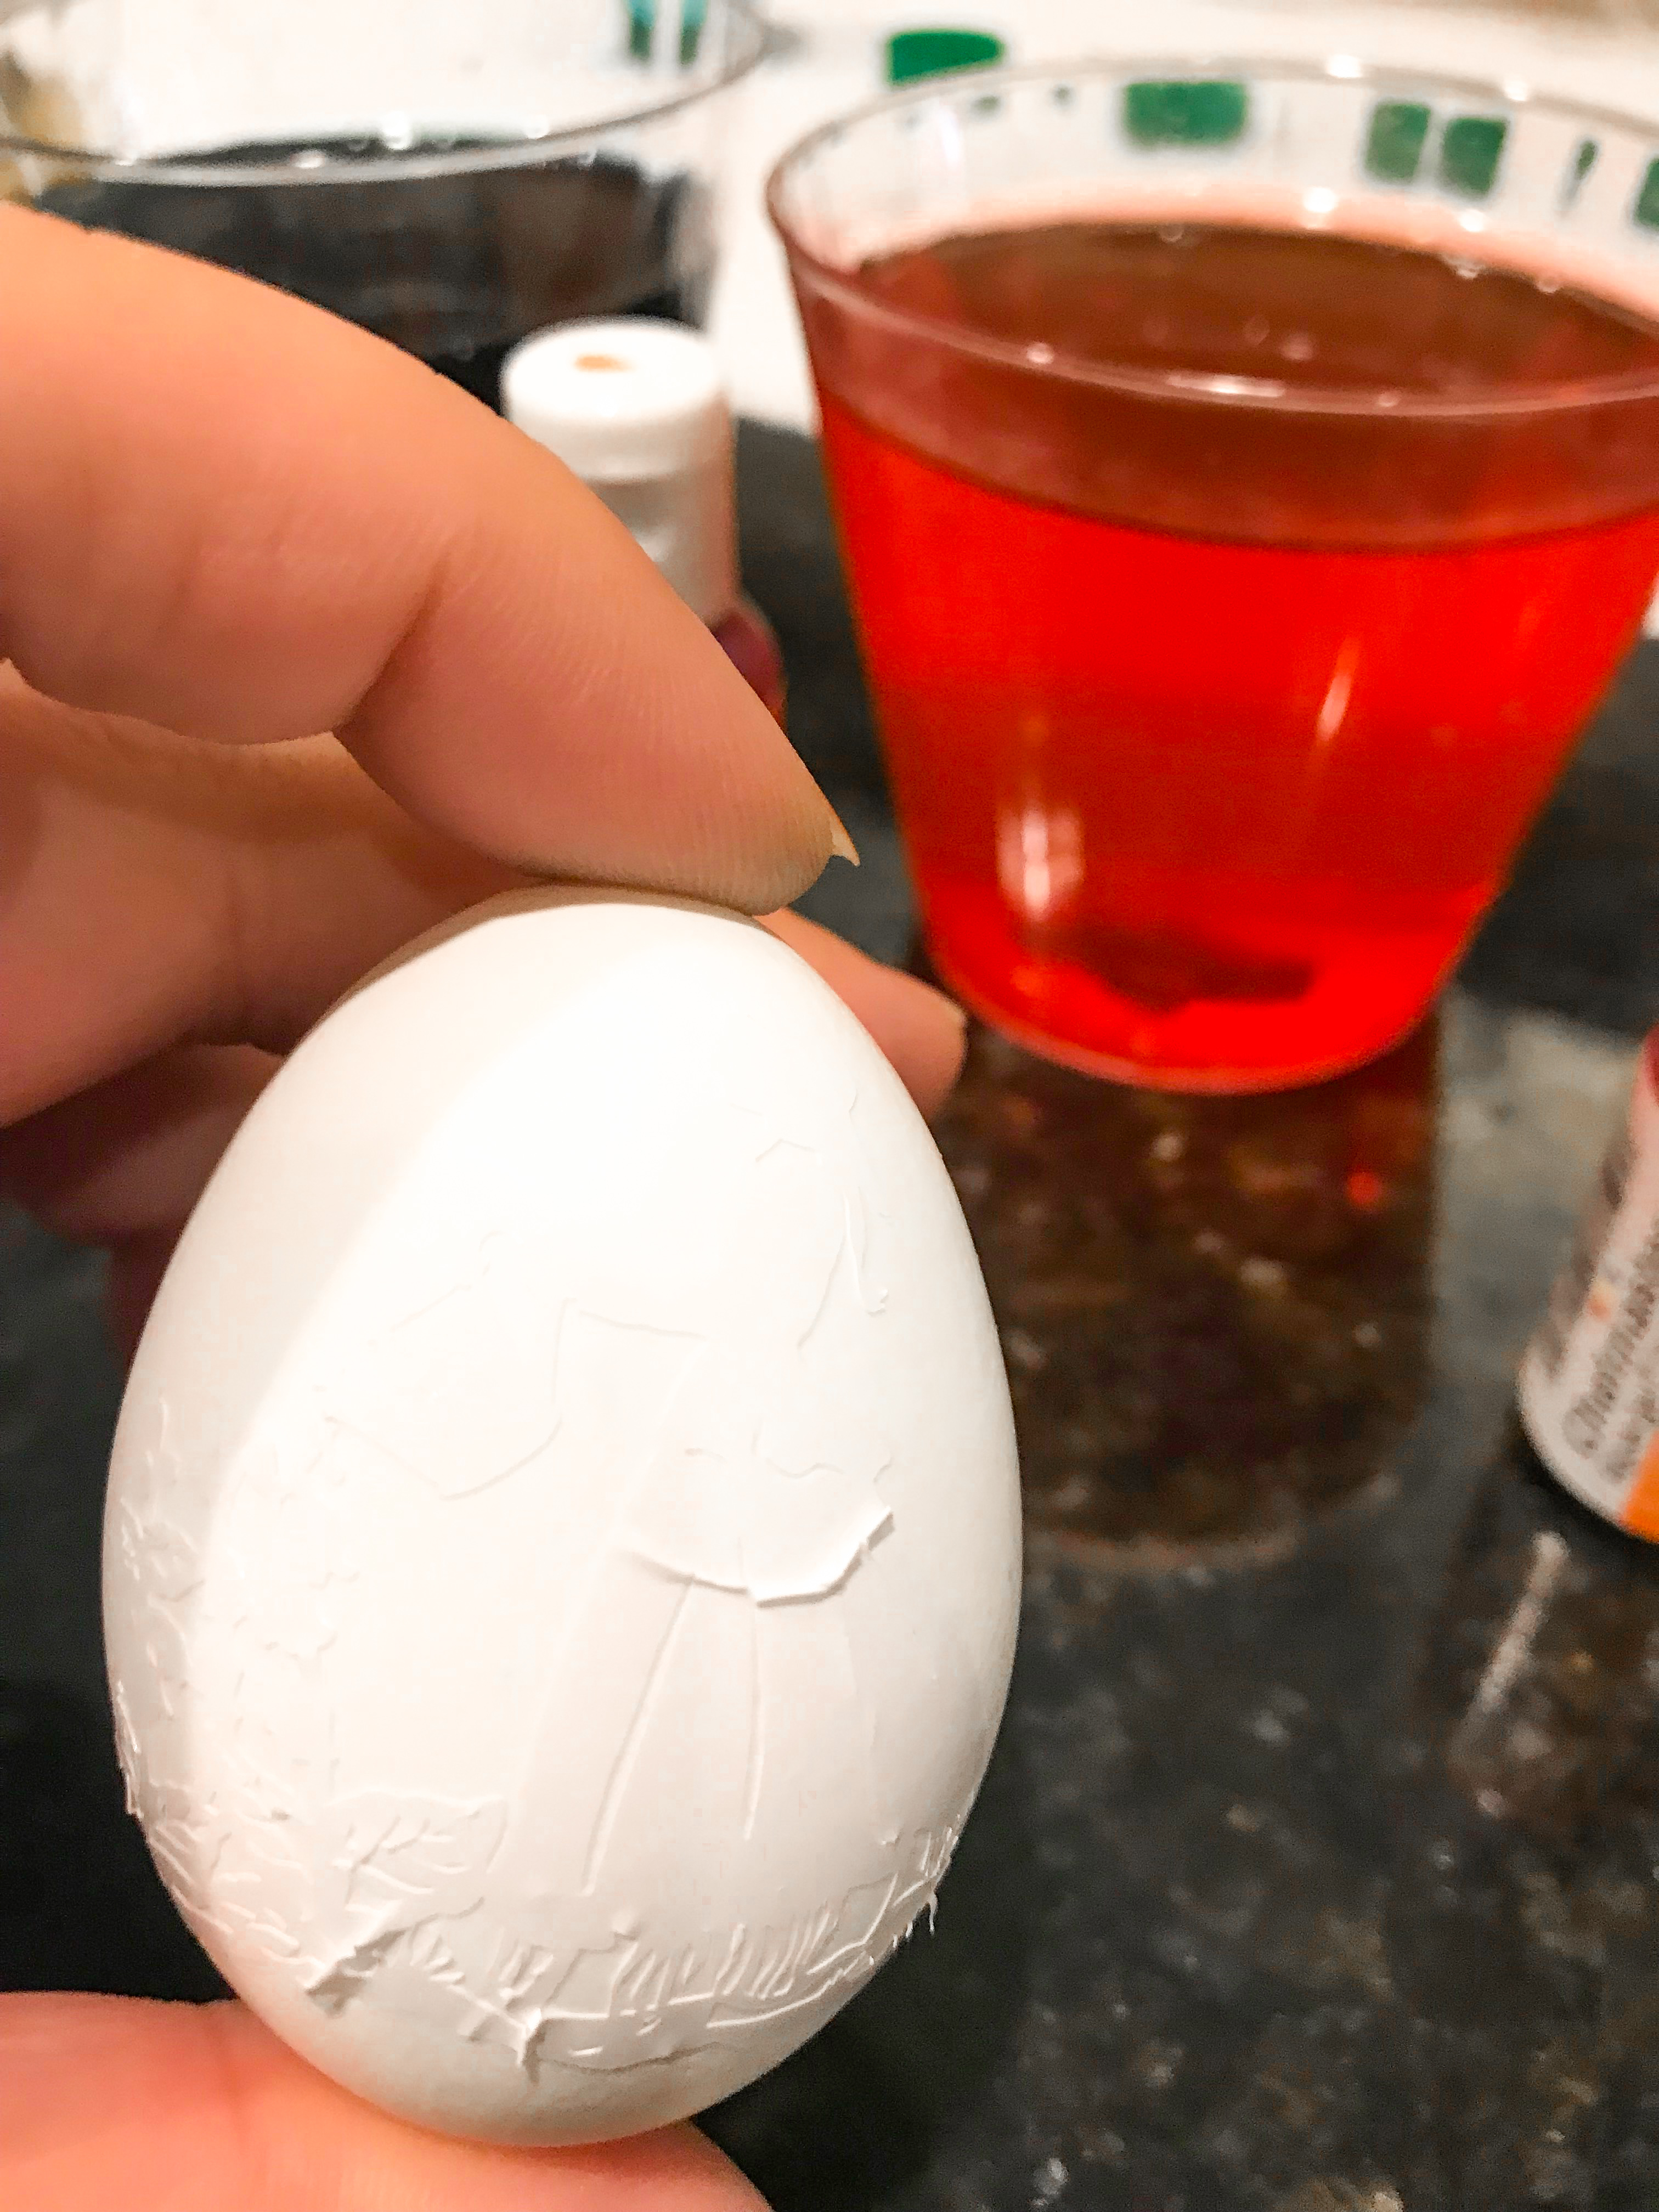
Dry off the egg shell with a paper towel (to remove residual moisture).
Rub one edge of the transfer tape onto the egg using your fingers and continue about 1 inch in.
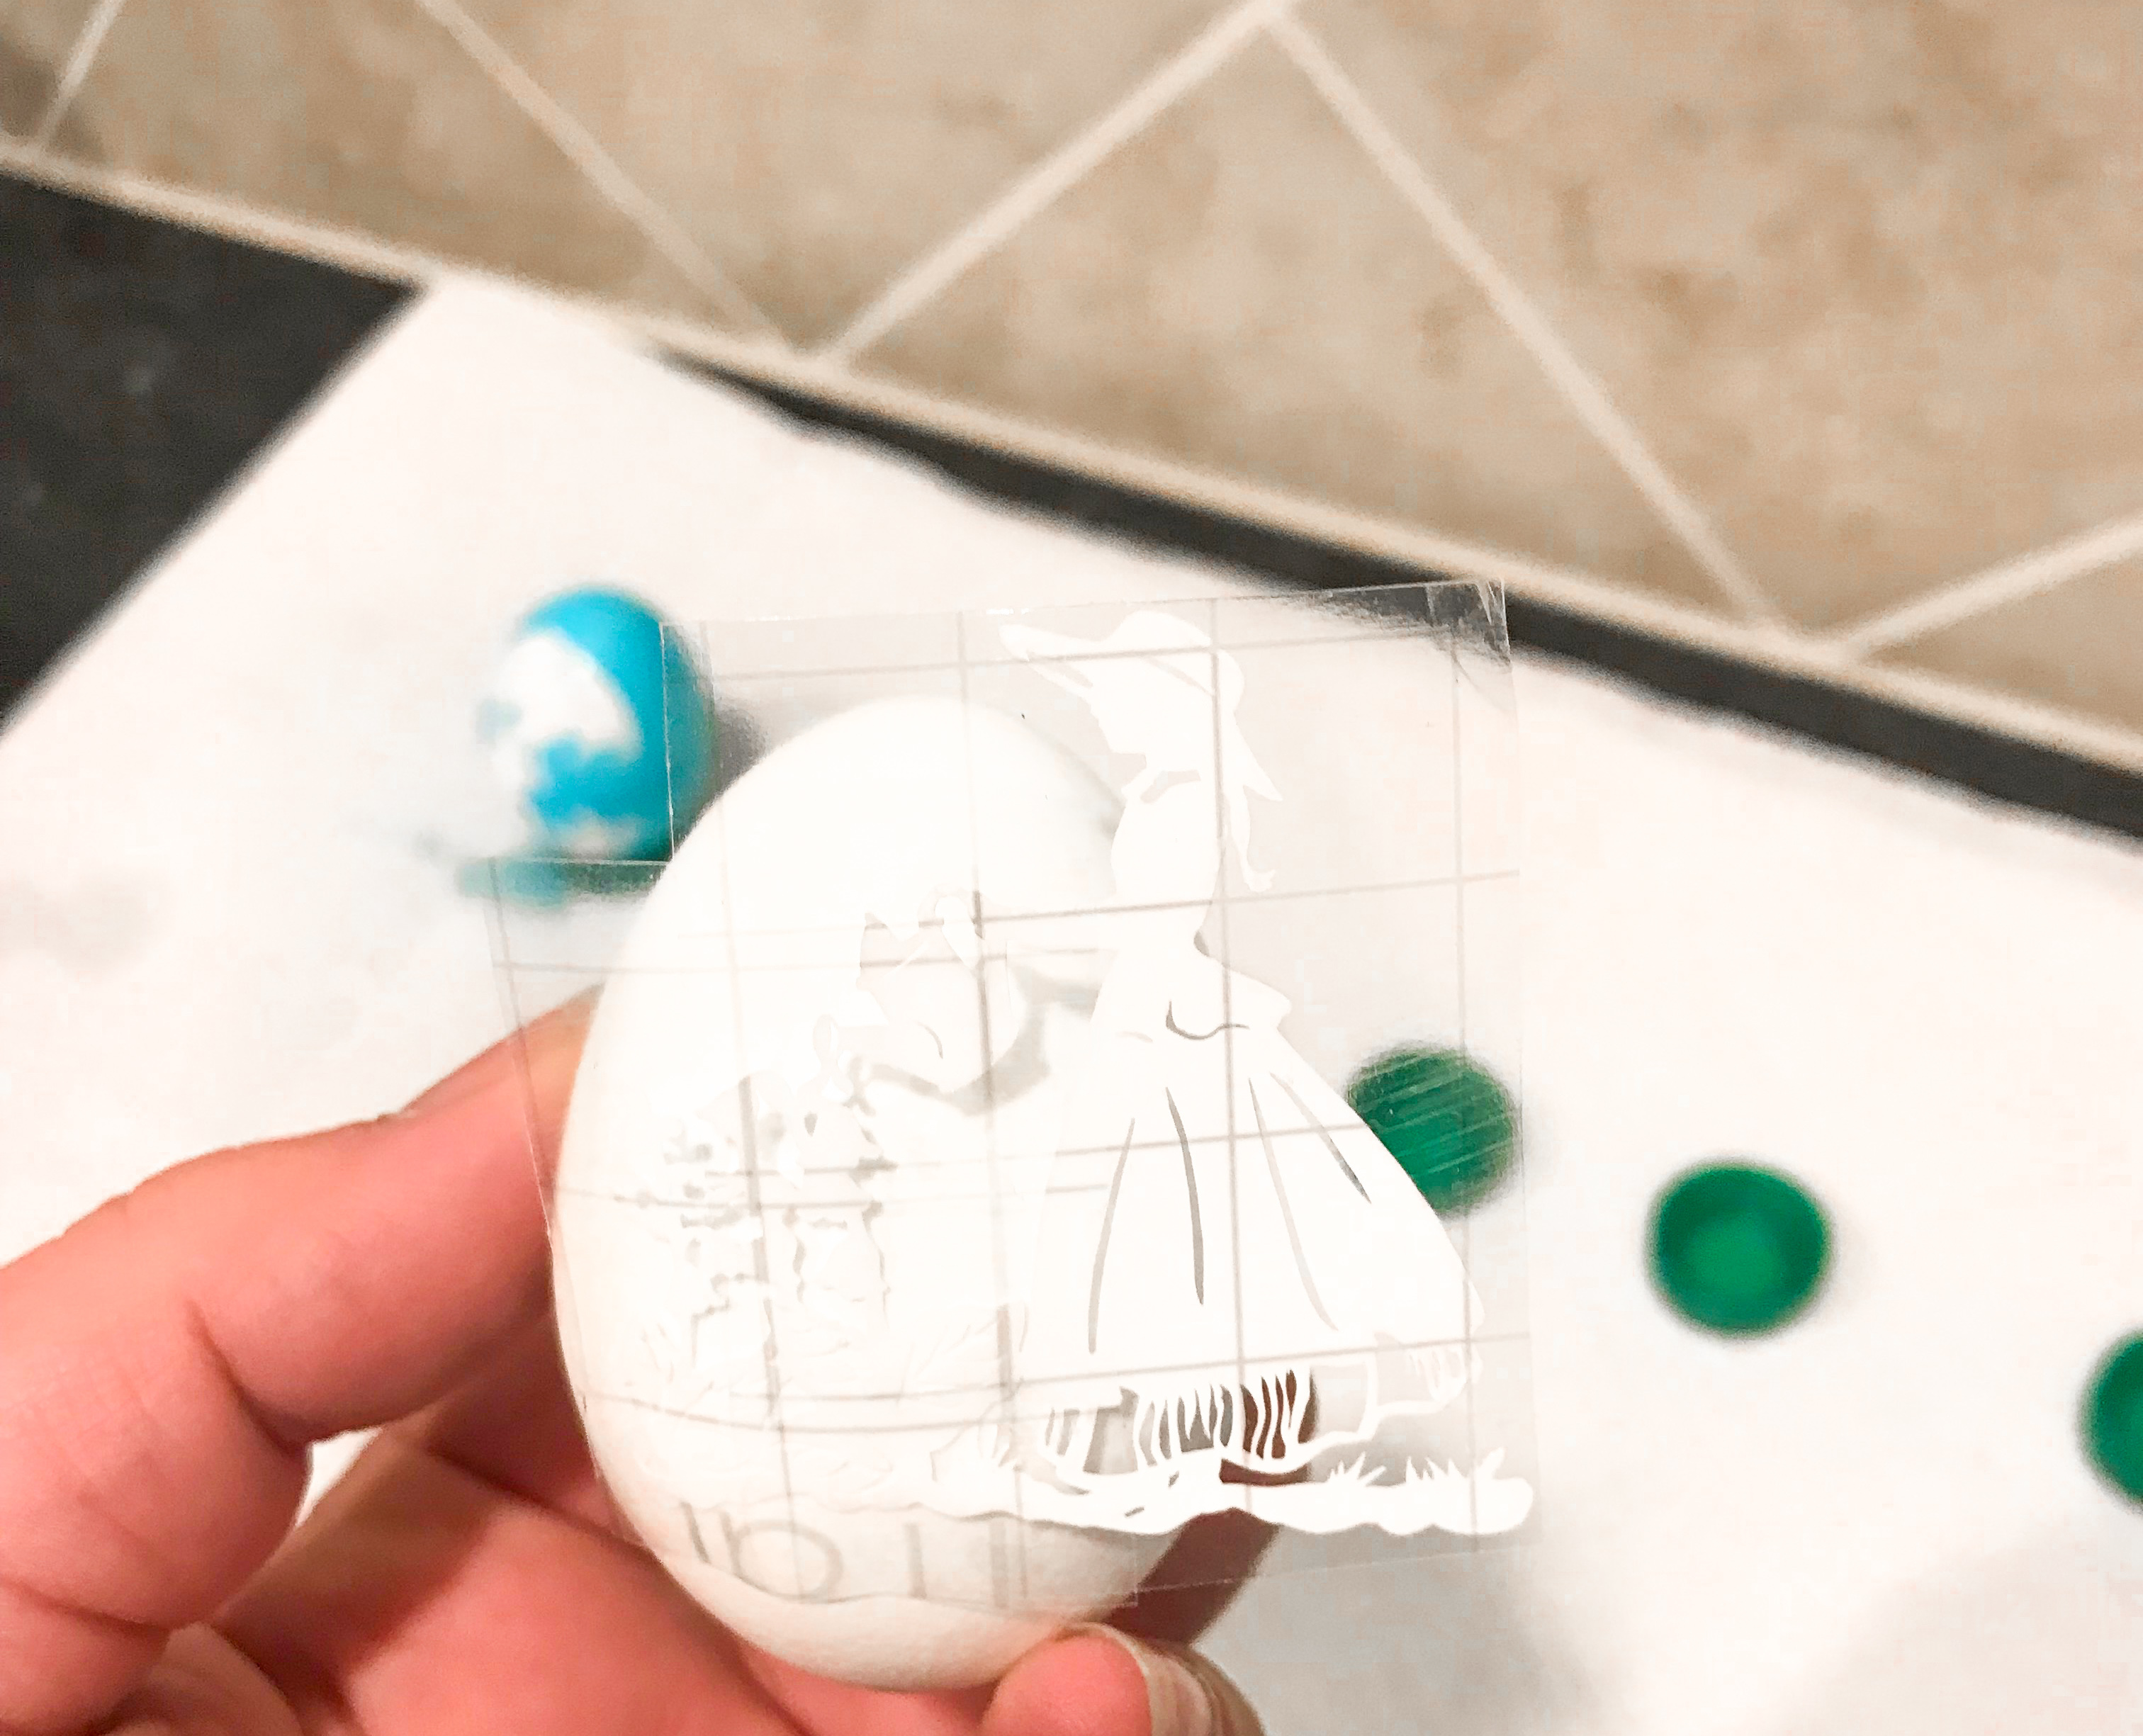
Peel the transfer tape away from about half of the already transferred vinyl.
Smooth another half inch onto the egg and then peel the transfer tape off another half inch. Continue until the entire image has been transferred.
This process helps keep the image mostly smooth since the egg is a rounded surface the transfer tape has trouble navigating.
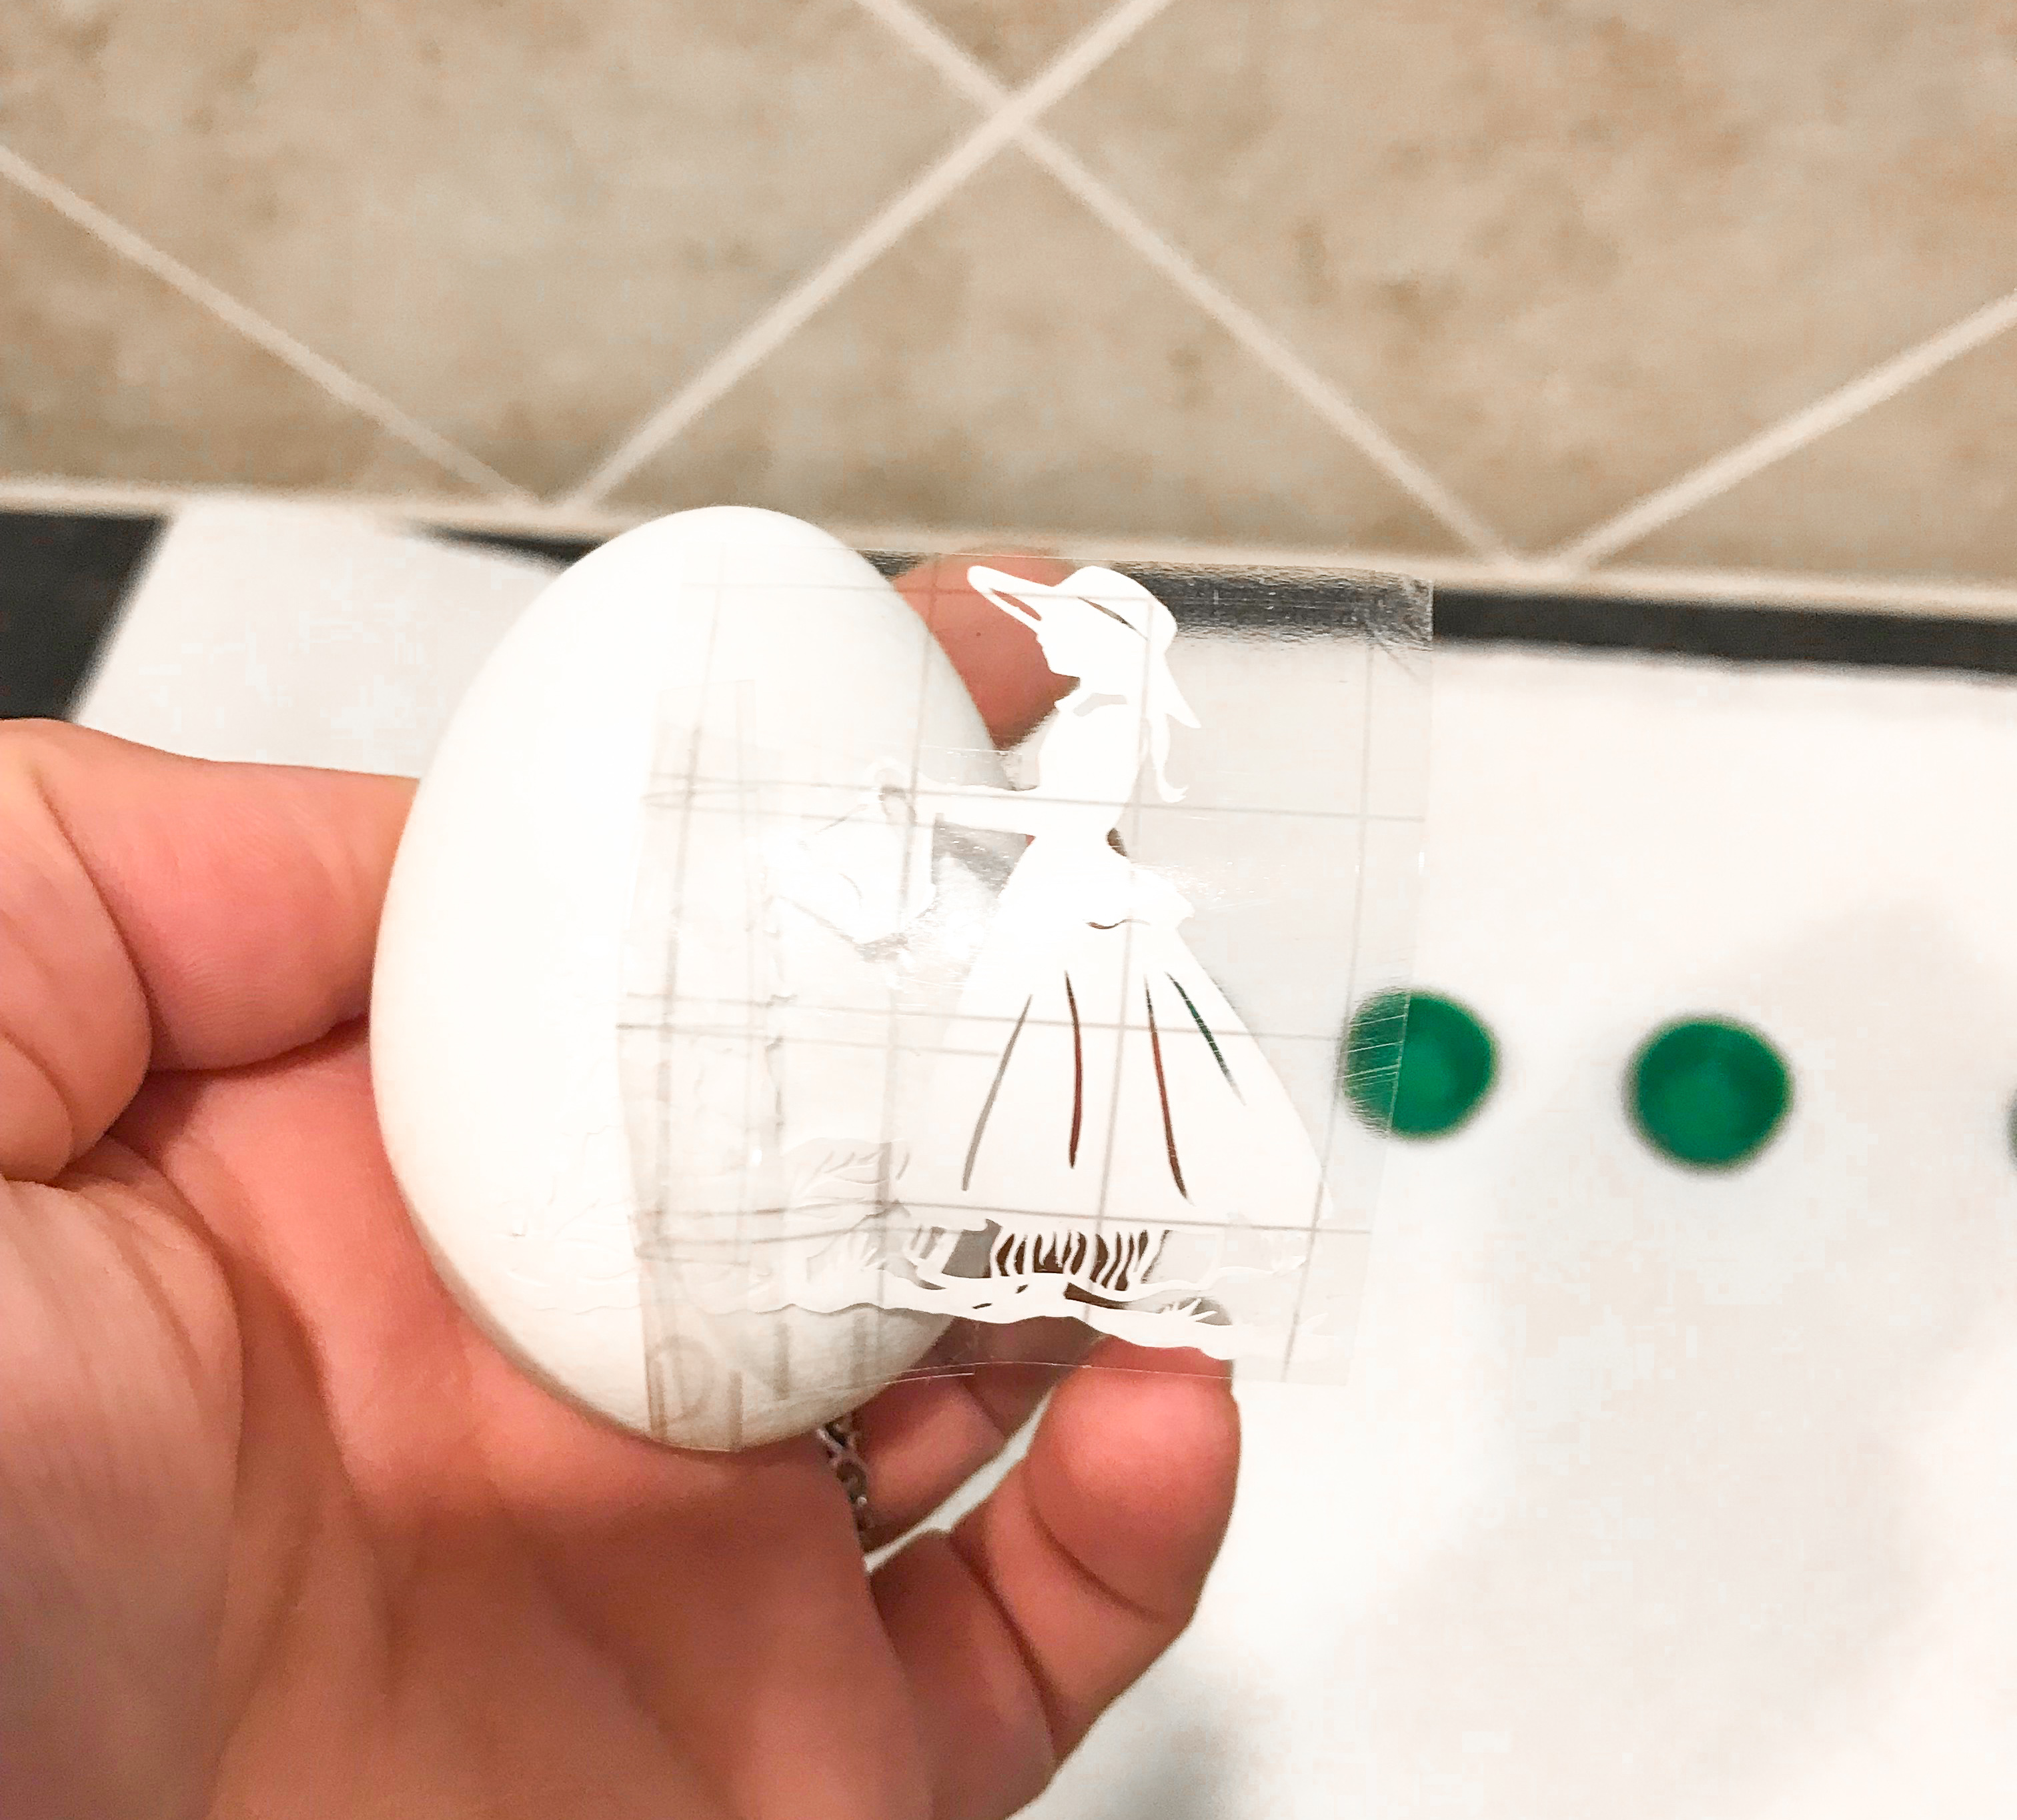
There will probably still be a few folds in the vinyl but that’s okay!
Rub your finger along the edge of the vinyl making sure it is adhered well.
In spots where folds/ creases have occurred, pinch the crease tightly so it won’t allow any liquid in.
Dip The Easter Eggs and Dry
Dip the Egg in one (or more) colors until the desired deepness is reached (the longer you leave it in there the deeper it will get!)
Place the egg on a bottle cap and let sit for 5 or so minutes.

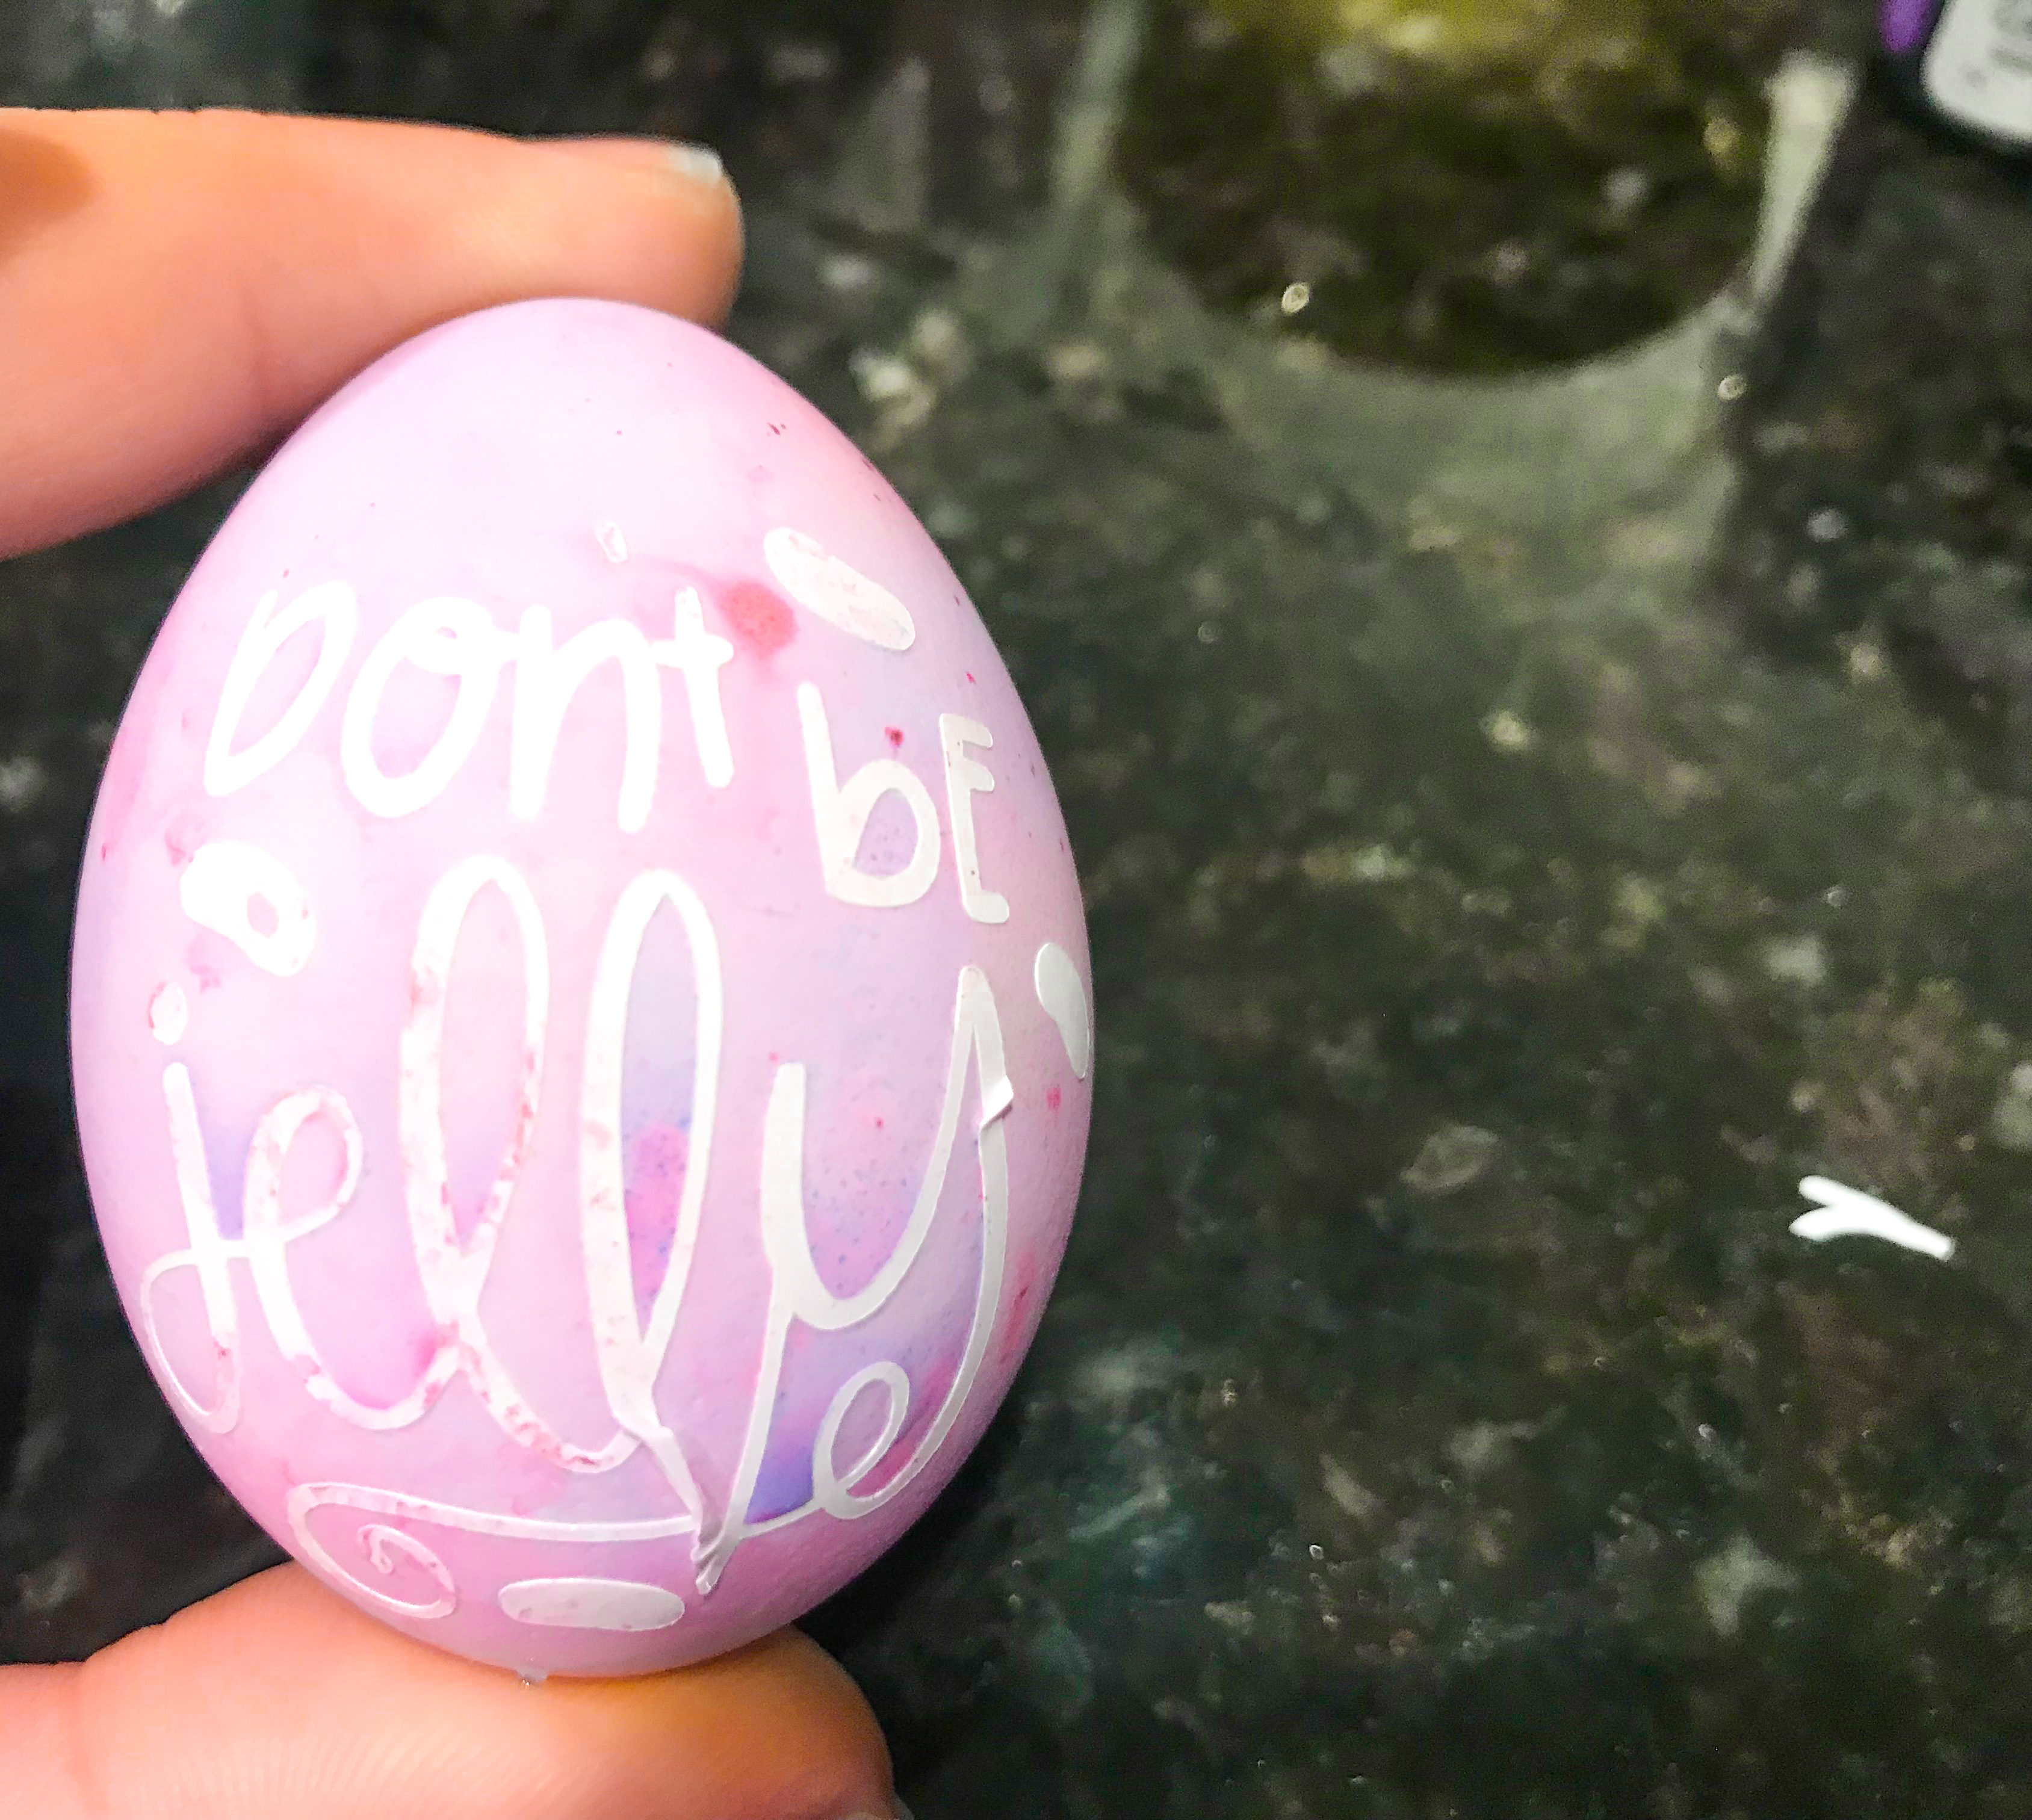
Peel Off The Vinyl
Give a quick dab with a dry paper towel (because sometimes the vinyl will have drips of color on it).
Now peel off the vinyl! A blank egg surface should be left behind, leaving a perfect replica of your design!
All that’s left now is to pop the eggs back in fridge until you are ready to eat them!
I truly hope you and yours enjoy making these as much as we did.
Related Posts